Valances and curtain rods can fully transform the look and feel of any window. With the right rod and valance combination, you can take your windows from boring to beautiful. The key is understanding how to choose the ideal rods and hang your valances properly.
We’ll cover the curtain rod and valance pairing process from start to finish. You’ll learn expert tips on measuring for a perfect fit, picking suitable hardware, and properly installing both elements. We’ll also explore style ideas for designing stunning windowscapes that impress. Let’s get started on taking your windows to the next level with valances and curtain rods!
Choosing the Right Curtain Rods for Your Valance
When selecting curtain rods, you’ll want to consider a few factors that impact compatibility with valances:
Continental Rods
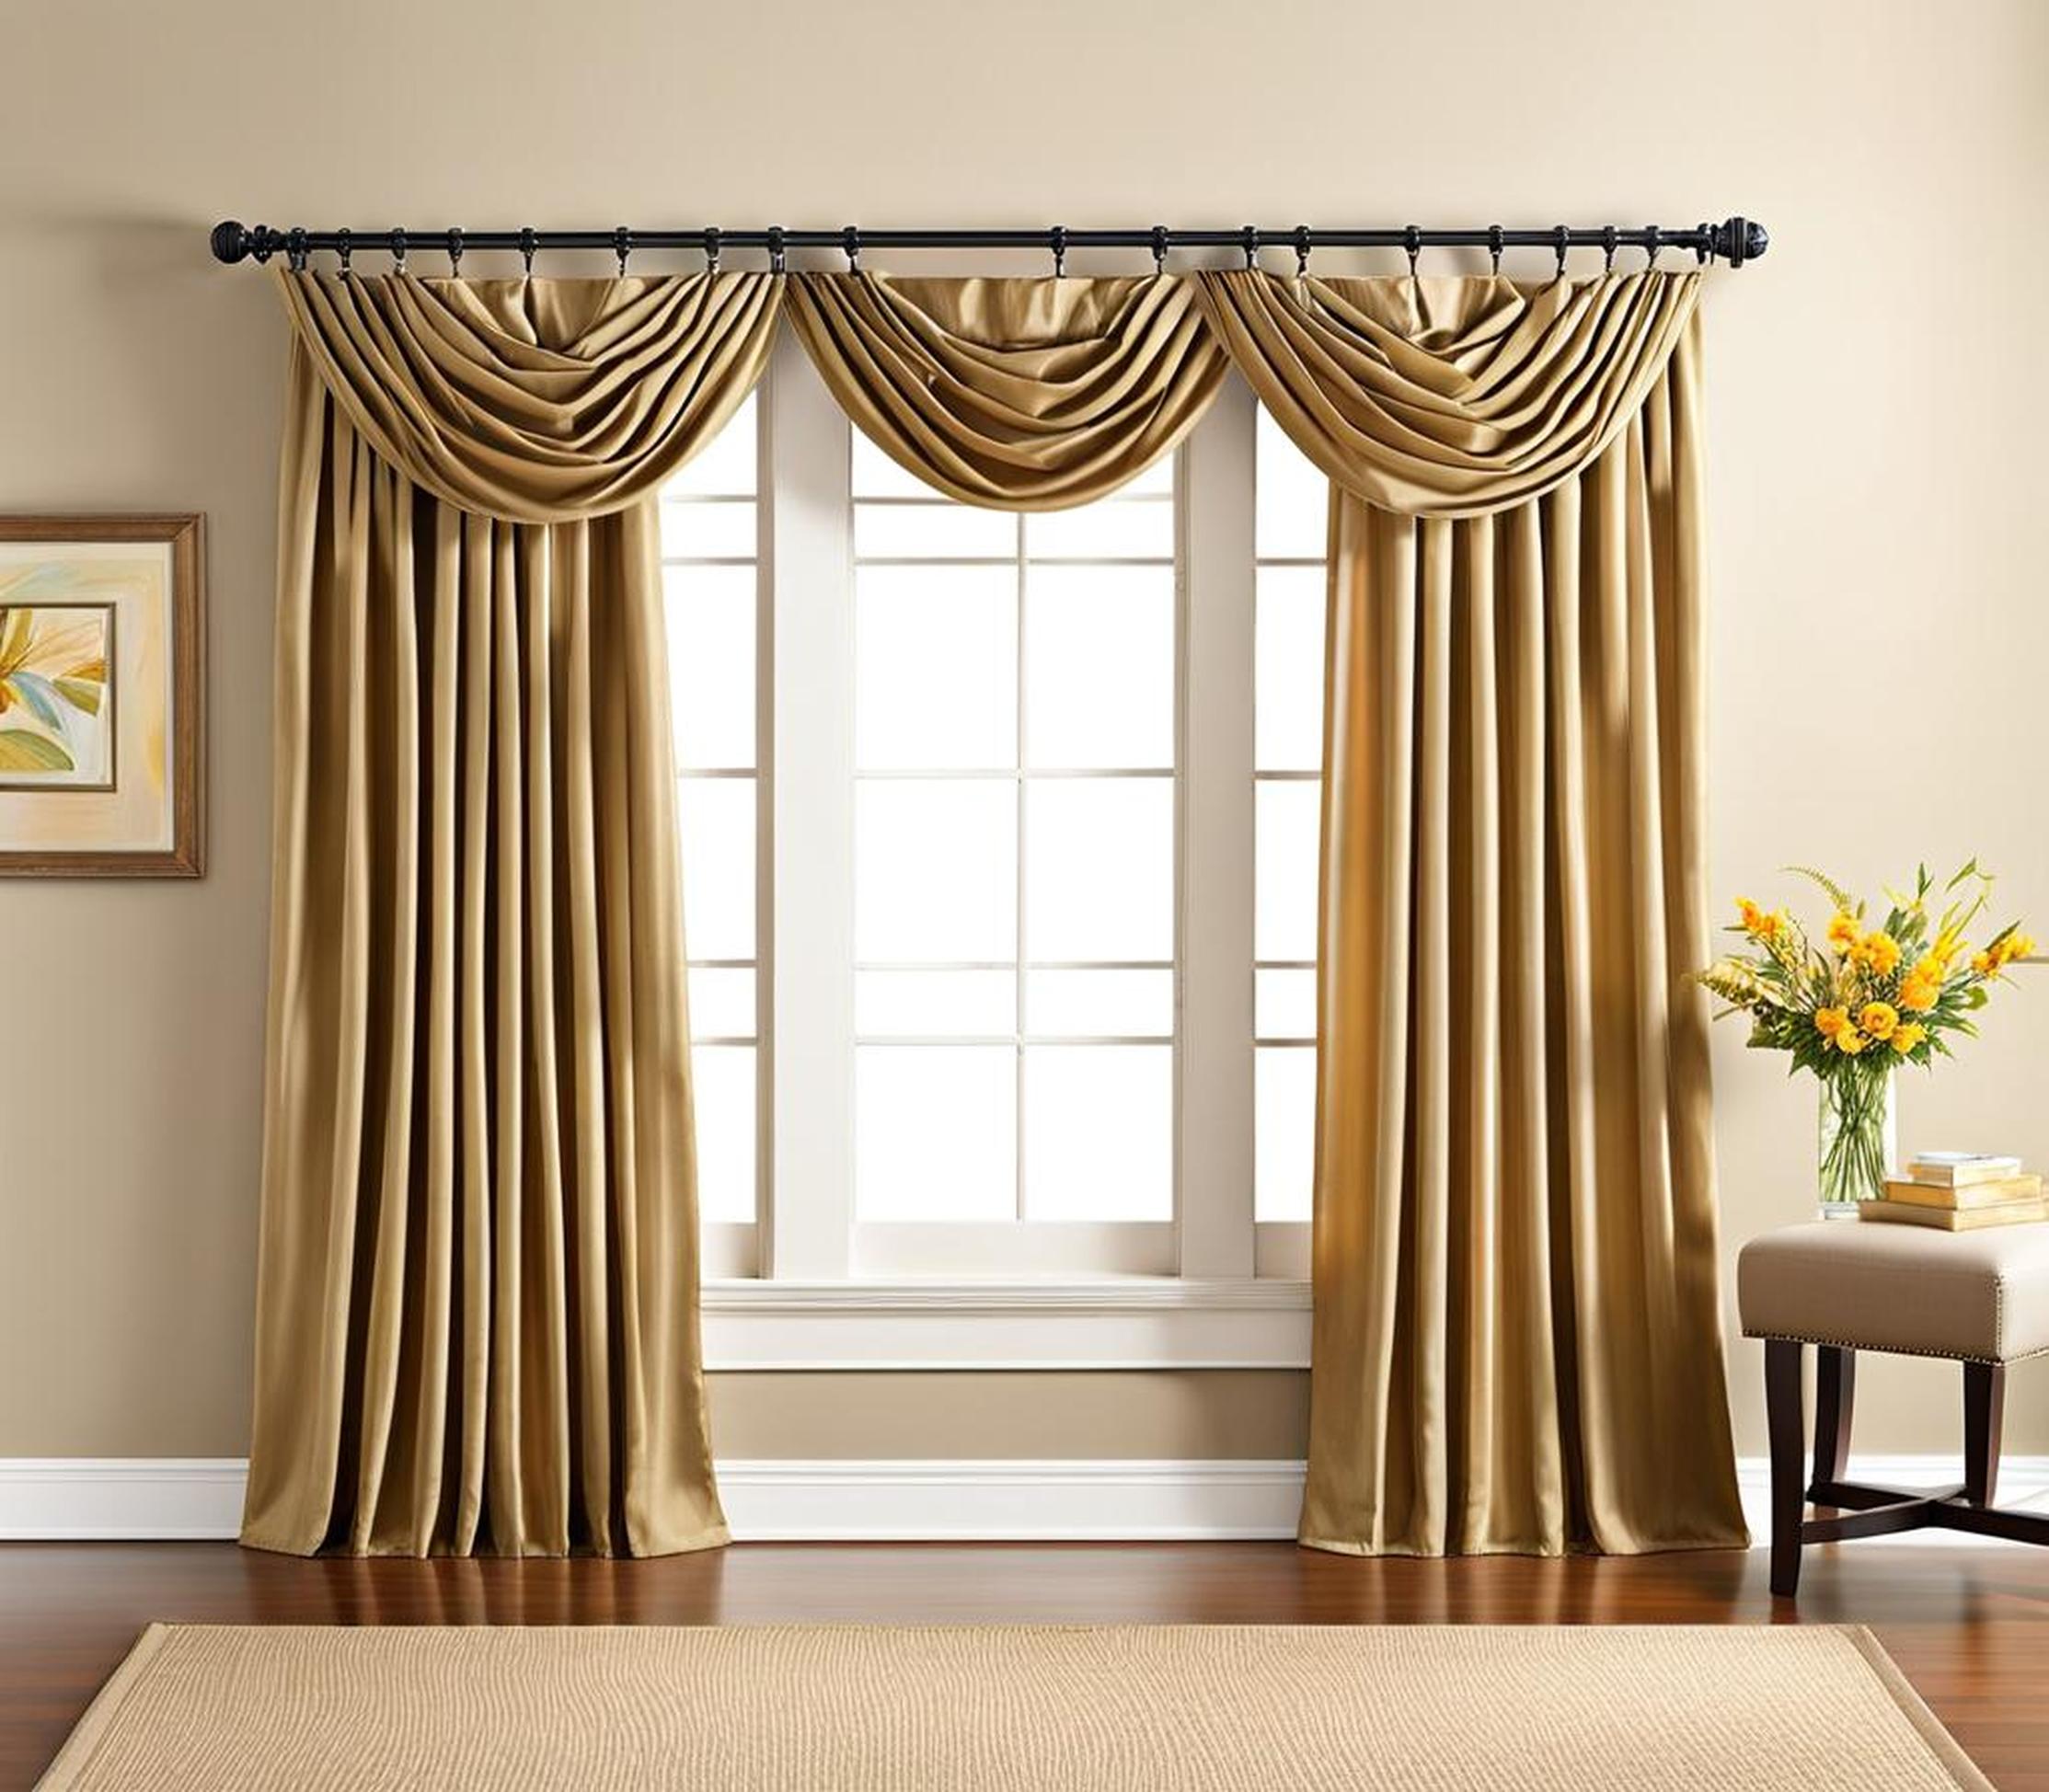
Continental rods are an excellent choice to hang a valance. Their flat profile mounts tight against the wall or window frame, enabling the valance to cover the rod completely. Continental rods come in various diameters from 1/2 inch up to 3 inches. A 1-2 inch rod usually works well paired with most valances that have standard rod pockets.
Opt for a continental rod in a finish that coordinates with your room’s decor and valance fabric. Length is another key consideration. Measure the width of your window and purchase a rod at least 4-6 inches wider on each side. Many continental rods have telescoping features to custom fit any window.
Telescoping Rods
Adjustable telescoping curtain rods are another fantastic option when pairing with valances. The flexibility to extend and retract the rods allows for perfect sizing on any window. For valances, look for telescoping rods with a compact 1-2 inch diameter when collapsed. Extendable lengths of up to 120 inches or more provide enough coverage for even extra wide windows.
When choosing telescoping rods, opt for sturdy metal construction with smooth extension and retraction. Consider finishes that integrate with your room’s look and ambiance. Oil-rubbed bronze, matte black, brushed nickel, and painted white metals all make great choices.
Specialty Shaped Rods
Specialty traverse rod systems are perfect for hanging valances on curved windows and bay windows. Flexible traversing rods can bend to fit the exact angle of an arched window. Bay window tiered traverse rod systems enable you to mount valances that follow the unique shape. Adjustable length tiered rods allow lining up lengths perfectly on angled windows.
When shopping for specialty rods for non-standard window shapes, bring exact measurements of the windows. This ensures getting rods sized and bent correctly. For bay windows, measure each window section independently for tiered rods cut-to-fit your space.
Hanging Methods and Installation
Proper installation is key to beautifully styled windows with valances. Follow these tips for seamless hanging:
Positioning Rod Brackets
Determine proper bracket placement before drilling and mounting. Valances typically sit higher than the main curtains. For optimal light and views, mount the valance rod just below the window molding. Place the lower curtain rod at least 3 inches beneath the valance rod.
Brackets for the valance rod get installed first. Hold brackets in your desired upper position and mark spots evenly spaced for drilling. For the lower curtain rod, mark bracket spots below those marks. Allow 1-3 inches between the window frame and each bracket.
Tools and Hardware Needed
Gather these supplies before starting installation:
- Drill with appropriate drill bits
- Screws and plastic anchors for drywall or masonry anchors for brick or concrete
- Level
- Rod brackets
- Wrenches, screws, and end caps for connecting rods
Ensure brackets are sized properly and rated to handle the rod and fabric weight. Heavier drapes require stronger brackets and anchors.
Step-by-Step Installation Process
Follow these steps for smooth hanging:
- Mark bracket spots per your measurements.
- Drill holes at each spot using a drill bit sized for your wall anchors.
- Secure anchors first, then screw brackets into anchors.
- Use a level to ensure brackets are even.
- Connect rod sections if needed and attach to brackets using included hardware.
- Check that rod sits level and make any necessary adjustments.
Repeat this process to install the lower curtain rod and any middle support brackets. Your rods are now ready for your valances and curtains!
Design Tips and Style Ideas
The right window treatments can elevate the entire look and feel of a room. Follow these expert tips and ideas for stunning windows:
Coordinating Valances and Curtains
When pairing valances with curtains, complement but don’t match exactly. Mix fabrics and textures for depth and visual interest. For a coordinated look, select a valance in a similar color family or subtle print that incorporates curtain colors. Or try pairing a neutral valance with bold curtain fabric.
Play with different lengths and styles too – a short gathered valance balanced by long flowing drapes offers an elegant look. Sheer under-curtains provide privacy when using sheer drapes. Layer and mix treatments for a luxe customized window.
Valance Shapes and Styles
Look beyond basic rectangle valances to unique shapes that make a statement. Swagged and cascading valances create an opulent look around windows. Inverted box pleat valances add modern structure. For a soft romantic vibe, try scarf swag valances.
The fullness and flow of a valance also impacts style. Sleek tailored valances complement contemporary spaces, while lush ruched styles pair well with traditional rooms. Match the valance style to your decor personality.
Home Decor Coordination
Tie your valances and drapes into the room’s decor for a pulled-together look. Coordinate valance colors and patterns with furniture finishes, area rugs, and accent pillows. Incorporate decorative rod finials, rings, and holdbacks that complement other metallic finishes in the space.
Frame windows with drapes and valances to highlight views of artwork or architectural focal points. Well-dressed windows draw the eye and set the visual tone for an entire room.
Valance Ideas for Different Window Shapes
From arched windows to bay windows, you can style any shape beautifully with the right rods and valances.
Bay Windows
To accentuate bay windows, use a tiered rod system following the angles. Hang an angled valance atop the upper rods lining the shape. On lower rods, hang side drapes that frame the views and allow light.
Look for flexible banning valances that provide a continuous sloped look over the tiers. A separate rectangular cornice valance in the center completes the presentation.
Arched Windows
Play up the architecture with a curved rod that spans the arch evenly. Flaring out wider at the sides adds drama. For the valance, use flexible banning to wrap the curve, or build a custom arched valance box.
Layer in side drapes hung from discrete brackets lining the curve. Sheers filter light beautifully on arched windows while allowing views.
Odd Shaped Windows
To tackle uniquely shaped windows, get creative with rods and fabric. Bendable traverse rods contour to fit. Sectional rods combined and aligned properly work on angles. Customized valance boxes, cornices and pelmets built exactly to your window’s shape add polish.
Consult a workroom to sew valances and curtains tailored to non-standard windows. With some ingenuity, any shape can get dressed up!
With the right curtain rods and valances, you can take your windows to the next level. Carefully select rods that suit your window shapes and valance fabrics. Proper installation provides a flawless foundation for your treatments. Mix and match styles, shapes, and fabrics for windows that impress.
Follow this comprehensive guide to achieve beautiful windows. Dress up your views and let the light in with valances and curtains! Your rooms will feel open, elegant and complete with upgrade windowscapes.
