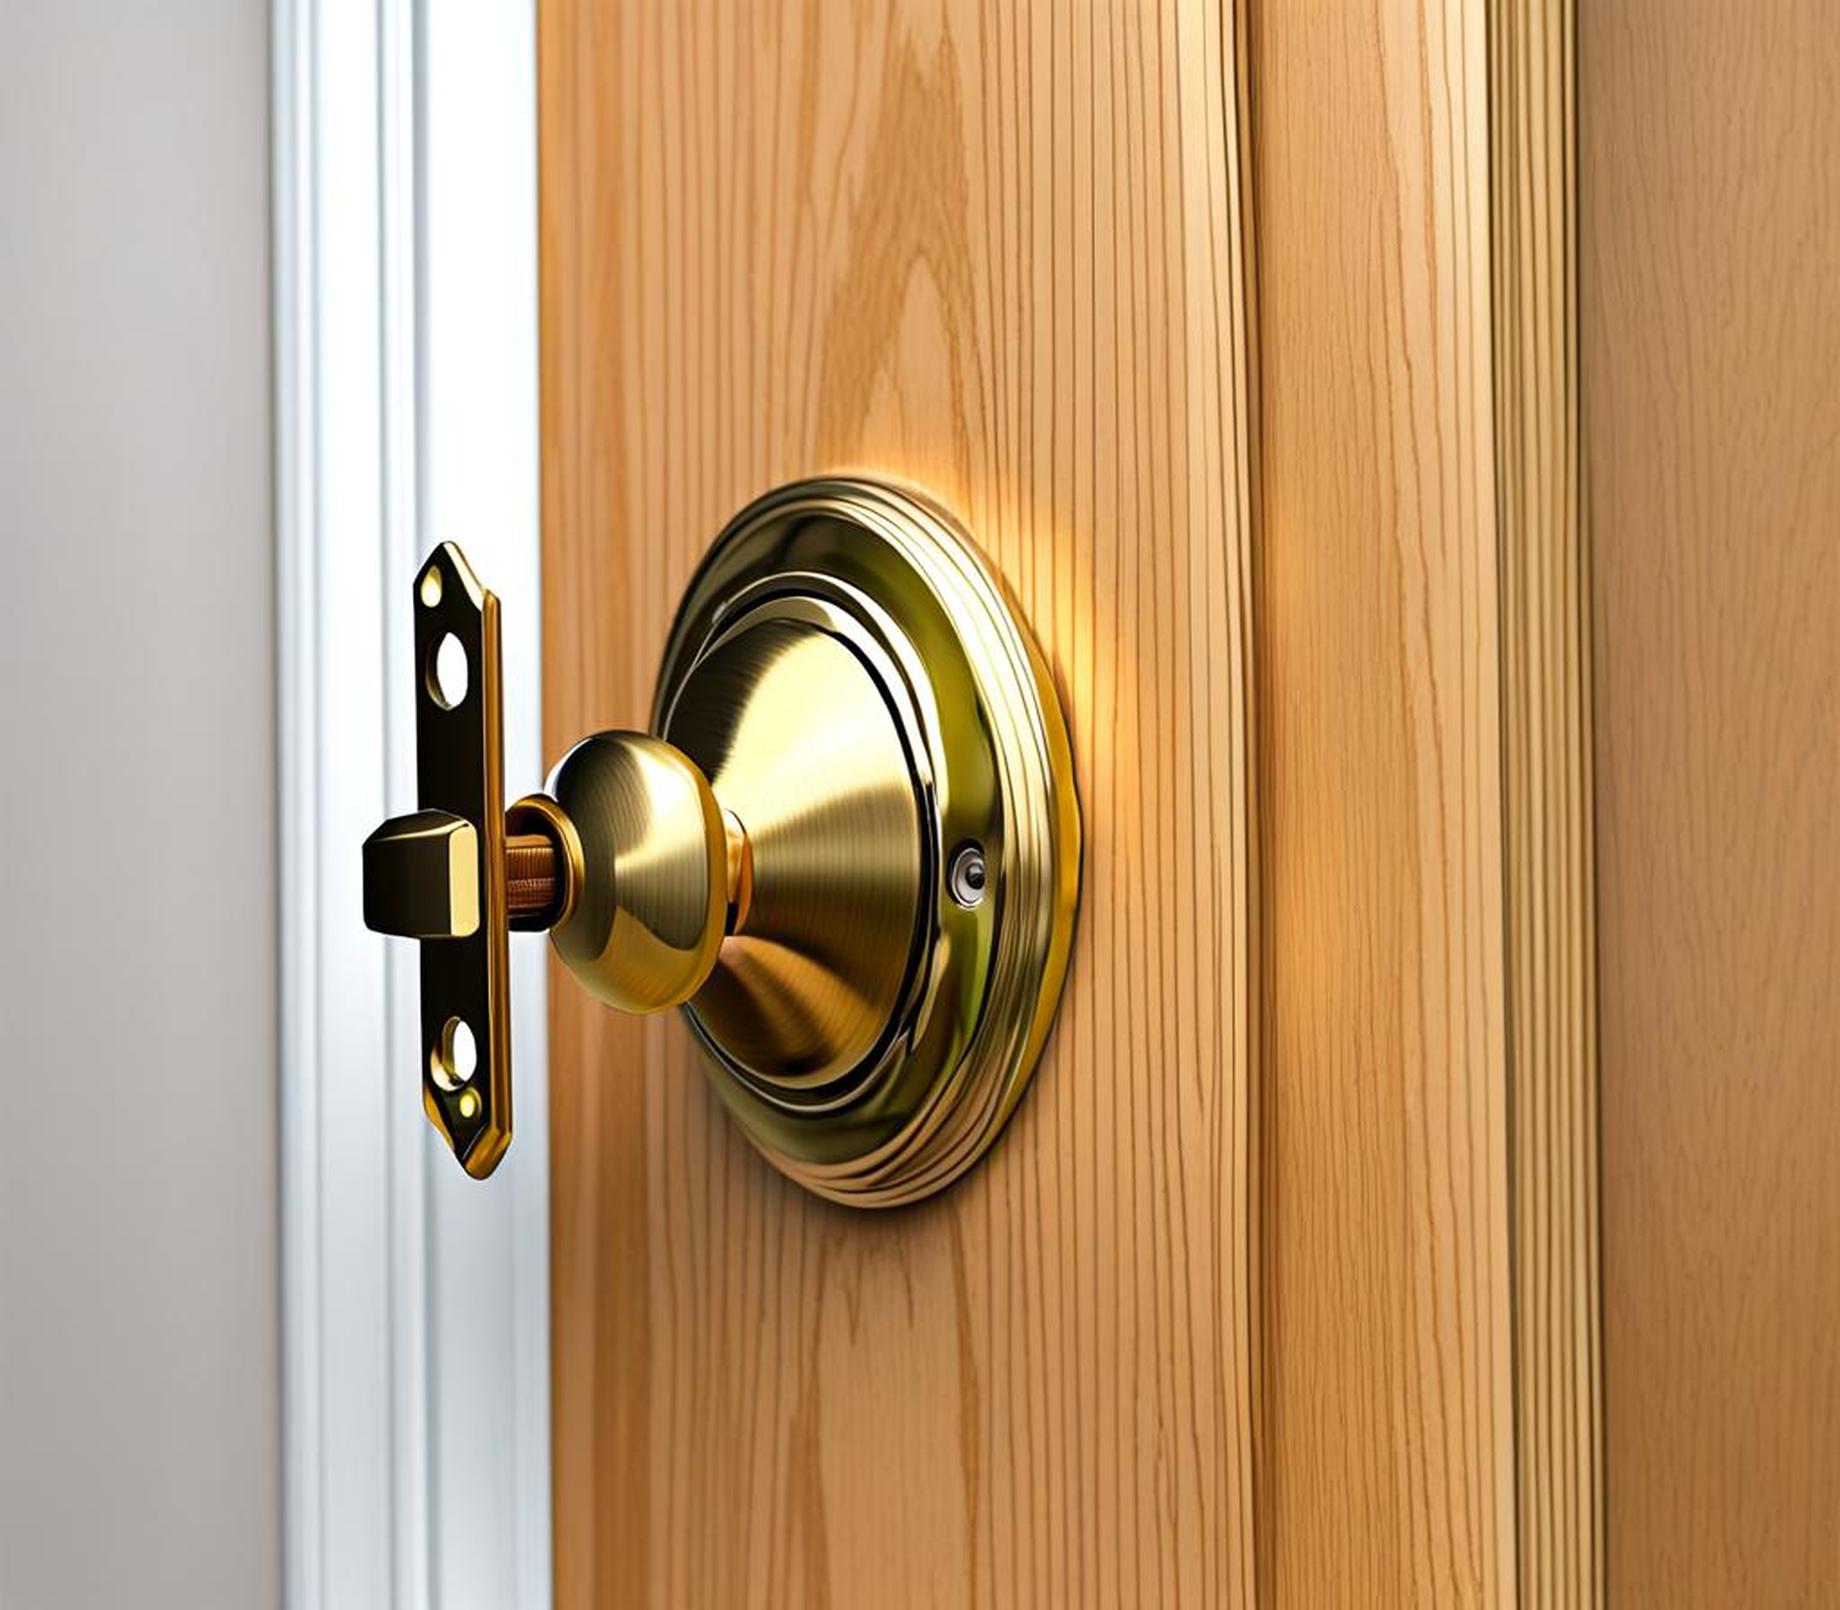
We’ve all experienced the sinking feeling of being locked out when our deadbolt suddenly sticks or jams. But before you panic or cause damage forcing the lock, try this genius yet simple screwdriver trick to detach and reattach the cylinder housing to get your sticky deadbolt working smoothly again.
Symptoms of a Stuck Deadbolt
A stuck deadbolt lock often shows several clear symptoms:
- The lock won’t turn at all when you insert the key
- The door handle refuses to budge when turned
- The entire lock mechanism feels stuck in place
- Inserting the key can be difficult or get jammed
If your deadbolt lock exhibits any of these issues, there’s likely some internal friction or misalignment stopping it from operating correctly. But with a few tools and following some simple steps, you can detach and reattach the cylinder housing to get it working again.
Causes of a Sticky or Jammed Deadbolt
There are several common reasons a deadbolt lock may become stuck or jammed:
- Built up grime, dirt, and debris inside the lock over time
- Rust and corrosion forming on internal mechanisms
- Minor issues with alignment during installation
- Swelling or shrinking of materials due to weather changes
- General internal failure or mechanical issues
The cylinder housing containing the keyway, pins, and internal mechanisms takes the brunt of this damage. With enough friction or misalignment, the cylinder can’t rotate smoothly to extend the bolt and unlock the door.
Dangers of Forced Entry
It’s understandable to feel desperate being locked out and try forcing your way through a stuck deadbolt. But this risks:
- Permanently damaging the cylinder housing or lock
- Leaving your property unable to be properly secured
- Needing extensive repairs or full lock replacement
Applying too much brute force can be a costly mistake. Instead, take a careful approach using basic tools to detach and reattach the cylinder housing.
Needed Materials
You’ll need the following materials for this deadbolt repair:

- Appropriately sized Phillips or flathead screwdriver
- Replacement screws (optional)
- WD-40 lubricant (optional)
The most essential is a standard screwdriver that properly fits the screws surrounding the cylinder housing. WD-40 or another lubricant can also help loosen the lock. And replacement screws may be needed if the originals become damaged.
Step-by-Step Guide
Prep the Doorway
Start by preparing the immediate area:
- Clear any objects or debris around the lock
- Have your replacement screws ready to go
- Apply WD-40 or another lubricant into the cylinder opening (optional)
This creates space to work comfortably and ensures everything you need is on hand. Lubricant can also help loosen a severely stuck lock.
Remove Screws Around Deadbolt
Next, use your screwdriver to detach the cylinder housing from the door:
- Locate the small screws around the perimeter of the cylinder housing
- Carefully unscrew each screw, catching them as they detach
- Slowly remove the surrounding faceplate if present
Take care not to strip the screws or damage the housing. Set aside all detached screws and components.
Detach Cylinder Housing from Door
With the screws removed, you can fully detach the cylinder housing:
- Gently wiggle and twist the cylinder housing to loosen it
- Pull the cylinder unit carefully out of the door
- Take care not to bend or damage the cylinder
Some persistence may be needed if it’s firmly stuck. But work the housing loose and fully remove it to expose the inner deadbolt components.
Clean and Lubricate the Lock
Now you can service the freed cylinder housing:
- Use a cloth to wipe away any built up grime or debris
- Apply WD-40 or lubricant to all moving parts
- Carefully realign cylinder components if needed
Proper cleaning and lubrication helps ensure smooth cylinder rotation. Realign any visibly damaged or misaligned parts blocking operation.
Reattach Cylinder Housing
It’s time to reinstall the serviced cylinder housing:
- Insert cylinder back into hole, carefully aligning it
- Position screw holes over existing holes in door
- Reinsert screws and tighten with screwdriver
Getting the cylinder perfectly realigned takes some care. Tighten screws gradually to avoid stripping.
Test the Deadbolt
The final step is testing lock function:
- Insert key and check deadbolt operates smoothly
- Lock and unlock the door several times
- Make small adjustments to screws if needed
Some minor troubleshooting may get it working perfectly. But the cylinder detach and reattach should have your sticky deadbolt opening smoothly again.
Tips for Smooth Operation
To prevent future sticky deadbolt issues, follow these maintenance tips:
- Keep the lock lubricated with graphite or silicone spray
- Regularly clean out dirt, grime, or debris
- Open the lock smoothly, avoiding excessive force
- Have locks serviced annually by a professional
Proper cleaning, lubrication, and care prevents most common issues. But regular professional servicing ensures your deadbolts stay in peak operating condition.
When to Call a Locksmith
In some cases, it’s best to call a professional locksmith:
- If detach and reattachment of the cylinder fails
- For major misalignments or damage to components
- If lubrication and servicing fails to resolve issues
They have specialized tools and expertise to thoroughly service faulty deadbolts and determine if full replacement is needed. If the DIY cylinder detach method doesn’t do the trick, don’t force it – call for assistance.
Being locked out by a stuck deadbolt can ruin your day. But before you panic, try this simple, gentle process of detaching and reattaching the cylinder housing using just a standard screwdriver. With some care and properly servicing dirty or sticky components, you can often get even the most stubborn sticky deadbolt working smoothly again without damage. Just be sure to follow lock maintenance best practices to prevent future issues.
