Getting the right toilet measurements from wall is crucial for a flawless bathroom setup. Whether you’re renovating or building from scratch, understanding the proper toilet wall offset can make or break your comfort and functionality. Let’s dive into the nitty-gritty of toilet installation standards and explore how to achieve the perfect balance between space and practicality in your bathroom oasis.
Understanding Toilet Measurements From Wall: Essential for Perfect Installation
The cornerstone of any successful bathroom project lies in grasping the importance of toilet measurements from wall. This critical dimension affects not just aesthetics but also the overall functionality of your space. Proper toilet wall clearance ensures comfort, ease of use, and compliance with building codes.
Toilet space requirements are more complex than they might seem at first glance. The distance from the wall to the center of the toilet drain, known as the rough-in measurement, is typically 12 inches in modern homes. However, older houses might have 10-inch or 14-inch rough-ins. This measurement is crucial because it dictates which toilets will fit your space without extensive plumbing modifications.
When considering toilet wall measurement, it’s essential to account for the toilet tank as well. Standard toilet tanks are usually about 5-7 inches deep, but this can vary depending on the model. You’ll need to ensure there’s enough clearance between the tank and the wall – typically at least an inch – to allow for proper lid operation and cleaning access.
The toilet installation distance also encompasses the space in front of the fixture. Building codes often require a minimum of 21 inches of clearance in front of the toilet. This ensures comfortable use and easy access for all users, including those with mobility issues.
| Measurement | Standard Range | Importance |
|---|---|---|
| Rough-in | 10-14 inches | Determines toilet compatibility |
| Tank to Wall | 1-3 inches | Allows for lid operation and cleaning |
| Front Clearance | 21+ inches | Ensures comfortable use and accessibility |
Understanding these basic measurements sets the foundation for a successful toilet installation. As we delve deeper into the specifics, you’ll gain the knowledge to make informed decisions about your bathroom layout and toilet selection.
Standard Toilet Measurements From Wall: Guidelines and Regulations
When it comes to standard toilet measurements, there’s more to consider than meets the eye. Toilet installation standards are designed to ensure safety, comfort, and accessibility for all users. Let’s break down the key measurements and regulations you need to know.
The primary measurement to consider is the toilet to wall distance. This is typically measured from the back wall to the center of the toilet flange, which is the mounting ring that secures the toilet to the floor. The standard rough-in distance is 12 inches, but as mentioned earlier, you might encounter 10-inch or 14-inch rough-ins in some homes.
Toilet dimension rules also dictate the minimum space around the fixture. The International Plumbing Code (IPC) requires at least 15 inches from the center of the toilet to any side wall or obstruction. This ensures adequate elbow room and prevents a cramped feeling in the bathroom.
Toilet mounting height is another crucial factor, especially when considering accessibility. The Americans with Disabilities Act (ADA) specifies that the top of the toilet seat should be between 17 and 19 inches from the finished floor for accessible bathrooms. However, standard toilets typically have a seat height of about 15 inches.
- Rough-in distance: 12 inches (standard), 10 or 14 inches (less common)
- Side clearance: Minimum 15 inches from center to any obstruction
- Front clearance: Minimum 21 inches
- Seat height: 15 inches (standard), 17-19 inches (ADA compliant)
The toilet to floor clearance is another aspect regulated by building codes. There should be no gaps between the toilet base and the floor, ensuring stability and preventing unsanitary conditions. Some codes allow for a small bead of caulk around the base, leaving the back uncaulked to detect potential leaks.
Toilet wall space isn’t just about the fixture itself; it also involves considerations for toilet paper holders and other accessories. The National Kitchen and Bath Association (NKBA) recommends placing toilet paper holders 8 to 12 inches in front of the toilet bowl, centered at 26 inches above the floor.
These standard measurements and regulations serve as a guide, but it’s always best to consult local building codes, as they may have specific requirements that differ from national standards. By adhering to these guidelines, you’ll ensure a comfortable, functional, and code-compliant bathroom setup.
Factors Affecting Toilet Wall Offset and Installation Distance
While standard measurements provide a solid foundation, several factors can influence the ideal toilet wall offset and installation distance for your specific bathroom. Understanding these variables will help you make informed decisions and avoid potential issues down the line.
One of the primary considerations is the toilet model itself. Different designs have varying depths, which directly impact the toilet back to wall distance. For instance, a wall-hung toilet typically requires less space from the wall compared to a traditional floor-mounted model. Similarly, one-piece toilets often have a more compact profile than two-piece designs.
The bathroom’s overall size and layout play a crucial role in determining the optimal toilet install spacing. In smaller bathrooms, you might need to work with minimum clearances to maximize available space. Conversely, larger bathrooms offer more flexibility, allowing for increased comfort and potentially luxurious features like bidets or separate toilet rooms.
Plumbing configuration is another critical factor. The location of existing drain pipes can dictate the toilet’s position, especially in renovation projects. Moving drain lines can be costly and labor-intensive, so it’s often more practical to work with the existing plumbing layout when possible.
Consider the following factors when planning your toilet installation:
- Toilet design (wall-hung, floor-mounted, one-piece, two-piece)
- Bathroom size and layout
- Existing plumbing configuration
- Door swing and cabinet placement
- User preferences and special needs
Door swing is an often-overlooked aspect that can significantly impact toilet placement. Ensure that the bathroom door doesn’t interfere with the toilet when opened. Similarly, consider the placement of vanities, cabinets, and other fixtures to maintain proper clearances and a harmonious flow within the space.
User preferences and special needs should also be taken into account. For households with elderly members or individuals with mobility challenges, opting for comfort height toilets and increased clearances can greatly enhance usability and safety.
The toilet wall clearance isn’t just about meeting minimum requirements; it’s about creating a space that works for you and your family. By carefully considering these factors, you can achieve a balance between functionality, comfort, and style in your bathroom design.
Step-by-Step Guide to Measuring Toilet Space Requirements
Accurately measuring your toilet space requirements is crucial for a successful installation. This toilet measuring guide will walk you through the process, ensuring you have all the necessary information to choose the right toilet and position it correctly.
Step 1: Measure the Rough-in Distance
Start by locating the center of the toilet flange or the bolts that secure the toilet to the floor. Measure from this point to the finished wall behind the toilet (not the baseboard). This measurement is your rough-in distance and is typically 12 inches, though it can be 10 or 14 inches in some cases.
Step 2: Check Side Clearances
Measure the distance from the center of the toilet to the nearest side wall or obstacle on both sides. Remember, you need at least 15 inches of clearance on each side for comfort and code compliance.
Step 3: Determine Front Clearance
Measure the space in front of where the toilet will be installed. Ensure you have at least 21 inches of clearance from the front edge of the toilet bowl to the opposite wall or any obstacles.
Step 4: Assess Vertical Space
Measure the height from the floor to any obstacles above where the toilet will be placed, such as shelves or windows. This will help you determine if there are any restrictions on toilet tank height.
Step 5: Consider Door Swing
Open and close the bathroom door to ensure it doesn’t interfere with the proposed toilet location. Mark the door’s swing arc on the floor if necessary.
Step 6: Check Existing Plumbing
If you’re replacing an old toilet, inspect the condition of the flange and water supply line. Note their positions and any potential issues that might need addressing during installation.
Step 7: Measure for Accessories
Don’t forget to account for toilet paper holders and other accessories. Measure the proposed locations to ensure they meet recommended heights and distances.
By following this step-by-step guide, you’ll have a comprehensive understanding of your toilet space requirements. These measurements will prove invaluable when selecting a new toilet or planning a bathroom renovation. Remember, precise measurements are the key to avoiding costly mistakes and ensuring a smooth installation process.
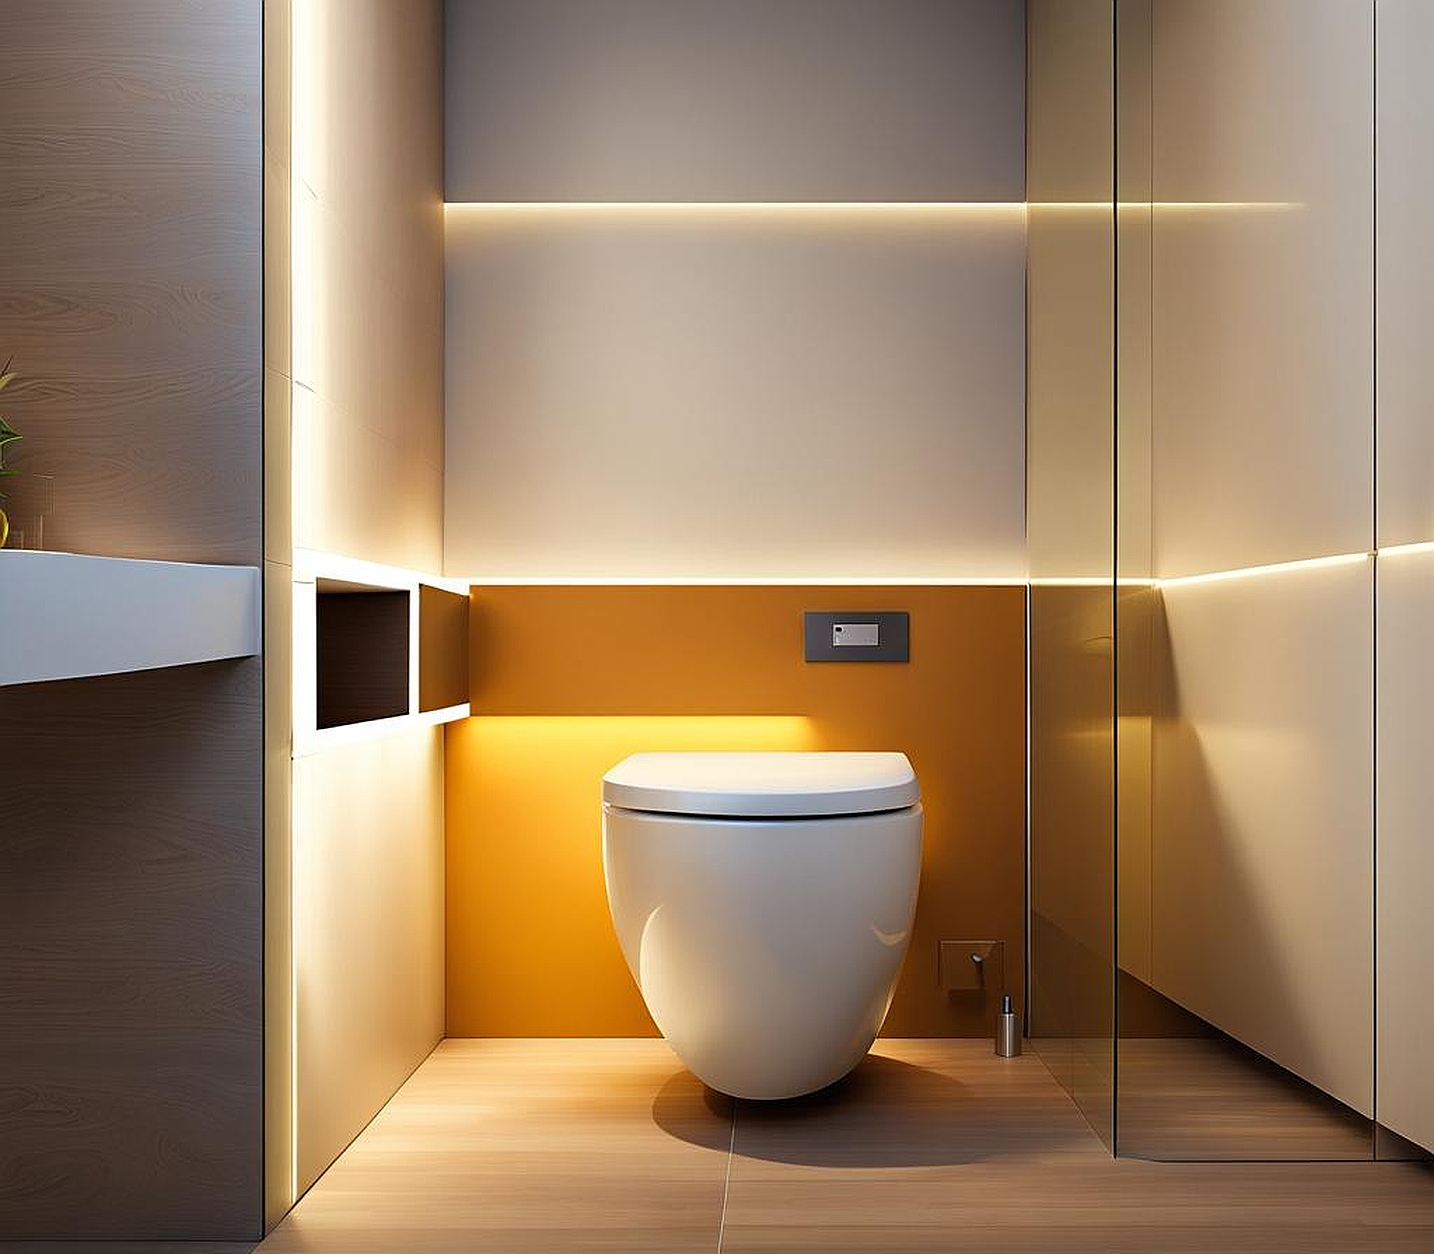
Optimizing toilet wall clearance goes beyond mere compliance with building codes. It’s about creating a space that offers maximum comfort and functionality for all users. Let’s explore how to achieve the perfect balance in your bathroom layout.
First, consider exceeding minimum clearances where possible. While codes may specify minimum distances, adding an extra inch or two can significantly enhance comfort. For instance, if you have the space, aim for 16-18 inches of side clearance instead of the minimum 15 inches. This extra room can make a noticeable difference, especially in tight spaces.
The toilet to wall distance plays a crucial role in overall bathroom ergonomics. A distance of about 30 inches from the back wall to the front of the toilet bowl often provides an ideal balance between space efficiency and comfort. This allows enough room for the tank while still maintaining a compact footprint.
Consider the users’ needs when optimizing clearances. If you’re designing for elderly users or those with mobility issues, increased clearances can greatly improve accessibility. In such cases, you might want to consider:
- Wider side clearances (18-20 inches) for easier transfer from wheelchairs
- Increased front clearance (up to 48 inches) for better maneuverability
- Comfort height toilets with seats 17-19 inches from the floor
The placement of other bathroom fixtures can impact the perceived spaciousness around the toilet. If possible, avoid placing vanities or other obstacles directly adjacent to the toilet. Creating a sense of openness can enhance comfort, even in smaller bathrooms.
Don’t overlook the importance of proper ventilation in your toilet area. Ensure that any windows or ventilation fans are positioned to effectively remove odors and moisture. This might influence your toilet placement, as you’ll want to maximize airflow around the fixture.
Storage solutions can also affect toilet wall clearance. Consider recessed shelving or cabinets to maximize space efficiency without compromising on clearances. Wall-mounted storage options can provide necessary storage without encroaching on valuable floor space.
Lighting is another factor to consider when optimizing your toilet area. Ensure that the toilet is well-lit, potentially incorporating task lighting in addition to ambient bathroom lighting. This can enhance both functionality and safety, especially for nighttime use.
By carefully considering these factors and tailoring your bathroom layout to your specific needs, you can create a toilet area that’s not just code-compliant, but truly comfortable and functional. Remember, the goal is to create a space that works seamlessly for you and your family, enhancing your daily routines and overall bathroom experience.
