Double curtain rods offer a stylish and functional window treatment solution, allowing you to layer curtains for enhanced privacy, light control, and aesthetic appeal. Mastering the art of hanging these versatile fixtures can transform your living spaces. Whether you’re a seasoned DIY enthusiast or a beginner, this guide will walk you through the process of how to hang double curtain rods, ensuring a polished and professional result that elevates your home decor.
Understanding Double Curtain Rods: Types and Benefits
Double curtain rods are a game-changer in the world of window treatments. These innovative fixtures consist of two separate rods mounted on a single bracket, allowing you to hang two layers of curtains simultaneously. The front rod typically holds heavier, decorative curtains, while the back rod supports sheers or lightweight panels.
There are several types of double curtain rods available in the market, each catering to different style preferences and functional needs:
- Telescoping double rods: These adjustable rods are perfect for windows of varying sizes, offering flexibility in installation.
- Fixed-length double rods: Ideal for standard-sized windows, these rods come in predetermined lengths.
- Wraparound double rods: Designed for bay windows or corner installations, these rods can bend around angles.
- Decorative double rods: Featuring ornate finials and stylish designs, these rods add a touch of elegance to your windows.
The benefits of using double curtain rods are numerous. They provide excellent light control, allowing you to adjust the amount of natural light entering your room by manipulating the sheer and opaque layers. Privacy is enhanced, as you can close the heavier curtains for complete seclusion while still enjoying filtered light through the sheers during the day.
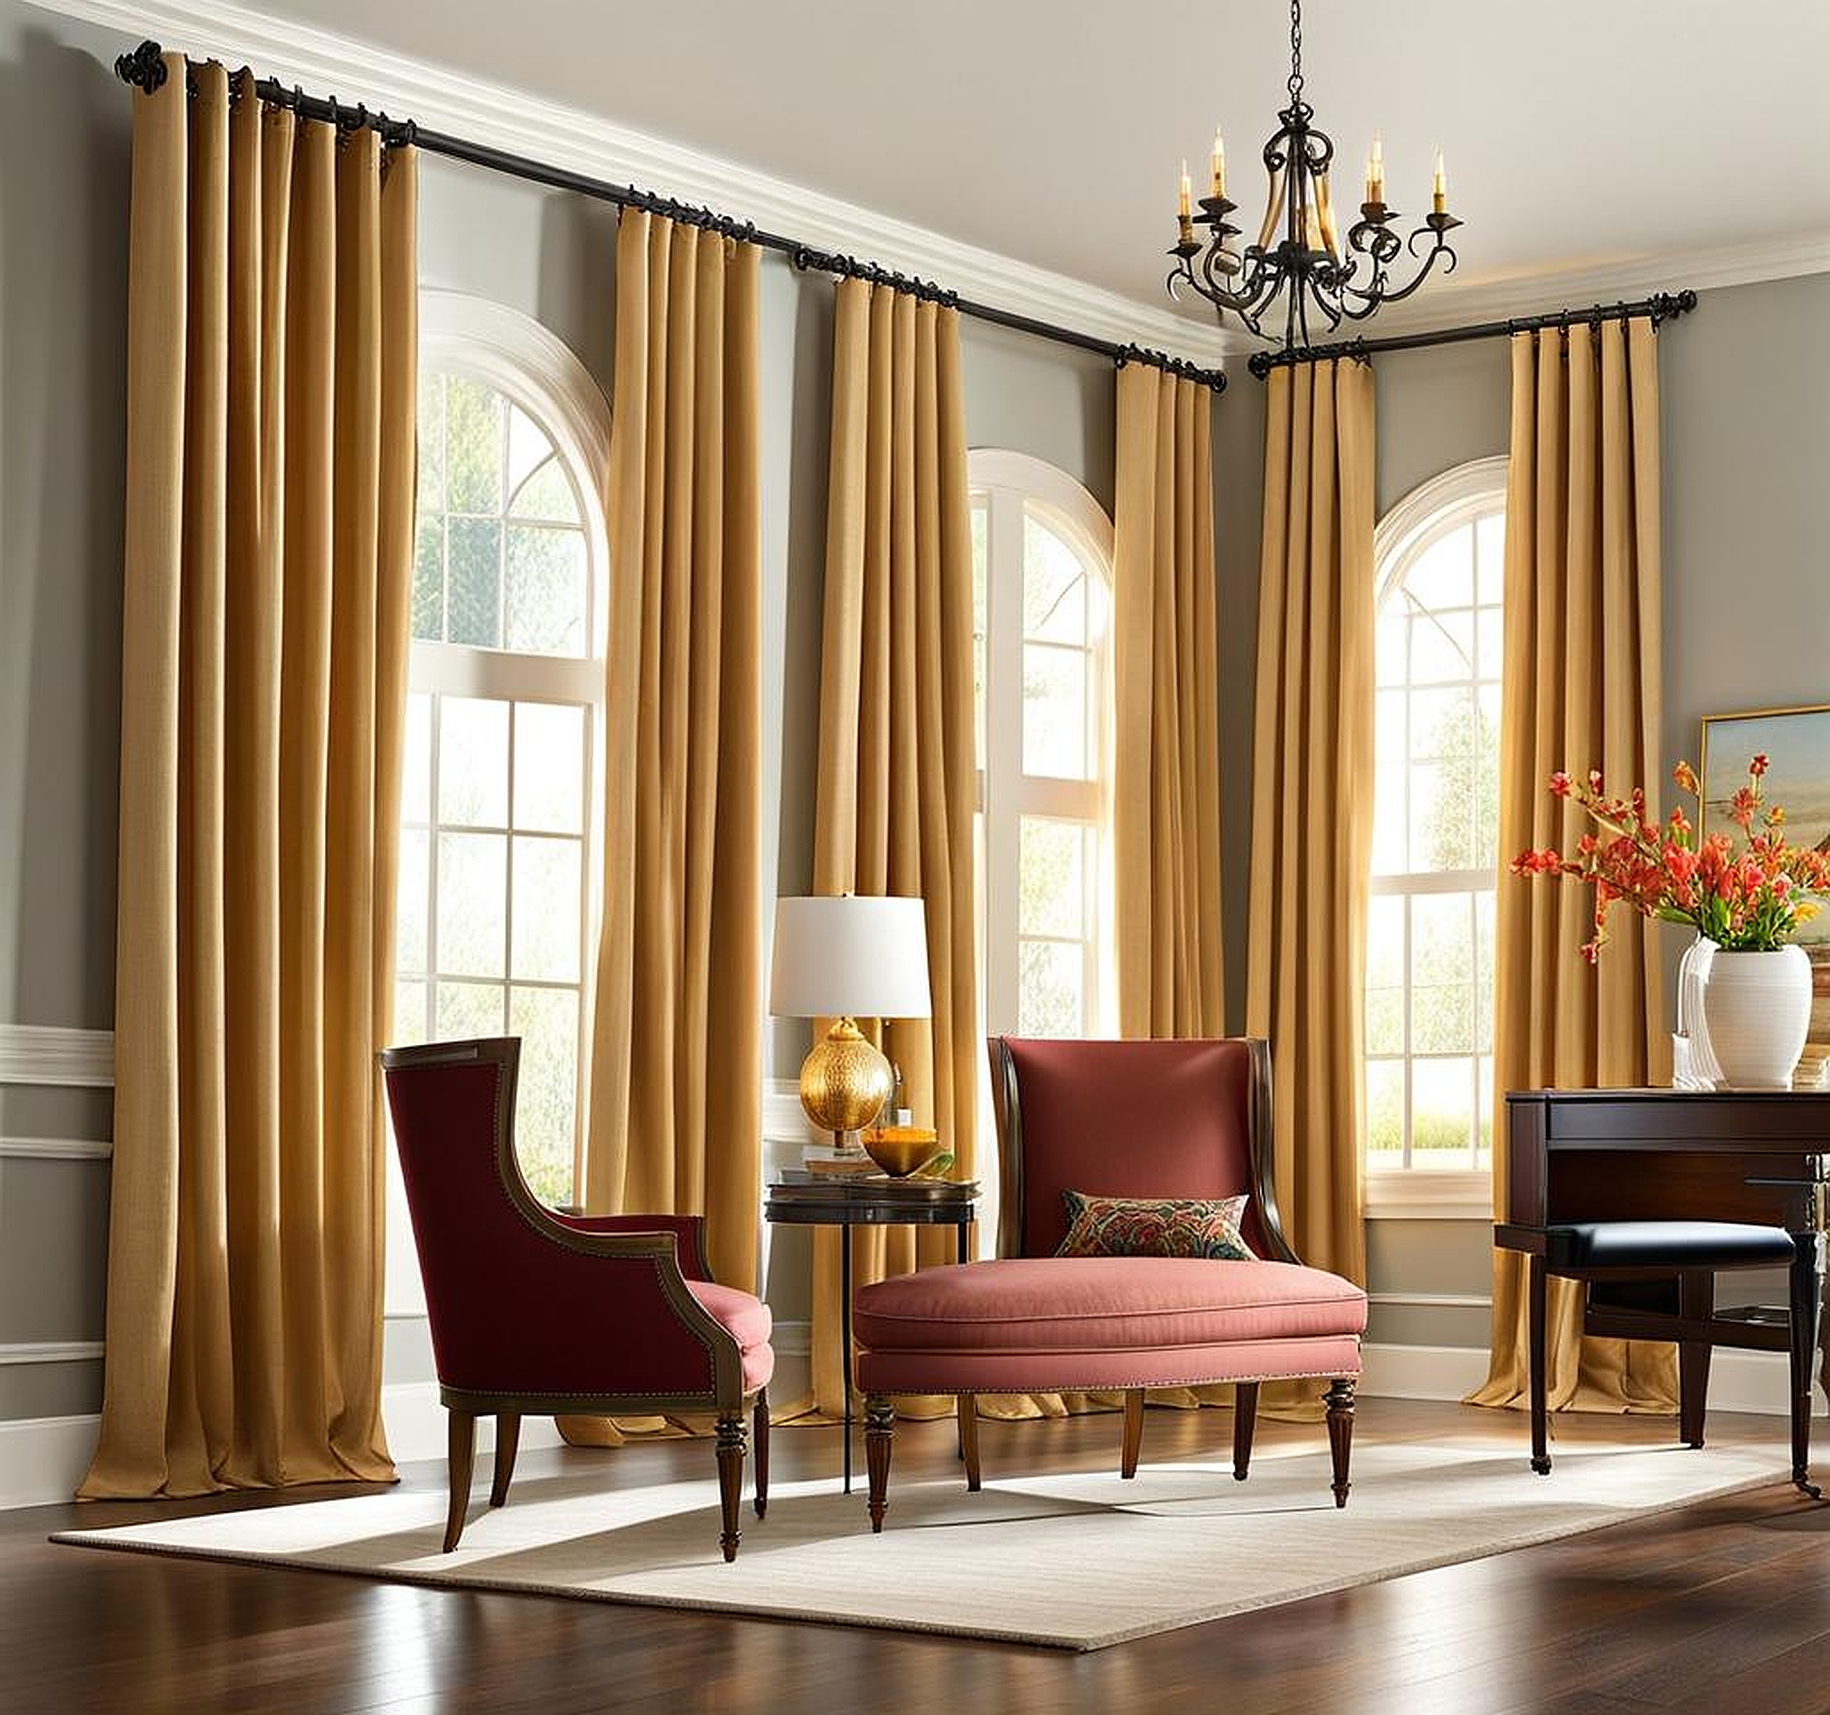
From an aesthetic standpoint, double curtain rods offer unparalleled versatility. You can mix and match curtain styles, colors, and textures to create a layered look that adds depth and dimension to your windows. This layering effect can dramatically improve your room’s overall ambiance and style.
When it comes to energy efficiency, double curtain rods shine. The dual-layer system creates an additional barrier against heat loss in winter and heat gain in summer, potentially reducing your energy bills. This insulating property is particularly beneficial for older homes with drafty windows.
Preparing to Hang Double Curtain Rods: Tools and Materials
Before diving into the installation process, it’s crucial to gather all the necessary tools and materials. Being well-prepared will streamline the process and help you achieve professional-looking results. Here’s what you’ll need:
- Double curtain rod set (including brackets, rods, and finials)
- Drill with appropriate drill bits
- Screwdriver (Phillips head and flathead)
- Level
- Measuring tape
- Pencil
- Stud finder
- Wall anchors (if not mounting into studs)
- Screws (usually provided with the curtain rod set)
- Step ladder or sturdy chair
- Safety glasses
When selecting your double curtain rod, consider the weight of your curtains. Heavier curtains will require sturdier rods and brackets. The length of the rod should extend beyond the window frame by at least 3-6 inches on each side to allow the curtains to be drawn back fully without obstructing the window.
Double curtain rod support is crucial for ensuring a stable installation. If your windows are particularly wide, you may need to purchase additional center support brackets to prevent the rods from sagging under the weight of the curtains.
Before you begin the installation process, take accurate measurements of your window. Measure the width of the window frame and add 6-12 inches to determine the ideal rod length. For height, measure from where you want the rod to sit (typically 4-6 inches above the window frame) down to where you want the curtains to fall (usually just grazing the floor or windowsill).
It’s also wise to lay out all your materials and tools before starting. This organization will help you work efficiently and avoid unnecessary trips up and down the ladder. Remember, safety should always be your top priority when working with tools, especially when you’re on a ladder.
Now that we’ve covered the basics and gathered our materials, let’s dive into the step-by-step process of hanging double curtain rods. This guide will walk you through each stage of the installation, ensuring a secure and visually appealing result.
1. Mark the bracket positions: Begin by deciding on the placement of your double curtain rod brackets. For optimal aesthetics, position the brackets 4-6 inches above the window frame and 3-6 inches out from each side. Use a pencil to mark these spots lightly.
2. Check for level: Place your level on the marks to ensure they’re even. Adjust if necessary. This step is crucial for achieving a professional look.
3. Locate studs: Use a stud finder to check if your marks align with wall studs. Mounting into studs provides the most secure installation, especially for heavier curtains.
4. Prepare for drilling: If you’re lucky enough to hit studs, you can proceed to drill pilot holes. If not, you’ll need to use wall anchors. Mark the spots for the anchors, then drill holes slightly smaller than the anchor size.
5. Install wall anchors: If using anchors, gently tap them into the drilled holes until they’re flush with the wall surface.
6. Mount the brackets: Hold the bracket against the wall, aligning it with your marks or anchors. Use a screwdriver or drill to secure the bracket with the provided screws. Repeat this process for the other side.
7. Attach the rods: Once the brackets are securely in place, it’s time to install the double curtain rods. Start with the back rod, which is typically thinner and designed for sheers. Slide it into place, ensuring it’s level.
8. Add the front rod: Next, install the front rod, which is usually thicker and meant for heavier curtains. Make sure both rods are seated properly in the brackets.
9. Secure finials: If your double curtain rod set includes decorative finials, now’s the time to attach them to the ends of the rods. These can add a lovely finishing touch to your window treatment.
10. Hang your curtains: Finally, the moment you’ve been waiting for! Carefully slide your sheer curtains onto the back rod and your heavier curtains onto the front rod. Adjust them to ensure even distribution and proper functionality.
Throughout this process, pay special attention to double curtain rod placement. The correct positioning can make a significant difference in how your curtains hang and how much light they allow in. If you’re dealing with particularly wide windows, don’t hesitate to install additional center support brackets to prevent sagging.
Double curtain rod installation might seem daunting at first, but with patience and attention to detail, you’ll achieve stunning results. Remember, the key to a successful installation lies in careful preparation and precise execution of each step.
Once your double curtain rods are up, take a moment to appreciate your handiwork. Properly installed double curtain rods not only enhance the functionality of your window treatments but also add a touch of sophistication to your living spaces. The layered look created by double curtains can dramatically improve your room’s ambiance, allowing you to play with light, texture, and color in new and exciting ways.
For those who love to change their decor frequently, double curtain rods offer unparalleled versatility. You can easily swap out curtains to match the seasons or your evolving style preferences without having to reinstall hardware. This flexibility makes double curtain rods a smart investment for design-conscious homeowners.
In conclusion, mastering how to hang double curtain rods opens up a world of decorating possibilities. Whether you’re aiming for a cozy, layered look or seeking practical solutions for light control and privacy, double curtain rods are an excellent choice. With the right tools, careful planning, and a bit of DIY spirit, you can transform your windows into stunning focal points that enhance the overall aesthetic of your home.
