The art of using cement can change your project. This quick-setting, water-resistant material offers unparalleled strength and durability for various applications. Whether you’re a seasoned professional or a DIY enthusiast, understanding how to use hydraulic cement effectively is crucial for achieving lasting results. Let’s dive into the world of hydraulic cement and explore its properties, applications, and best practices for optimal usage.
Understanding Hydraulic Cement: Properties and Types
Hydraulic cement stands out as a versatile building material, characterized by its ability to set and harden through a chemical reaction with water. This unique property makes it invaluable for numerous construction and repair tasks, especially in moisture-prone environments. To fully grasp the potential of hydraulic cement, we must first examine its core properties and the various types available in the market.
The composition of hydraulic cement typically includes a blend of calcium silicates, calcium aluminates, and other compounds that react vigorously when exposed to water. This reaction results in the formation of a strong, durable matrix that continues to gain strength over time. The rapid-setting nature of hydraulic cement makes it particularly useful for projects requiring quick turnaround times or those dealing with active water leaks.
Several types of hydraulic cement exist, each tailored to specific applications:
- Portland cement: The most common type, used in general construction and concrete work.
- Rapid-setting hydraulic cement: Designed for fast-paced repairs and water-stopping applications.
- Expansive hydraulic cement: Formulated to expand slightly as it cures, ideal for filling cracks and voids.
When selecting a hydraulic cement for your project, it’s crucial to consider the specific hydraulic cement specifications provided by manufacturers. These specifications often detail the cement’s setting time, compressive strength, and expansion rate. By matching these properties to your project requirements, you can ensure optimal performance and longevity of your repairs or constructions.
The benefits of using hydraulic cement extend far beyond its quick-setting properties. Its exceptional water resistance makes it ideal for waterproofing applications, while its high strength contributes to the structural integrity of repairs. Moreover, hydraulic cement exhibits excellent adhesion to existing concrete and masonry surfaces, ensuring a durable bond that can withstand significant stresses over time.
Preparing for Hydraulic Cement Application
Proper preparation is paramount when working with hydraulic cement. The success of your project hinges on meticulous planning and execution of preparatory steps. Let’s break down the essential elements of preparation to ensure your hydraulic cement application yields the best possible results.
First and foremost, assess your project requirements thoroughly. Consider factors such as the size of the area to be repaired, the environmental conditions, and the specific challenges you might face. This assessment will guide your choice of hydraulic cement type and help you estimate the quantity of materials needed.
Gathering the necessary tools and materials is the next critical step. You’ll typically need:
- Hydraulic cement
- Clean water for mixing
- Mixing container and stirring tool
- Trowel or putty knife for application
- Wire brush for surface preparation
- Safety gear (gloves, goggles, dust mask)
Safety should never be an afterthought when working with hydraulic cement. The material’s high alkalinity can cause skin irritation or burns, so wearing protective gloves, goggles, and a dust mask is essential. Ensure proper ventilation in your work area, especially when working in confined spaces.
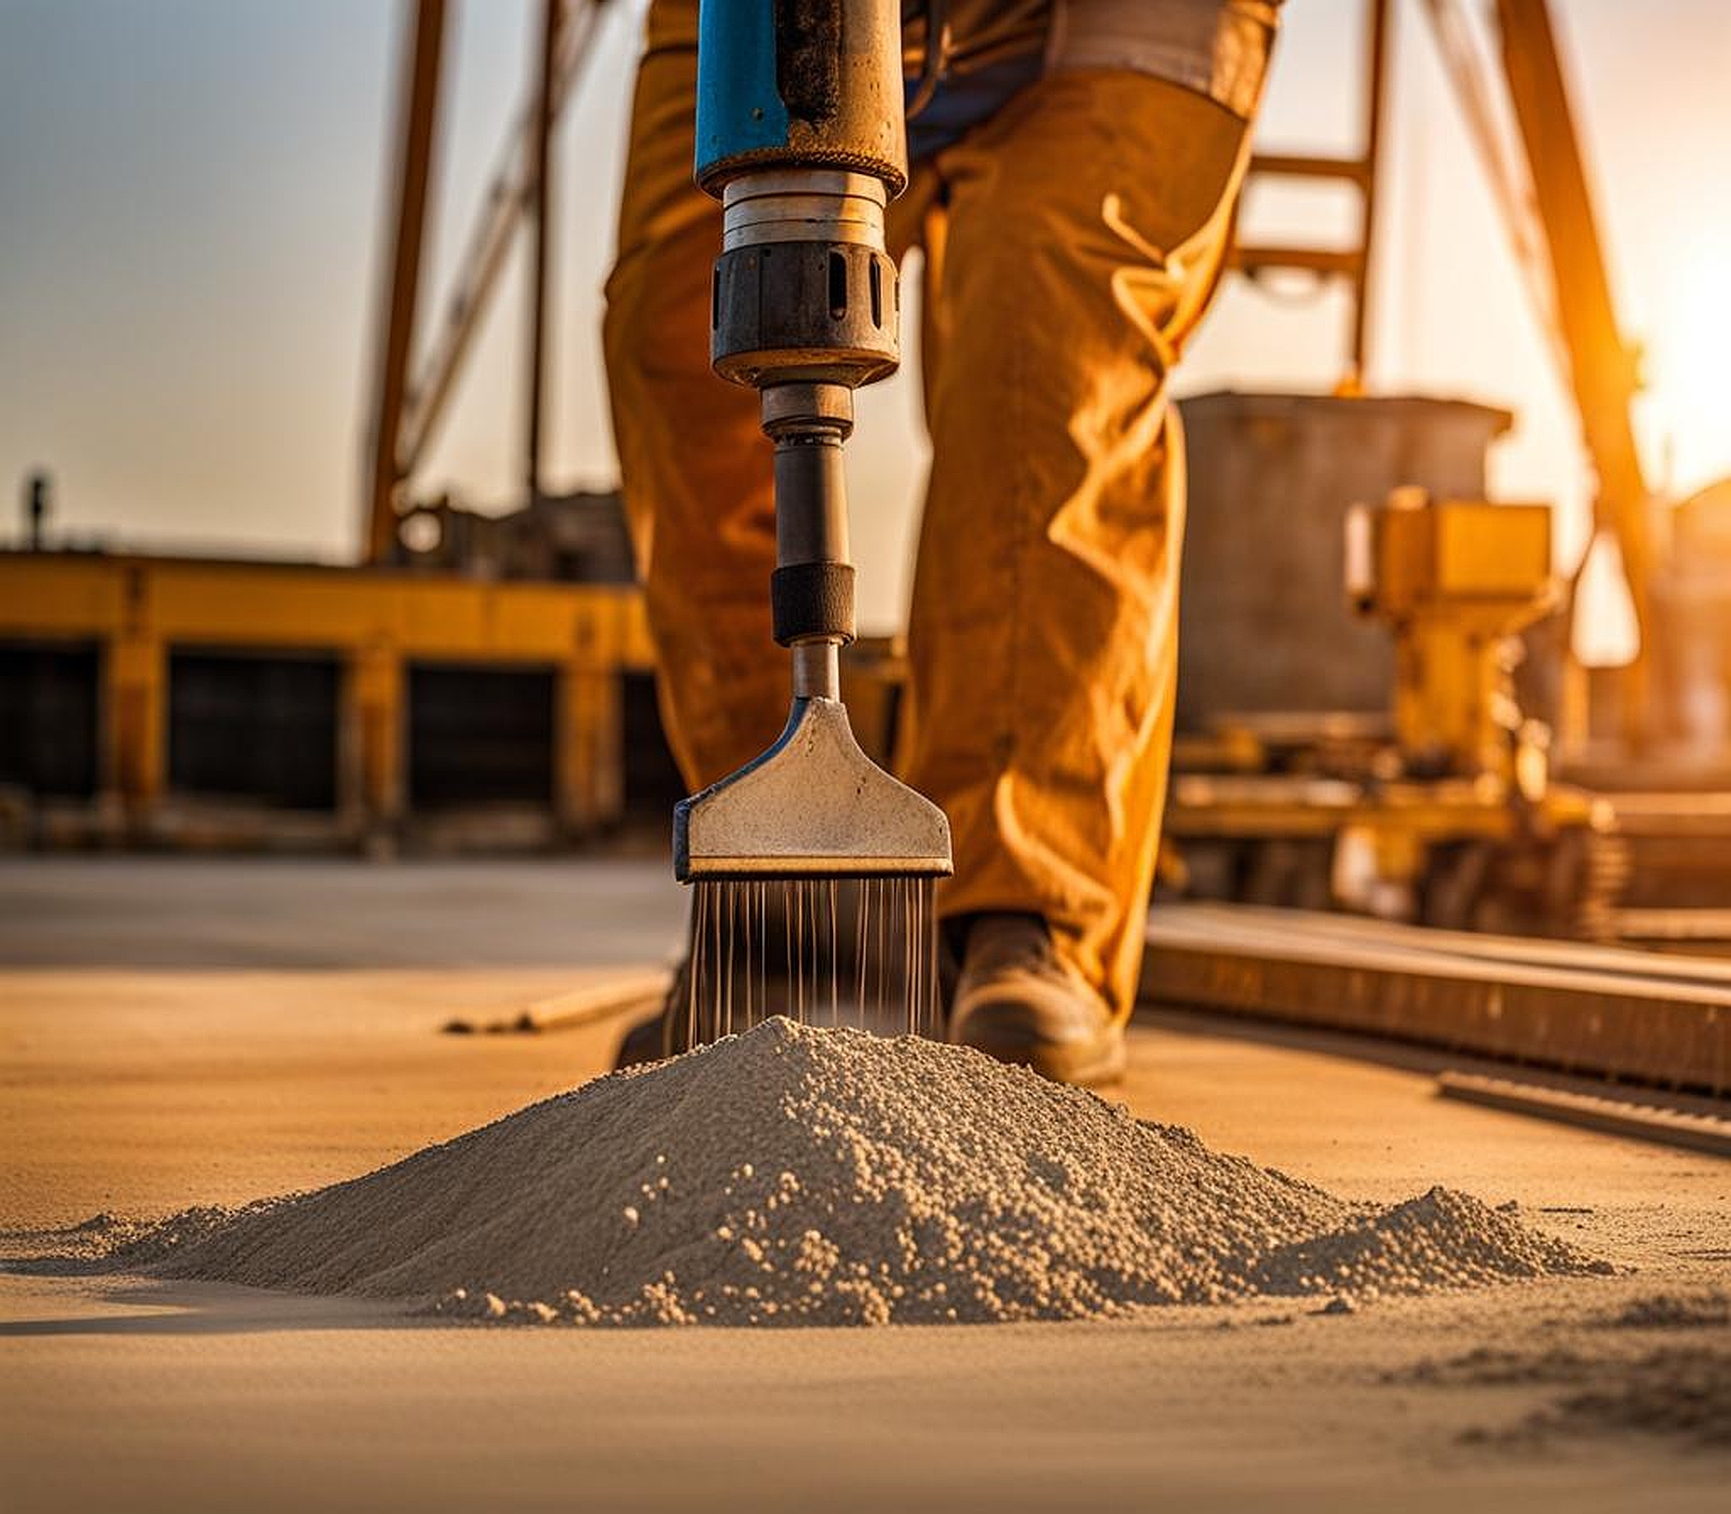
Surface preparation is a crucial step that often determines the success of your hydraulic cement application. Begin by thoroughly cleaning the application area, removing any loose debris, dirt, or existing deteriorated material. A wire brush can be particularly effective for this purpose. Creating a rough surface profile enhances the cement’s adhesion, so consider chiseling or grinding smooth surfaces to improve bonding.
Before applying the hydraulic cement, moisten the surface with clean water. This step prevents the substrate from absorbing moisture from the cement too quickly, which could lead to improper curing and reduced strength. However, avoid leaving standing water, as this can dilute the cement and compromise its effectiveness.
Mixing hydraulic cement requires precision and speed. Follow the manufacturer’s instructions carefully regarding water-to-cement ratios. Generally, you’ll want to achieve a putty-like consistency that’s workable but not too runny. Mix only as much as you can apply within the cement’s initial setting time, which can be as short as 3-5 minutes for some rapid-setting formulations.
Application Methods for Hydraulic Cement
Mastering the application techniques for hydraulic cement is crucial for achieving professional-grade results. The method you choose depends on the specific requirements of your project, the area you’re working on, and the type of hydraulic cement you’re using. Let’s explore various application methods and provide a step-by-step guide on how to use hydraulic cement effectively.
For larger areas or extensive repairs, the trowel application method is often the most efficient. Here’s how to apply hydraulic cement using a trowel:
- Mix the cement to a workable consistency.
- Dampen the application surface.
- Apply the cement using firm pressure with the trowel.
- Work the material into cracks or voids, ensuring full coverage.
- Smooth the surface with the trowel, feathering edges to blend with surrounding areas.
- Allow the cement to set initially before final shaping or texturing.
For small cracks and holes, the putty knife technique offers precision and control:
- Mix a small batch of hydraulic cement to a thick paste consistency.
- Use the putty knife to press the cement into the crack or hole.
- Overfill slightly to account for any shrinkage during curing.
- Smooth the surface flush with surrounding areas.
- Clean excess cement from surrounding surfaces immediately.
When dealing with deep voids or large cavities, the pouring method can be effective:
- Mix the hydraulic cement to a more fluid consistency.
- Create a form or barrier around the void if necessary.
- Pour the cement slowly into the void, allowing it to settle and fill all spaces.
- Tap or vibrate the surrounding area to eliminate air pockets.
- Level the surface and allow it to set before removing any forms.
For uniform coverage on vertical surfaces, consider the spray application method:
- Use a specialized sprayer designed for cement applications.
- Mix the hydraulic cement to a sprayable consistency.
- Apply in even, overlapping passes to ensure full coverage.
- Build up layers as needed, allowing each to set partially before the next.
- Finish with a trowel for a smooth surface if desired.
When applying hydraulic cement in underwater conditions, special techniques are required:
- Mix the cement to a stiff consistency to minimize washout.
- Form the mixture into a ball or patty.
- Press the cement firmly into place, holding it until initial set occurs.
- Work quickly and methodically to cover the entire repair area.
- Avoid disturbing the applied cement until fully cured.
Specialized Uses of Hydraulic Cement in Construction
Hydraulic cement’s unique properties make it an invaluable material for a wide range of specialized construction applications. Its rapid setting time, water resistance, and excellent bonding capabilities open up numerous possibilities for both new construction and repair work. Let’s explore some of the most common and innovative uses of hydraulic cement in the construction industry.
Waterproofing basements and foundations is perhaps one of the most crucial applications of hydraulic cement. The material’s ability to set quickly and form a watertight seal makes it ideal for stopping active leaks and preventing future water ingress. To waterproof a basement or foundation:
- Identify all cracks, joints, and penetration points where water might enter.
- Clean and prepare these areas thoroughly.
- Apply hydraulic cement, pressing it firmly into cracks and holes.
- Smooth the surface to blend with existing concrete.
- Allow the cement to cure fully before applying any additional waterproofing coatings.
Repairing concrete structures and masonry walls is another common use for hydraulic cement. Its rapid strength development and excellent adhesion make it perfect for patching spalls, filling large cracks, and restoring structural integrity. When repairing concrete or masonry:
- Remove any loose or deteriorated material.
- Clean the area thoroughly and dampen the surface.
- Apply hydraulic cement in layers if the repair is deep.
- Shape and texture the final layer to match surrounding surfaces.
- Protect the repair from rapid drying to ensure proper curing.
Sealing active water leaks in concrete and masonry structures requires quick action and the right material. Hydraulic cement’s rapid setting properties make it the go-to choice for these emergency repairs. To seal an active leak:
- Identify the source and path of the leak.
- Prepare the area by chiseling out a V-shaped groove along the leak path.
- Mix a small amount of hydraulic cement to a putty-like consistency.
- Form the cement into a plug and press it firmly into the prepared groove.
- Hold the plug in place until the cement sets and the water flow stops.
Creating watertight joints in concrete pipes is essential for preventing leaks in underground infrastructure. Hydraulic cement’s water resistance and quick setting time make it ideal for this application. To create watertight joints:
- Clean and dampen the joint surfaces.
- Apply a layer of hydraulic cement to one side of the joint.
- Bring the pipe sections together, ensuring proper alignment.
- Fill any gaps or voids with additional hydraulic cement.
- Smooth the joint surface and allow it to cure fully before backfilling.
An often-overlooked application of hydraulic cement is its use in insulation. When mixed with lightweight aggregates, hydraulic cement can create insulating panels or be applied as a coating. This application combines the cement’s durability with thermal insulation properties, making it useful in both residential and industrial settings.
Incorporating hydraulic cement in mortar compositions can enhance the performance of masonry work, especially in areas prone to moisture exposure. By adding a portion of hydraulic cement to traditional mortar mixes, masons can improve water resistance and reduce setting times, particularly useful in cold or damp conditions.
Even with careful preparation and application, challenges can arise when working with hydraulic cement. Understanding common issues and knowing how to address them is crucial for achieving the best results. Let’s explore some troubleshooting techniques and best practices to ensure your hydraulic cement projects are successful.
One of the most common mistakes when using hydraulic cement is improper mixing. Either too much or too little water can significantly affect the cement’s performance. To avoid this:
- Always measure water and cement accurately.
- Mix small batches to ensure consistency.
- Adjust the mixture if necessary, but avoid over-mixing.
Dealing with rapid setting times can be challenging, especially for larger projects. To manage this:
- Work in small sections.
- Have all tools and materials ready before mixing.
- Consider using retarding admixtures for extended working time.
- In hot weather, use cold water to slow the setting process slightly.
Premature hardening in the mixing container can waste material and cause application issues. To prevent this:
- Mix only what you can use within the initial set time.
- Keep tools clean and free from partially set cement.
- Work efficiently and systematically to apply mixed cement quickly.
Ensuring proper curing is essential for the long-term performance of hydraulic cement. Best practices for curing include:
- Protect the applied cement from direct sunlight and wind.
- Keep the surface damp for at least 24 hours after application.
- Use curing compounds if recommended by the manufacturer.
- Avoid exposing the cement to freezing temperatures during curing.
Enhancing the bonding strength of hydraulic cement applications can improve durability and longevity. Consider these techniques:
- Use a bonding agent on the substrate before applying cement.
- Create a rough surface profile on smooth substrates.
- Ensure the substrate is clean and free from contaminants.
- Apply cement with firm pressure to ensure good contact.
Maintenance of surfaces treated with hydraulic cement is relatively straightforward but important for long-term performance. Tips include:
- Regularly inspect repaired areas for signs of cracking or deterioration.
- Clean surfaces periodically to prevent buildup of dirt or contaminants.
- Address any new cracks or damage promptly to prevent water ingress.
- Apply protective coatings if recommended for your specific application.
When deciding between hydraulic cement and other cement types, consider the specific requirements of your project. Choose hydraulic cement when:
- Rapid setting is crucial.
- Water resistance is a primary concern.
- Working in cold or damp conditions.
- Repairing active leaks or underwater applications.
- High early strength is needed.
By following these troubleshooting tips and best practices, you can maximize the effectiveness of hydraulic cement in your construction and repair projects. Remember that experience and careful attention to detail are key factors in achieving optimal results with this versatile material.
