Kitchen islands have become the heart of modern homes, offering a perfect blend of functionality and style. Among these, the bi level kitchen island stands out as a versatile and innovative design choice. This unique feature combines two distinct counter heights, creating a multi-functional space that caters to various needs. Whether you’re a culinary enthusiast or simply looking to enhance your kitchen’s layout, a bi level kitchen island could be the game-changing addition you’ve been seeking.
Understanding Bi Level Kitchen Islands: Design and Functionality
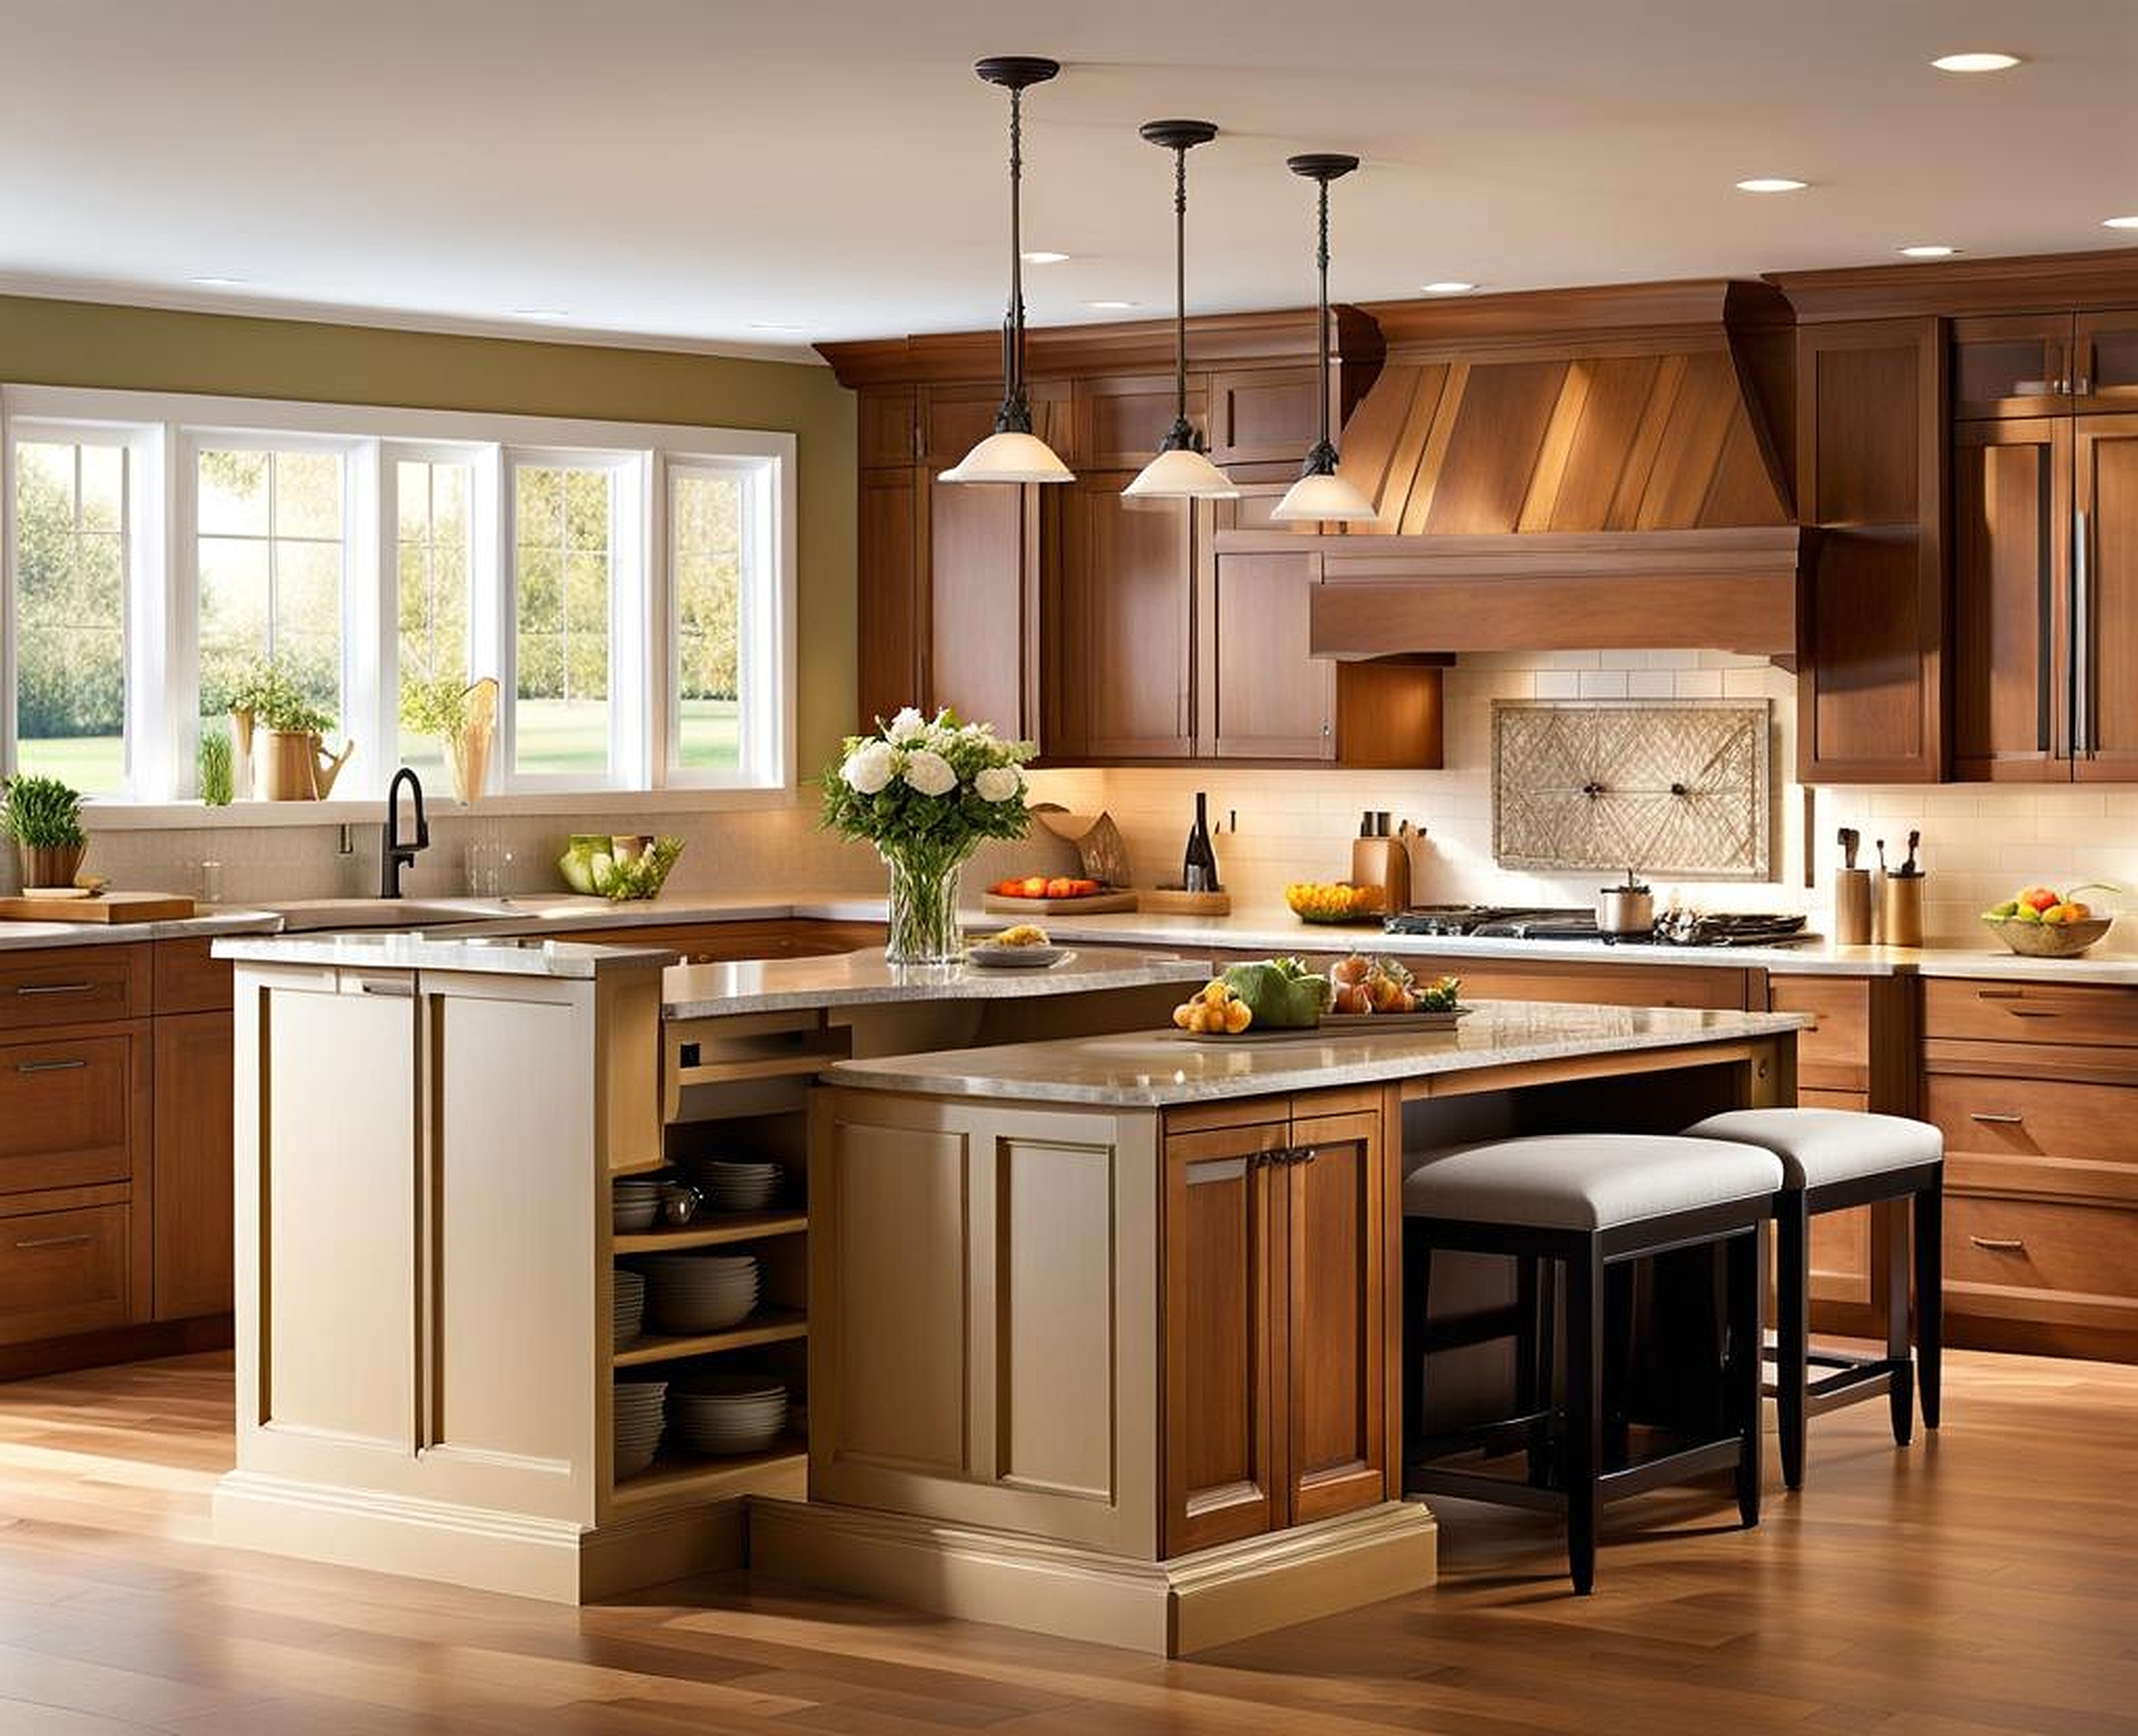
Bi level kitchen islands are a testament to intelligent design, offering a seamless fusion of form and function. These islands feature two distinct levels, typically with a lower countertop for food preparation and a higher surface for dining or casual seating. This clever configuration not only maximizes space but also creates a visual separation between different activity zones within your kitchen.
The beauty of bi level kitchen islands lies in their versatility. They serve multiple purposes, acting as a food prep station, a casual dining area, and even a stylish bar for entertaining guests. The lower level is often designed at standard countertop height (36 inches), perfect for chopping vegetables or kneading dough. The upper level, usually 42 inches high, creates an ideal spot for bar stools, transforming the island into an impromptu dining space or a cozy nook for morning coffee.
One of the key benefits of incorporating a bi level design in your kitchen is the enhanced workflow it provides. The split-level configuration allows for a natural division of tasks. You can prep meals on the lower level while family members or guests gather at the raised section, fostering a convivial atmosphere without interrupting the cook’s workflow. This design also offers a clever solution for hiding kitchen clutter – dirty dishes or cooking mess can be easily concealed behind the raised countertop, maintaining a tidy appearance from the dining area.
When it comes to styles and configurations, bi level kitchen islands offer a plethora of options to suit various tastes and kitchen layouts. For those favoring a modern aesthetic, sleek, minimalist designs with clean lines and contrasting materials can create a striking focal point. Traditional kitchens might opt for ornate woodwork and classic finishes to complement existing decor. L-shaped or U-shaped configurations can maximize corner spaces, while linear designs work well in galley-style kitchens.
The functionality of bi level kitchen islands extends beyond mere workspace division. These versatile structures can house an array of built-in features to enhance your kitchen’s capabilities. Consider integrating a sink or cooktop into the lower level for a comprehensive food prep station. The raised section can accommodate electrical outlets for small appliances or even feature a built-in wine cooler for the perfect entertaining setup.
Moreover, bi level kitchen islands significantly improve space utilization in your kitchen. The dual-height design allows for creative storage solutions underneath. The lower level can house deep drawers for pots and pans, while the raised section might feature open shelving for cookbooks or decorative items. This smart use of vertical space is particularly beneficial in smaller kitchens where every inch counts.
Planning Your Bi Level Kitchen Island Installation
Embarking on a bi level kitchen island installation requires careful planning and consideration. The first step in this exciting journey is assessing your kitchen space and layout. Take accurate measurements of your kitchen, paying special attention to traffic flow and existing appliance positions. A bi level island should enhance your kitchen’s functionality, not impede movement or create awkward spaces.
When determining the ideal size and dimensions for your bi level kitchen island, consider both your available space and intended use. As a general rule, allow for at least 36 inches of clearance on all sides of the island for comfortable movement. The length of your island will depend on your kitchen’s dimensions, but typically ranges from 4 to 10 feet. The width usually varies between 2 to 4 feet, ensuring ample workspace without overwhelming the room.
The height difference between the two levels of your island is crucial for both aesthetics and functionality. Standard dimensions often have the lower level at 36 inches (standard countertop height) and the upper level at 42 inches. However, these can be adjusted based on your specific needs and the height of your family members.
Choosing materials and finishes for your two level kitchen design is where you can really let your personal style shine. For countertops, consider durable materials like granite, quartz, or butcher block for the lower level where food prep occurs. The upper level can be a continuation of the same material or a contrasting surface for visual interest. Popular choices include marble for a touch of luxury or a warm wood finish for a rustic appeal.
The base of your island offers another opportunity for customization. Cabinetry in a complementary or contrasting color to your existing kitchen can create a cohesive or striking look. For a modern twist, consider a waterfall edge where the countertop material cascades down the sides of the island.
Incorporating storage solutions and functional elements into your island is key to maximizing its utility. Deep drawers in the lower section are perfect for storing pots, pans, and other bulky items. The raised section can house slimmer drawers for utensils or even a built-in microwave. Open shelving on the dining side can display cookbooks or decorative items, adding personality to your space.
Don’t overlook the importance of electrical and plumbing considerations in your bi level kitchen island planning. If you’re including a sink or cooktop, you’ll need to factor in plumbing and gas lines. Electrical outlets are essential for small appliances and charging devices. Consider pop-up outlets that can be hidden when not in use for a sleek look.
Lighting is another crucial element in your bi level island design. Pendant lights above the raised section not only provide task lighting but also serve as decorative elements. Under-cabinet lighting beneath the upper level can create a warm ambiance and illuminate the workspace below.
Now that we’ve covered the planning phase, let’s dive into the actual installation process of your bi level kitchen island. This step-by-step guide will walk you through the key stages of bringing your vision to life.
Preparing your kitchen for island installation is the crucial first step. Start by clearing the area where the island will be placed. If you’re working with an existing kitchen, you may need to remove flooring to accommodate new plumbing or electrical lines. Ensure that your floor is level; if not, you may need to add a subfloor or adjust the island’s base to compensate.
Next comes building or assembling the base structure of your bi level island. If you’re handy with tools, you might opt to build the base from scratch using sturdy materials like plywood and 2x4s. Alternatively, you can use pre-made cabinets as the foundation. Begin with the lower level, ensuring it’s securely anchored to the floor. Then, construct the raised section, making sure it’s properly supported and level.
Installing countertops and creating the two-level surface is where your island starts to take shape. For the lower level, install your chosen countertop material following manufacturer guidelines. This might involve applying adhesive, securing with brackets, or using a combination of methods. The raised level requires additional support – typically a sturdy frame that attaches to the base cabinets. Once the structure is secure, install the upper countertop, ensuring a seamless transition between the two levels.
Adding custom features like sinks, cooktops, and seating areas comes next. If you’re installing a sink, cut the appropriate hole in the countertop and connect the plumbing. For a cooktop, you’ll need to ensure proper ventilation and connect gas lines if necessary. When it comes to seating, consider the overhang of your upper level – a minimum of 12 inches is recommended for comfortable leg room.
The finishing touches are what truly bring your bi level kitchen island to life. Install any hardware like drawer pulls or knobs. If you’ve opted for pendant lighting, now’s the time to hang and connect these fixtures. Consider adding decorative elements like a tiled backsplash on the raised section or custom trim work to elevate the overall design.
Throughout the installation process, it’s crucial to regularly check that everything is level and secure. Take your time with each step, and don’t hesitate to seek professional help for complex tasks like plumbing or electrical work.
Remember, a bi level kitchen island is more than just a functional addition to your kitchen – it’s a statement piece that can transform the entire feel of your space. By carefully planning and executing each step of the installation process, you’ll create a stunning focal point that serves as the heart of your home for years to come.
As you embark on this exciting project, keep in mind that flexibility is key. Be open to adjusting your plans as you go along if you discover better solutions or encounter unexpected challenges. With patience, creativity, and attention to detail, you’ll soon be enjoying the many benefits of your new bi level kitchen island – from enhanced food prep capabilities to a cozy spot for family gatherings.
