Building a sauna door requires careful planning and execution to ensure optimal functionality and durability. From selecting the right materials to understanding insulation requirements, every step plays a crucial role in creating the perfect entryway for your sauna. Let’s dive into the technical aspects of constructing a sauna door that not only withstands high temperatures but also complements your sauna’s design.
Understanding Sauna Door Requirements
When it comes to building sauna room doors, there are several key factors to consider. The door must be able to withstand high temperatures and humidity while maintaining structural integrity. It should also provide proper insulation to keep the heat inside the sauna and create an airtight seal when closed.
One of the most important aspects of sauna door construction is the choice of materials. Wooden sauna door designs are popular due to their natural insulating properties and aesthetic appeal. Cedar is often the wood of choice for sauna doors because of its resistance to warping and decay in high-moisture environments.
The size and thickness of the door are also crucial considerations. A standard sauna door is typically 24 inches wide and 80 inches tall, with a thickness of 1 3/4 inches. However, these dimensions can vary depending on the specific requirements of your sauna space.
Ventilation is another critical factor in sauna door design. Proper airflow helps regulate temperature and humidity levels inside the sauna. Many sauna doors incorporate a small gap at the bottom to allow for air circulation.
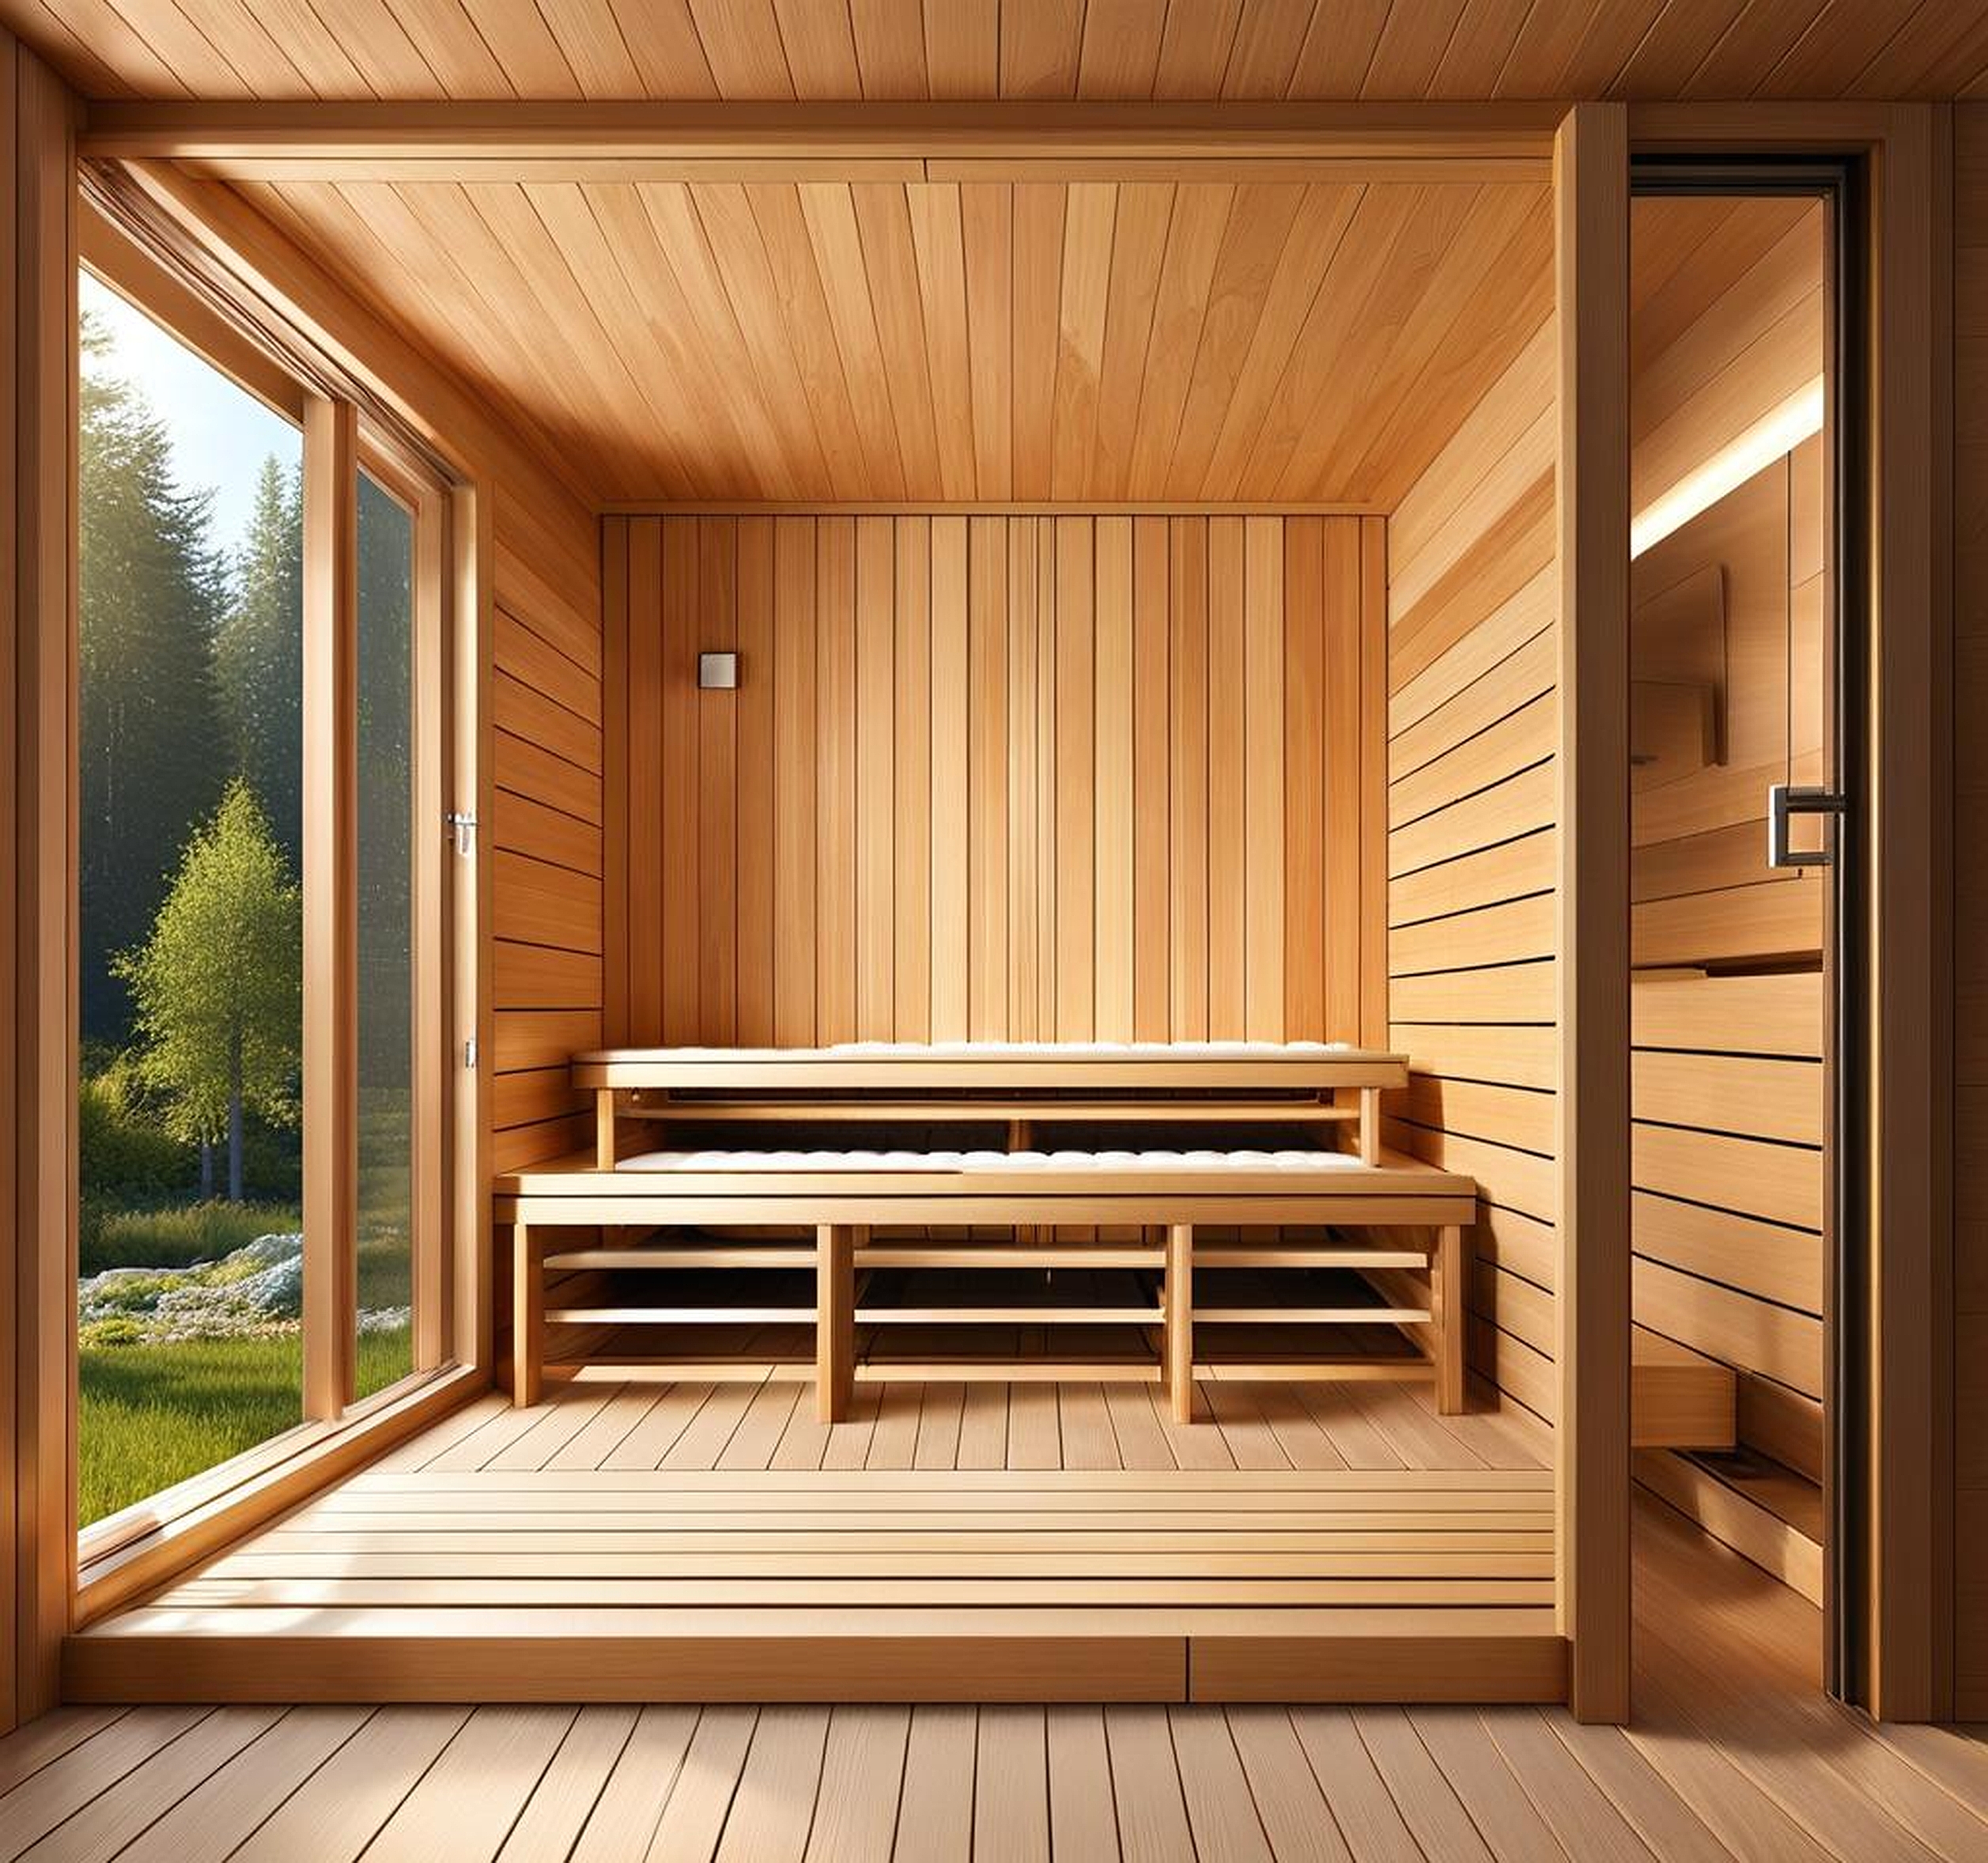
When exploring Finnish sauna door styles, you’ll notice that they often feature a glass panel. This design element not only adds a modern touch but also allows light to enter the sauna, creating a more open and inviting atmosphere. However, it’s essential to use tempered glass that can withstand high temperatures and potential impacts.
Selecting Materials for Your Sauna Door
Choosing the right materials is crucial when building a sauna door. The primary consideration is the wood type, as it needs to withstand high temperatures and humidity without warping or deteriorating. Cedar is the top choice for many sauna builders due to its natural resistance to moisture and decay.
For the frame of your sauna door, pressure-treated lumber is an excellent option. It provides strength and durability, ensuring your door maintains its shape over time. When selecting lumber for the frame, look for straight pieces without knots or imperfections that could compromise the door’s structure.
The interior and exterior surfaces of the door are typically covered with tongue and groove cedar planks. This not only creates a visually appealing finish but also allows for natural expansion and contraction of the wood in response to temperature changes.
Sauna door insulation is a critical component that shouldn’t be overlooked. Foil-faced bubble wrap insulation is commonly used due to its effectiveness in reflecting heat and its resistance to moisture. This type of insulation is lightweight and easy to install between the frame and the cedar planks.
For sauna door hardware, it’s essential to choose components that can withstand high temperatures and humidity. Stainless steel is an excellent choice for hinges, handles, and locks as it resists corrosion and maintains its strength in harsh conditions. When selecting sauna door handles, opt for designs that are easy to grip with wet hands and won’t become too hot to touch.
Design Considerations for Sauna Doors
The design of your sauna door goes beyond mere functionality; it’s an opportunity to enhance the overall aesthetic of your sauna space. Modern sauna door ideas often incorporate elements that blend form and function seamlessly. For instance, you might consider a door with a frosted glass panel that allows light to filter through while maintaining privacy.
When exploring wooden sauna door designs, think about how the grain and color of the wood will complement the interior of your sauna. You can create visual interest by alternating the direction of wood planks or incorporating decorative elements like carved patterns.
For those interested in Finnish sauna door styles, simplicity and functionality are key. Traditional Finnish designs often feature clean lines and minimal ornamentation, focusing on the natural beauty of the wood. However, you can add a contemporary twist by incorporating modern hardware or unique handle designs.
Consider the placement of your sauna door carefully. If space is limited, you might opt for a sliding door design rather than a hinged door. This can be particularly useful for sauna bathroom doors where maximizing space is crucial.
The shape of your door can also impact the overall design. While rectangular doors are most common, arched or rounded tops can add a touch of elegance and uniqueness to your sauna entrance. Just keep in mind that non-standard shapes may require more complex framing and installation processes.
Lighting is another important design consideration. Some sauna enthusiasts incorporate small, heat-resistant LED lights around the door frame to create a welcoming glow. This can be particularly effective if you’ve chosen a door design with glass elements.
Step-by-Step Guide to Building a Sauna Door
Building a sauna door is a meticulous process that requires attention to detail. Here’s a comprehensive guide to help you through each step:
1. Measure and prepare: Start by accurately measuring the door opening. Add a small allowance (about 1/4 inch) on all sides for fitting. Sketch your door design, including the frame, insulation layer, and finishing planks.
2. Construct the frame: Using pressure-treated lumber, build the door frame. Cut the vertical stiles and horizontal rails to size, ensuring they fit together snugly. Use lap joints for added strength and stability. Assemble the frame using waterproof wood glue and corrosion-resistant screws.
3. Install insulation: Cut foil-faced bubble wrap insulation to fit within the frame. Secure it in place using a staple gun, ensuring there are no gaps or overlaps.
4. Prepare the cedar planks: Cut your tongue and groove cedar planks to the correct length for covering both sides of the door. Sand the edges to ensure a smooth fit.
5. Attach the cedar planks: Starting from one edge, attach the cedar planks to one side of the door frame using finishing nails. Ensure each plank is tightly fitted against its neighbor. Repeat this process on the other side of the door.
6. Install hardware: Attach the hinges to the door and the door frame. Position the door handle and lock mechanism, drilling holes as necessary. Use stainless steel hardware for durability.
7. Hang the door: With the help of an assistant, lift the door into place and secure the hinges to the door frame. Check for proper alignment and adjust as needed.
8. Add finishing touches: Install weather stripping around the door frame to create an airtight seal. If desired, add a door sweep at the bottom for additional insulation.
9. Test and adjust: Open and close the door several times to ensure smooth operation. Make any necessary adjustments to the hinges or latch mechanism.
Remember, when building sauna room doors, precision is key. Take your time with each step to ensure a well-crafted final product that will serve your sauna well for years to come.
Proper installation and regular maintenance are crucial for ensuring the longevity and optimal performance of your sauna door. Let’s delve into the key aspects of installing and caring for your newly built sauna door.
Installation begins with preparing the door opening. Ensure the frame is square and level. If necessary, use shims to adjust the frame before securing it in place. When hanging the door, pay close attention to the alignment. The gap between the door and the frame should be consistent on all sides, typically about 1/8 inch.
For steam sauna door frames, it’s crucial to apply a high-quality sealant around the edges where the frame meets the wall. This prevents moisture from seeping behind the frame and causing damage over time. Choose a sealant that can withstand high temperatures and humidity.
When it comes to sauna entry doors, consider installing a spring-loaded mechanism. This ensures the door always closes automatically, helping to maintain the desired temperature and humidity levels inside the sauna. Adjust the tension on the spring to achieve a smooth, controlled closing action.
Maintenance of your sauna door is relatively straightforward but should be performed regularly. Wipe down the door with a damp cloth after each use to remove any excess moisture or sweat. Periodically check the wood for any signs of warping or cracking, especially in areas around the hardware.
Inspect the door hardware regularly, tightening any loose screws and lubricating hinges as needed. For sauna exit doors that see frequent use, you may need to replace the weather stripping more often to maintain an effective seal.
If your door includes glass elements, clean them with a non-abrasive, sauna-safe cleaner. Avoid using harsh chemicals that could damage the wood or compromise the integrity of the glass.
Over time, you may notice the wood of your sauna door darkening. This is a natural process and doesn’t affect the door’s functionality. However, if you wish to maintain the original color, you can lightly sand the surface and apply a sauna-safe wood treatment.
By following these installation and maintenance guidelines, you’ll ensure your custom-built sauna door remains a functional and attractive element of your sauna for years to come. Remember, a well-maintained door not only enhances the sauna experience but also contributes to the overall efficiency and longevity of your sauna.
