The art of cutting sheets is very important. Whether you’re crafting a sleek display case or fashioning custom signage, knowing how to cut acrylic sheet precisely can make or break your project. This comprehensive guide will walk you through various techniques, from basic scoring to advanced laser cutting, ensuring you achieve clean, professional results every time.
Understanding Acrylic Sheets: Properties and Applications
Acrylic sheets, often referred to by the brand name Plexiglas, are versatile materials known for their clarity, durability, and lightweight nature. These thermoplastic sheets boast excellent optical properties, making them a popular choice for various applications. Before diving into cutting techniques, it’s essential to grasp the unique characteristics of acrylic material.
Acrylic sheets come in two main types: extruded and cast. Extruded acrylic is more affordable and easier to cut, while cast acrylic offers superior optical clarity and resistance to chemicals. Both types can be found in various thicknesses, colors, and finishes, catering to a wide range of project needs.
The applications for acrylic sheets are vast and varied. You’ll find them used in:
- Display cases and retail fixtures
- Signage and light boxes
- Architectural elements like windows and skylights
- Protective barriers and screens
- Aquariums and terrariums
- Furniture and decorative items
Understanding the properties of acrylic is crucial when selecting cutting methods. Acrylic is relatively soft compared to other plastics, which makes it easier to cut but also more prone to melting if not handled correctly. It’s also important to note that acrylic can be brittle, so using the wrong cutting technique might result in chipping or cracking.
Essential Tools for Cutting Acrylic Sheets
To achieve precision when cutting acrylic sheets, you’ll need the right tools. Let’s explore the various options available, from manual cutting tools to power tools and specialized acrylic cutting instruments.
Manual cutting tools are ideal for thinner acrylic sheets and simple cuts:
- Scoring knife: A sharp, pointed tool used to score the surface of thin acrylic sheets
- Utility knife: Useful for scoring and making shallow cuts in thin acrylic
- Hand saw: A fine-toothed saw designed for plastics can be used for straight cuts
Power tools offer more efficiency and precision, especially for thicker acrylic sheets:
- Circular saw: Ideal for long, straight cuts on thicker acrylic sheets
- Jigsaw: Perfect for cutting curves and irregular shapes
- Table saw: Provides the most precision for long, straight cuts
Specialized acrylic cutting tools can make the job easier and more precise:
- Plastic scoring tool: Designed specifically for scoring acrylic and other plastics
- Acrylic cutter: A tool that combines scoring and breaking functions
Safety should always be your top priority when working with acrylic. Ensure you have the following safety equipment on hand:
- Safety goggles to protect your eyes from debris
- Gloves to prevent cuts and improve grip
- Dust mask to avoid inhaling acrylic particles
When selecting your tools, consider the thickness of the acrylic sheet and the complexity of the cuts you need to make. For simple projects with thin sheets, manual tools might suffice. However, for thicker acrylic or more intricate designs, power tools or specialized equipment will yield better results.
Preparing for the Cut: Measuring and Marking Acrylic Sheets
Proper preparation is key to achieving precise cuts in acrylic sheets. This stage involves accurate measuring, clear marking, and creating guides to ensure your cuts are exactly where you want them. Let’s break down the process step by step.
First, accurate measuring is crucial. Use a metal ruler or tape measure for the most precise measurements. Remember the old adage: measure twice, cut once. This is especially important with acrylic, as mistakes can be costly and difficult to correct. When measuring, account for any saw blade width or material that may be lost during the cutting process.
Once you’ve measured, it’s time to mark your cutting lines. There are several effective methods for marking acrylic sheets:
- Pencil: Use a sharp pencil for thin, precise lines. This works well on matte or frosted acrylic.
- Fine-tip permanent marker: Ideal for clear acrylic, as it’s more visible than pencil.
- Masking tape: Apply tape along the cutting line and mark on the tape. This also helps prevent chipping during cutting.
For complex cuts or repetitive patterns, consider creating a template. You can use cardboard or thin plywood to make a guide that you can trace onto your acrylic sheet. This ensures consistency across multiple pieces.
Before marking, ensure the surface of your acrylic sheet is clean and free from scratches. Any dirt or debris can interfere with your markings and potentially affect the cut. Use a microfiber cloth and, if necessary, a mild soap solution to clean the surface thoroughly.
If you’re using power tools, it’s helpful to create a cutting guide. For straight cuts, clamp a straight edge or level to your workpiece to guide your saw. For circular cuts, you can create a jig or use a compass to draw perfect circles.
Remember, the key to clean cuts is starting with a well-prepared surface. Take your time during this stage to ensure your measurements and markings are precise. This attention to detail will pay off when you start cutting, resulting in cleaner edges and more professional-looking results.
Step-by-Step Guide: How to Cut Acrylic Sheets
Now that we’ve covered the preparation, let’s dive into the actual cutting process. We’ll explore various methods for cutting acrylic sheets, each suited to different thicknesses and types of cuts.
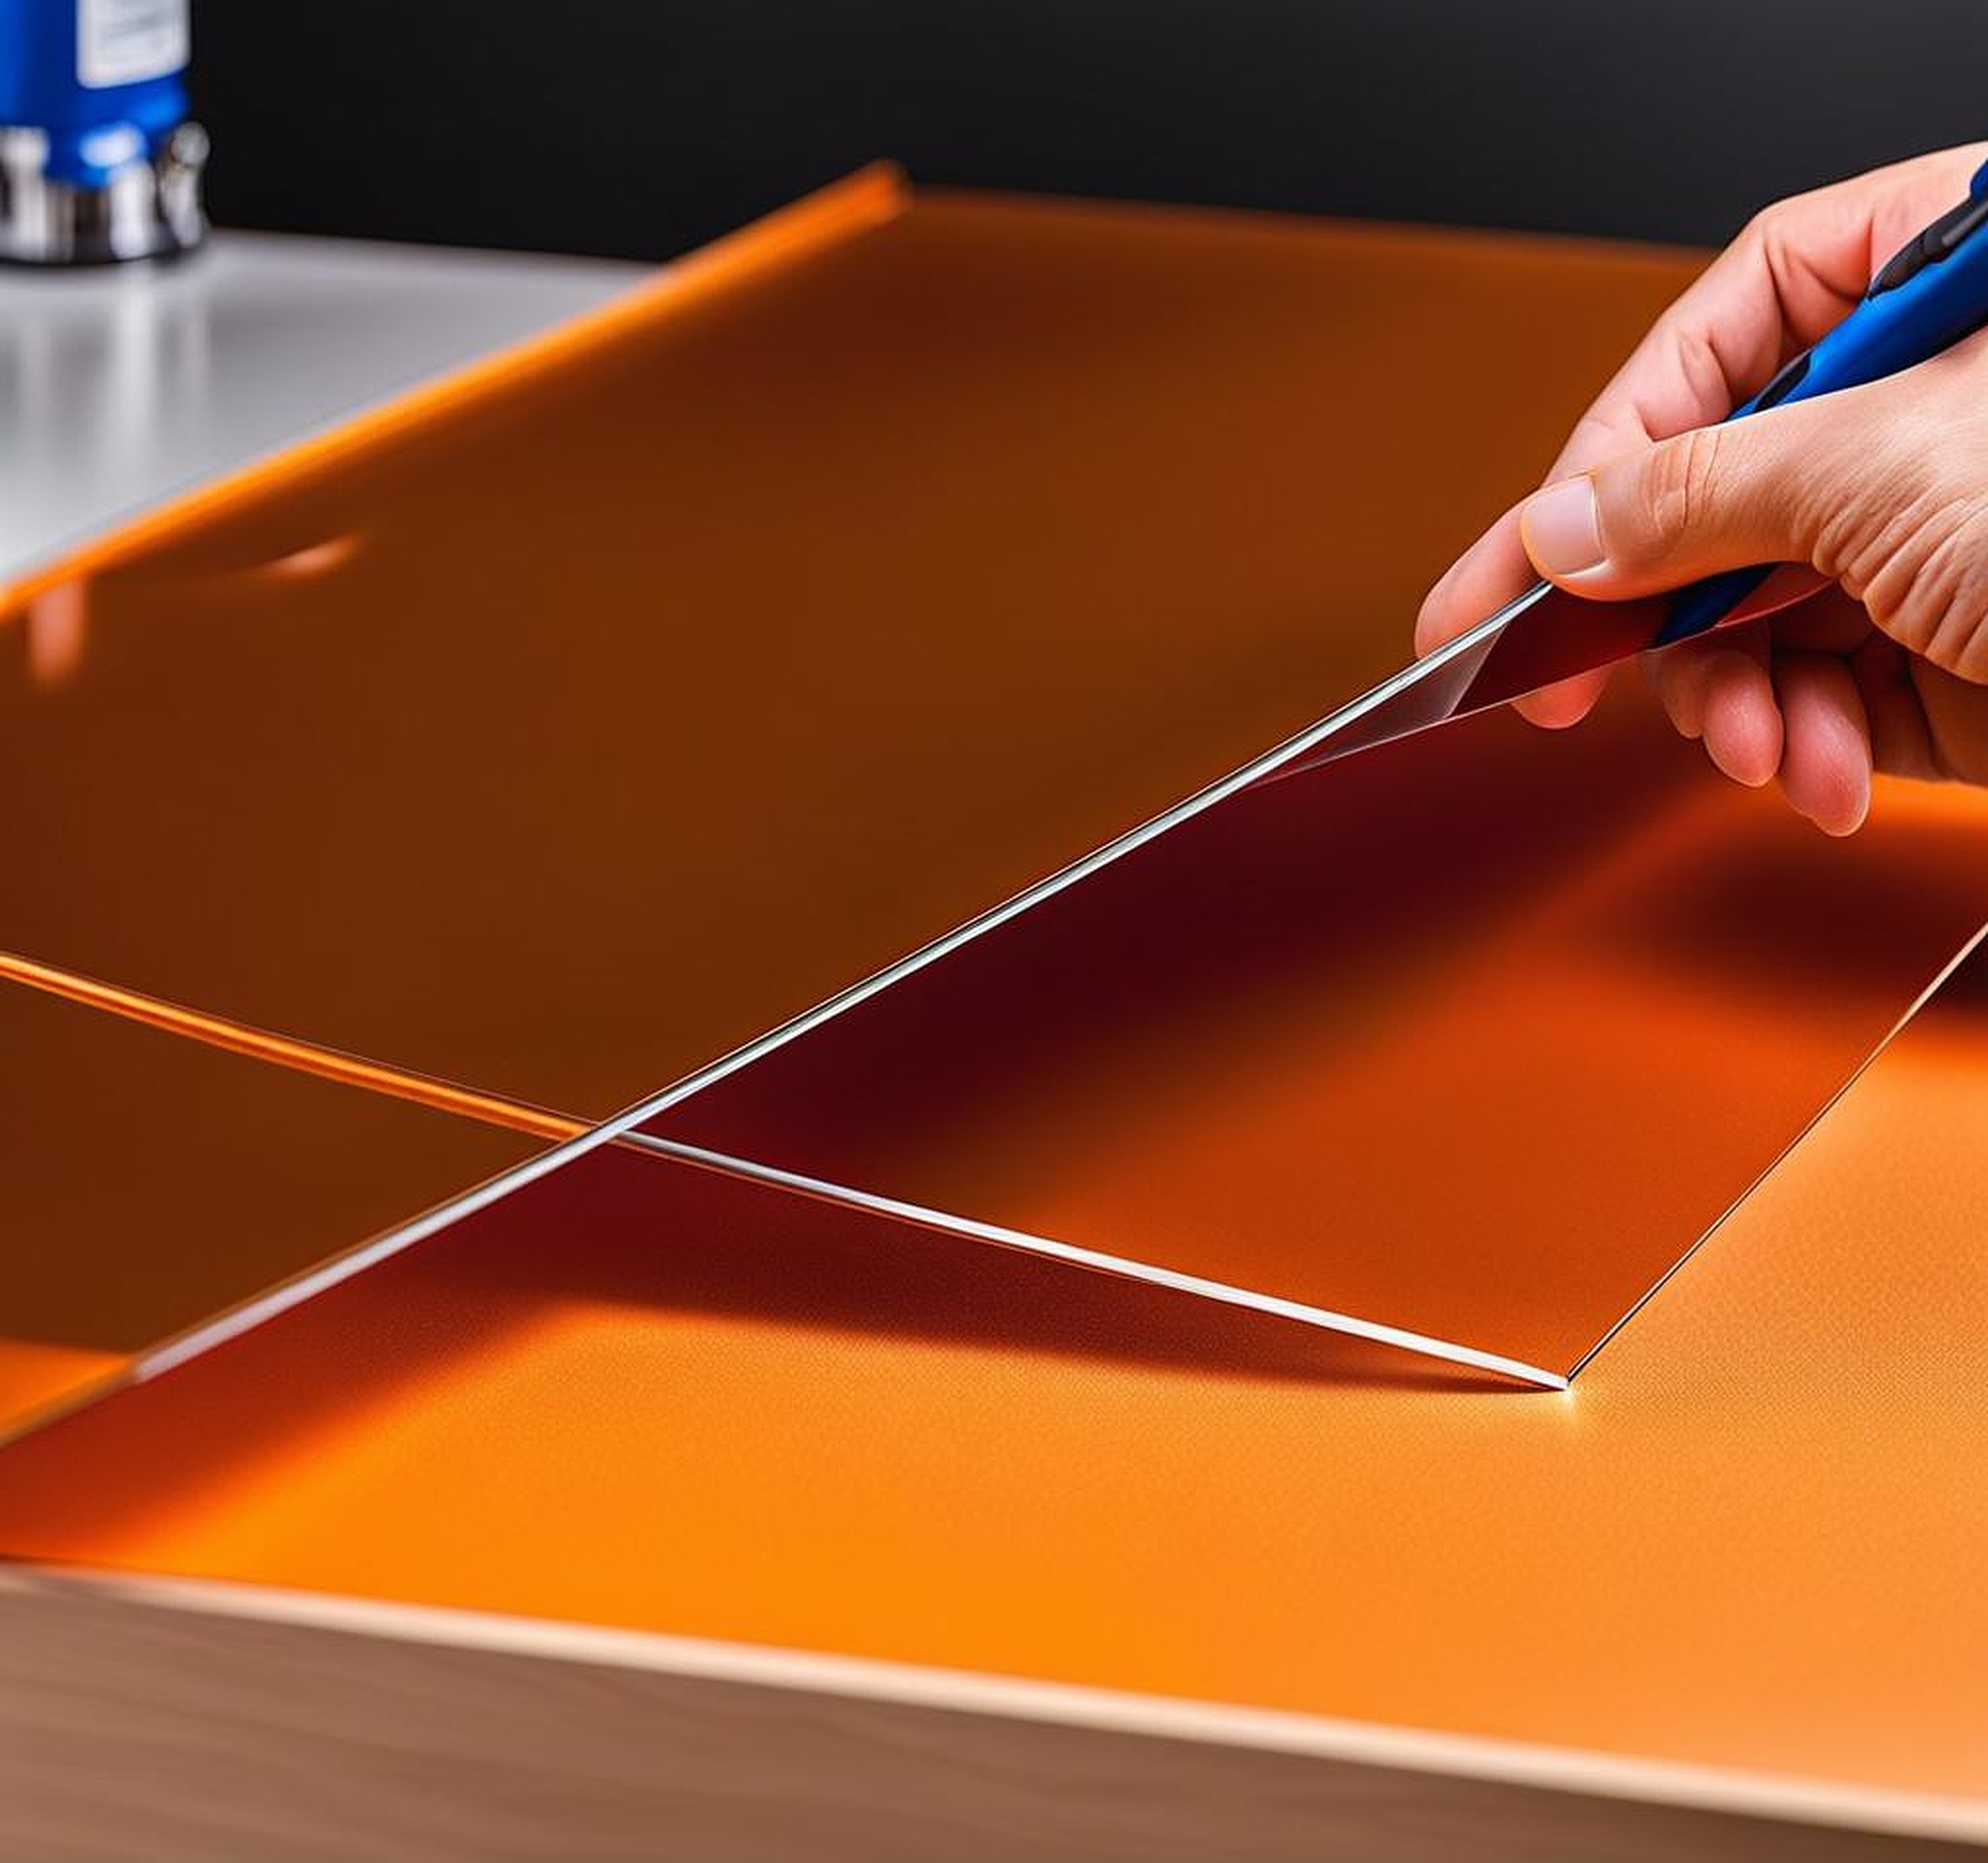
Scoring and snapping method (for thin sheets up to 3mm): 1. Place your acrylic sheet on a flat, stable surface. 2. Using a plastic scoring tool or utility knife, score along your marked line. Apply firm, even pressure. 3. Make multiple passes, deepening the score with each pass. 4. Once you’ve scored about 1/3 of the way through the sheet, position it so the scored line is at the edge of your work surface. 5. Apply firm, quick pressure to the overhanging portion to snap it along the score line.
Using a circular saw for straight cuts on thicker acrylic: 1. Attach a fine-toothed blade designed for plastics to your circular saw. 2. Set the blade depth to just slightly deeper than the thickness of your acrylic sheet. 3. Secure your acrylic sheet to prevent movement during cutting. 4. Slowly and steadily guide the saw along your marked line, allowing the blade to do the work without forcing it.
Jigsaw techniques for curved cuts: 1. Choose a fine-toothed blade suitable for plastics. 2. Drill a starter hole if you’re cutting an interior shape. 3. Guide the jigsaw slowly along your marked line, using minimal pressure. 4. For tight curves, make relief cuts perpendicular to your cutting line to reduce stress on the material.
Table saw approach for precise, long cuts: 1. Use a blade with at least 80 teeth for the cleanest cut. 2. Set the blade height to just above the thickness of your acrylic sheet. 3. Use a push stick to guide the acrylic through the saw, keeping your hands safe. 4. Feed the material slowly and steadily to prevent melting or chipping.
Tips for achieving clean edges and preventing chipping: – Always cut with the protective film on the acrylic sheet to prevent scratches. – Use masking tape along the cut line to minimize chipping. – If possible, cut with the finished side facing up. – Allow the tool to reach full speed before beginning the cut. – Avoid pausing mid-cut to prevent melting or inconsistencies.
Remember, practice makes perfect. If you’re new to cutting acrylic, it’s a good idea to start with some scrap pieces to get a feel for the material and your chosen cutting method. With these techniques and a bit of patience, you’ll be cutting acrylic sheets like a pro in no time.
Advanced Techniques for Precision Acrylic Cutting
For those looking to take their acrylic cutting skills to the next level, several advanced techniques offer unparalleled precision and versatility. These methods are particularly useful for complex designs, large-scale projects, or when working with thicker acrylic sheets.
Laser cutting is a high-precision method that uses a focused laser beam to cut through acrylic. This technique offers several advantages: – Extremely precise cuts, capable of intricate designs – No physical contact with the material, reducing the risk of damage – Smooth, polished edges that often require no further finishing – Ability to cut complex shapes and patterns easily However, laser cutting typically requires specialized equipment and is often outsourced to professional fabrication shops.
CNC routing is another advanced technique that uses computer-controlled cutting tools to shape acrylic sheets. Benefits of CNC routing include: – Ability to cut thick acrylic sheets with ease – High repeatability for large production runs – Capability to create 3D shapes and textures – Precision control over cutting depth and speed CNC routing is ideal for projects that require consistent, complex cuts across multiple pieces.
Water jet cutting is a versatile method that uses a high-pressure stream of water mixed with abrasive particles to cut through acrylic. This technique is particularly useful for: – Cutting very thick acrylic sheets (up to several inches) – Creating detailed, intricate designs – Cutting without generating heat, eliminating the risk of melting or warping Water jet cutting is often used for large-scale architectural projects or when working with particularly thick acrylic sheets.
Heat bending and forming techniques allow you to create curved or shaped acrylic pieces: 1. Use a strip heater or heat gun to warm the acrylic along the desired bend line. 2. Once the acrylic becomes pliable, carefully bend it to the desired angle. 3. Hold the shape until the acrylic cools and sets. This method is great for creating display stands, light fixtures, or custom architectural elements.
These advanced techniques open up a world of possibilities for working with acrylic sheets. While they often require specialized equipment or professional services, they allow for unparalleled precision and creativity in acrylic fabrication. Whether you’re prototyping a new product or creating a large-scale installation, these methods can help you achieve results that would be difficult or impossible with traditional cutting techniques.
Even with the right tools and techniques, challenges can arise when cutting acrylic sheets. Let’s explore some common issues and how to address them, along with best practices to ensure the best results in your acrylic cutting projects.
Common cutting mistakes and how to avoid them: 1. Chipping: Often caused by using dull blades or applying too much pressure. Use sharp, fine-toothed blades and let the tool do the work. 2. Melting: Results from excessive friction. Ensure your cutting speed is appropriate and use cooling methods if necessary. 3. Cracking: Usually due to stress on the material. Make sure your acrylic is well-supported during cutting and avoid forcing the material.
Dealing with melted edges: – If you encounter melted edges, allow the acrylic to cool completely. – Use a sharp scraper or fine-grit sandpaper to carefully remove the melted material. – For severely melted edges, you may need to re-cut the piece, adjusting your technique to prevent further melting.
Handling rough cuts: 1. Start with progressively finer grits of sandpaper (e.g., 220, 400, 600) to smooth the edge. 2. Use a plastic polishing compound for a glossy finish. 3. For a perfectly clear edge, flame polishing with a torch can work, but requires practice and caution.
Proper storage and handling of acrylic sheets: – Store sheets vertically to prevent warping. – Keep protective film on until final installation to prevent scratches. – Handle sheets by the edges to avoid leaving fingerprints or smudges on the surface. – Store in a cool, dry place away from direct sunlight to prevent yellowing or degradation.
Finishing techniques: – Sanding: Progress through finer grits for a smooth finish. – Polishing: Use specialized acrylic polishing compounds for a high-gloss look. – Edge treatments: Consider flame polishing or using a router for decorative edges. – Cleaning: Use a microfiber cloth and anti-static cleaner to maintain the acrylic’s clarity.
Best practices for acrylic cutting: – Always wear appropriate safety gear, including eye protection and dust masks. – Work in a well-ventilated area to avoid inhaling acrylic particles or fumes. – Keep your work area clean to prevent debris from scratching the acrylic surface. – Regularly clean and maintain your tools to ensure clean cuts. – Practice on scrap pieces before working on your final project. – For complex projects, consider creating a mock-up with cheaper materials first.
By following these troubleshooting tips and best practices, you’ll be well-equipped to handle any challenges that arise during your acrylic cutting projects. Remember, patience and attention to detail are key when working with this versatile material. With practice and persistence, you’ll be able to achieve professional-quality results in your acrylic fabrication endeavors.
