Precise shower rough in dimensions serve as the foundation for a well-designed and functional bathroom. These critical measurements dictate the placement of plumbing fixtures, ensuring proper water flow and drainage. By understanding the intricacies of shower rough in dimensions, homeowners and contractors can avoid costly mistakes and create a shower space that’s both aesthetically pleasing and practical. Let’s dive into the world of shower installation dimensions and explore why they matter so much.
Understanding Shower Rough In Dimensions
Shower rough in dimensions are the backbone of any successful shower installation. These measurements determine where pipes, valves, and fixtures will be positioned within the walls and floor of your shower enclosure. Getting these dimensions right is crucial for several reasons.
First and foremost, accurate shower rough in dimensions ensure that all plumbing components align correctly. This alignment is essential for proper water flow, pressure, and drainage. If the rough in measurements are off, even by a small margin, you might end up with leaks, inadequate water pressure, or drainage issues down the line.
Moreover, correct shower rough measurements impact the overall aesthetics of your bathroom. They determine the placement of visible fixtures like showerheads, handles, and tub spouts. When these elements are positioned correctly, they contribute to a cohesive and visually appealing shower design.
The framing of your shower enclosure also relies heavily on accurate rough in dimensions. The placement of studs, blocking, and other structural elements needs to accommodate the plumbing rough-in. This coordination ensures that your shower walls are sturdy and can support the weight of tiles, fixtures, and potentially grab bars or seats.
Waterproofing, an often overlooked but critical aspect of shower construction, is also affected by rough in dimensions. Proper placement of the shower valve and other penetrations through the waterproof membrane is essential to prevent water infiltration into the wall cavity.
Understanding shower rough in dimensions involves more than just knowing where to place pipes. It requires a comprehensive approach that considers: The specific requirements of your chosen fixtures Local building codes and regulations The overall layout and design of your bathroom Future maintenance and potential renovations
By grasping the importance of these dimensions, you’re setting yourself up for a successful shower installation that will stand the test of time. In the next section, we’ll explore standard shower rough in dimensions and how they can serve as a starting point for your project.
Standard Shower Rough In Dimensions
While every shower installation is unique, there are standard shower rough in dimensions that serve as guidelines for most projects. These standards help ensure consistency across installations and make it easier for manufacturers to design fixtures that fit a wide range of shower configurations.
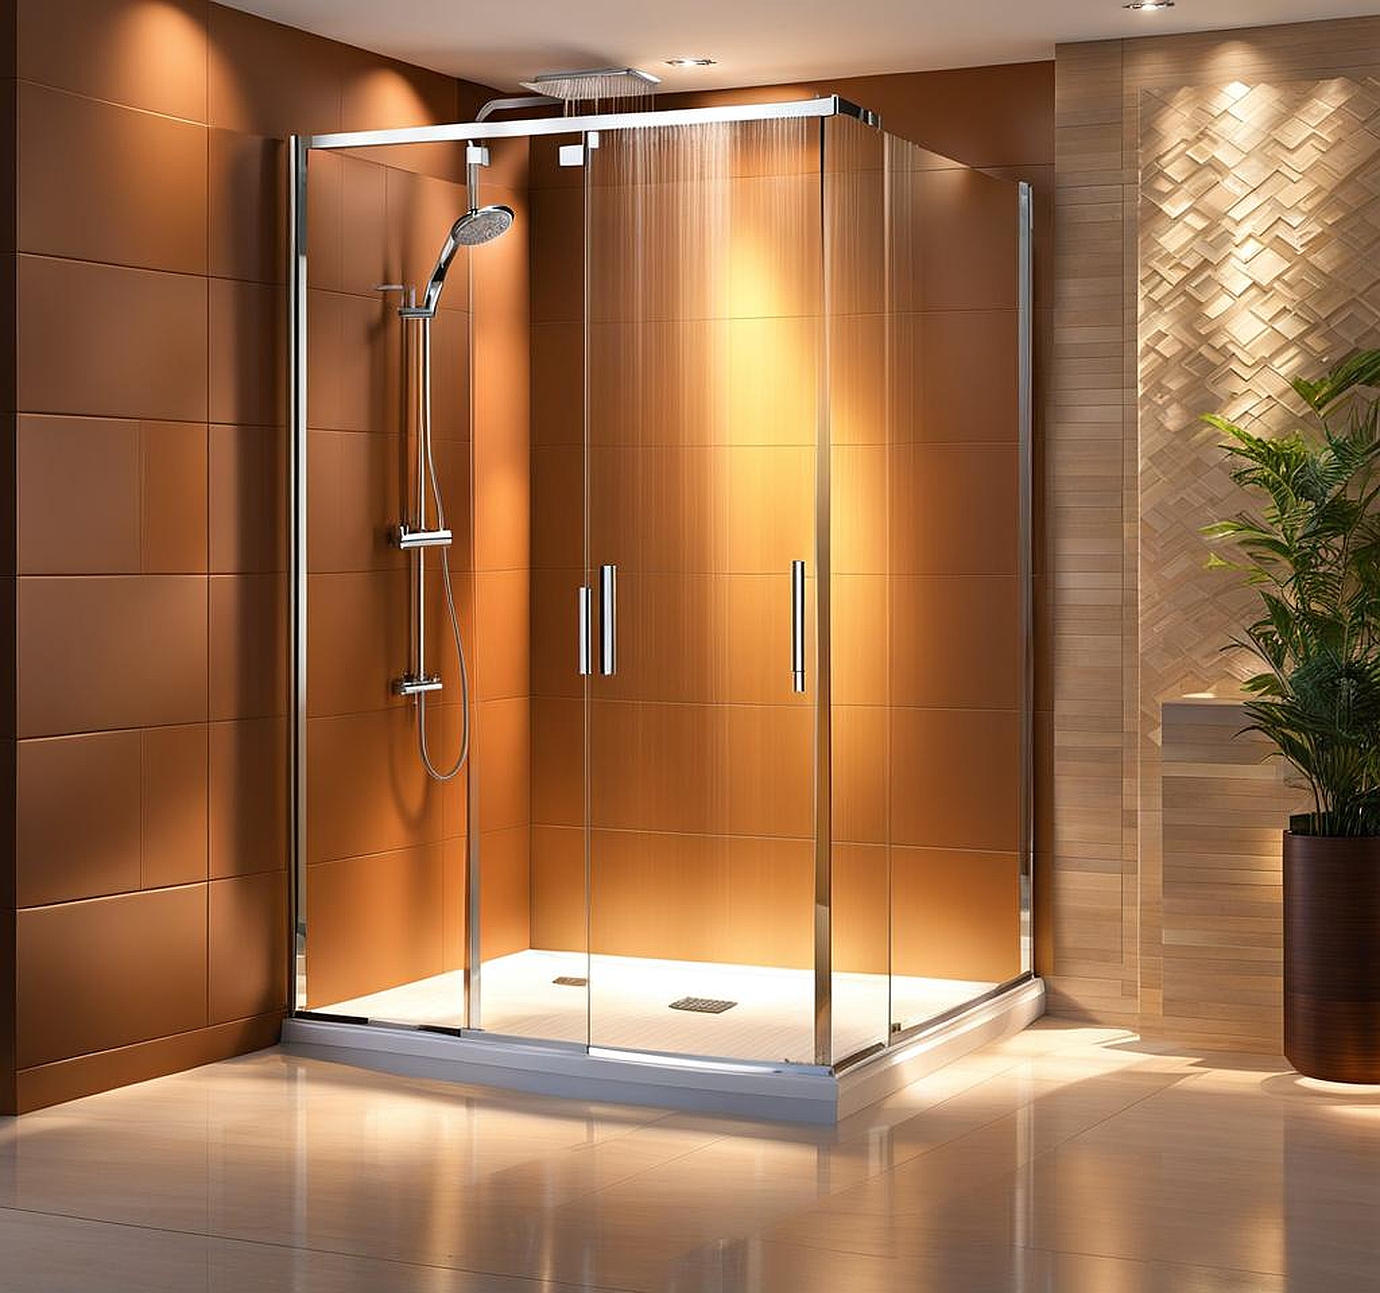
Typical shower sizes play a significant role in determining rough in dimensions. A standard shower stall is often 36 inches by 36 inches, but larger sizes like 48 inches by 36 inches or 60 inches by 36 inches are also common. For each of these sizes, there’s a corresponding set of rough in measurements that plumbers and contractors use as a baseline.
To help visualize these measurements, let’s consider a shower rough in chart for a typical installation: Shower valve height: 38-48 inches from the shower floor Showerhead height: 72-80 inches from the shower floor Tub spout (if applicable): 4-6 inches above the tub rim Drain: Centered in the shower stall, typically 15-20 inches from the back wall
These measurements provide a starting point, but it’s important to note that they can vary based on several factors. Local building codes often dictate specific requirements for shower rough in dimensions. For example, some jurisdictions may require a minimum distance between the shower valve and the edge of the tub or shower stall.
ADA (Americans with Disabilities Act) compliance is another crucial consideration that can impact shower rough measurements. ADA-compliant showers typically require lower placement of controls and additional features like grab bars, which can affect the rough in dimensions.
The choice between a custom shower and a prefabricated unit also influences rough in requirements. Prefab units often come with specific rough in instructions that must be followed precisely to ensure proper fit and function. Custom showers, on the other hand, offer more flexibility but require careful planning to achieve the desired layout and functionality.
When working with standard shower rough in dimensions, it’s essential to consider the specific needs of your project. Factors like the height of the users, personal preferences for showerhead placement, and the inclusion of additional features like body sprays or handheld showers can all necessitate adjustments to the standard measurements.
By starting with these standard dimensions and then tailoring them to your specific situation, you can create a shower that’s both functional and comfortable. In the next section, we’ll explore how to measure and plan your shower rough in to ensure accuracy and avoid common pitfalls.
Measuring and Planning Your Shower Rough In
Accurate measurement is the cornerstone of successful shower rough in planning. To ensure precision, you’ll need the right tools and a methodical approach. Let’s walk through the process of measuring and planning your shower rough in dimensions.
Essential tools for this task include: Tape measure Level Pencil Graph paper or digital design software Stud finder Plumb bob
With these tools in hand, follow these steps to measure your shower rough in: 1. Start by measuring the overall dimensions of your shower space. 2. Locate and mark the position of wall studs. 3. Determine the center point for your shower drain. 4. Measure and mark the height for your shower valve. 5. Plan the location of your showerhead and any additional fixtures. 6. Double-check all measurements for accuracy.
When determining shower installation dimensions, it’s crucial to consider the specific requirements of your chosen fixtures. Each manufacturer provides detailed specifications for their products, including rough in dimensions. Always consult these specifications to ensure compatibility with your planned layout.
One common mistake to avoid is failing to account for finished surfaces. Remember that tiles, backer board, and other materials will add thickness to your walls and floor. Your rough in measurements should accommodate these additions to ensure that fixtures align properly with the finished surfaces.
Another pitfall is overlooking the importance of proper slope for drainage. The shower floor should have a slight slope towards the drain to prevent water pooling. This slope needs to be factored into your rough in measurements, particularly when planning the height of your shower valve and other fixtures.
When accounting for shower plumbing dimensions, don’t forget to leave enough space for insulation and waterproofing materials. These elements are crucial for preventing moisture damage and maintaining the integrity of your shower enclosure.
It’s also wise to plan for future maintenance or upgrades. Consider installing access panels or leaving enough space behind fixtures to allow for repairs or replacements without major demolition.
By taking a meticulous approach to measuring and planning your shower rough in, you’re setting the stage for a smooth installation process. In the next section, we’ll explore how to customize these dimensions for unique bathroom layouts and special features.
Customizing Shower Rough In Dimensions
While standard shower rough in dimensions provide a solid starting point, many bathroom designs call for customization. Adapting these measurements to fit unique layouts or incorporate special features requires careful planning and consideration.
When working with non-standard bathroom layouts, it’s crucial to prioritize functionality without compromising on style. For instance, if you’re dealing with a small bathroom, you might need to adjust the shower rough in size to maximize space efficiency. This could involve opting for a corner shower or a compact shower-tub combination.
Different shower types require specific approaches to rough in dimensions: Walk-in showers often need additional considerations for waterproofing and drainage, especially if they’re curbless designs. Shower-tub combinations must account for both shower and tub rough in requirements, including proper placement of the tub spout and overflow drain. Corner showers may require unique valve placements to ensure easy access and optimal water flow.
Custom features can significantly impact shower rough dimensions. For example, if you’re planning to install multiple showerheads, you’ll need to carefully plan the plumbing rough-in to accommodate additional water lines and ensure adequate water pressure for all fixtures.
Built-in seating is another feature that requires special attention to rough in dimensions. The seat must be properly supported, which may involve additional framing and waterproofing considerations. The height of the seat can also affect the placement of nearby fixtures like body sprays or handheld showers.
Recessed shelving or niches for toiletries are popular additions that impact rough in planning. These features require careful coordination with stud placement and waterproofing to ensure they don’t compromise the integrity of the shower enclosure.
When customizing shower rough in dimensions, it’s essential to consider the long-term implications of your choices. Will your design accommodate potential future needs, such as aging-in-place modifications? Can fixtures be easily updated or replaced without major renovations?
Remember that while customization offers flexibility, it also requires a higher level of expertise in planning and execution. It’s often wise to consult with a professional plumber or bathroom designer when deviating significantly from standard rough in dimensions.
By thoughtfully customizing your shower rough in dimensions, you can create a truly unique and personalized shower space that meets your specific needs and preferences. In the final section, we’ll discuss how to ensure proper installation based on these carefully planned dimensions.
The success of your shower project ultimately hinges on proper installation. Even the most meticulously planned shower rough in dimensions won’t matter if they’re not accurately implemented during construction. Let’s explore how to ensure your carefully calculated measurements translate into a flawlessly installed shower.
Working with contractors is a critical part of this process. Clear communication is key. Provide your contractors with detailed plans that include all relevant shower rough plumbing dimensions. Don’t assume they’ll automatically know your preferences or specific requirements – spell everything out clearly.
Before any work begins, walk through the plan with your plumber and any other relevant tradespeople. This is your opportunity to clarify any questions and ensure everyone is on the same page. Remember, it’s much easier (and cheaper) to make changes on paper than during construction.
Verification of measurements should happen at multiple stages of the installation process: 1. Before any plumbing is installed, double-check the marked locations against your plans. 2. After rough plumbing is in place but before walls are closed up, verify that all fixtures are positioned correctly. 3. Once wall surfaces are installed but before final fixtures are mounted, confirm that cut-outs align properly with the rough-in.
During installation, be on the lookout for common issues related to incorrect rough in dimensions. These might include: Misaligned shower valves that don’t center properly with trim plates Showerheads positioned too close to or far from the back wall Improper slope towards the drain, leading to water pooling Insufficient blocking for mounting grab bars or heavy fixtures
If you notice any discrepancies, address them immediately. It’s far easier to make adjustments early in the process than to attempt fixes after everything is installed and finished.
The long-term benefits of precise shower rough in planning and installation are significant. Proper dimensions contribute to improved water management, reducing the risk of leaks and water damage. They also enhance the structural integrity of your shower, ensuring that all components are properly supported and aligned.
Moreover, accurate rough in dimensions make future renovations or repairs much easier. If you ever need to replace a fixture or update your shower, having everything in the right place will simplify the process considerably.
Remember that while DIY can be tempting, complex plumbing work often benefits from professional expertise. A licensed plumber can ensure that your shower rough in not only meets local codes but also provides optimal performance and longevity.
By paying close attention to shower rough in dimensions throughout the planning and installation process, you’re investing in the long-term quality and functionality of your bathroom. A well-executed shower isn’t just about looks – it’s about creating a space that performs flawlessly day after day, year after year.
