If you’re looking to install new floors in your home, you may have come across the term “floating floor” and wondered – what exactly is it? Floating floors have been growing in popularity in recent years as an alternative flooring option that offers a range of benefits.
What is a Floating Floor?
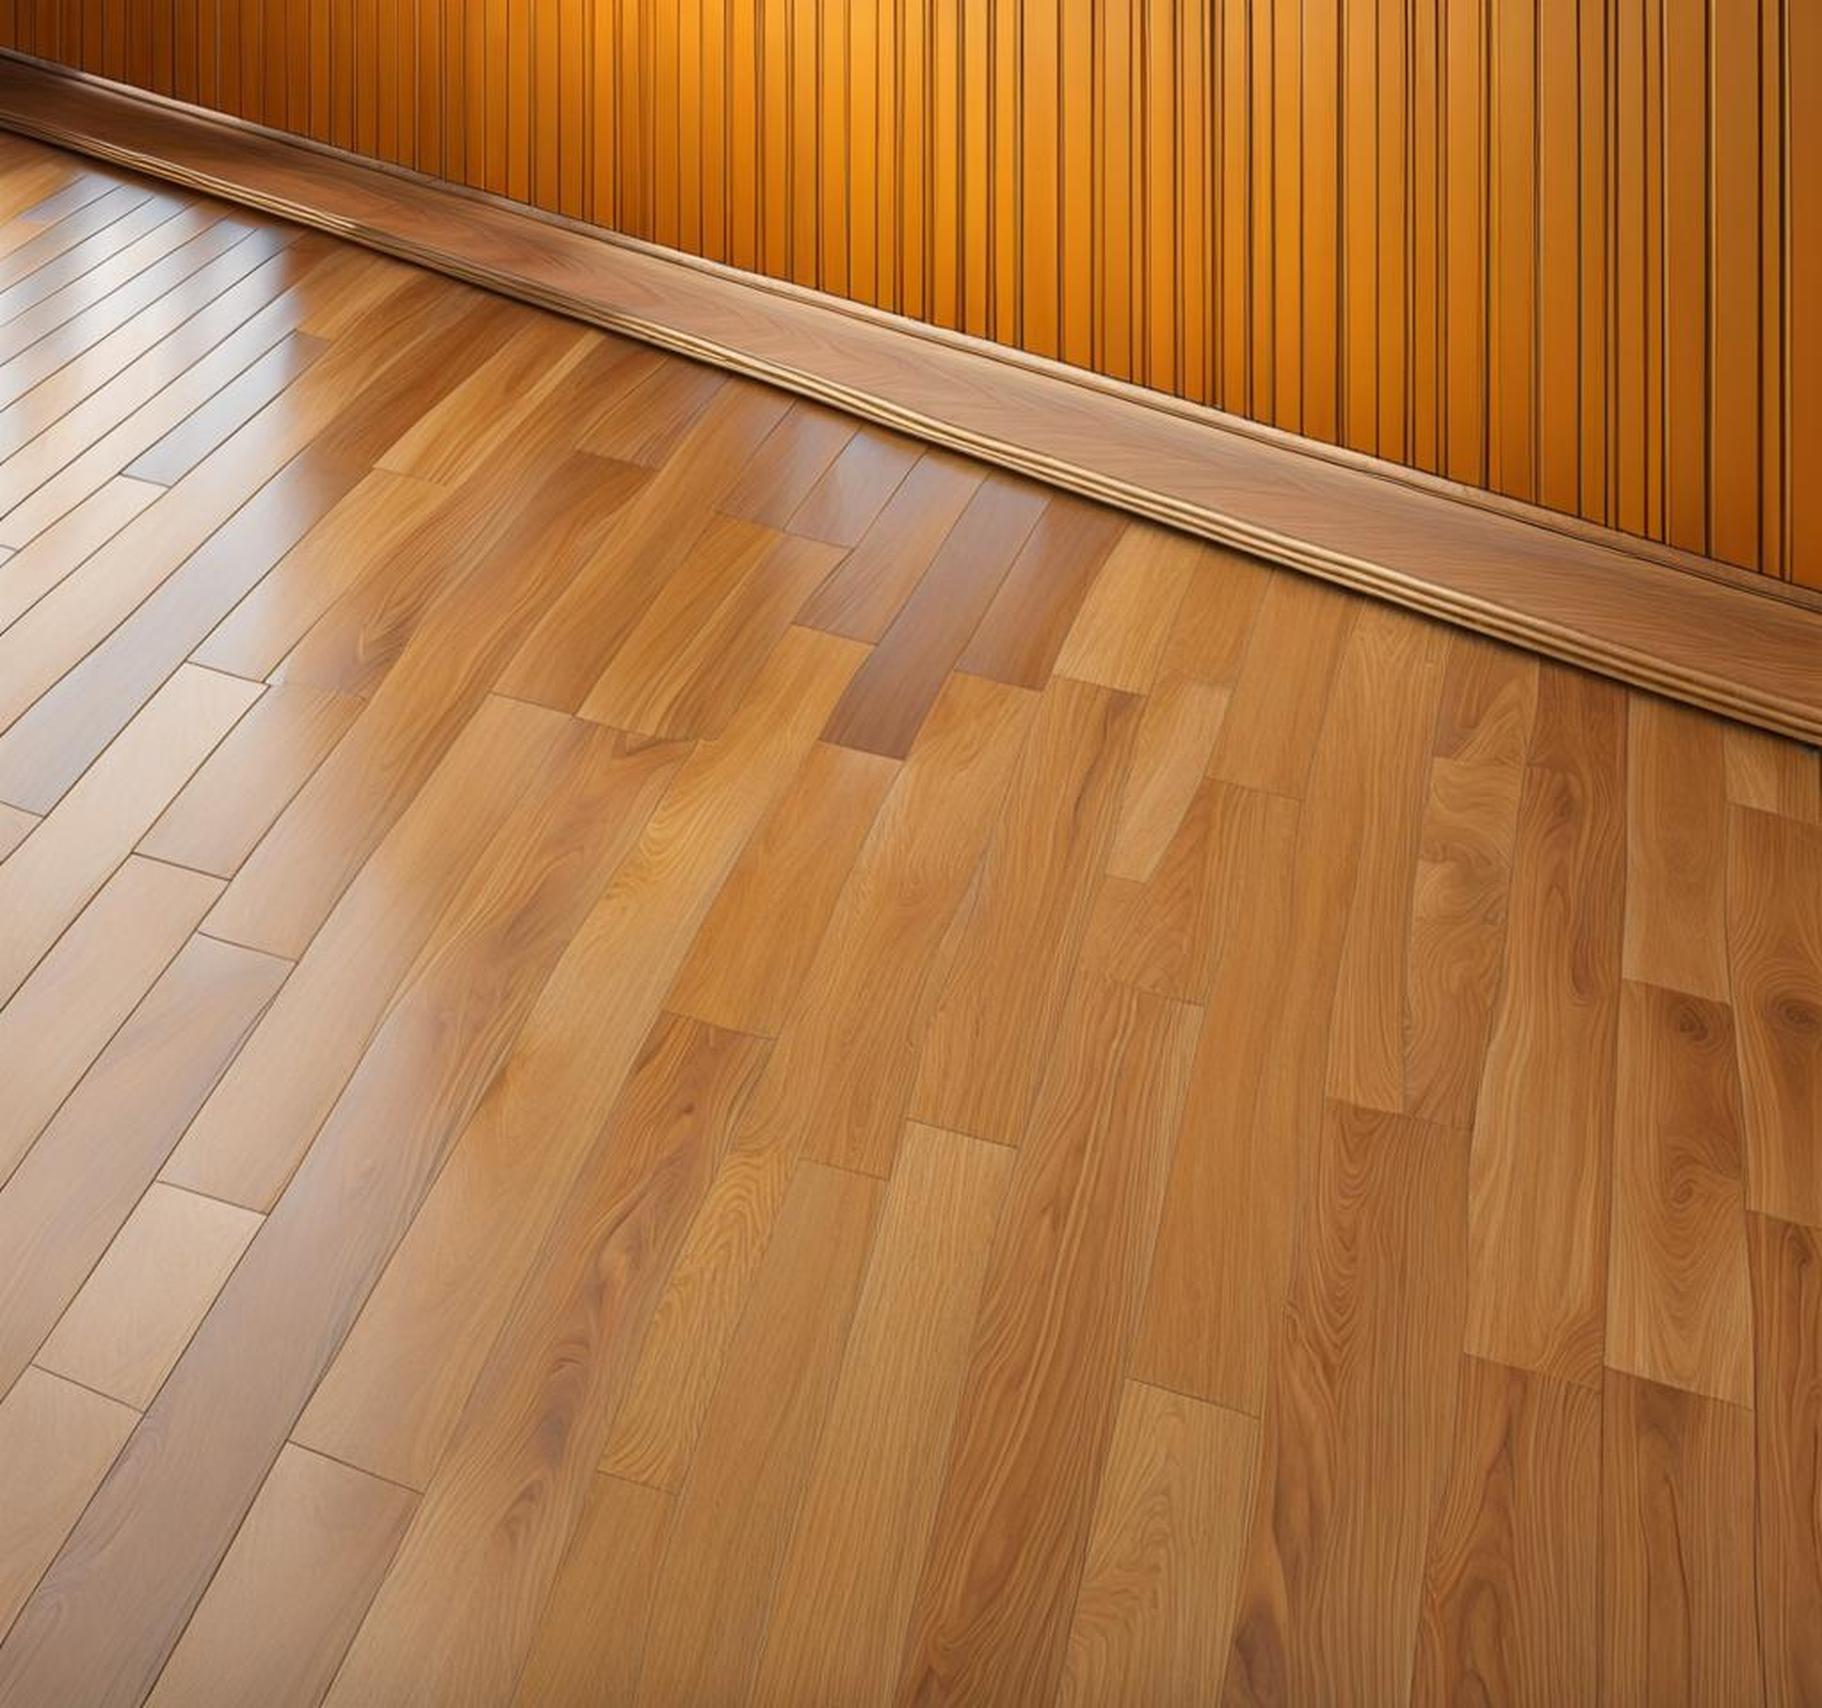
A floating floor is a type of flooring that is not nailed, stapled or glued to the subfloor beneath it. Instead, the flooring planks or tiles interconnect and float slightly above the subfloor. This allows the entire floor to shift and move as one single unit.
The planks or tiles of a floating floor utilize a click-and-lock system to attach to one another. An underlayment layer is first laid over the subfloor, providing a protective barrier. The flooring pieces then click together on top without being fixed down to the underlay pad or subfloor.
Main Components of Floating Floors
There are three main components that make up floating floor systems:
- The flooring planks or tiles with click-lock edges
- Underlayment padding
- The subfloor base
The planks click together through tongue-and-groove connections to form the top wear layer. The underlay pad goes underneath, sitting on top of the structural subfloor. By not being attached to the subfloor, the whole floor is able to shift and adjust freely as environmental factors like temperature and humidity cause expansion and contraction.
How Floating Floors Differ from Traditional Flooring Installations
Floating floors have a very different installation method compared to traditional flooring options. Most standard floors are installed by being nailed, stapled or glued directly down to the subfloor underneath.
Floating floor systems on the other hand are loose-lay systems. Their modular planks click together on top of underlay padding, allowing the finished floor to literally “float” freely rather than being affixed down.
This major difference in installation style is what defines these floors as “floating”.
Lack of Flooring Adhesives
One key distinction is that floating floors can be installed without the use of adhesives or fasteners like nails and staples. This means:
- No messy glues to spread
- No specialized tools needed
- An easier installation process for DIYers
Minimal Subfloor Preparation
Preparing a subfloor for new flooring often involves intensive processes like:
- Sanding down high spots
- Filling in low spots to level
- Installing tile backerboard on concrete to cushion
But with floating floors, the planks are not in direct contact with the base layer below. So any minor subfloor imperfections or variances in height don’t impede installation.
Installs Over Existing Floors
Many standard floor options require complete removal of old flooring first before new flooring can be installed. But floating floors can be laid directly over most existing hard surface flooring materials like:
- Vinyl flooring
- Laminates
- Hardwoods
- Ceramic tile
This saves enormously on time and labor costs while preventing landfill waste. Just ensure the previous floor layers are flat, even, and structurally sound first.
Benefits of Choosing Floating Flooring
What sets loose-lay floating floors apart from traditionally installed flooring options? Several advantages make them an appealing choice:
Easier DIY Installation
Click-locking floating floors are designed to be DIY friendly. Without any nails, staples or glue to handle, most homeowners can tackle installation themselves as a weekend project.
Installs Quickly
The simple interlocking plank system allows floating floors to be installed very swiftly compared to nailed or glued down floors. Rooms can often be completed in a single day rather than multiple days.
Can Install Over Many Existing Floors
As mentioned previously, laying floating flooring over old vinyl, laminates, hardwood or tile can save hugely on demo costs and dumps trips. Just ensure the subfloor is flat underneath.
Flexible Flooring
Because planks connect but aren’t fixed down, floating floors have room to expand, contract and shift naturally with changing home environments.
Temperature swings or high foot traffic areas won’t damage locking floor planks. They flex and float to accommodate movement. This resiliency prevents cracks, gaps or planks popping loose over time.
Comfort Underfoot
Underlayment cushioning gives a slight spring to each step taken across the surface. This increased comfort can be especially beneficial for rooms where people stand for prolonged periods, like kitchens.
Minimizes Noise Transfer
Floating’s layers help absorb sound rather than transferring loud footfalls between floors. This provides essential acoustic insulation for condos, apartments and multi-story homes.
Easy to Replace Damaged Areas
If you ever encounter damaged, warped or stained planks, they can be quickly and cleanly swapped out without any effects to surrounding flooring. No adhesive means no hassle or residue.
Longer Lasting Floors
The expansive qualities and durability of floating floor systems often grant them long life spans. Made today with waterproof cores, they stand up well to moisture too.
Environmental Benefits
Floating floors can be installed without the use of harmful adhesives, making them a more eco-friendly flooring option. This can be especially beneficial for those looking to create a healthier and more sustainable living environment.
Acoustic Insulation
Floating floors can also provide acoustic insulation, which can be especially beneficial in multi-story buildings or apartments. This can help to reduce noise transfer between floors, making for a more peaceful living environment.
Materials Used for Floating Floors
Many flooring materials can be configured into modular floating floors. Some most commonly used options include:
Luxury Vinyl Plank (LVP)
A top choice, LVP features an extremely durable and waterproof surface coating. Stability from its rigid composite core prevents indentation from heavy furniture.
Laminate Flooring
Laminates are a versatile and affordable floating floor choice praised for realistic wood visuals. Modern laminates also have improved resistance to moisture damage.
Engineered Hardwood
Real wood construction grants unbeatable aesthetics and value. Engineered woods offer added structural stability perfect for floating installation.
Bamboo
Renewably-sourced bamboo brings attractive grains and tones. Available in both solid and engineered plank cores ideal for floating over concrete or wood subfloors.
Cork
Naturally antimicrobial cork resists allergens and mold growth. Provides comforting softness and insulation to rooms when used in floating floors.
Preparing for a Floating Floor Installation
Getting your underlying floor prepped is an essential first step before tackling any floating floor installation project:
Assess Subfloor Condition
Scan the substrate beneath carefully checking for:
- Level flatness across room
- High or uneven spots
- Cracks or holes needing filled first
- Peeling/bubbling areas on existing flooring
Use a long level and check diagnonally across the floor to catch any out-of-level spots. Address these prior to install because it will affect how well planks click together.
Acclimate Materials
It’s crucial you properly store and acclimate the flooring boxes for 24-48 hours before starting. Allow planks to adjust to indoor temperature/humidity levels first before unboxing.
Install Underlayment
First determine if your floor choice already has attached underlayment or if a separate underpad is required. Roll this cushy base layer out first before overlapping seams and sealing edges.
How to Install a Floating Floor Yourself
Once prepped, you can start enjoying the easy DIY experience of clicking a floating floor together with these basic steps:
Lay Out Planks
Unbox your flooring planks and arrange them loosely in the install pattern you want before formally connecting. This allows you to mix appearances and stagger seams before committing layout.
Connect Short Ends First
Align the short tongue and groove ends tightly together, angling up slightly before firmly pushing straight down to lock tight.
Tap Long Sides in Place
Once the short ends of two planks click securely together, tap gently along the long side to fully secure interlock tab into groove for a tight seam.
Stagger End Joints
Be sure to offset end seams row to row by at least 6 inches apart to prevent weak points forming in the floor.
Leave Expansion Gaps
Even though connected at tongue-and-grooves, floating floors still expand/contract. So leave 1/4-inch space at walls and objects to prevent buckling or damage when floors shift.
Once the main floor is fully clicked together, install coordinating trim pieces around perimeter edges to cover expansion spaces.
Floating Floor Care and Maintenance
Caring for your new floating floor investment is simple. Follow these basic habits and your floors will stay beautiful for years:
Regularly Sweep and Dust Mop
Frequently run a soft bristle broom or microfiber mop over planks to pick up crumbs, dirt and grit that can scratch if ground under shoe soles over time.
Damp Mop Occasionally
For a deeper clean, use damp mopping only when necessary. Always avoid excess moisture and never soak floating floor surfaces.
Add Felt Pads Under Furniture
Stick removable felt pads to the bottom of chair and table legs preventing scratches when shifted.
Use Manufacturer’s Floor Products
Clean using only the specialty floor cleaners recommended by your floating floor brand to prevent possible damage their surfaces.
When to Hire a Pro for Floating Floor Installation
While designed for DIY installs, there are some scenarios where utilizing an experienced flooring contractor is advisable:
Concrete Subfloors
Floating over concrete floors often demands moisture testing, primers and dehumidifiers done right to prevent trapped moisture issues.
Large Open Floor Plans
Clicking together hundreds of connected planks across expansive rooms with no breaks requires skill.
Complicated Floor Plans
Intricate layouts around multiple rooms, floor transitions and obstacles get tricky.
Limited DIY Experience
If you don’t feel fully confident completing the installation properly yourself, hire out labor and avoid headaches.
Other FAQs about Floating Floors
Are floating floors as durable as glued down floors?
Yes – modern click-locking floors are built to be just as durable as traditionally installed floors. Their connections lock tightly and many feature rigid waterproof cores.
Can you refinish or sand floating floors?
Unfortunately, no. The finish layers of floating floors are too thin to sand down or refinish over time like solid hardwoods. Floating floors will need fully replacing once worn or damaged beyond repair.
Are floating floors good for bathrooms?
Absolutely – most can withstand dampness very well. Many planks now feature waterproof cores and hot-welded seams specifically designed for kitchens, laundry rooms and bathrooms.
What causes loose planks after they are clicked together?
If installed incorrectly without properly engaging the locking mechanisms, planks can loosen over time. Seasonal humidity changes can also cause slight gapping if adequate expansion space wasn’t left during install.
That covers all the fundamentals about floating floor systems! As you can see, their special click-locking installation gives beautiful, durable floors able to handle active families and shifting homes.
If an easily DIY-installed floor sounds appealing, floating floors deliver on that promise in a weekend. Just be sure to properly prepare the subfloor first before starting. We hope this guide gave you all the info needed to decide if a floating floor is right for your next project!
