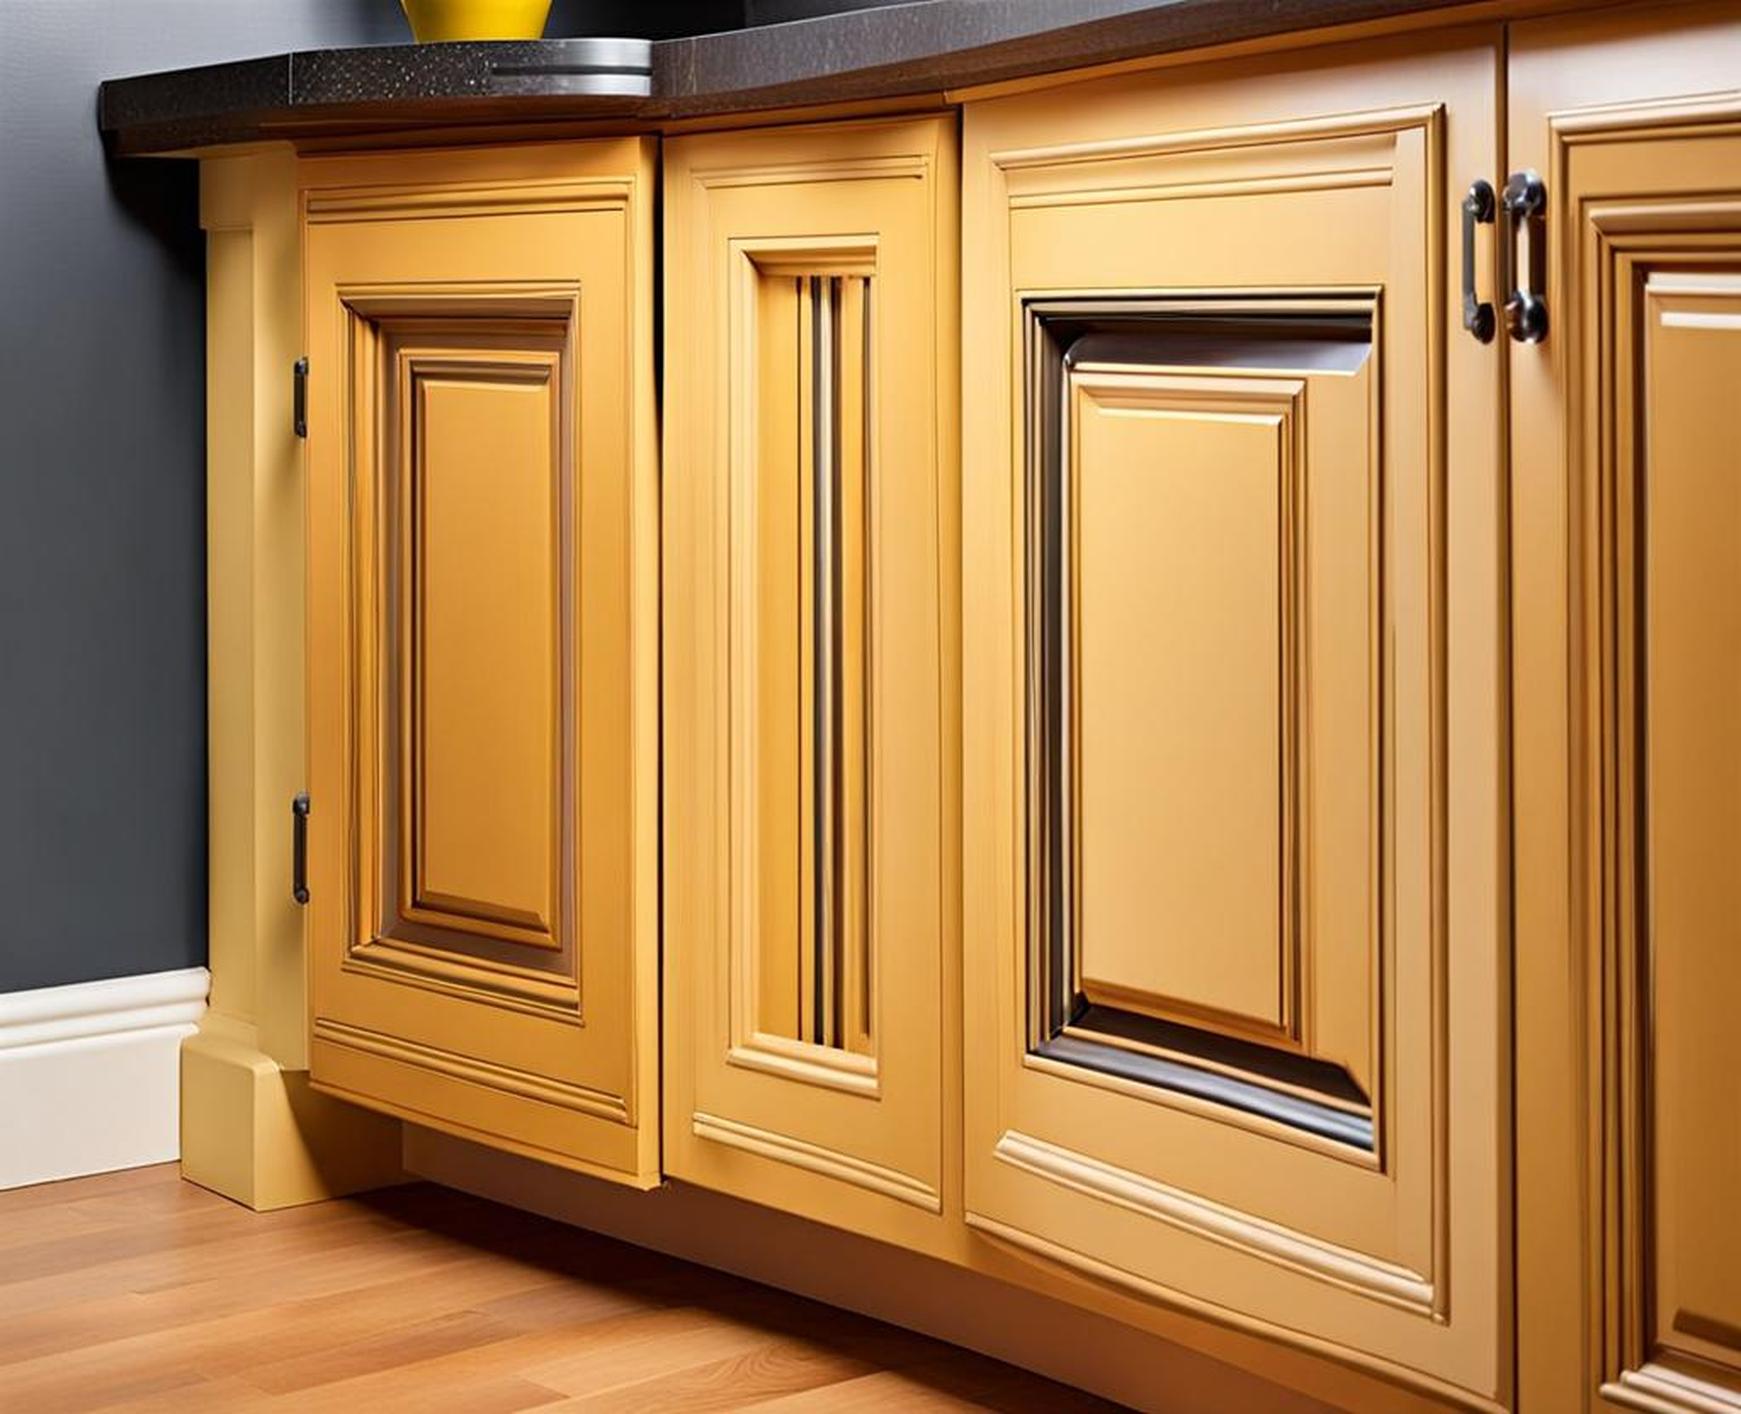
If your kitchen cabinets are looking a little lackluster these days with chipped paint, worn finishes, or simply an outdated color scheme, a fresh coat of paint can make a world of difference. Painting cabinets is a budget-friendly way to transform the whole look of your kitchen without undertaking a full renovation. But to get truly professional-looking results that stand the test of time, it’s important to understand the complete process before diving in.
With the right products, some helpful tips, and a little patience, you can upgrade your kitchen with a painted cabinet makeover that looks high-end.
Overview of Painting Kitchen Cabinets
Before we dig into the nitty gritty details, let’s do a quick overview of the key benefits, considerations, and factors that impact a kitchen cabinet painting project.
The Benefits of Painting vs. Replacing Cabinets
Giving your existing cabinets a fresh coat of paint offers a number of advantages over ripping them out and buying new cabinets:
- Far more affordable – Cabinet painting costs a fraction of full cabinet replacement.
- Eco-friendly – Repurposing your existing cabinets is greener than landfilling old ones and manufacturing new cabinets.
- Personalized – You can choose any paint color you desire to match your vision.
- Faster timeline – Painting can be done in less than a week without major renovations.
Cost Comparison: DIY vs Professional Cabinet Painting
While a professional kitchen cabinet paint job is worthwhile for intricate cabinetry or massive kitchens, many standard cabinet painting projects can be tackled by savvy DIYers. When factoring the cost to paint kitchen cabinets, here’s how DIY vs. pro quotes typically compare:
- DIY: $300 – $800
- Professional painter: $900 – $2500+
When calculating the cost for your particular kitchen, factors like cabinet dimensions, door style, layout complexity and paint choices will impact the price range. Contact reputable companies to request quotes for your specific project scope.
Other Factors Impacting Painting Cost
In addition to cabinet size and paint selection, the following factors also determine your total budget for a kitchen cabinet paint job:
- Design intricacy – More detailed door panels or frames take more prep work and paint time.
- Location and accessibility – Hard to reach areas or poor workspace flow will increase labor time.
- Existing cabinet condition – Significant repairs or adjustments add cost.
- Paint finish type – The highest quality enamels cost more per gallon.
Necessary Painting Supplies
Before starting your cabinet painting project, assemble all the necessary supplies. Having the right painting tools and protective equipment will make the process safer, easier and deliver better final results. Essentials include:
- Paint brushes and mini paint roller set
- Paint trays, roller handles and paint pole
- Sandpaper in various grits
- orbital sander (optional but recommended)
- Painters tape
- Drop cloths
- TSP cleaner
- Rags, tack cloth
- Wood filler
- Safety gear (gloves, face mask, glasses)
Preparing Cabinets for Painting
They say that proper surface prep is 80% of achieving a professional paint job. That definitely holds true when painting kitchen cabinets. Taking time to thoroughly clean, sand, fill imperfections and remove doors and hardware will guarantee the new paint adheres tightly and delivers beautiful, consistent results.
Removing Doors, Drawers and Hardware
Detaching the cabinet doors, drawers and all hardware allows you to access the interior cabinet boxes more easily for cleaning and painting. It also prevents paint dripping on handles or hinges. Here’s how to remove everything:
- Label each door and drawer as you remove it so it can be easily replaced later in the correct spot.
- Unscrew door hinges using a screwdriver. Place hinge screws in labeled bags.
- Carefully lift doors off the hinges and set aside.
- Drawers should slide out, but may need a screwdriver to pry off rails or slide brackets on either side.
- Remove handles and knobs with a screwdriver. Add to labeled bags.
Cleaning and Sanding Cabinet Boxes
With doors detached, concentrate on meticulously prepping the cabinet box surfaces:
- Wash boxes inside and out with TSP or other degreasing cleaner using rags.
- Lightly sand each side with 120 – 220 grit sandpaper to scuff the surface. Always sand in the direction of the wood grain.
- Vacuum up all sanding dust. Tack cloth the boxes to remove any remaining dust specks.
- Seal existing cracks or holes using wood filler. Let dry completely.
- Fill screw holes from door removal with spackle. Smooth holes flush when dry.
Cleaning and Sanding Doors
With the frames prepped, shift focus to the detached doors and drawers:
- Use TSP or degreaser spray to scrub both sides of doors. Rinse well.
- Sand each door evenly using 120 grit paper until completely dulled and slightly roughened. This helps paint grip.
- Fill any cracks or imperfections with wood filler. Allow to completely cure.
- Sand again with 220 grit paper for an ultra smooth finish.
- Vacuum doors thoroughly. Wipe with a tack cloth before priming.
Choosing Cabinet Paint Products
With squeaky clean cabinet boxes and doors, it’s time to focus on choosing the best primer and paint for a flawless and durable finished product.
Cabinet Paint Types and Finishes
While all paint claims to bond to wood and metal, specialty cabinet paints are uniquely formulated for the high traffic nature of kitchens. Considerations when selecting cabinet paint include:
- Oil-based – Hard, protective finish; requires mineral spirits cleanup
- Water-based acrylic – Low-VOC; water cleanup; fast drying
- Alkyd enamel – Extremely durable; harder to apply
- Paint finish: High gloss is most stain and water resistant. Popular satin or semi-gloss are also quite durable and highlight less surface imperfections.
Primers, Sealers and Bonding Solutions
In addition to a high grade cabinet paint, it’s wise to invest in a quality primer or bonding agent to help the new paint adhere tightly. Here’s an overview of product options:
- Primer – Preps raw wood for topcoat adhesion and masks imperfections
- Stain-blocking primer – Prevents stained wood bleed-through
- Deglosser – Liquid sander removes gloss from existing paint
- Bonding primer – Bonds topcoat to multiple challenging surfaces like laminate and metals
Cabinet Painting Supplies
In addition to paint and primers, completing your kitchen cabinet paint job requires specialized application tools designed for finessed finishes on cabinets and furniture:
- Angled paint brushes – Crucial for precise cutting-in corners and edges
- High quality roller covers – Even coat application on broad surfaces
- Microfiber mini-rollers – For confined spaces
- Paint sprayers – Airless types efficiently apply ultra smooth coatings
Applying Primer and Paint
With all the prep work complete and your paint supplies gathered, it’s finally time to see all your hard work pay off! Follow these best practices for priming and painting cabinets like an expert.
Priming Properly
Always prime cabinets before painting for superior adhesion and aesthetic results. Here are pro tips:
- Lightly sand glossy doors to dull the previous finish
- Vacuum then wipe entire cabinet with a tack cloth
- Apply 1-2 thin, even coats of quality primer per manufacturer instructions
- Allow proper drying time between coats
- Sand lightly with 220 grit sandpaper to smooth primer coat
- Remove all dust with vacuum and tack cloth
Painting Techniques and Best Practices
Ready to get your first strokes of color down? Arm yourself with these cabinet painting tips from the pros:
- Always paint in a well ventilated area and wear PPE gear
- Work in sections for the most efficient workflow
- Keep paint layer thin and work quickly to maintain wet edges
- Load brush evenly and tap gently against side of can to prevent dripping
- Cut-in corners and edges first with angled sash brush using straight strokes
- Roll larger flat areas using “W” and “M” overlapping patterns
- Inspect entire surface area for missed spots after each coat
- Allow proper drying times according to manufacturer specifications
Applying Final Coats
While one thick coat may seem quicker, taking time to apply multiple thin layers of paint leads to a smoother, more even and visually flawless finish.
- Apply second coat using same painting motions for even blending
- Gently sand painted surface with fine 220 grit sandpaper before final coat
- Remove all dust particles with a vacuum hose nozzle and lint-free rag
- Finish with third and final coat of paint using same techniques
- Resist urge to overload final coating – thin is key
- Allow a full 24 hours drying time before reinstalling doors/hardware or putting kitchen back into use
Reinstalling Doors, Hardware & Finishing Touches
Hanging Doors and Drawers
Once thoroughly cured, the freshly painted doors and drawer fronts can be rehung using the original hardware:
- Ensure all painted surfaces have dried a full 24 hours first
- Refer to labels applied during removal process
- Reattach hinges and slide drawers back into openings
- Have a helper to position while you screw in hardware
- Make any minor hinge adjustments for proper fit and alignment
- Reattach original handles and knobs
Add Finishing Touches
A few subtle tweaks provide extra polish:
- Update cabinet hardware like handles, pulls or knobs for a cohesive fresh look
- Consider adding new tasks lighting fixtures above the sink or counter workstations
- Crown molding trim along the cabinet tops makes the new paint really pop
- Don’t forget the walls! New backdrop paint ties everything together
Maintaining Newly Painted Cabinets
Put effort into properly caring for your newly painted cabinets and they’ll retain their just-painted look for years to come:
- Allow full cure time of 30 days before cleaning
- Use only light, non-abrasive cabinet cleaners
- Immediately clean up spills
- Re-apply protective topcoats annually
- Touch up any flaws as soon as they appear
Updating existing kitchen cabinets with a fresh painted finish can make a dramatic improvement through DIY elbow grease. Now that you know how to prep, prime and paint cabinets like a seasoned professional, you can confidently tackle this project in your own kitchen. Just assemble the right supplies, dedicate adequate time for proper prep work, apply painter’s techniques for smooth coverage and maintain the finish properly over time. With this comprehensive cabinet painting handbook, your kitchen can get a budget-friendly makeover resulting in a polished, custom look you’ll love coming home to.
