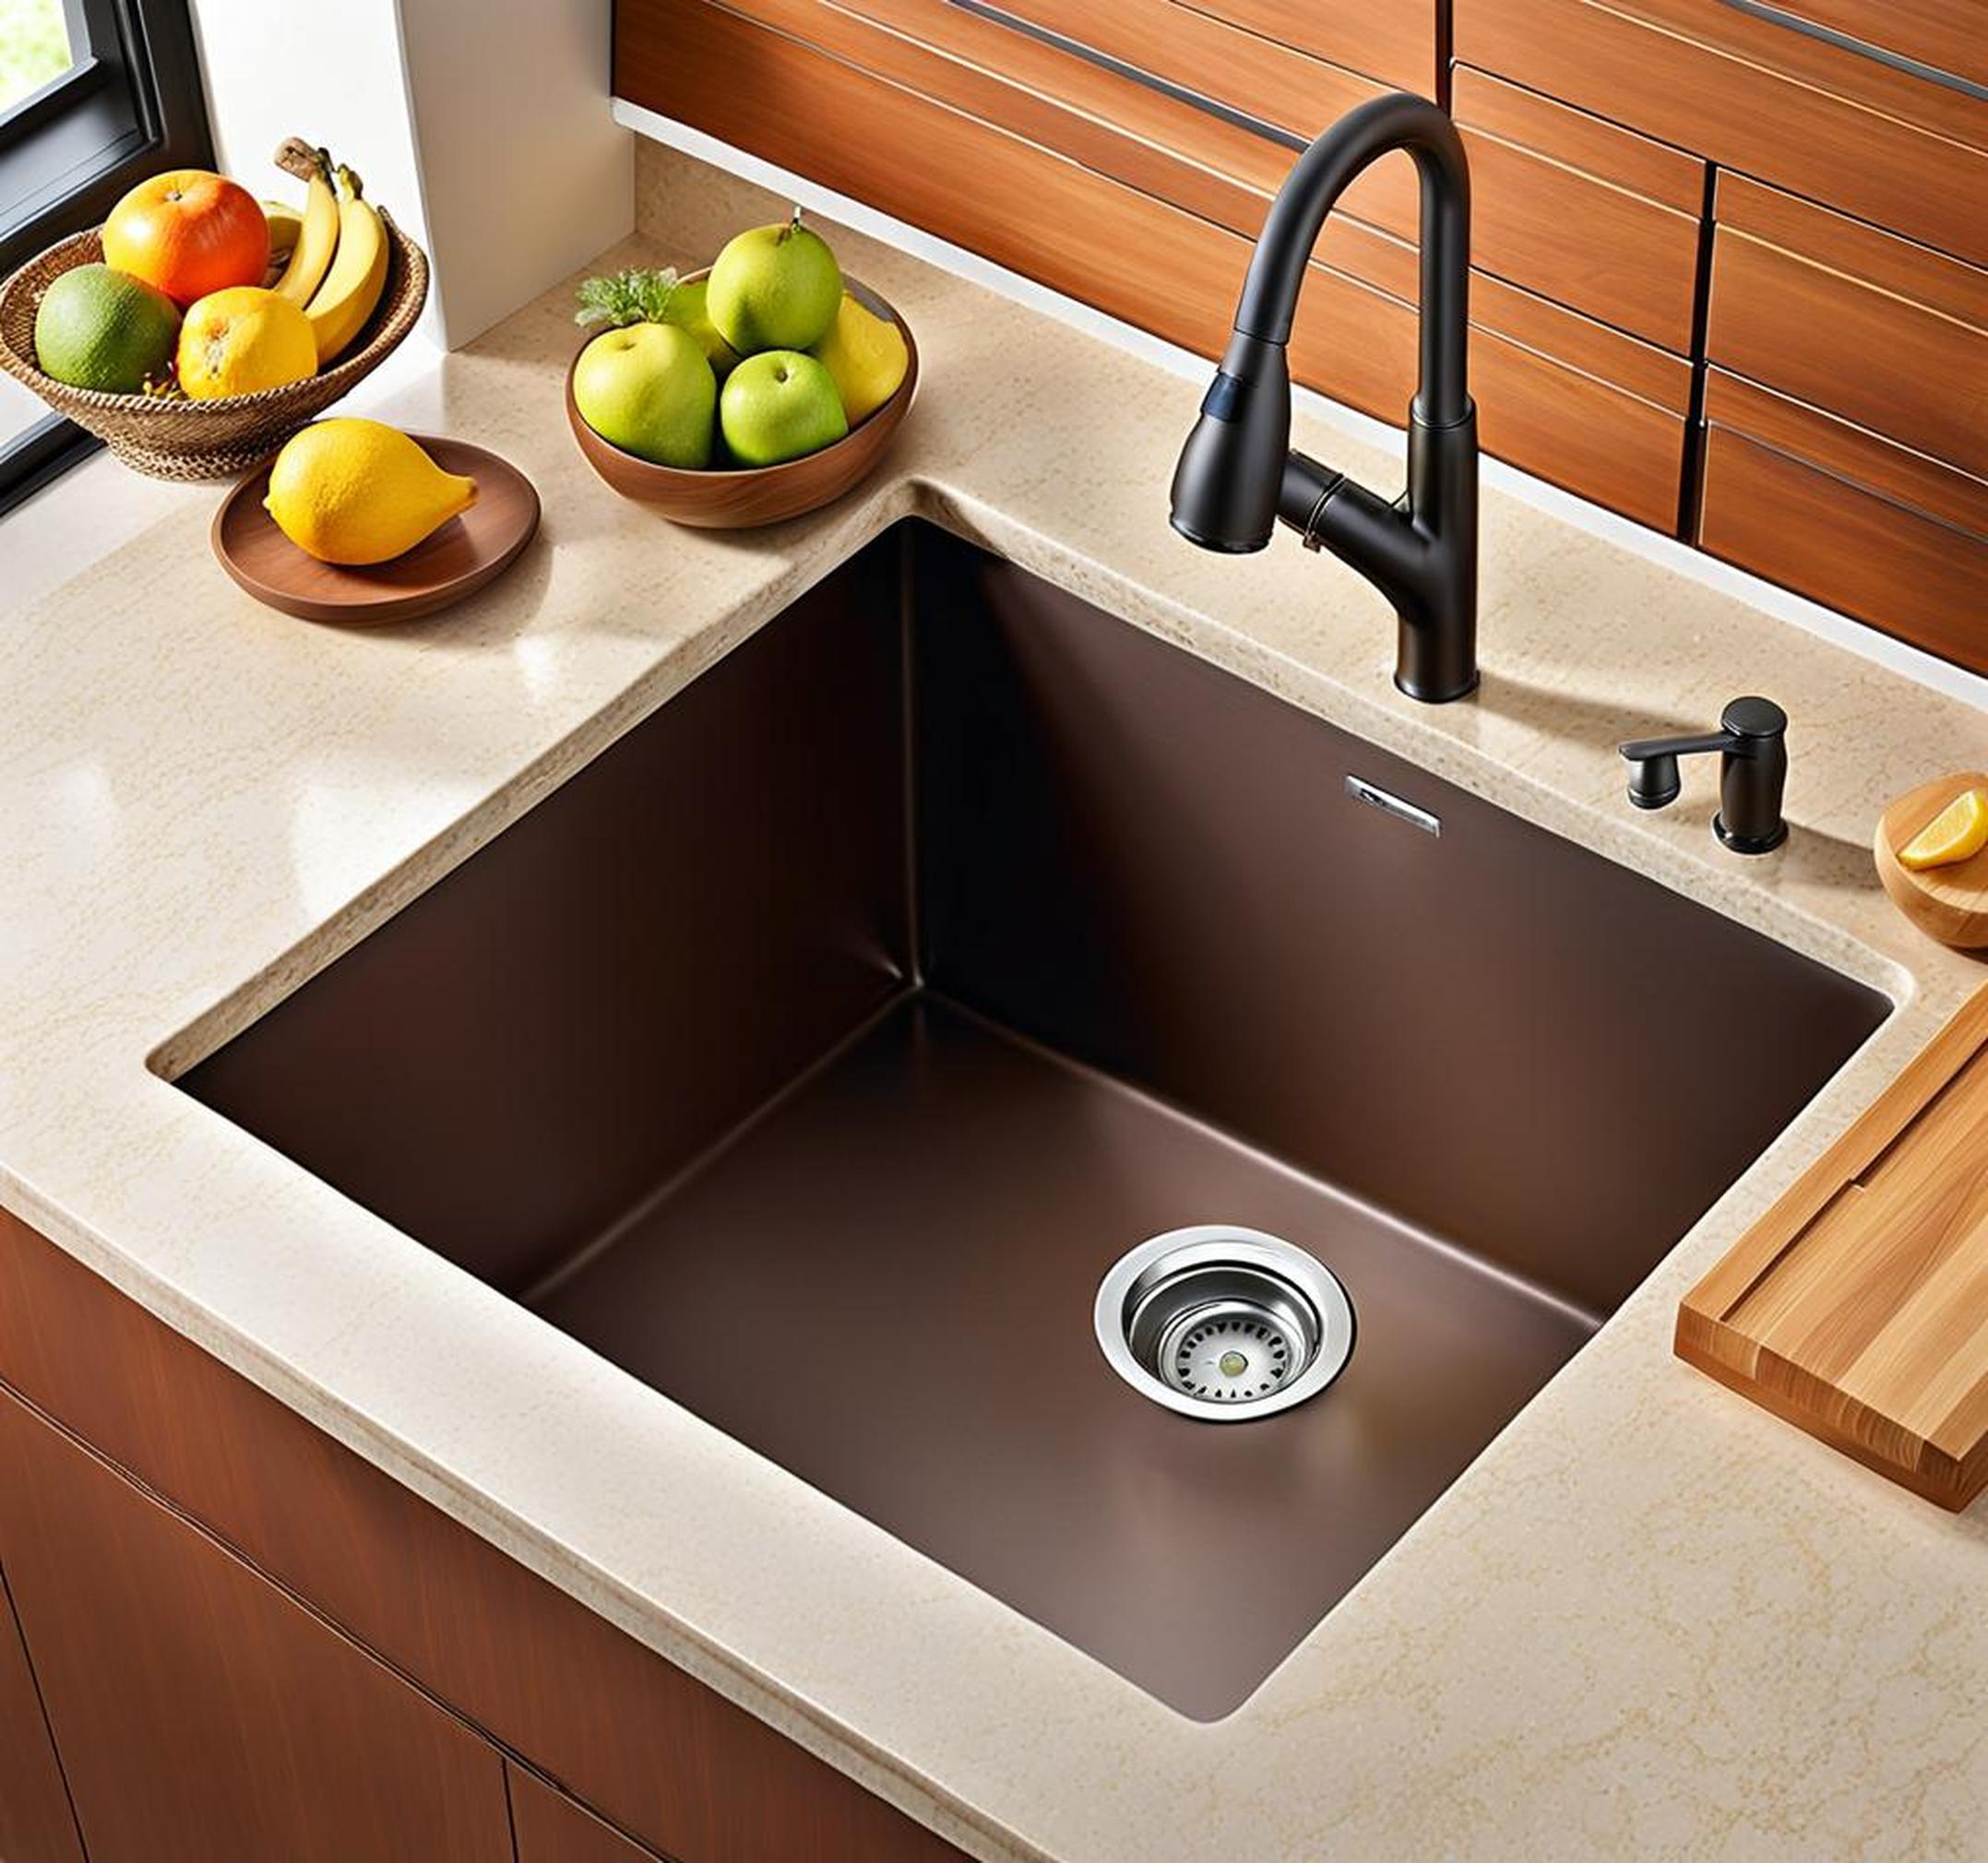
With sleek lines and seamless design, undermount sinks bring a contemporary and stylish look to any kitchen. But what exactly are undermount sinks, and what are the benefits of installing one in your home? This complete guide will explain everything you need to know about these modern and minimalist sinks.
An undermount sink refers to a sink that is installed underneath the kitchen countertop, rather than dropping in from above the counter. Also known as bottom-mount sinks, the rim of the sink is concealed and hidden from view, creating a smooth and unbroken transition from countertop to sink.
What Exactly Are Undermount Kitchen Sinks?
Unlike traditional top-mount or drop-in sinks that sit on top of the counter, an undermount sink is designed to mount below the counter. The edge of the sink installs flush with the bottom of the counter, so the rim is completely hidden after installation.
This not only creates a more seamless, built-in look, but also makes an undermount kitchen sink easier to wipe into. With no rim obstructing the counter’s edge, crumbs, spills and debris can be quickly swept right from the counter directly into the basin of the sink.
Undermount Sinks vs Drop-In and Top-Mount Sink Styles
Drop-in, or self-rimming, sinks sit inside an opening in the counter and are supported by the counter itself. The rim rests on top of the counter, leaving a visible lip around the sink bowl. Debris can collect in this lip area, making cleaning more difficult.
Top-mount sinks are installed from above the counter with the rim resting on the counter surface. Like drop-in sinks, they leave a visible lip that can catch debris. An undermount sink provides a cleaner, more integrated look.
Installation of Undermount Kitchen Sinks
Installing an undermount kitchen sink takes more effort than a drop-in sink. The countertop must be pre-cut to an exact size to fit the dimensions of the sink. Most installers recommend a professional installation due to the precise cutting required.
Holes must be drilled in the counter or cabinet to accommodate clips that secure the sink in place. The sink is held tight against the underside of the counter, then sealed into place with silicone caulk. When done properly, this creates a watertight seal.
Benefits of Undermount Kitchen Sinks
While the installation process may be more complex, undermount sinks offer several advantages that make them a popular choice:
- Easy wipe-in from countertop directly into sink
- No exposed rim means less chance of dirt or grime buildup
- Smooth, streamlined look is contemporary and aesthetically pleasing
- Works well with a wide range of countertop materials like granite or quartz
- Gives kitchens a more spacious, modern feel
The lack of an exterior lip means the entire sink and counter surface is easy to wipe down. Many homeowners consider the look of an undermount sink to be a premium upgrade that adds value and style to the kitchen.
Advantages of Hygiene and Cleanliness
The seamless design also makes an undermount sink easier to keep clean. With no rim or ledge surrounding it, there is nowhere for dirt, grime and bacteria to accumulate. This improves hygiene, an important consideration for those with allergies or sensitivities.
The smooth transition from counter to sink also makes an undermount sink ADA compliant, as there is no obstructing lip or edge for individuals in wheelchairs to maneuver around.
Things to Consider Before Installing an Undermount Sink
While there are many excellent reasons to install an undermount sink, there are also a few considerations to keep in mind:
- Undermount sinks tend to be more expensive than comparable drop-in sinks
- Installation is best left to professionals, at an added expense
- The underside of the counter material must be smooth. Won’t work with some materials like tile or butcher block.
- Replacing an undermount sink is more difficult compared to drop-in sinks
- Drainage can be slightly limited without an exterior lip
Undermount Sinks Often Cost More
In addition to professional installation costs, the sinks themselves tend to cost more than drop-in alternatives. Mid-range options start around $250 with high-end undermount sinks running $500 and beyond.
The material of the sink will impact the price as well. More expensive options like copper, natural stone, and enameled cast iron tend to cost more than stainless steel undermount sinks.
Difficulty of Replacement
One downside is that undermount sinks are a more permanent fixture. The countertop may need replacement if the sink needs to be changed out down the road, as it must be cut to an exact size to fit the dimensions of the original undermount sink.
Choosing the Right Undermount Sink Material
Undermount sinks come in a variety of materials to suit different aesthetic tastes and budgets:
- Stainless steel – Most popular option; durable, affordable, matches appliances
- Enameled cast iron – Traditional look; retains heat well but can chip over time
- Composite granite or quartz – Matches countertop; resists scratches
- Copper – Naturally antimicrobial; artistic look but requires frequent polishing
- Ceramic – Glazed finish resists stains/scratches; prone to chips from dropped dishes
Consider the overall look you want, frequency of use, and how easy the sink will be to maintain when choosing an undermount sink material. A stainless steel or composite granite sink is a good choice for most kitchens.
Single vs Double Bowl Undermount Sinks
Undermount sinks come in single and double bowl options. What’s best for you depends on:
- Size of your kitchen
- Volume of dishwashing
- Your preferred washing method
Single bowl sinks are ideal for smaller spaces. The unbroken basin offers a streamlined look and makes cleaning large pots and pans easier. Many people prefer washing dishes in a single large basin.
Double bowl sinks let you keep dirty dishes and soapy water separate from the rinse side. This can streamline dishwashing for quick cleanup after meals. Some compromise with a 60/40 double bowl.
Step-By-Step Undermount Sink Installation
Installing an undermount sink takes careful planning and precision. Proper installation is key to creating a watertight seal and preventing leaks or damage.
Preparing the Countertop
The cutout hole for the sink should align perfectly with its dimensions. Measure carefully to get this right the first time. Craft paper templates can ensure a precise cutout.
Cutting the Countertop Hole
Use a specialized countertop saw or drill holes around the edges and tap the cutout free. Make sure cuts and edges are smooth.
Securing the Undermount Sink
Place the sink on its back to access the mounting holes. Screw in fasteners through these holes into pre-drilled holes in the cabinet or countertop underside. This prevents sink movement.
Sealing With Silicone Caulk
A continuous bead of silicone caulk around the rim seals the sink to the countertop. Smooth the caulk with a wet finger or tool to ensure a watertight seal.
After installation, allow the caulk to fully cure overnight before using the sink. Verify no leaks by plugging the drain and filling with water.
Caring for and Cleaning an Undermount Kitchen Sink
Regular cleaning and maintenance keeps any undermount kitchen sink looking like new:
- Clean daily using a non-abrasive sink cleaner and soft sponge
- Rinse thoroughly and dry with a towel to prevent water spots
- For tough stains, use baking soda and vinegar – effective but non-abrasive
- Avoid harsh chemicals or abrasive scouring pads that could damage the finish
- Re-apply caulk if cracks appear to prevent leaks
Always read the manufacturer’s care instructions for your specific sink material. Stainless steel and ceramic sinks have special cleaning considerations.
Maintaining the Watertight Seal
It’s important to periodically check the caulk seal around an undermount sink. Look for any cracks or gaps that could allow water to seep underneath, resulting in damaged countertops or cabinets.
Reapplying a fresh caulk bead annually or biannually ensures you keep a watertight seal. A well-sealed undermount sink should last for many years.
Gorgeous Undermount Kitchen Inspiration
When installed properly, an undermount sink can make a dramatic style statement in your kitchen. Here are some inspiring ways to incorporate an undermount sink:
- Try an apron-front sink paired with traditional cabinetry for a farmhouse feel
- Allow a stainless steel model to shine as the focal point of an industrial kitchen
- Choose a sleek ceramic sink in sync with modern glossy cabinets
- Design a professional chef’s kitchen with an oversized double bowl option
The possibilities are endless! An undermount sink can complement any design aesthetic when thoughtfully incorporated into the overall kitchen scheme.
Undermount kitchen sinks are one of the hottest trends in kitchen design, and for good reason. The gorgeous, seamless design provides easy wipe-in cleaning and brings a contemporary, built-in look that feels premium.
While the installation process is more involved, the end result is well worth the effort and small additional upfront investment. Undermount sinks can completely transform the look of a dated kitchen.
Just be sure to educate yourself on the process and consult professionals when needed. And take care to properly maintain your sink so it retains its flawless finish.
We hope this complete guide has answered all your questions and concerns about undermount sinks. They are sure to add beauty and value to any home.
