Welcome to the definitive guide on properly applying Gardener’s exterior wood stain to protect and beautify your outdoor wood projects. In this comprehensive resource, we will cover everything you need to know about choosing, prepping, and staining wood using this top-quality product.
Gardener’s exterior wood stain offers superior protection against water damage, UV rays, and mildew growth. It contains a unique polywhey formula made from milk protein and food-grade preservatives. This makes it safe for use in vegetable gardens and around people and pets. The semi-transparent stain enhances natural wood grain while providing durable color. With proper application, it can shield your wood from the elements for years.
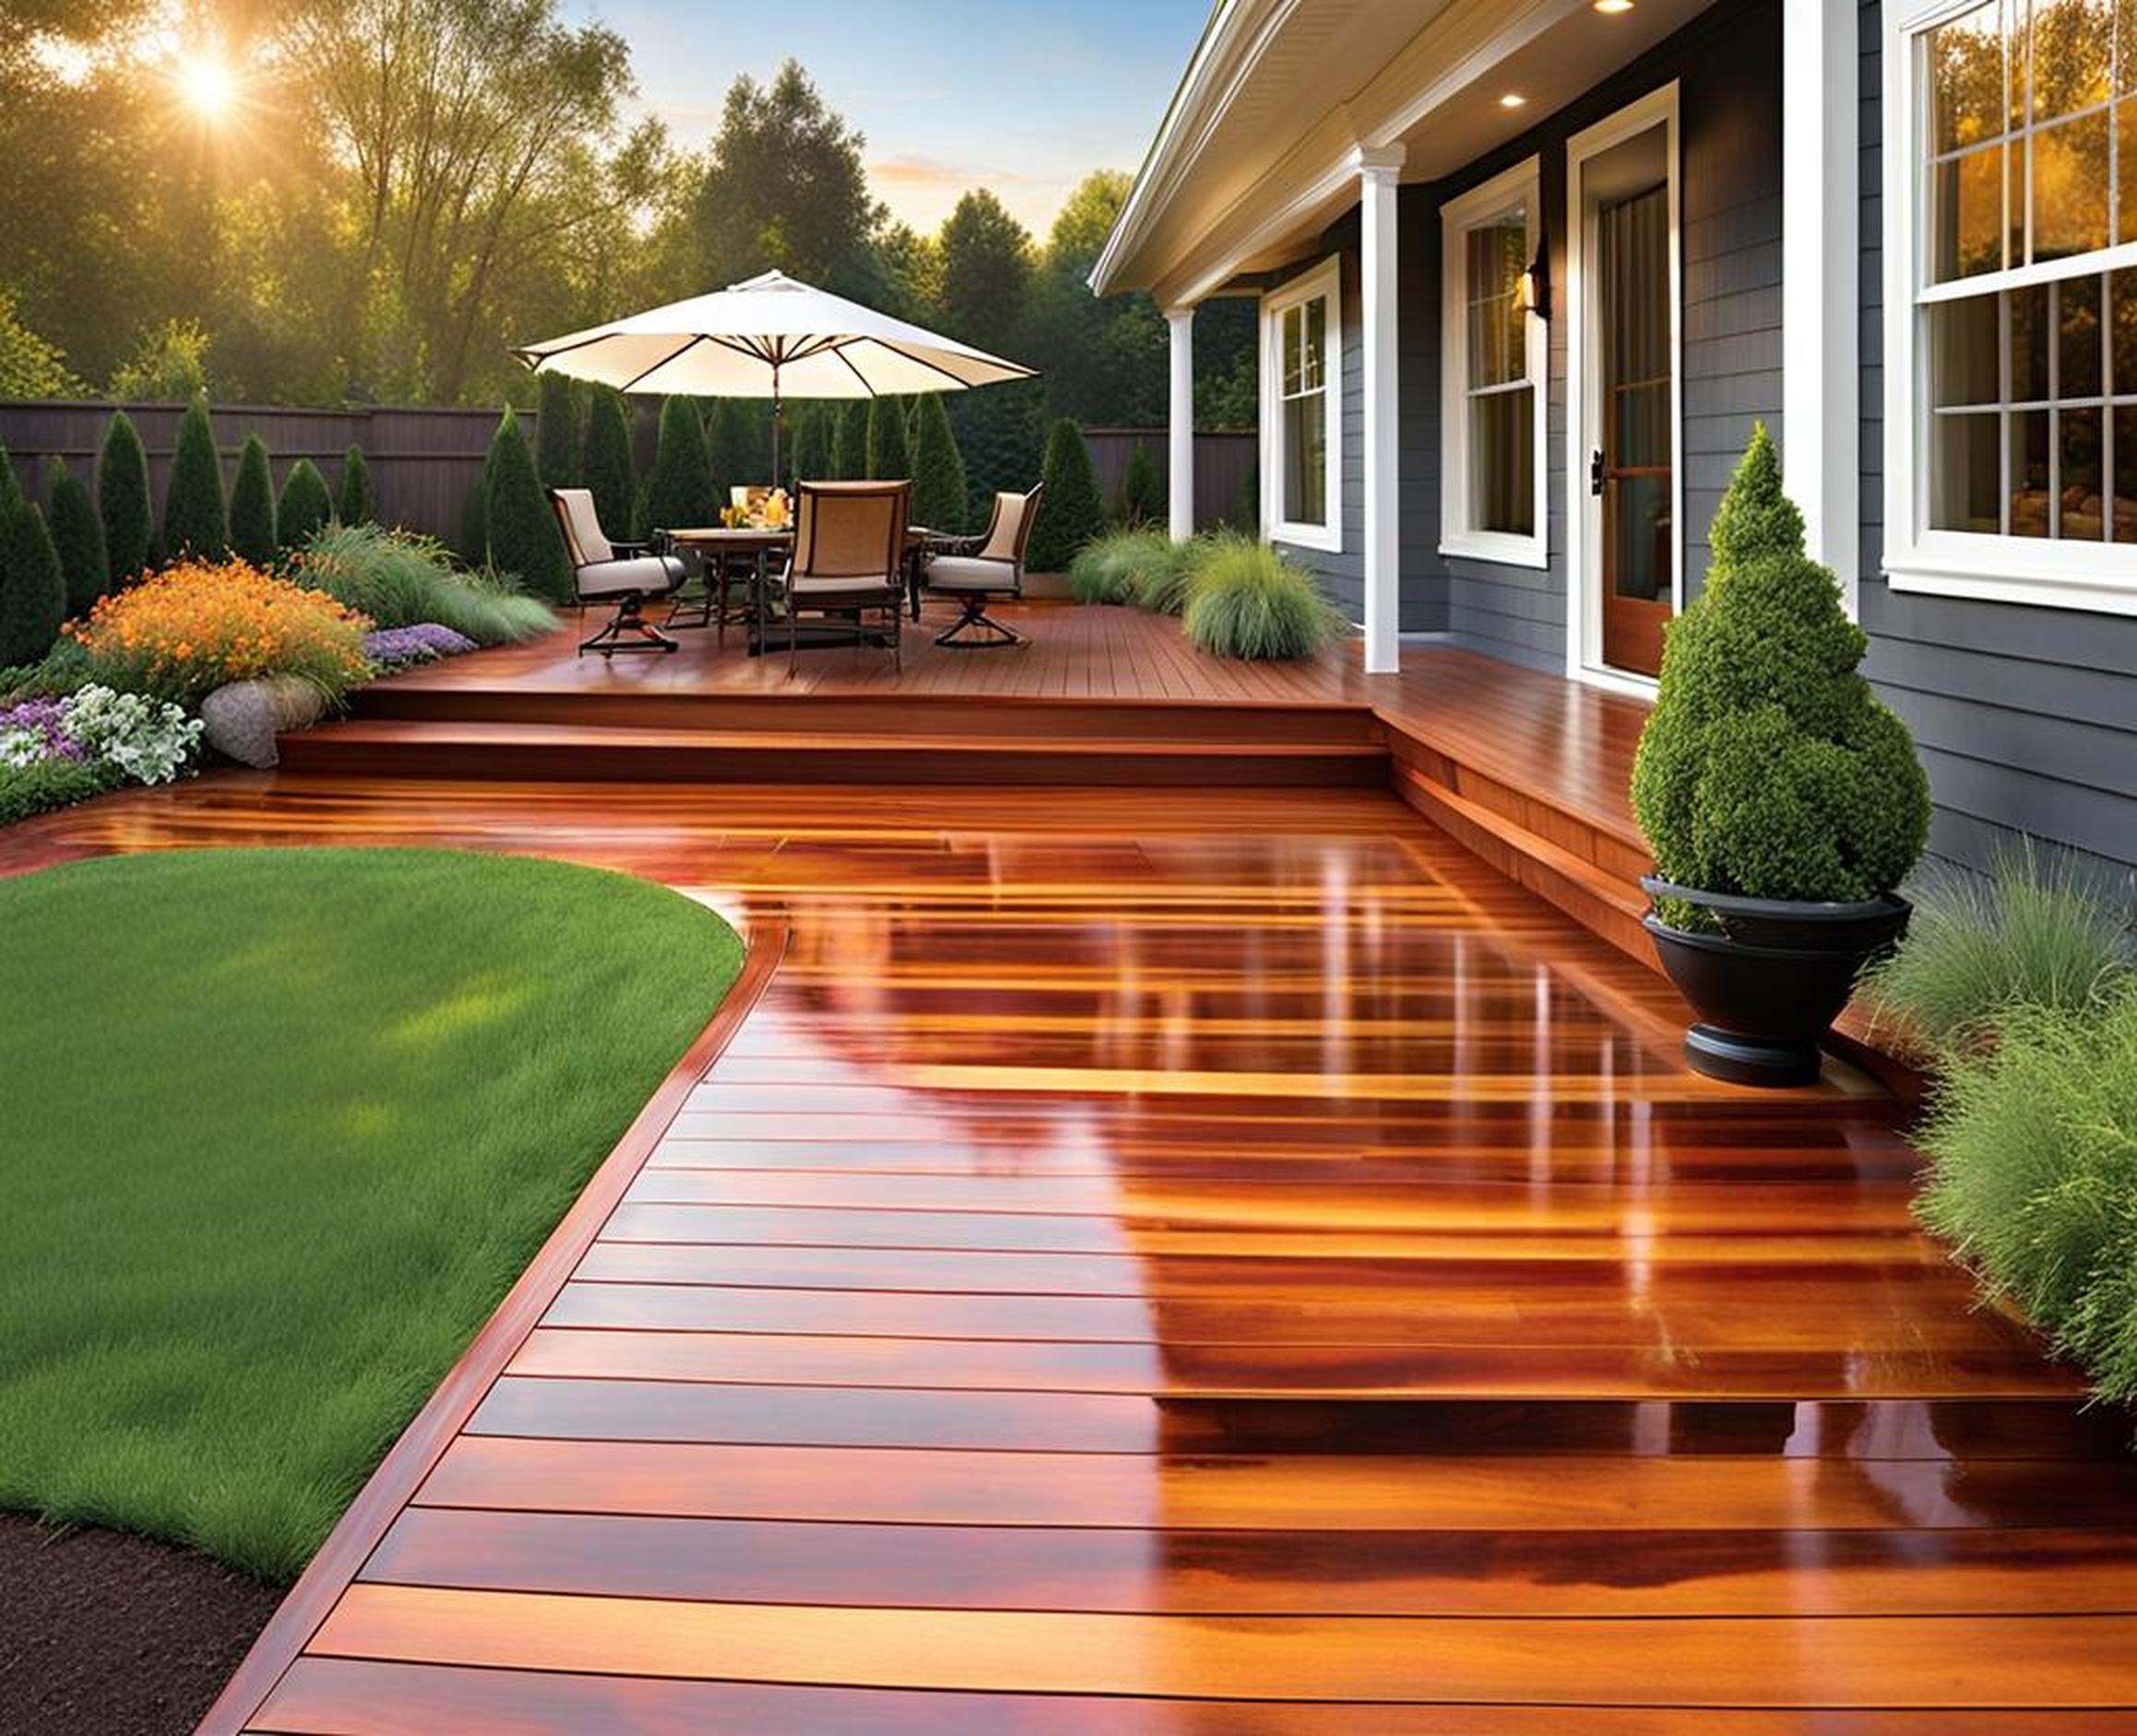
Choosing the Right Stain Color
Gardener’s exterior wood stain comes in a rainbow of attractive colors to match your design aesthetic. Most popular are natural hues like Cordovan Brown and Burnished Gold. Darker colors like Graphite Gray can emulate a rich black finish when applied in multiple coats. Always test your stain choice on a hidden spot before proceeding with the full project.
Keep in mind that stain alters the original wood tone depending on factors like porosity, new growth, grain variation, and age. The color may shift slightly darker or lighter from your expectations. Bold, opaque stains can help compensate for uneven absorption issues.
Test Samples First
Before coating your entire deck or fence, use a paintbrush to apply sample patches of your preferred colors to inconspicuous areas. Allow each to dry fully before deciding. View the samples at different times of day to see how sunlight impacts the tone.
Factor in Age-Related Color Changes
Newly applied stain will look its darkest. Over the following weeks, the color may mellow and lighten slightly with exposure to sun and rain. Pigments also tend to fade over years of weathering. Remember this if aiming for a dramatic look.
Proper Surface Preparation
Prepping your wood surface is paramount for stain adhesion and longevity. Follow these crucial steps:
Clean Away Surface Debris
Use a stiff bristle brush and an all-purpose cleaner or wood wash product to scrub away dirt, mildew stains, sap, and other debris. For seriously soiled areas, apply deck cleaner and let it sit briefly before rinsing.
Sand to Smooth and Open Wood Grain
Lightly sand your surface with 120-150 grit sandpaper to smooth any rough spots and open the pores. Always sand with the direction of the wood grain. Pay extra attention to areas prone to splintering.
Wipe Away Dust
Use a tack cloth or rag dampened with mineral spirits to wipe all dust away after sanding. Lingering particles can mar the stain’s appearance. Let the wood fully dry again before moving onto staining.
Tools and Materials Needed
Gather these supplies before getting started:
- High-quality nylon/polyester brush
- Paint tray and stir sticks
- Lint-free rags
- Plastic sheet or tarp
- Gardener’s exterior wood stain
- Optional: Plastic paint bucket, sprayer
For large surfaces, consider using an airless sprayer for fast application. But brushes allow excellent control and minimize waste.
How to Apply Gardener’s Exterior Wood Stain
Once your surface is prepped and materials gathered, it’s time to start staining. Follow these best practices for a flawless finish:
1. Stir the Stain Thoroughly
Vigorously mix the stain with a stir stick before and periodically during application. This blends any pigment solids that settled on the bottom.
2. Work in Manageable Sections
Stain just a few boards widthwise at a time. Stopping halfway across a surface can result in lap marks at the restart point.
3. Apply a Uniform Coat
Use a brush or rag to distribute the stain across the wood. Apply in the direction of the grain. Overlap strokes to prevent streaking. Maintain a wet edge boundary.
4. Brush Along the Wood Grain
Always brush parallel to the grain direction to allow maximum penetration. Avoid crisscrossing motions which can leave noticeable brush marks.
5. Coat All Sides of the Wood
Don’t neglect the undersides and end grains of boards. These absorb the most moisture and need ample stain coverage.
6. Work Quickly to Maintain a Wet Edge
Move steadily without pausing to prevent lap marks where two dried edges meet. For large areas, have another person continue as you refill your brush.
7. Feather Out Excess Stain
Avoid drips by gently brushing out puddles and runs before they set. Use a dry brush tip to lightly blend out thick edges.
8. Allow Proper Curing Time Between Coats
Let the first coat dry 2-4 hours before evaluating if a second is needed for uniform appearance. Then wait at least 24 hours to add any extra coats.
Achieving Full, Even Coverage
It usually takes 2-3 thin coats of Gardener’s exterior wood stain to fully saturate the wood surface. This not only enhances the color depth but also builds crucial protective layers:
Determine If Additional Coats Are Needed
After allowing the first coat to dry for 24 hours, inspect the surface. If absorbent areas like end grain appear lighter, apply a second coat just to those spots. For uniform protection and color, go with another full coat.
Let Stain Dry Between Coats
Never apply a second coat until the prior one is completely dry to the touch. This typically takes at least 24 hours in ideal weather. Rushing this results in drip marks, uneven absorption, and surface defects.
Watch for Missed Areas
It’s easy to overlook the undersides of ledges and supports when staining. Be diligent about checking these hidden spots after each application.
Drying Time and Curing
Patience is key when it comes to letting Gardener’s exterior wood stain dry and cure properly. Here’s what to expect:
Typical Drying Duration
In dry weather between 60-80degF, expect the stain to be dry to the touch within 2-4 hours. Colder or humid conditions can extend drying time. Test a small area before handling or recoating.
Allow Proper Curing Time
Though dry to the touch more quickly, the stain needs about 48 hours of curing time to achieve its protective properties. Avoid heavy use, abrasion, and exposure to rain or sprinklers during this period.
Weather Conditions Impact Curing
Cool, humid conditions can slow curing compared to warm, dry weather. When in doubt, allow extra time before exposing the freshly stained surface to the elements.
Cleanup and Long-Term Maintenance
A few simple maintenance steps will keep your stained wood looking its best:
Clean Gear Promptly
Use mineral spirits to thoroughly clean brushes, trays, and any other staining equipment immediately after use. Allow rags to dry in an open metal container before disposal.
Inspect Annually
Check your stained surface each year for any worn or flaky areas needing fresh stain. Address these quickly to avoid moisture damage.
Prepare for Reapplication
Follow the cleaning and sanding steps outlined earlier to refresh the wood for restaining every 1-2 years for decks and 2-4 years for siding or fences.
Frequently Asked Questions
How Long Does Gardener’s Stain Last?
On horizontal surfaces like decks or benches, expect to reapply after 1-2 years. Vertical surfaces like fencing can go 2-4 years before needing renewal. Proper prep and application impact lifespan.
Can I Apply in High Humidity?
It’s best to avoid staining when humidity exceeds 85%. Wait for lower humidity to ensure proper drying and adhesion. The wood surface itself should be below 15% moisture content.
What if it Rains After I Apply the Stain?
If significant rain falls within 2-4 hours of application, the stain may streak or wash away in areas. Once cured 48 hours, moisture resistance is much greater. Let the surface fully dry before re-coating affected areas.
Now that you know how to flawlessly prep, stain, and maintain exterior wood, you can take on staining projects with confidence. Gardener’s exterior wood stain enhances texture and color while providing superior weatherproofing. Follow these best practices for results that stand up to the elements for years.
Transform tired, drab wood into a showstopper that adds character and protection to your outdoor living space. With a little time and effort, Gardener’s stain allows you to realize the full potential of your wood while keeping it shielded from nature’s harsh effects.
