White oak’s timeless beauty has captivated woodworkers and homeowners alike for generations. But finding the best stain for white oak can be a game-changer in bringing out its natural allure. From rich, deep tones to light, airy finishes, the right stain can transform your white oak projects into stunning masterpieces. Let’s dive into the world of white oak staining, exploring top options and expert application techniques that’ll help you achieve the perfect finish for your wood.
Understanding White Oak and Its Characteristics
White oak is a remarkable wood species that has earned its place as a favorite among craftsmen and designers. Its unique properties make it an excellent canvas for various staining techniques, allowing for a wide range of finish options. Let’s delve into what makes white oak so special and why it’s crucial to understand its characteristics before choosing the best stain for your project.
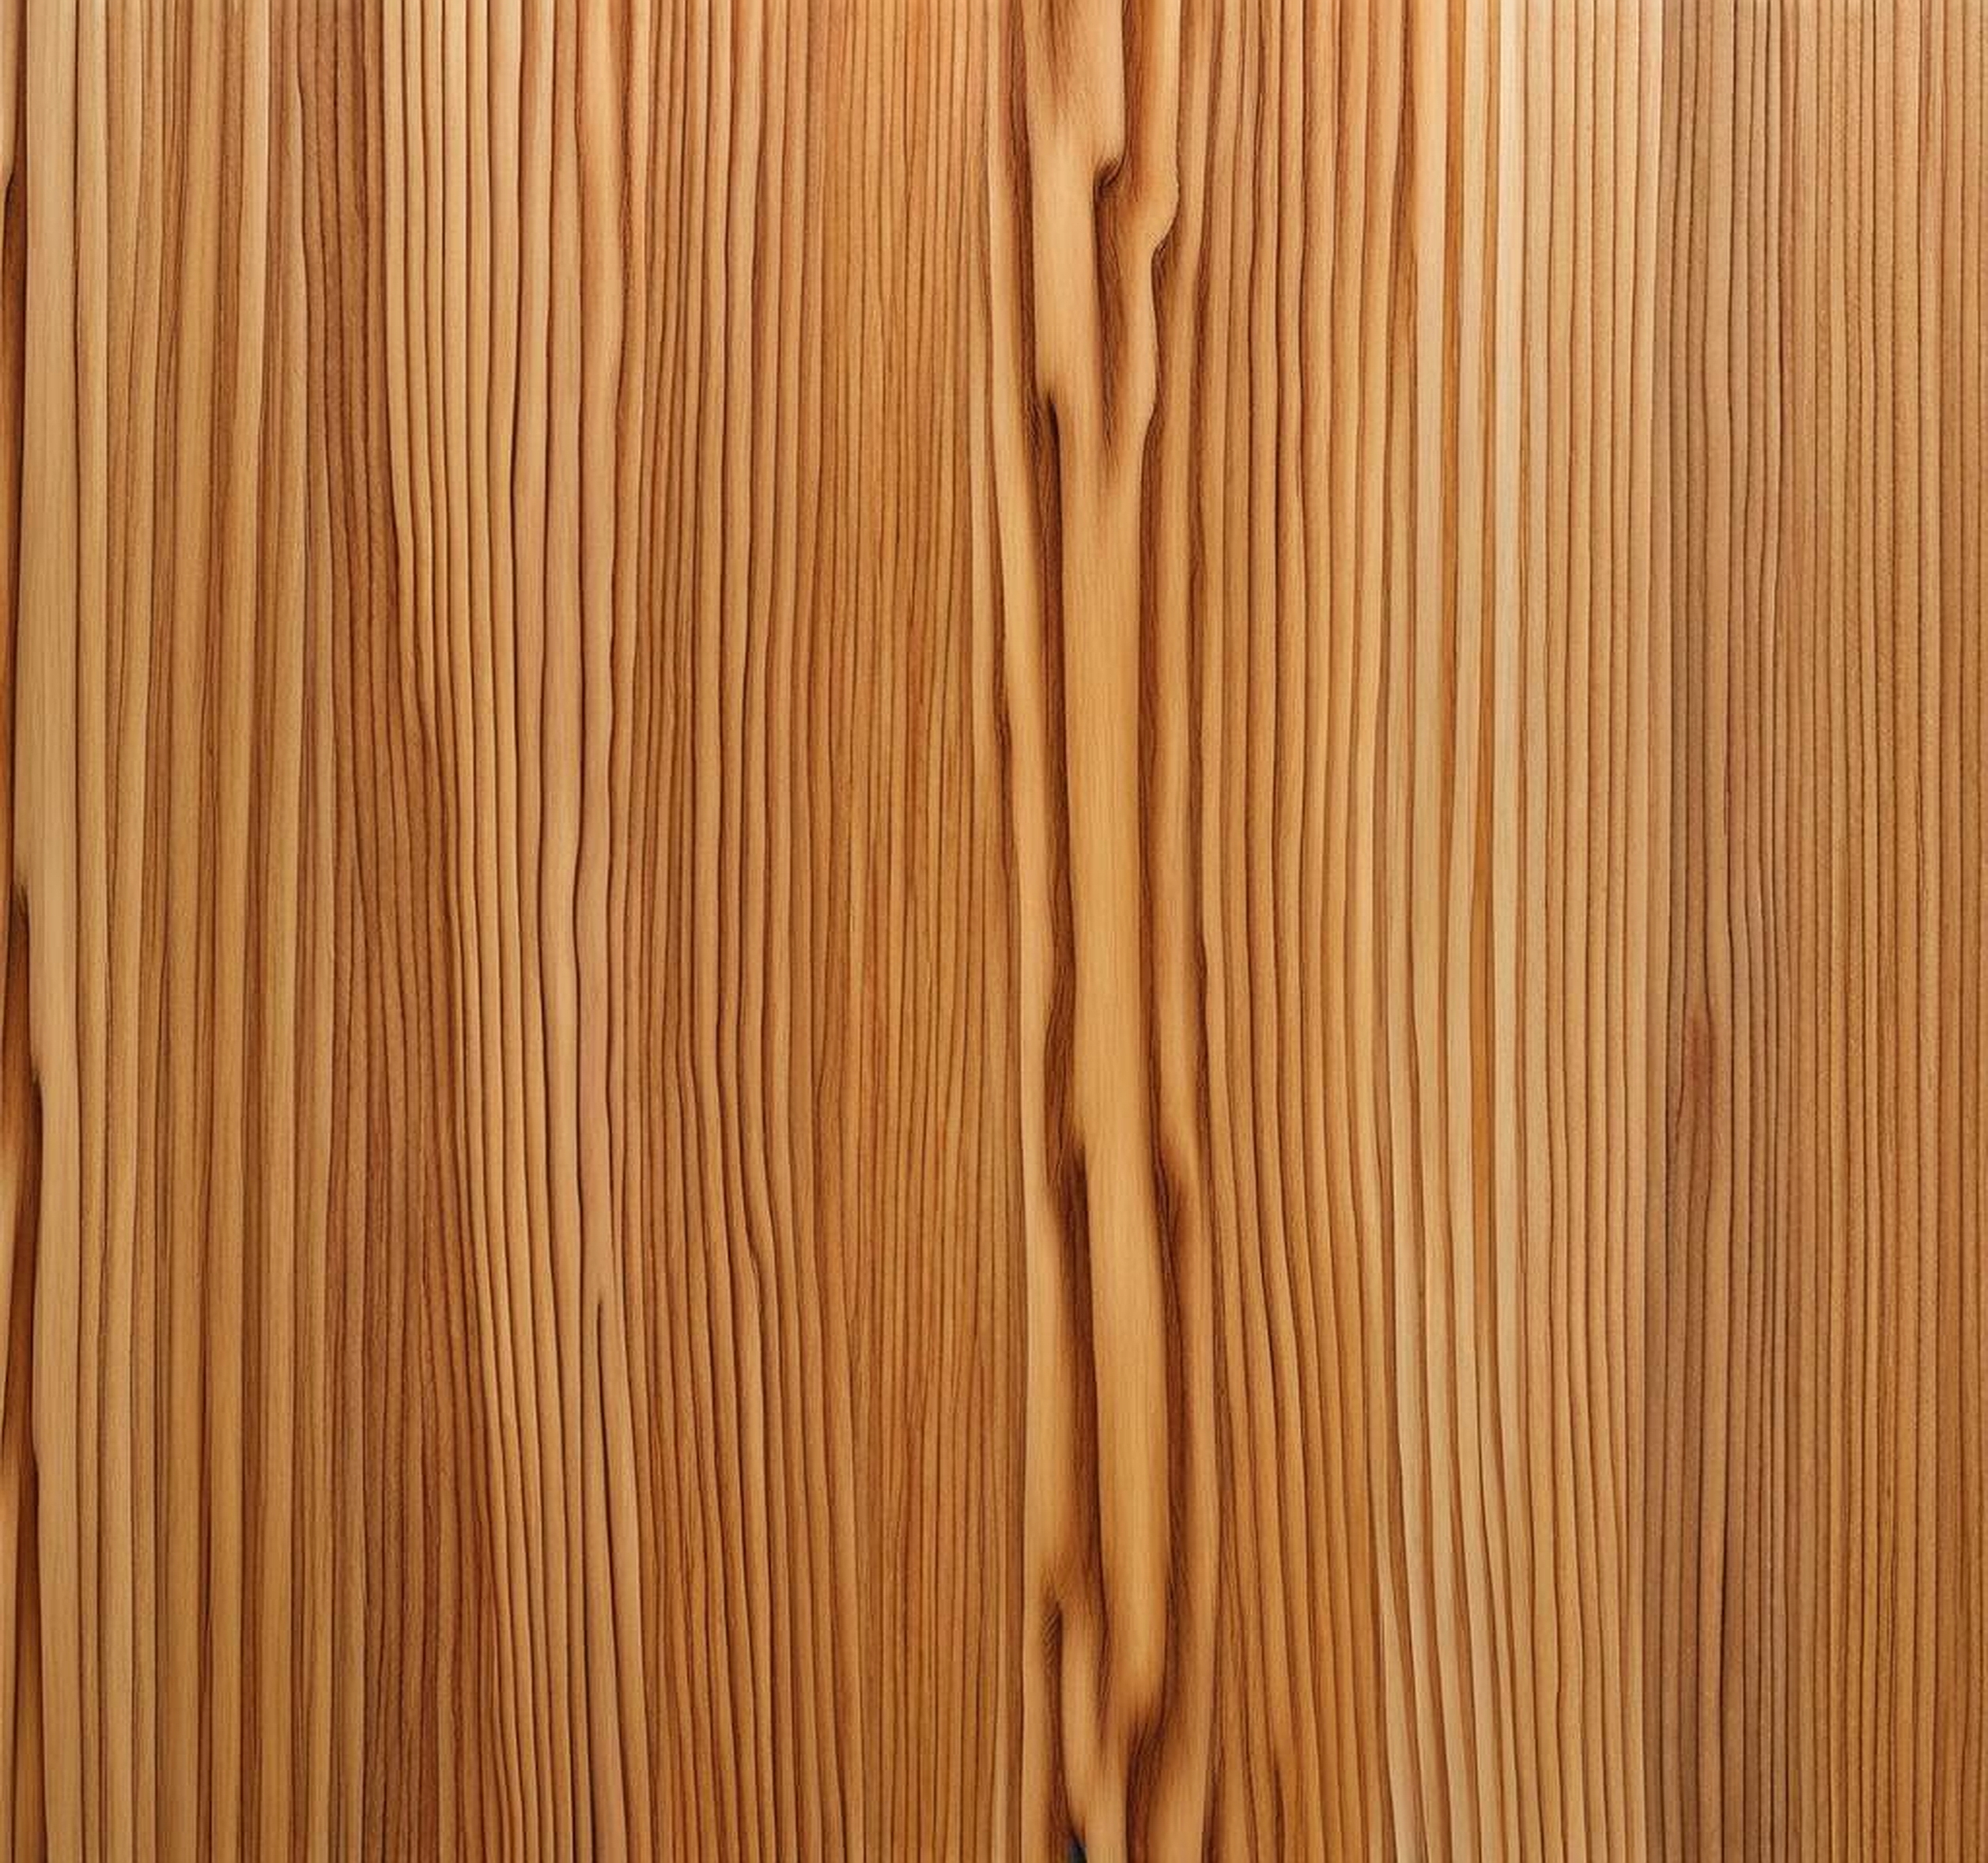
First off, white oak is known for its strength and durability. This hardwood boasts a dense grain structure that not only contributes to its longevity but also affects how it accepts stains. The tight grain patterns create a smooth surface that can result in a more even stain application compared to other wood types. This characteristic is particularly advantageous when you’re aiming for a uniform finish on white oak furniture or flooring.
One of the most distinctive features of white oak is its natural color. Despite its name, white oak actually has a light to medium brown hue with a slight grayish cast. This base color plays a significant role in how different stains will appear once applied. Lighter stains can enhance the wood’s natural warmth, while darker stains can dramatically transform its appearance, offering a rich palette of white oak stain colors to choose from.
The grain pattern of white oak is another aspect that makes it stand out. It typically displays straight grain lines with occasional wavy or figured patterns. These natural designs can be accentuated or subdued depending on the white oak wood finish you select. Some woodworkers prefer to use clear finishes or light stains to showcase the grain, while others opt for darker stains to create a more uniform look.
When it comes to stain absorption, white oak has some unique properties. Its dense structure means it doesn’t soak up stain as readily as some other wood types. This can be both a blessing and a challenge. On one hand, it allows for more control during the staining process, as the stain tends to sit on the surface rather than penetrating deeply. This characteristic is particularly beneficial when you’re working with white oak furniture stain, as it helps prevent blotchiness.
However, this lower absorption rate also means that achieving a deep, rich color might require multiple coats or special preparation techniques. Understanding this behavior is crucial when selecting the best stain for oak projects, as it will influence your application method and the final result.
Another important factor to consider is white oak’s natural resistance to moisture and decay. This inherent quality makes it an excellent choice for outdoor furniture and flooring in high-moisture areas. However, it also means that oil-based stains, which typically penetrate wood fibers, might not be as effective on white oak. Water-based stains, on the other hand, can offer excellent results, especially when you’re looking for white oak finish options that maintain the wood’s natural characteristics.
Lastly, it’s worth noting that white oak responds beautifully to various finishing techniques. From traditional staining to more modern methods like cerusing or fuming, this versatile wood allows for a wide range of creative expressions. Each technique can bring out different aspects of the wood’s character, offering endless possibilities for customizing your white oak projects.
Top Stains for White Oak: Options and Comparisons
Choosing the best stain for white oak can feel like navigating a maze with the myriad of options available. But fear not! I’m here to guide you through the top contenders, comparing their pros and cons, and helping you find the perfect match for your project. Let’s explore the world of white oak stain colors and finish options that will bring out the best in your wood.
First up, let’s talk about water-based vs. oil-based stains for white oak. Water-based stains have gained popularity in recent years, and for good reason. They’re eco-friendly, low in volatile organic compounds (VOCs), and dry quickly. When applied to white oak, water-based stains tend to highlight the wood’s natural grain patterns beautifully. They’re also less likely to yellow over time, making them an excellent choice for maintaining the wood’s original color.
On the flip side, oil-based stains have their own set of advantages. They penetrate deeper into the wood fibers, offering a richer, more saturated color. This can be particularly appealing if you’re after a more traditional, warm look for your white oak furniture stain. Oil-based stains also tend to be more forgiving during application, as they have a longer working time before drying.
Now, let’s dive into some popular white oak stain colors and their effects. Weathered Oak by Minwax is a fantastic option if you’re looking for a light finish that enhances the wood’s natural beauty. It adds a subtle gray undertone that gives white oak a sophisticated, aged look without overwhelming its inherent character. This stain works wonders in modern, minimalist interiors or for creating a beachy, relaxed vibe.
For those seeking a darker, more dramatic transformation, Dark Walnut by Minwax is hard to beat. This rich, deep brown stain can turn white oak into a statement piece, perfect for creating contrast in lighter spaces or adding warmth to traditional decors. It’s worth noting that due to white oak’s density, you might need multiple coats to achieve the desired depth of color.
If you’re riding the wave of the gray wood trend, Classic Gray by Minwax offers a happy medium. This stain imparts a cool, contemporary feel to white oak, making it an excellent choice for modern farmhouse or industrial-chic aesthetics. It’s versatile enough to work in various settings, from flooring to furniture.
For those who prefer to keep things natural, a clear finish like Minwax’s Water-Based Polycrylic can be considered one of the best stains for white oak. While not a stain in the traditional sense, it enhances the wood’s natural color and grain without altering its appearance significantly. This option is perfect for purists who want to showcase white oak’s innate beauty.
When considering durability and longevity, both water-based and oil-based stains have their merits. Water-based stains generally offer better UV resistance, which is crucial if your white oak piece will be exposed to sunlight. They’re also easier to touch up over time. Oil-based stains, while potentially more prone to yellowing, often provide a more durable finish that can withstand wear and tear better.
For those concerned about environmental impact, there’s good news in the world of white oak finish options. Many manufacturers now offer eco-friendly and low-VOC stains that don’t compromise on quality or color selection. These products, like General Finishes Water Based Wood Stain, provide excellent coverage and a wide range of hues while being kinder to the environment and your indoor air quality.
It’s important to remember that the best stain for oak can vary depending on your specific project and desired outcome. Always test your chosen stain on a scrap piece of white oak or in an inconspicuous area before committing to the entire project. This will give you a true representation of how the color will develop on your specific piece of wood.
Lastly, don’t be afraid to get creative with your white oak stain options. Some woodworkers achieve stunning results by layering different stains or using techniques like color washing to create unique, custom finishes. The key is to experiment and find what works best for your vision and the character of your white oak piece.
Now that we’ve explored the best stains for white oak, it’s time to roll up our sleeves and get into the nitty-gritty of application. Properly applying stain to white oak is an art form that can make or break your project. I’ll walk you through the process, sharing techniques and tips that will help you achieve a professional-looking finish.
First things first: preparation is key. Before you even think about opening that can of stain, you need to ensure your white oak surface is ready. Start by sanding the wood thoroughly. I usually begin with a medium-grit sandpaper (around 120 grit) and work my way up to a finer grit (220 or higher). This process opens up the wood pores and creates a smooth surface for the stain to adhere to.
After sanding, it’s crucial to remove all dust. A tack cloth works wonders for this, but you can also use a vacuum followed by a slightly damp cloth. Just make sure the wood is completely dry before staining. Any moisture left on the surface can interfere with the stain’s absorption and lead to an uneven finish.
Now, let’s talk about application techniques. When it comes to staining white oak furniture, I’ve found that using a foam brush or a lint-free cloth often yields the best results. These tools allow for more control and help prevent drips and streaks. If you’re working on a larger surface like flooring, you might opt for a lambswool applicator or a weighted floor finish mop for more efficient coverage.
Here’s a step-by-step guide to staining white oak that I’ve refined over years of woodworking:
- Stir the stain thoroughly. Never shake the can as this can create bubbles.
- Apply the stain liberally in the direction of the grain. Work in manageable sections, especially on larger surfaces.
- Allow the stain to penetrate for a few minutes. The longer it sits, the deeper the color will be.
- Wipe off the excess stain with a clean, lint-free cloth. Be thorough – any stain left on the surface will become sticky and uneven as it dries.
- For a deeper color, apply additional coats after the first has dried completely. Always check the manufacturer’s instructions for recommended drying times.
One of the best practices for staining white oak flooring is to work in small sections and maintain a “wet edge.” This means always keeping the edge of your working area wet, blending each new section into the previously stained area. This technique helps prevent lap marks and ensures a uniform color across the entire floor.
A common mistake I see many DIYers make is applying the stain too thickly or not wiping off the excess properly. Remember, stain is meant to penetrate the wood, not sit on top of it. Excess stain won’t dry properly and will lead to a sticky, uneven surface.
Another tip: if you’re working with a particularly stubborn piece of white oak that’s not taking the stain evenly, try using a pre-stain wood conditioner. This product helps to even out the wood’s absorption rate and can result in a more uniform finish, especially on denser areas of the wood.
When it comes to finishing and sealing your stained white oak surface, you have several options. For most indoor applications, a clear polyurethane works well. It provides excellent protection and enhances the depth of the stain color. For white oak floors that will see heavy traffic, consider a water-based floor finish for added durability.
If you’re going for a more natural look, a hardwax oil can be a great choice. These products penetrate the wood and provide protection from within, maintaining the natural feel of the wood grain. They’re particularly popular for white oak furniture stains where you want to preserve the wood’s tactile qualities.
Lastly, don’t rush the process. Proper drying time between coats and before applying a topcoat is crucial for achieving a lasting finish. White oak’s density means it might take a bit longer to dry compared to other woods, so patience is key.
Remember, mastering the art of staining white oak takes practice. Don’t be discouraged if your first attempt isn’t perfect. Each project is an opportunity to refine your technique and discover new white oak finish options. With these tips and a bit of patience, you’ll be creating beautifully stained white oak pieces in no time.
