Installing a kitchen backsplash on drywall can dramatically transform your cooking space, adding style and protection to your walls. Whether you’re a DIY enthusiast or a homeowner looking to upgrade your kitchen, learning how to install kitchen backsplash on drywall is a valuable skill.
Essential Preparation for Kitchen Backsplash Installation on Drywall
Before diving into the installation process, proper preparation is crucial for a successful drywall tile backsplash installation. The first step is to assess the condition of your drywall. Examine the surface for any cracks, holes, or unevenness that could affect the tile adhesion. If you find any imperfections, repair them using spackling compound and sand the area smooth once it’s dry.
Next, gather all the necessary tools and materials for your kitchen tile backsplash project. You’ll need:
- Tiles of your choice
- Tile adhesive or mastic
- Grout
- Notched trowel
- Tile spacers
- Tile cutter or wet saw
- Level
- Measuring tape
- Grout float
- Sponge and bucket
- Safety glasses and gloves
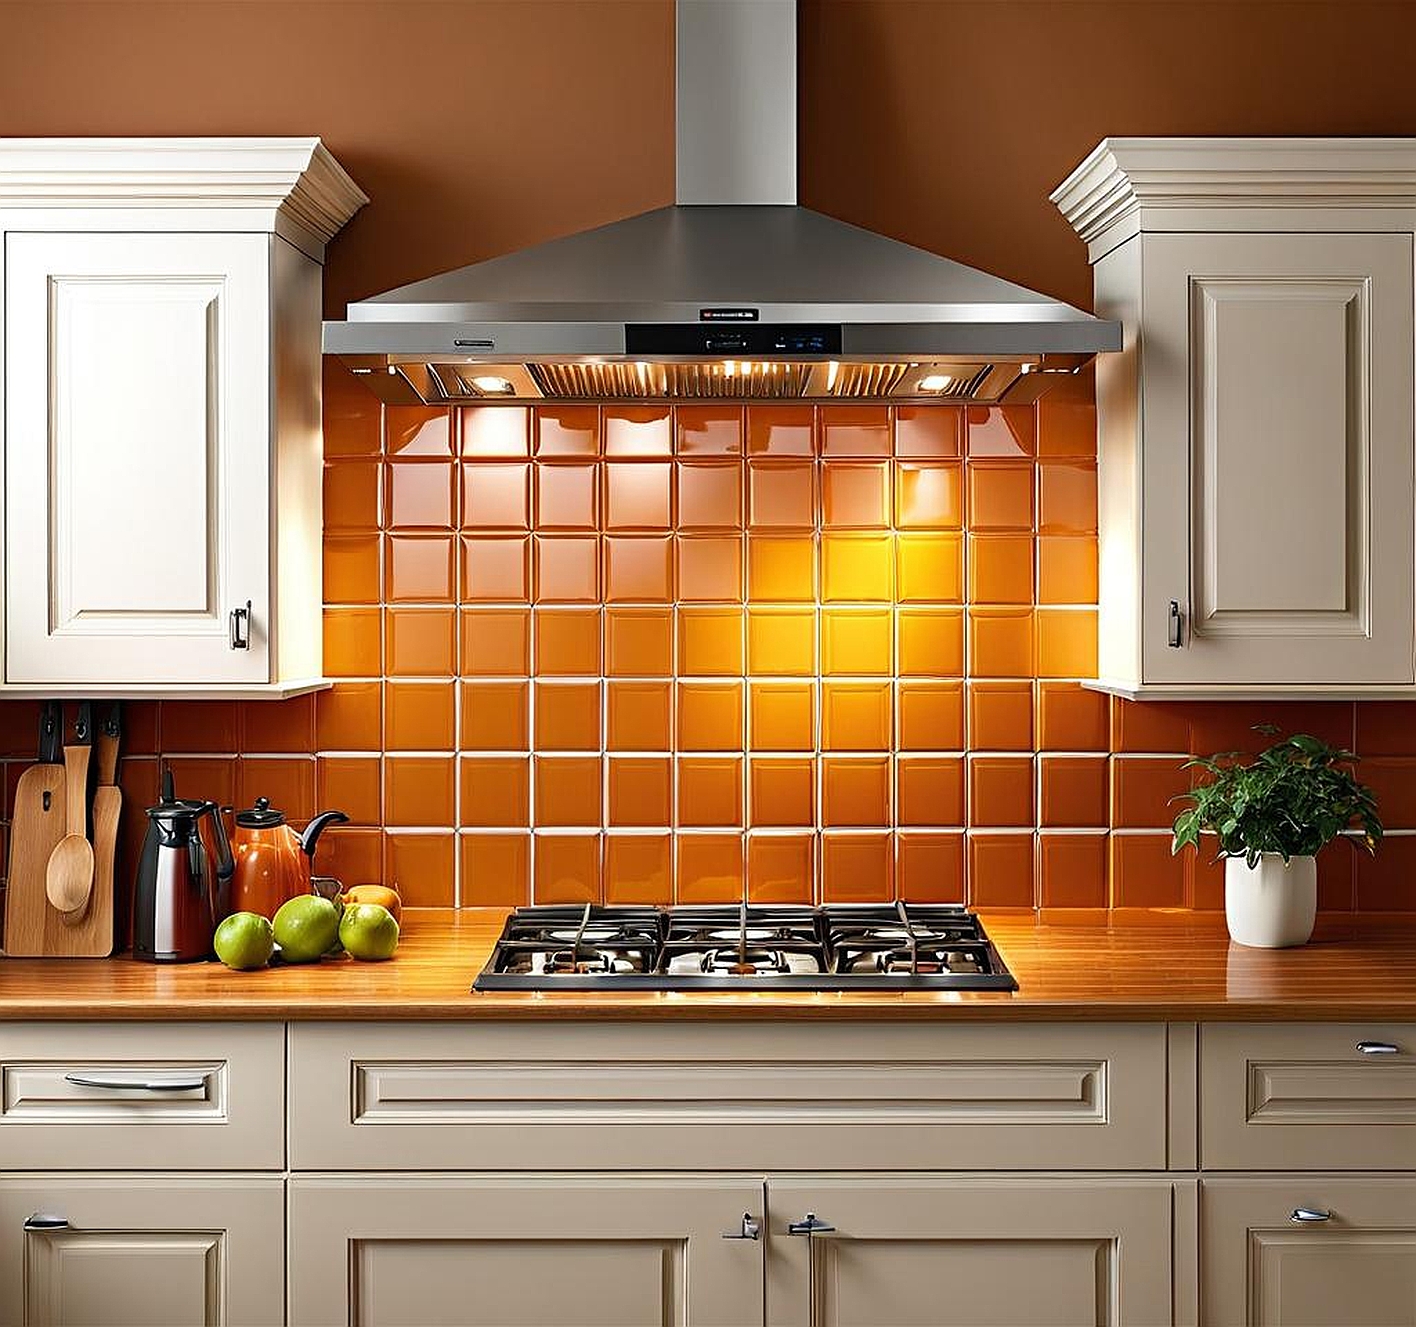
Selecting the right tiles is a crucial aspect of your kitchen backsplash tile design. Consider factors such as color, texture, and size to complement your kitchen’s overall aesthetic. Popular options include ceramic, porcelain, glass, and natural stone tiles. Each material has its unique characteristics and maintenance requirements, so choose one that aligns with your lifestyle and design preferences.
Once you’ve chosen your tiles, it’s time to prepare the drywall surface for tile adhesion. Clean the wall thoroughly with a degreaser to remove any cooking residue or grime. Allow the wall to dry completely. If your drywall is painted, lightly sand the surface to create a better bonding surface for the adhesive. Wipe away any dust with a damp cloth and let it dry again.
For optimal results, apply a coat of primer to the drywall. This extra step helps seal the surface and promotes better adhesion of the tile adhesive. Allow the primer to dry completely before proceeding with the installation.
Step-by-Step Guide: Installing Kitchen Backsplash Tiles on Drywall
Now that your drywall is prepped and you have all your materials ready, it’s time to start the kitchen backsplash tile installation process. Begin by measuring and marking the backsplash area. Use a level to draw horizontal and vertical reference lines on the wall. These lines will guide your tile placement and ensure everything stays straight and even.
Before applying adhesive, do a dry layout of your tiles on a flat surface. This helps you plan the pattern and determine where you’ll need to make cuts. It’s especially important if you’re using patterned tiles or creating a specific design.
When you’re ready to begin, apply the tile adhesive to the drywall using a notched trowel. Work in small sections, typically about 2-3 square feet at a time, to prevent the adhesive from drying before you can set the tiles. Spread the adhesive evenly, creating ridges with the notched side of the trowel.
Start laying out your tiles, pressing them firmly into the adhesive. Use tile spacers to maintain consistent gaps between tiles. As you work, periodically check that your tiles are level and aligned with your reference lines. If you need to make cuts for outlets or corners, measure carefully and use a tile cutter or wet saw to achieve precise fits.
Continue this process, working your way across the backsplash area. Remember to step back occasionally and look at your work from different angles to ensure everything looks aligned and even. Once all tiles are in place, allow the adhesive to dry according to the manufacturer’s instructions before moving on to grouting.
Grouting and Finishing Your Drywall Kitchen Backsplash
After the adhesive has fully cured, it’s time to grout your newly installed kitchen backsplash. Choosing the right grout is essential for both aesthetics and durability. Consider factors such as color (to complement or contrast with your tiles), whether you want sanded or unsanded grout (based on your tile spacing), and if you need a stain-resistant option for easier maintenance.
To begin the grouting process, remove the tile spacers and ensure the spaces between tiles are clean and free of any adhesive residue. Mix your grout according to the manufacturer’s instructions. Using a rubber grout float, apply the grout diagonally across the tiles, pressing it firmly into the gaps. Work in small sections, making sure to fill all spaces evenly.
Once you’ve applied grout to a section, use the float to remove excess grout from the tile surfaces. After about 15-20 minutes, when the grout starts to haze over, begin cleaning the tile surfaces with a damp sponge. Rinse your sponge frequently in clean water and wring it out well to avoid oversaturating the grout.
Allow the grout to dry for about an hour, then use a clean, dry cloth to buff away any remaining haze from the tile surfaces. After the grout has cured completely (usually 24-48 hours), apply a grout sealer to protect it from moisture and stains. This step is particularly important in kitchen environments where splashes and spills are common.
For the finishing touches, install any necessary trim pieces, such as edge tiles or bullnose tiles, to give your backsplash a polished look. If there are any gaps between the backsplash and countertop or cabinets, fill them with a matching caulk for a clean, water-resistant seal.
Troubleshooting Common Issues in Drywall Backsplash Installation
Even with careful planning and execution, you might encounter some challenges during your drywall backsplash installation. One common issue is dealing with uneven drywall surfaces. If you notice significant unevenness after starting your installation, stop and reassess. You may need to remove tiles and apply a leveling compound to create a flat surface before continuing.
Moisture concerns are another potential problem in kitchen backsplash areas. While modern tile adhesives and grouts are designed to resist moisture, it’s still important to ensure proper ventilation in your kitchen and address any existing moisture issues before installation. If you’re installing a backsplash in a particularly damp area, consider using a waterproof membrane between the drywall and tiles for extra protection.
Tile alignment problems can occur if your initial layout wasn’t precise or if the drywall isn’t perfectly straight. To fix this, you may need to remove and reposition tiles. It’s better to address these issues early in the installation process rather than trying to correct them later.
If you discover damaged tiles or grout after installation, don’t panic. Individual tiles can often be carefully removed and replaced without disturbing the surrounding tiles. For grout issues, you can remove the problematic grout with a grout saw and reapply fresh grout.
Proper maintenance is key to preserving the beauty and functionality of your new kitchen backsplash. Different tile materials require specific cleaning techniques. For most ceramic and porcelain tiles, regular cleaning with a mild detergent and warm water is sufficient. Glass tiles can be cleaned with a vinegar and water solution or a commercial glass cleaner. Natural stone tiles may require special stone cleaners to maintain their appearance.
To protect your drywall and grout from water damage, wipe up spills promptly and avoid letting water sit on the backsplash surface. Use a squeegee or dry cloth to remove water after cleaning to prevent it from seeping into the grout lines.
Implement a regular maintenance routine to keep your backsplash looking its best. This might include weekly cleaning, monthly checks for any loose tiles or grout issues, and annual resealing of grout lines. By staying on top of maintenance, you can prevent small problems from becoming major issues.
While many backsplash repairs can be DIY projects, don’t hesitate to call in professional help for more complex issues. If you notice widespread tile loosening, significant grout deterioration, or signs of moisture damage in the drywall behind your backsplash, it’s best to consult with a professional tiler or contractor.
By following these installation and maintenance guidelines, you can enjoy a beautiful, functional kitchen backsplash for years to come. Remember, patience and attention to detail during the installation process will pay off in the long run, resulting in a stunning focal point for your kitchen that adds both style and value to your home.
