Is your shower suddenly running cold? You might need to test your hot water heater element. Learning how to test a hot water heater element is a crucial skill for homeowners. It’s not just about avoiding those chilly morning showers; it’s about maintaining your home’s efficiency and potentially saving on costly repairs. Let’s dive into the world of water heater elements and uncover the secrets to keeping your hot water flowing smoothly.
Understanding Hot Water Heater Elements and Their Function
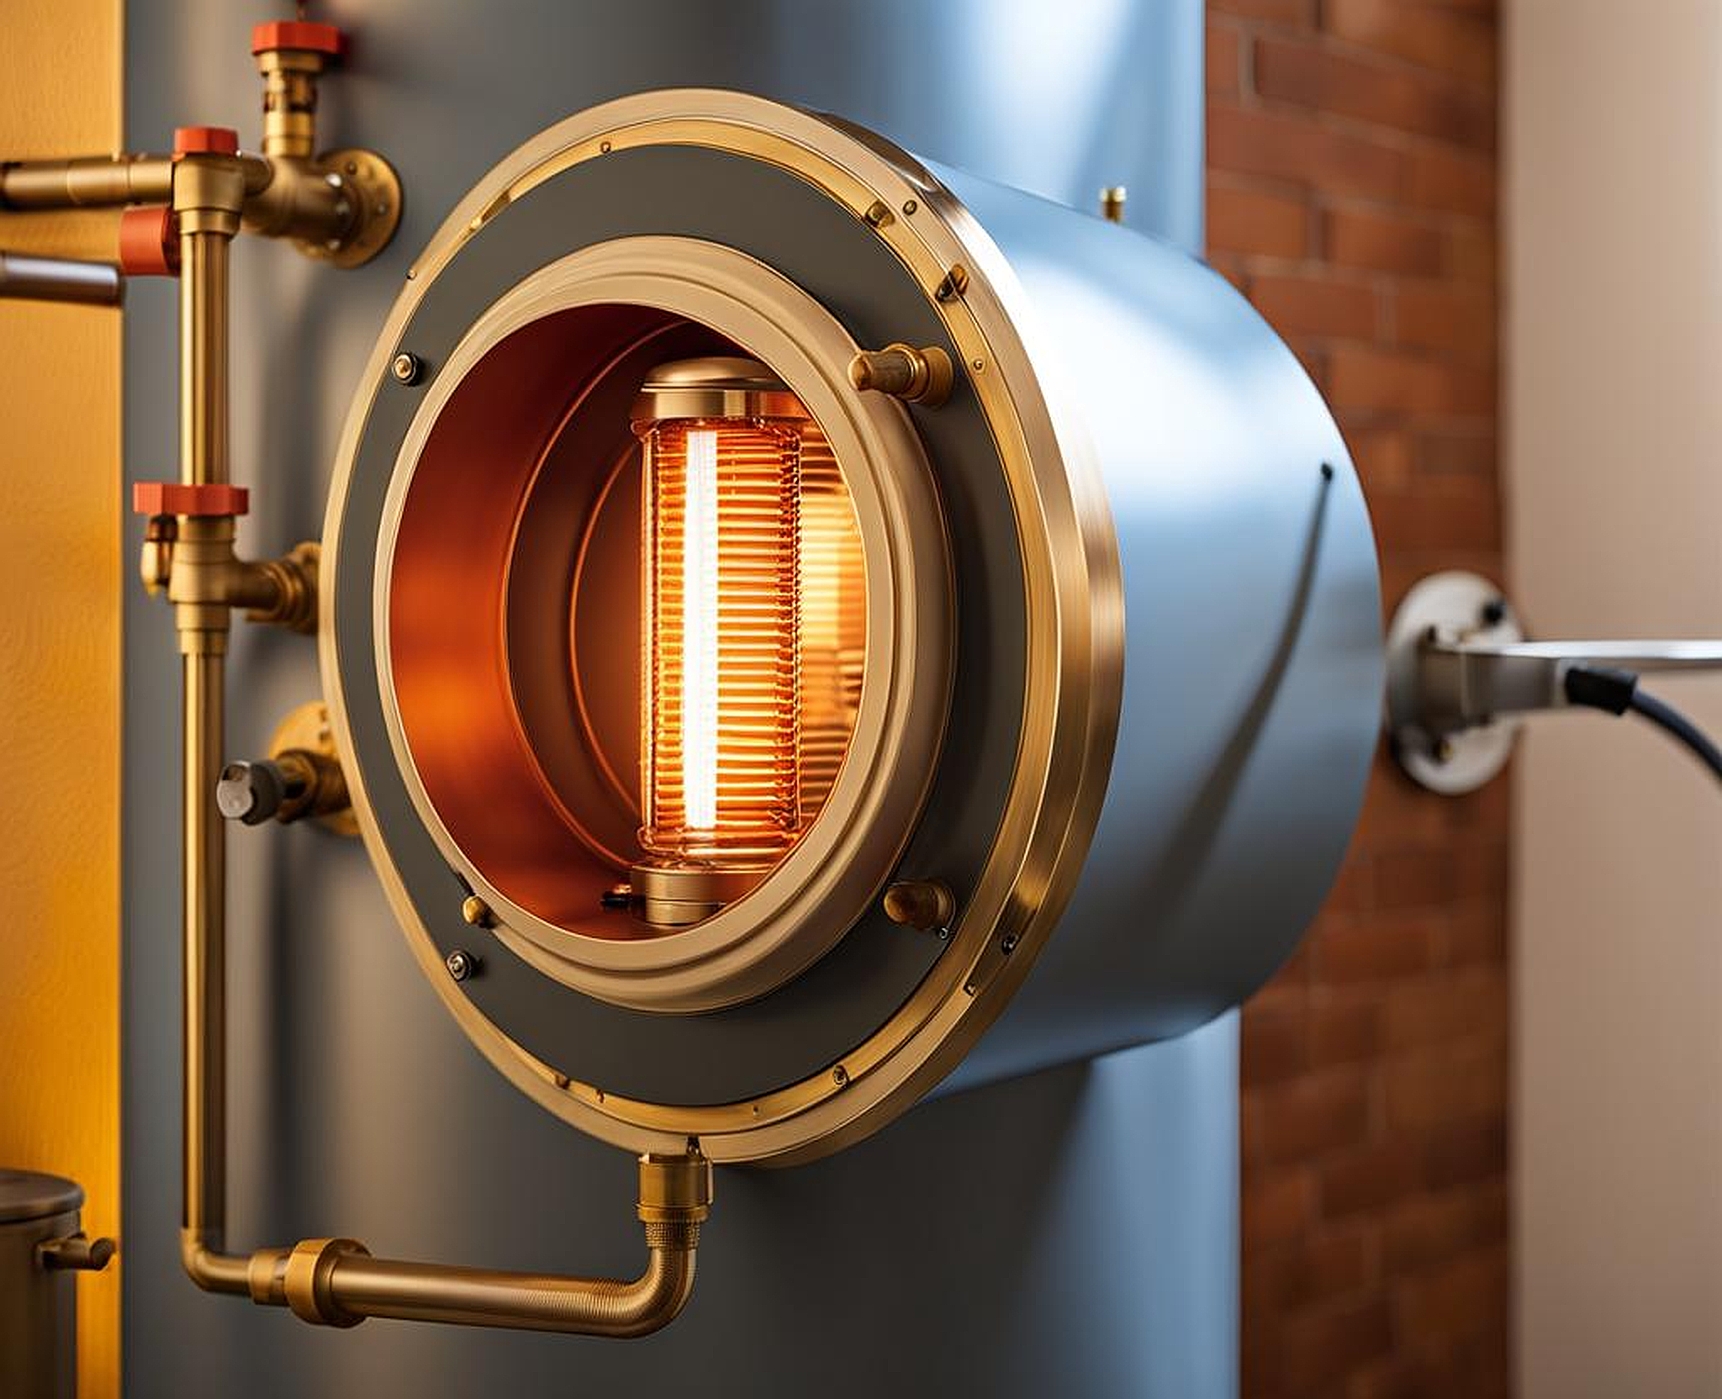
Hot water heater elements are the unsung heroes of our daily comfort. These components are responsible for heating the water in your tank, ensuring you have a steady supply of hot water for showers, dishes, and laundry. But what exactly are they, and how do they work?
Water heater elements are essentially large metal loops that heat up when electricity flows through them. They’re immersed in the water tank, transferring heat directly to the surrounding water. Most residential electric water heaters have two elements: an upper and a lower one. This dual-element setup allows for more efficient heating and faster recovery times.
There are different types of water heater elements, including screw-in and bolt-on varieties. Screw-in elements are more common in newer models and are easier to replace. Bolt-on elements, while less common, are typically found in older water heaters and require a bit more effort to change out.
Now, how do you know if your element might be on the fritz? Here are some telltale signs:
- Lukewarm or cold water coming from your taps
- Reduced hot water supply
- Unusual noises coming from your water heater
- Higher than normal electricity bills
If you’re experiencing any of these symptoms, it’s time to put on your detective hat and start some hot water heater troubleshooting.
Regular testing of your water heater element is crucial for maintaining an efficient hot water supply. By catching issues early, you can prevent more significant problems down the line. Plus, a well-functioning element can help reduce energy consumption, potentially lowering your utility bills. It’s a win-win situation!
Preparing to Test Your Hot Water Heater Element
Before we dive into the nitty-gritty of how to test a water heater element, let’s talk safety and preparation. Remember, we’re dealing with electricity and water here, so it’s crucial to take the right precautions.
First things first, safety gear. You’ll want to have a pair of insulated gloves and safety goggles. These will protect you from any potential electrical shocks or water splashes. It’s always better to be over-prepared when it comes to safety.
Next, let’s talk tools. For a proper water heater element test, you’ll need:
- A multimeter (digital is preferred for accuracy)
- A screwdriver (flathead or Phillips, depending on your heater model)
- An element wrench (if you need to remove the element)
- A bucket and towels (in case you need to drain the tank)
Having these tools ready will make the testing process smoother and more efficient.
Now, let’s locate that pesky element. In most water heaters, you’ll find the elements behind access panels on the side of the tank. There’s typically an upper and lower element. If you’re unsure, consult your water heater’s manual – it’s a goldmine of information!
Before you start any hot water heater testing, you absolutely must shut off the power. This isn’t a step you can skip! Find your water heater’s dedicated circuit breaker in your home’s electrical panel and switch it off. Double-check with a non-contact voltage tester to ensure there’s no power flowing to the heater.
In some cases, you might need to drain the tank to access the elements. If so, turn off the cold water supply to the tank and open a hot water faucet in your home to release pressure. Then, connect a garden hose to the drain valve at the bottom of the tank and let it drain into a suitable area.
By taking these preparatory steps, you’re setting yourself up for a safe and successful water heater element test. Remember, if at any point you feel uncomfortable or unsure, it’s always best to call in a professional. There’s no shame in prioritizing safety!
Step-by-Step Guide: How to Test a Hot Water Heater Element
Now that we’re prepped and ready, let’s roll up our sleeves and get into the nitty-gritty of how to test a hot water heater element. This step-by-step guide will walk you through the process, ensuring you can diagnose any issues with confidence.
Step 1: Accessing the Element First, we need to get to the element itself. Remove the access panel cover – it’s usually held in place by a few screws. Be gentle; these covers can be a bit fragile. Once you’ve removed the cover, you’ll see a layer of insulation. Carefully peel this back (you’ll need to replace it later) to reveal the element.
Step 2: Preparing the Multimeter Now, grab your multimeter. We’ll be using it to test for continuity, which essentially means we’re checking if electricity can flow through the element. Set your multimeter to the lowest ohms of resistance – usually indicated by the O symbol.
Step 3: Testing for Continuity Touch one probe of the multimeter to each of the element’s terminals. These are the screws where the wires connect to the element. If your multimeter shows a reading between 10 and 30 ohms, congratulations! Your element is likely in good working order. If you get no reading or a reading outside this range, you may have a faulty element.
Step 4: Checking for a Short Circuit Next, we’ll check if the element is shorting out. Keep one probe on a terminal, but touch the other probe to the metal base of the element. If you get any reading at all, this indicates a short circuit, and the element needs to be replaced.
Step 5: Interpreting the Results So, what do these readings mean? Here’s a quick breakdown:
- Reading between 10-30 ohms: Element is functioning correctly
- No reading or very high reading: Element is likely burned out
- Very low reading: Element might have a short
- Any reading when testing against the base: Definite short circuit
Remember, these tests are just part of the hot water heater troubleshooting process. If you’re still having issues after confirming your elements are working, there might be other factors at play.
Pro Tip: If you have a dual-element water heater, don’t forget to test both elements. Just because one is working doesn’t mean the other isn’t causing problems!
By following these steps, you’ve successfully conducted a water heater element test. Pat yourself on the back – you’re well on your way to becoming a DIY master! But what if you’ve found an issue? That’s where our next section comes in handy.
So, you’ve completed your hot water heater testing and discovered an issue with the element. Don’t panic! This is a common problem, and in many cases, it’s something you can handle yourself. Let’s explore your options for water heater element repair and replacement.
First, let’s consider whether to repair or replace the element. In most cases, if an element is faulty, replacement is the best option. Elements are relatively inexpensive, and trying to repair a damaged one can be more trouble than it’s worth. Plus, a new element will likely be more efficient, potentially saving you money on your energy bills in the long run.
If you’ve decided to replace the element, here’s a quick rundown of the process:
- Drain the tank (if you haven’t already)
- Disconnect the wires from the old element
- Unscrew the old element (this is where that element wrench comes in handy)
- Screw in the new element, making sure it’s tight but not over-tightened
- Reconnect the wires
- Refill the tank and restore power
Remember, always match the new element to your water heater’s specifications. Using the wrong wattage can lead to inefficiency or even damage to your water heater.
Now, let’s talk prevention. Regular maintenance can go a long way in extending the life of your water heater elements. Here are some tips:
- Flush your water heater annually to remove sediment buildup
- Check the anode rod every few years and replace if necessary
- Keep an eye on your water quality – hard water can shorten element life
- Consider installing a water softener if you live in an area with hard water
By following these preventive measures, you can avoid frequent water heater element repairs and keep your hot water flowing smoothly.
When it comes to hot water heater testing and repairs, it’s important to know your limits. While many homeowners can handle basic testing and element replacement, some situations call for professional help. If you’re uncomfortable working with electrical components, if your water heater is still under warranty, or if you encounter any unexpected issues during your DIY repair, don’t hesitate to call in a pro.
Remember, your safety is paramount. If you’re ever in doubt, it’s better to err on the side of caution and seek professional assistance. A qualified technician can not only address the immediate issue but also spot potential problems before they become major headaches.
By understanding how to test a hot water heater element and address common issues, you’re taking an important step in maintaining your home’s comfort and efficiency. Whether you choose to DIY or call in the pros, you’re now equipped with the knowledge to make informed decisions about your water heater’s health. Here’s to many more hot showers in your future!
