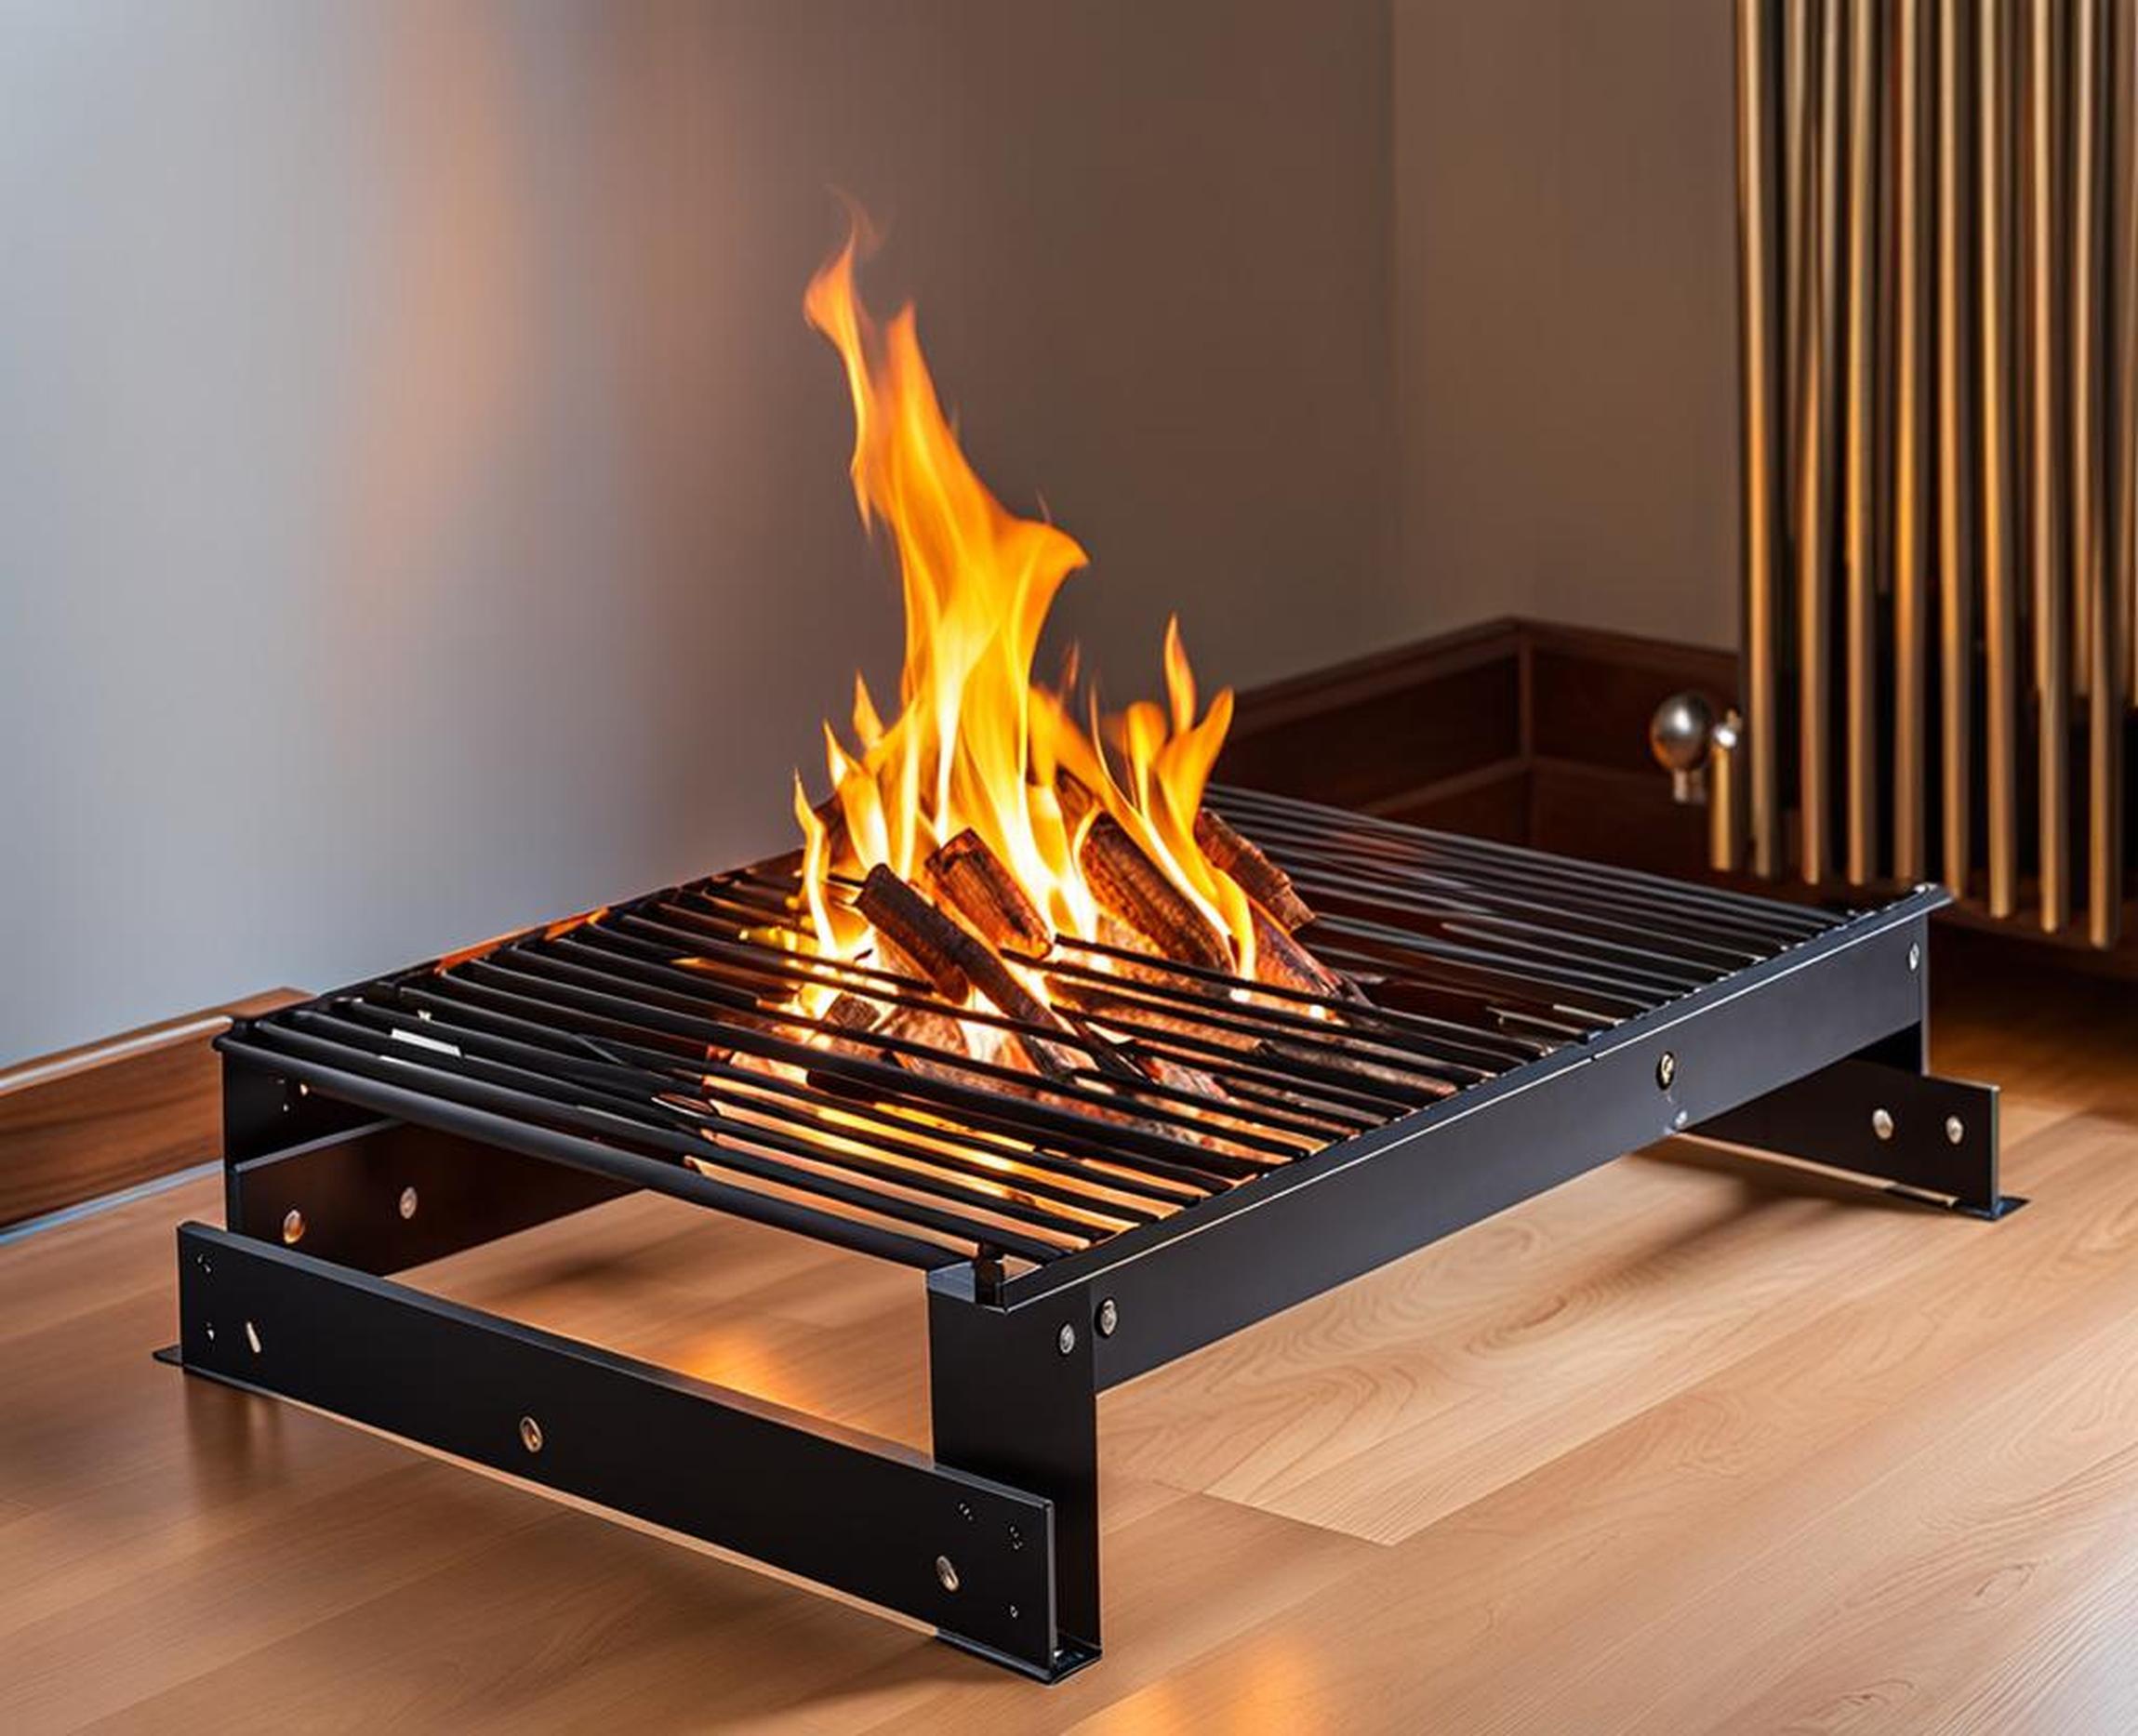
A self-feeding fire rack is a clever system that lets you easily maintain a consistent campfire or firepit without having to constantly tend to the flames. This handy feature ensures your fire keeps burning steadily for longer without prematurely dying out. With some simple planning and basic building skills, you can construct your own setup that automatically feeds fuel into the fire as needed.
This straightforward guide teaches you how to select appropriate materials, choose an ideal site location, securely assemble the frame, spark up the initial fire, and keep it going by continually supplying more logs. Follow these steps, and you’ll have a reliable, self-regulating fire rack supplying steady heat all night long while you relax and enjoy the flickering glow.
Benefits of a Self-Feeding Fire Rack
Investing some time into constructing your own self-feeding fire unit comes with some excellent perks:
- Requires less manual effort to tend the fire
- Provides a consistent and steady heat output
- Keeps the fire burning strongly for longer
- Prevents your fire from dying out prematurely or needing constant stoking
Materials Needed
You’ll need to gather the following materials before starting the building process:
- 4 sturdy green logs, around 3 feet in length and 2 inches in diameter. Green wood is less prone to catching alight quickly.
- Smaller, drier logs for starting the initial fire
- Larger, dry, rounded logs to continuously feed the fire and fuel it over time
- Rope or wire for tightly binding together the frame
Selecting the Right Location
It’s crucial to select an appropriate site to construct your fire rack:

- Look for a sheltered area that provides good ventilation yet avoids excessively windy spots. This prevents the fire from spreading too aggressively.
- Ensure there is an adequate, renewable supply of wood in the vicinity so you can continually feed logs into the rack as needed.
Assembling the Fire Rack Frame
Digging the Holes
Start by digging four holes in the ground, each hole measuring around 1 foot deep. Use a spade or post hole digger. Space out the holes such that they form a wide V-shape once the logs are laid inside them.
Inserting and Securing the Logs
Next, place the 4 support logs horizontally inside each hole, with 2 logs forming one angled side of the V-shape and the other 2 logs creating the opposite angle. The sturdy green wood provides a solid structural base that won’t burn up quickly. Use rope or wire to tightly bind where the logs intersect, keeping them firmly fixed together in position.
Constructing the Rack
On top of the bound logs, crisscross some of your smaller, drier starter logs to form a stable wooden base. This rack will allow air to circulate while providing a platform for the larger round logs to slowly feed into as they burn.
| The lengthwise V-shape design is an efficient way for the logs to gradually slip downwards directly into the heat of the fire, creating a self-feeding system that keeps itself fueled. | Take care to firmly tie together the logs, test the rack’s stability by applying some weight, and make any adjustments needed to ensure a sturdy frame that won’t shift around. |
Starting and Maintaining Your Fire
Starting the Fire
With your completed rack built, you can now start your fire. Begin by igniting some tinder and dry kindling in the middle of the crisscrossed logs using matches or a lighter. Let these small pieces fully catch alight before gradually adding slightly larger logs, allowing the fire to strengthen.
Feeding the Fire
Once the initial fire is properly burning, continually add more of the larger round logs into the V-shaped frame, keeping the heat and glow consistent. The angled configuration allows the logs to slowly descend directly into the flames, creating a self-feeding system requiring minimal supervision.
Regulating Airflow
Pay attention to any smoke build up, opening or closing access points around the fire to regulate oxygen flow. Controlling the ventilation helps achieve clean and complete burning.
Adding More Fuel
Periodically check on the fire’s progress, topping up with additional logs as needed to keep it healthy and avoid burning out. The rack means you won’t need to continuously stoke the fire yourself.
Safety Tips
When maintaining a self-feeding fire, be sure to adhere to some key safety advice:
- Always have a container of water nearby to douse the flames if they grow too aggressive
- Stay alert and avoid leaving the self-regulating fire unattended for long periods
If any problems arise, try the following fixes:
- If the fire is smoking excessively or struggling, adjust the rack’s airflow accordingly
- Check the log bindings ensuring they remain tightly secured together
Your fire rack will keep your campsite lit. This hands-free approach makes maintaining a consistent firepit blaze much simpler.
