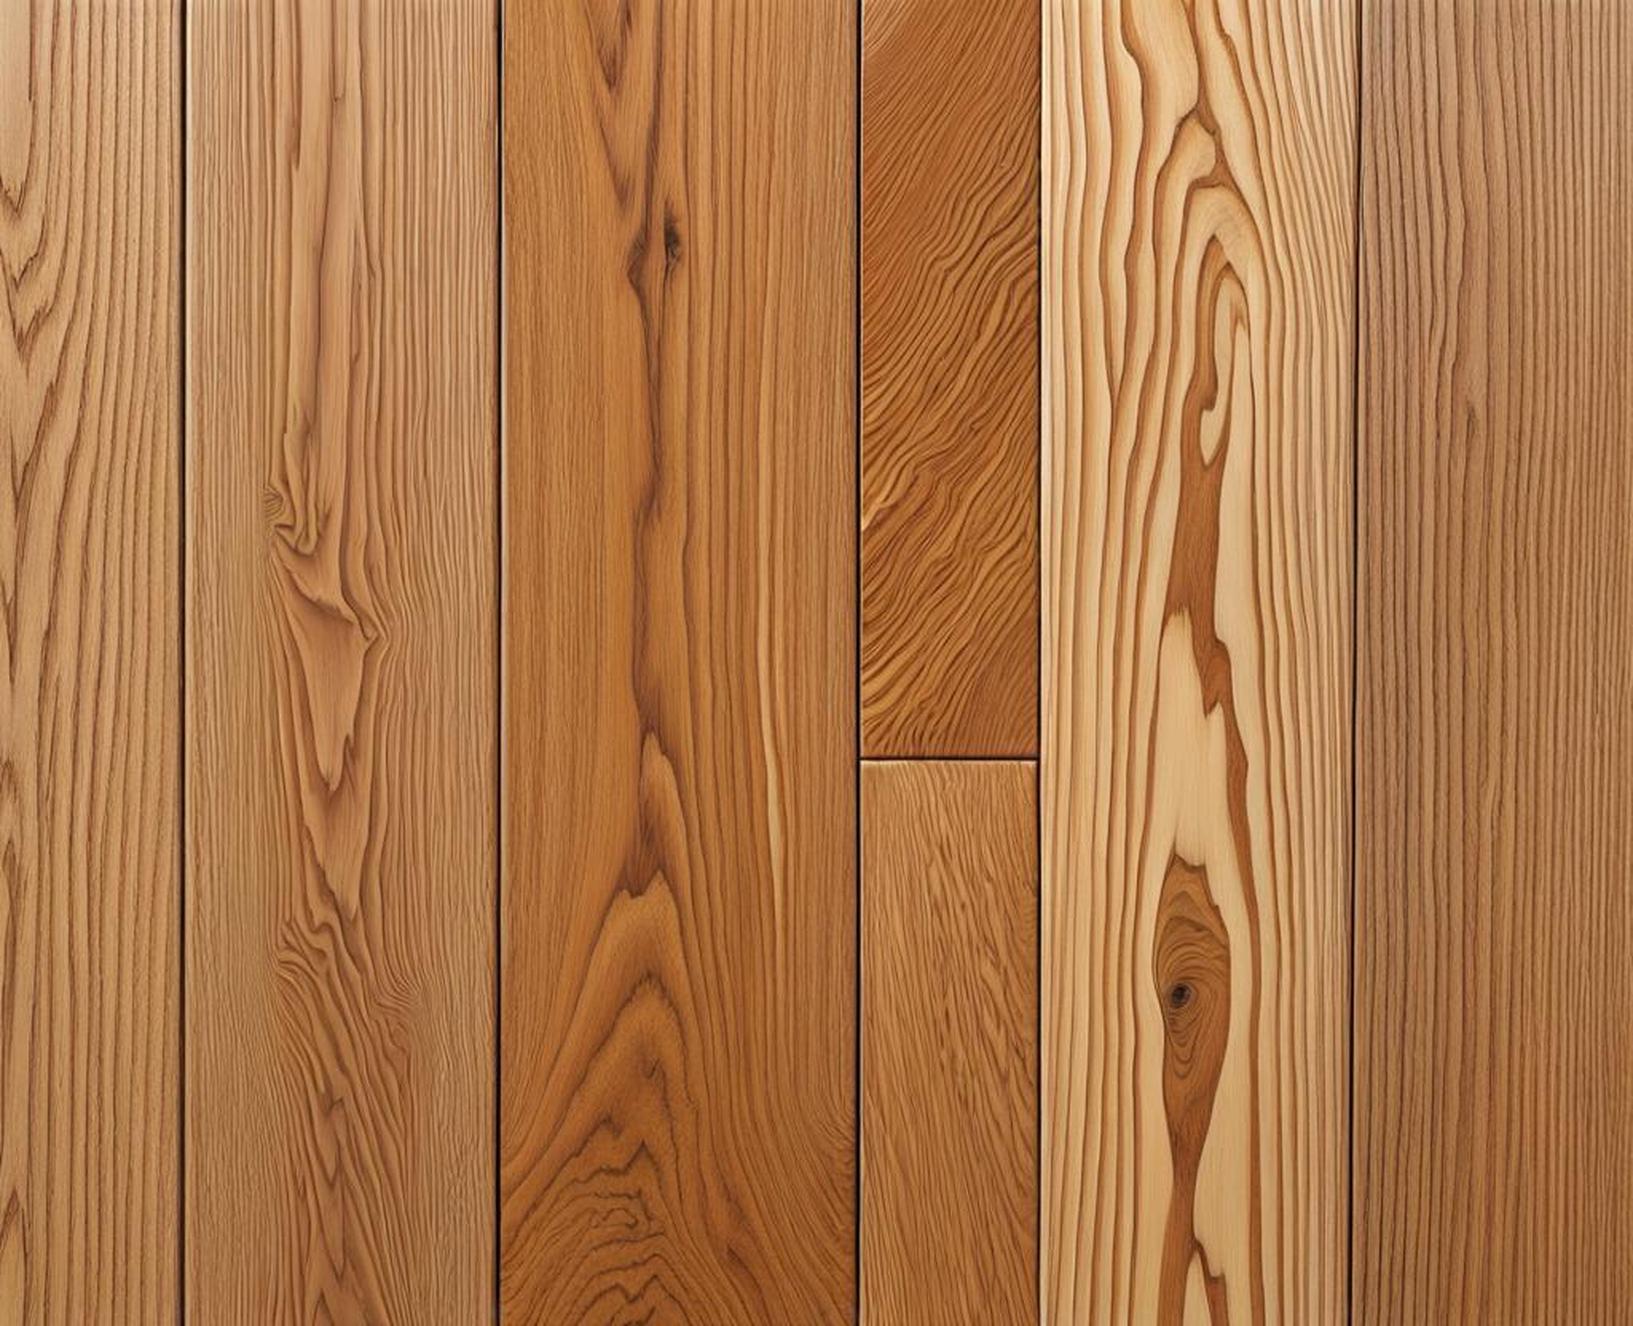
Achieving a clean, bright white finish on red oak hardwood floors can seem like an impossible task. The distinctive pinkish-red tones of red oak pose a major challenge when attempting to whiten or “whitewash” this robust flooring material. However, with the right combination of products and techniques, you can transform red oak’s trademark ruddy complexion into a crisp, neutral white canvas. This brings a light and airy feel to any space while allowing the wood’s natural grain to shine through.
bona.com/Products/Floor-Finishes-and-Sealers/Stains/”>white floor stain and Traffic HD Clear Protective Finish . Bona offers the ideal solutions for counteracting red oak’s pink undertones and sealing the white stain against yellowing over time. Armed with the right products and techniques, you can banish orangey oak hues from your home forever!

Prepare Red Oak Floors for Whitewashing
Before applying any whitewash or stain, it’s essential to prep your red oak floors thoroughly. Any dirt, grime, or existing finishes must be removed to allow maximum stain penetration. Take the time to prep properly, and you’ll reap rewards later with a flawless whitewashed finish.
Sand Floors Down to Bare Wood
Sanding removes the top layer of your red oak flooring, exposing fresh raw wood for staining. Work your way through gradually finer grit sandpaper, starting with 60-80 grit to aggressively scuff the surface, then finishing with 120-150 grit for a smooth result. Always sand evenly across the entire floor, not just high-traffic areas.
Red oak’s distinctive open grain means more frequent sanding to prevent the formation of “dimples” in the soft earlywood around the dense latewood growth rings. Carefully vacuum up all dust between sanding steps.
Fill Gaps and Replace Damaged Planks
Examine your floors for any loose boards, cracks, or holes after sanding. Use a premium wood filler to patch minor gaps, but consider replacing badly damaged planks altogether. This prevents uneven stain absorption later.
When inserting new red oak boards, make sure to mimic the layout of the existing flooring. Stagger the end joints and blend grain patterns for a seamless appearance post-staining.
Ensure Floors Are Clean and Dry
Red oak must be completely clean and dry before applying white stain. Use a lint-free tack cloth to remove any remaining dust or debris after the final sanding. Allow at least 24 hours for the floor to fully dry if needed. The ideal moisture content is below 10%. Higher moisture prevents proper stain penetration.
Pick Bona Products for Whitewashing Red Oak
With over 100 years of wood floor expertise, Bona offers specially formulated stains and finishes ideal for whitewashing red oak floors. Their White Stain neutralizes red undertones, while Traffic HD Clear Protective Finish protects the white stained floor from ambering over time.
Bona White Stain
Unlike opaque paint-and-primer products, Bona White is a pigmented stain designed to whiten while allowing the wood grain to still show through. The stain contains blue pigments that actively cancel out red oak’s pinkish-orange hues. Multiple coats fully block out ruddy tones to leave floors a clean, Nordic white.
Bona Traffic HD Clear Finish
This water-based polyurethane sealer provides maximum protection for white-stained floors. It resists scuffs, scratches, and household wear and tear thanks to its durable formulation. Best of all, Bona Traffic HD contains zero ambering agents that could cause white floors to yellow over time. The clear ultra-matte sheen enhances whitewashed floors.
Test Bona White Stain on Red Oak
It’s always advisable to test any new floor stain on a sample board before committing to an entire floor. But this step is absolutely crucial when whitewashing notoriously fickle red oak.
Red oak can display varying degrees of pinkness in different areas or even within the same board. Test Bona White Stain in multiple inconspicuous spots to ensure it neutralizes reddish tones evenly throughout the flooring.
Creating a Custom White
If Bona White alone fails to completely neutralize pinkness during testing, try mixing it with other Bona stains to create a custom white shade. Adding a few ounces of NordicSeal or Traffic HD Clear per gallon of White modulates the tone. For an even lighter white, dilute the stain with distilled water.
It’s a good idea to seal your whitewash test pieces with a few coats of Bona Traffic HD Clear. This allows you to accurately gauge the long-term whitewashed effect on red oak before doing the entire floor.
Apply Products Correctly
With prep work complete and white stain color tested, it’s time to whitewash your red oak floors for real. Carefully follow Bona’s application instructions for the staining and sealing steps to achieve flawless, long-lasting results.
Staining Steps
- Stir Bona White Stain thoroughly before and periodically during application. Pigments can settle during storage.
- Apply using a premium-quality nylon/polyester brush, stain pad, or HVLP sprayer. Work evenly and maintain a wet edge to prevent lap marks.
- Allow stained floors to dry 24 hours before applying any protective finish coat.
Sealing and Finishing
- Apply 2-3 coats of Bona Traffic HD Clear, following all label directions. Abrade lightly between coats.
- In high-traffic residential settings, consider applying up to 5 coats for maximum protection.
- Achieve full cure by avoiding heavy use for 1 week after the final coat.
To keep your floors looking freshly whitewashed for years to come, be diligent about proper maintenance:
- Clean using only pH-neutral hardwood floor cleaners. Harsh chemicals may degrade the finish.
- Reapply 1-2 coats of Bona Traffic HD Clear every 2 years or as needed to renew protection.
- Sand and re-whiten areas of heavy wear whenever wood becomes exposed. Spot repairing prevents full refinishing.
By starting with the right Bona products and following essential steps for preparation, application, and maintenance, you can successfully transform the traditional ruddy complexion of red oak into a clean, enduring white. A brilliant neutral canvas opens up unlimited interior design options, from Scandanavian minimalism to coastal cottage chic. With a whitewashed floor as your foundation, any decorating style you choose will shine.
