Creating a beautiful patio doesn’t have to drain your bank account. With some creative thinking and smart planning, you can design a stunning outdoor space using affordable patio pavers. I’ve discovered numerous patio paver ideas on a budget that can transform your backyard into a cozy retreat without breaking the bank. From choosing cost-effective materials to implementing DIY installation techniques, there are plenty of ways to achieve a high-end look for less. Let’s explore some budget-friendly patio paver ideas that will help you create the outdoor oasis you’ve always dreamed of, proving that style and affordability can go hand in hand.
Budget-Friendly Paver Materials for Your Patio Project
When it comes to creating a beautiful patio on a budget, selecting the right paver materials is crucial. I’ve found that there are several affordable patio pavers that can give you the look you want without emptying your wallet. Let’s dive into some of the best options for those seeking patio paver ideas on a budget.
Concrete pavers are often the go-to choice for budget-conscious homeowners. They’re versatile, durable, and come in a wide range of colors and styles. You can find concrete pavers that mimic the look of more expensive materials like natural stone or brick, but at a fraction of the cost. I’ve used concrete pavers in several projects, and they’ve always held up well over time, making them a smart investment for your outdoor space.
Another excellent option for cheap outdoor flooring is brick pavers. While they might be slightly more expensive than concrete, brick pavers offer a classic, timeless look that can elevate any patio design. They’re incredibly durable and can last for decades with proper maintenance. Plus, their rich, earthy tones can add warmth and character to your outdoor living area.
For those looking for truly inexpensive paver ideas, consider recycled materials. Salvaged bricks or reclaimed concrete slabs can be repurposed into unique and eco-friendly pavers. I once helped a friend create a charming patio using old bricks from a demolished building – the result was not only budget-friendly but also rich in history and character.
When comparing costs and durability, it’s important to consider the long-term value of your chosen materials. While some options might be cheaper upfront, they may not stand the test of time, leading to higher replacement costs down the road. Here’s a quick comparison of some popular paver options:
| Paver Type | Cost Range (per sq ft) | Durability |
|---|---|---|
| Concrete | $2 – $8 | High |
| Brick | $5 – $15 | Very High |
| Recycled Materials | $1 – $5 | Varies |
To really stretch your budget, consider sourcing discounted or salvaged pavers. Keep an eye out for clearance sales at local home improvement stores or check online marketplaces for leftover materials from other projects. I’ve had great success finding high-quality pavers at significant discounts by being patient and persistent in my search.
When exploring inexpensive paver styles and designs, don’t be afraid to mix and match different types of pavers. Combining affordable concrete pavers with a border of more expensive natural stone can create a high-end look without the premium price tag. You can also play with different paver sizes and laying patterns to add visual interest to your patio design.
Remember, the key to successful budget patio design is creativity and resourcefulness. By carefully selecting your materials and being open to unconventional options, you can create a stunning outdoor space that looks far more expensive than it actually is.
DIY Paver Patio Installation: Saving Money on Labor
One of the most effective ways to implement patio paver ideas on a budget is by taking on the installation yourself. DIY paver patio projects can save you a significant amount on labor costs, allowing you to allocate more of your budget to materials or decorative elements. While it might seem daunting at first, with the right guidance and a bit of elbow grease, you can achieve professional-looking results. Let me walk you through the process and share some tips I’ve learned from my own DIY paver projects.
First, let’s talk about the essential tools and materials you’ll need for a DIY paver project. Here’s a basic list to get you started:
- Pavers of your choice
- Gravel or crushed stone for the base
- Sand for leveling and filling joints
- Landscape fabric to prevent weed growth
- Edging material (plastic, metal, or concrete)
- Shovel and rake
- Plate compactor (can be rented)
- Level and string line
- Rubber mallet
- Wheelbarrow
Now, let’s break down the step-by-step process for installing your own paver patio:
- Plan and mark your patio area, ensuring proper drainage away from your home’s foundation.
- Excavate the area to a depth of about 6-8 inches, depending on your soil type and climate.
- Add a layer of landscape fabric to prevent weed growth.
- Spread and compact a 4-inch layer of gravel or crushed stone for the base.
- Add a 1-inch layer of sand and level it using a screed board.
- Start laying your pavers in your chosen pattern, using a string line to keep rows straight.
- Cut pavers as needed to fit around edges and obstacles.
- Install edging material to hold the pavers in place.
- Spread sand over the patio and sweep it into the joints between pavers.
- Use a plate compactor to settle the pavers and sand.
- Add a final layer of sand to fill any remaining gaps.
While DIY installation can save you money, it’s important to be aware of common mistakes to avoid during budget paver installation. One frequent error I see is inadequate base preparation. Skimping on the base layer can lead to an uneven surface and pavers that shift over time. Always take the time to properly excavate, add sufficient gravel, and compact each layer thoroughly.
Another mistake to watch out for is improper spacing between pavers. Leaving too much space can make your patio look unprofessional and lead to weed growth, while too little space can cause pavers to chip or crack. Aim for gaps of about 1/8 to 1/4 inch between pavers.
To save time and ensure efficiency in your patio layout and construction, consider these tips:
- Create a detailed plan before you start, including measurements and paver patterns.
- Rent or borrow specialized tools like a plate compactor to make the job easier and faster.
- Work in sections, especially for larger patios, to maintain consistent leveling and patterns.
- Use a paver splitter or wet saw for precise cuts around edges and obstacles.
- Enlist the help of friends or family to speed up the process and make it more enjoyable.
By taking on the installation yourself, you’re not just saving money – you’re also gaining valuable skills and the satisfaction of creating something with your own hands. Plus, you’ll have more flexibility to adjust your design as you go, ensuring your patio perfectly fits your vision and budget.
Now that we’ve covered the basics of materials and installation, let’s explore some creative patio paver ideas on a budget that can truly transform your outdoor space. With a bit of imagination and some smart design choices, you can create a patio that looks high-end without the premium price tag.
One of my favorite affordable paver patterns is the classic running bond. This simple pattern, where pavers are laid in staggered rows like bricks in a wall, is not only easy to install but also visually appealing. For a more interesting twist, consider a herringbone pattern. While it requires a bit more planning and cutting, the result is a dynamic, eye-catching design that can make your patio stand out.
To maximize visual appeal without breaking the bank, try mixing different paver sizes. A popular budget-friendly option is the three-piece pattern, which uses three different sized pavers to create a random, natural-looking layout. This approach not only adds visual interest but can also be more forgiving if you’re new to DIY paver installation.
Incorporating affordable borders and edging options can really elevate your patio design. Consider using a contrasting color or material for your border to frame your patio and give it a polished look. For instance, you could edge a concrete paver patio with a row of brick pavers, or use darker colored pavers to create a border around a lighter patio. This small detail can make a big impact on the overall aesthetic of your outdoor space.
Another trick for creating an upscale look on a budget is to mix paver sizes and colors. You could use larger pavers for the main area of your patio and smaller ones for accent areas or borders. Or, try combining pavers in complementary colors to create patterns or focal points within your design. Just be careful not to go overboard – too many colors or sizes can make your patio look busy and chaotic.
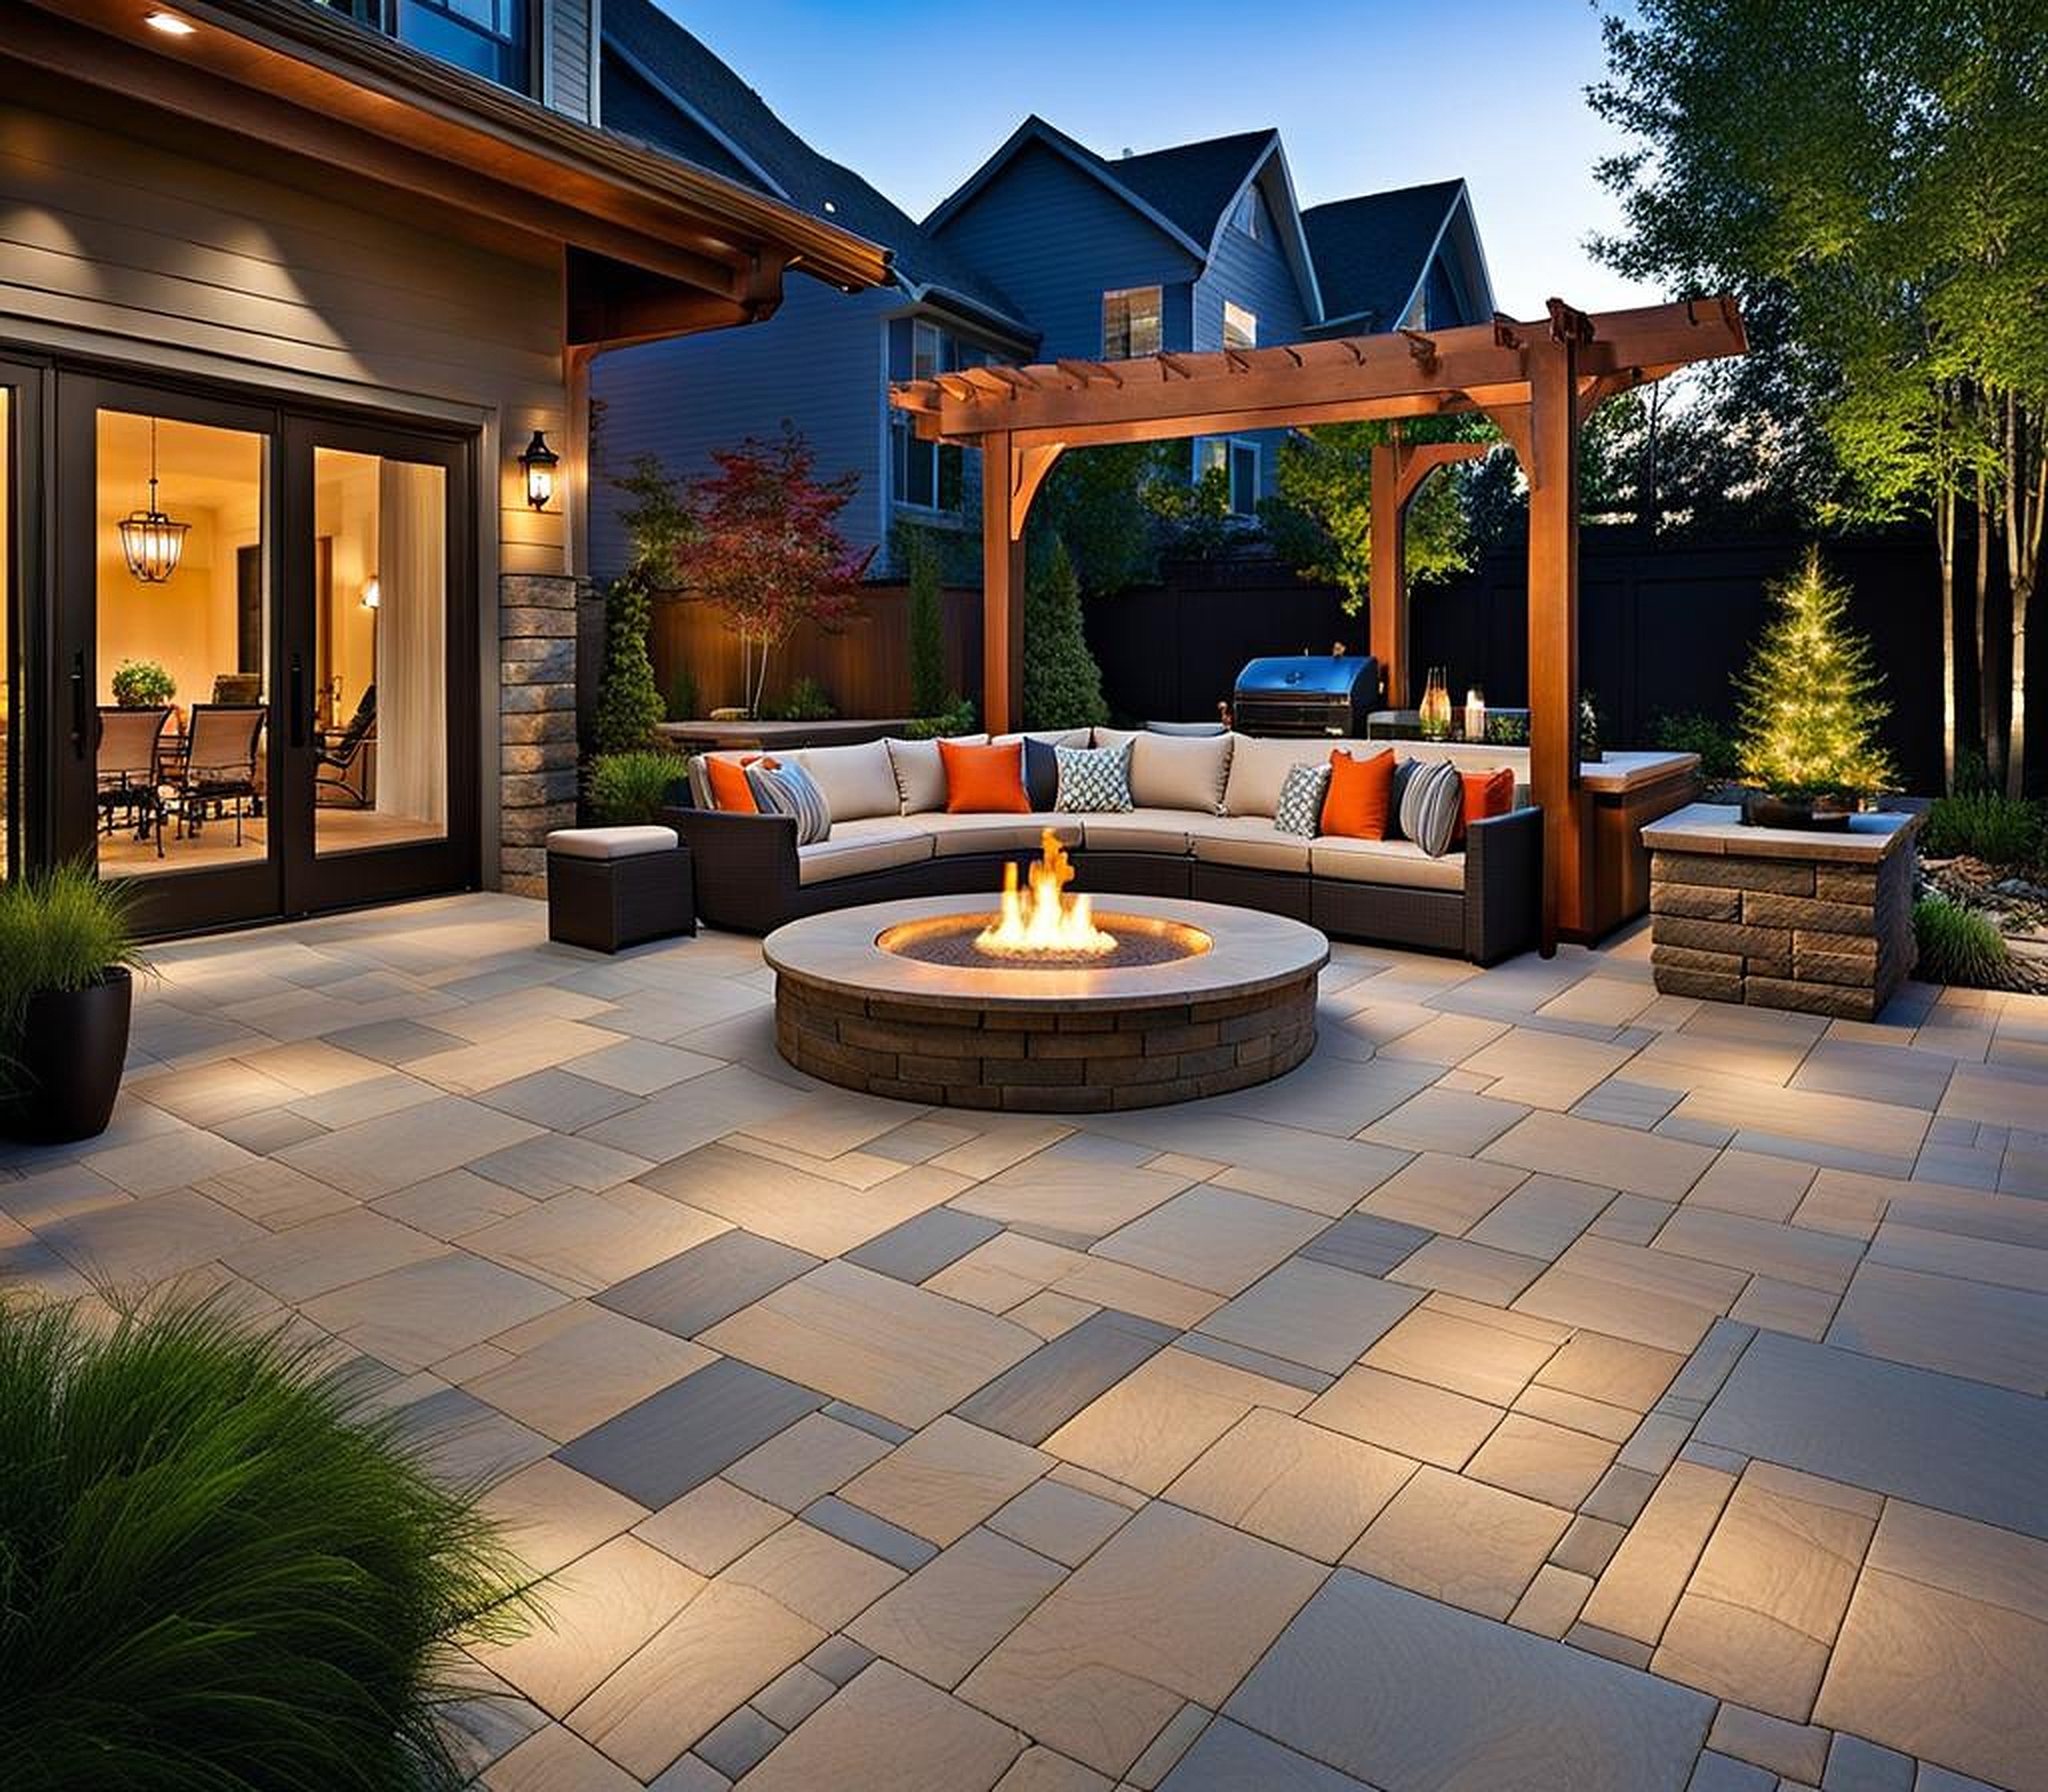
When it comes to budget patio makeovers, don’t forget about the power of accessories and decor. Even the most basic paver patio can be transformed with the right furnishings and decorative elements. Here are some ideas for complementing your paver patio with low-cost outdoor furniture and decor:
- Look for end-of-season sales on outdoor furniture sets
- Repurpose indoor furniture for outdoor use (with proper weather protection)
- Create DIY planters using inexpensive materials like concrete blocks or repurposed containers
- Add ambiance with string lights or solar-powered lanterns
- Use outdoor rugs to define seating areas and add color
- Incorporate natural elements like potted plants or a small water feature
Remember, creating a beautiful patio on a budget is all about being resourceful and thinking outside the box. Don’t be afraid to get creative with your design choices and look for unconventional solutions. For example, instead of buying expensive outdoor art, why not create your own using weather-resistant materials?
One of my favorite budget-friendly patio ideas is to create a focal point using a unique paver pattern or a contrasting material. This could be a circular design in the center of your patio, or a “rug” effect created with differently colored pavers. These design elements draw the eye and add interest without requiring a lot of extra expense.
Lastly, consider the long-term when planning your budget patio makeover. While it might be tempting to go for the absolute cheapest options, investing a little more in quality materials can save you money in the long run. Choose pavers and furnishings that will withstand the elements and require minimal maintenance. This way, your budget-friendly patio will continue to look great for years to come, proving that you don’t need to spend a fortune to create a beautiful outdoor living space.
