Is your bedroom looking a little lackluster these days? Do you feel like the blank, boring walls could use an upgrade? Well, we have the perfect DIY project to give your space a rustic-chic makeover – shiplap wall paneling!
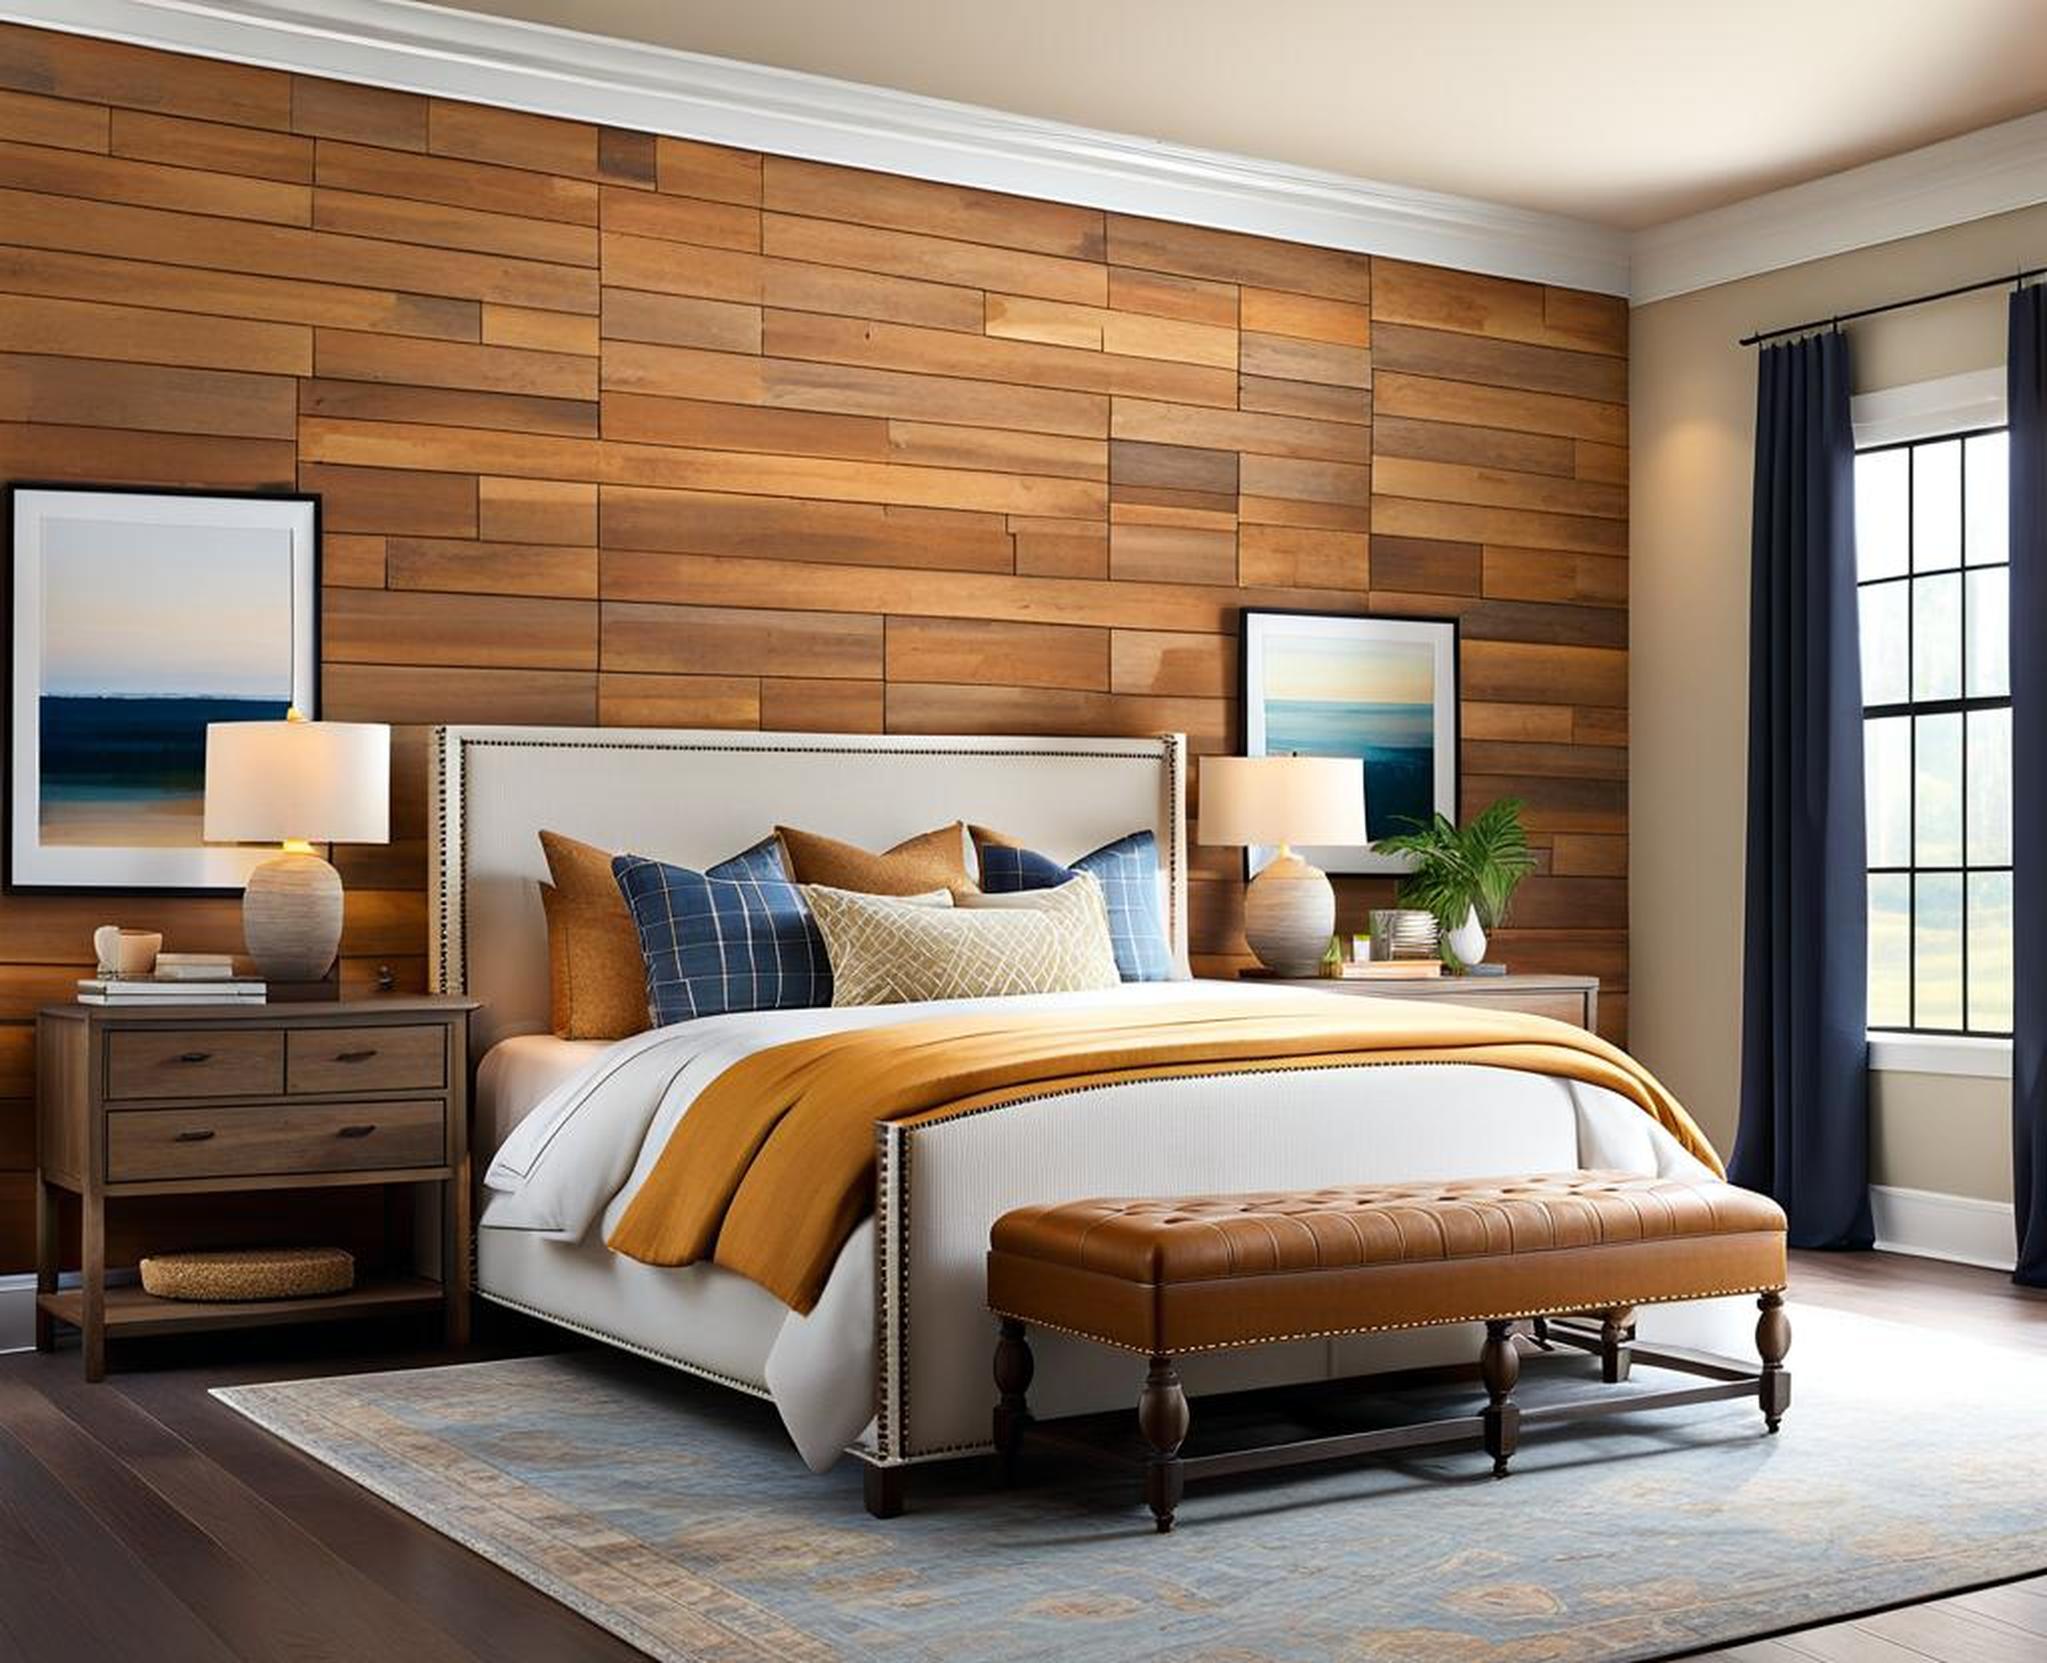
Shiplap walls add beautiful texture and visual interest to any bedroom. The characteristic gaps between the wooden boards create charming light-and-shadow interplay. Shiplap transforms your space from blah to wow in one weekend with a beginner-friendly installation. Read on to learn all about this hot trend and how you can easily infuse farmhouse character into your bedroom oasis.
What is Shiplap and Why Use it in Your Bedroom?
Definition of Shiplap Wall Paneling
Shiplap refers to wide wooden boards with tongues and grooves that slot together horizontally to cover walls and ceilings. The tongue-and-groove design creates tight joints while leaving an attractive space between each board.
Traditionally made from pine or other reclaimed woods, shiplap has a rustic, vintage look. But you can also achieve the signature shiplap style with plywood, MDF or other synthetic materials painted to suit your design scheme.
Benefits of Using Shiplap on an Accent Wall
An accent wall covered in shiplap instantly energizes your bedroom in many ways:
- Adds visual texture and architectural detail
- Creates a charming, rustic aesthetic
- Relatively affordable DIY project
- Easy to install compared to more complex panelings
- Dozens of patterns and orientations to choose from
Whether you’re looking to amplify your bedroom’s farmhouse style or give your modern space a kick of character, shiplap has you covered. Its versatile look pairs beautifully with most color schemes and furniture choices too.
Planning Your Shiplap Bedroom Accent Wall
A few key steps will prepare you to install a showstopping shiplap wall:
Bedroom Layout Considerations
Evaluate your room to determine the best spot for your shiplap statement wall. It often works well on the wall behind the bed or another focal area. Decide if you want to cover the entire wall or just a portion.
Selecting Your Installation Location and Orientation
Shiplap can be mounted vertically, horizontally or even diagonally. Vertical installation draws the eye up, making rooms feel taller. Horizontal patterns feel more relaxing and casual. Mix things up by installing boards perpendicular to the angle of adjacent walls or ceilings.
Choosing Your Shiplap Materials
Authentic shiplap consists of tongue-and-groove milled boards. But you can recreate the look with standard lumber or sheets of plywood cut into planks.
Real Reclaimed Boards: Gorgeous patinas and natural imperfections. Can be pricier.
Plywood: Budget-friendly and versatile. Quick to cut and install.
MDF: Smooth, composite finish. Ideal for painting custom colors.
Other faux options: Cedar fence pickets, pallet wood, utility boards
Estimating Materials Needed
Sketch your wall layout and measurements to calculate supplies. Budget 10% extra to allow for imperfect boards or miscuts.
Step-By-Step Guide to Installing Shiplap
Now let’s tackle transforming your blank bedroom wall into a textured masterpiece:
Prepping the Wall
Fill holes, remove protruding nails and ensure the surface is flat for smooth installation.
Measuring and Cutting Your Boards
Mark and cut boards to fit your wall dimensions. A miter saw helps make quick work of weird angles.
Nailing Up the Boards
- Pre-drill holes to prevent wood from splitting
- Use finish nails and glue for durability
- Maintain 1/8 to 1/4″ gaps between boards
- Start in the corner and work outward in rows
Dealing with Outlets, Windows and Corners
Measure precisely and make neat cuts around outlets and windows. Use trim boards to frame corners and transitions.
Caulking Gaps & Seams
Caulk between boards with paintable silicone. Smooth the beads with a wet finger for a pro-quality finish.
Priming & Painting Techniques
Seal everything with an oil-based primer before painting your accent wall a gorgeous, complementary hue.
Design Inspiration: Creative Ways to Use Shiplap
Looking for ideas beyond basic wall paneling? Here are some unique ways to implement shiplap in your bedroom design:
Full Shiplap Wall or Subtle Focal Area?
Cover an entire wall or alcove for maximum rustic impact. For a flexible accent, mount shiplap boards inside a picture frame or border.
Horizontal vs. Vertical vs. Herringbone Patterns
The angled look of herringbone shiplap packs visual punch. Or mix vertical and horizontal sections in contrasting stains or colors.
Contrasting Colors to Make It Pop
White shiplap pops against dark painted or exposed brick walls. Or go bold with navy blue shiplap on a light gray wall!
Accent with Trim, Shelves, Lighting Etc.
Highlight your shiplap with crown molding, shelves, sconces or pendant lights. Wood or black metallic accents work nicely.
Tie Together With Bedding, Furniture & Decor
Pull colors and materials from your shiplap wall into area rugs and bedding. Echo the wood tones with a branch chandelier or rustic nightstands.
FAQs
New to working with shiplap? Here are answers to some common questions:
Is Shiplap Expensive or Difficult to Install?
Faux shiplap from plywood or MDF is budget-friendly, starting around $2 per square foot. It’s also beginner DIY-friendly. Just measure twice and nail straight!
What Tools Do I Need?
A miter or table saw, finish nail gun, hammer, pry bar, caulk gun, painter’s tape and wood glue get the job done.
How is Installing Faux Shiplap Different?
Without tongue-and-groove connecting points, spacing faux boards evenly takes careful measuring. Cut plywood or MDF clean and straight so joints look tight.
Seal real or faux shiplap with primer and paint appropriate for bathrooms or moisture-prone areas. Use a soft dry cloth to gently wipe wall dust away.
With this guide, you have everything you need to execute a showstopping bedroom wall. Say goodbye to boring blank walls and hello to rustic-chic style!
