Is your kitchen crying out for a facelift but a full remodel is out of reach? Do your cabinets look tired and dated but replacing them entirely would blow your budget? Take heart! With the right colored cabinet stain, you can repurpose lackluster cabinets by giving them an affordable, vibrant makeover that transforms the whole room.
Colorful staining breathes new life into worn kitchens by turning drab cabinets into eye-catching focal points. Compared to painting, staining wood still allows the natural grain to show through while infusing rich, translucent tones into the existing cabinetry. You can make a dramatic change or opt for a soft, organic look. From deep espresso to whitewashed driftwood, the options satisfy any style.
Assessing Your Cabinets for Staining
The key to success starts with understanding your cabinet’s construction. Stains work best on porous woods with distinct grain patterns. Oak is the most popular choice as its dramatic pores absorb stain readily, but other woods like hickory, ash, maple and pine also take stain beautifully to showcase natural swirls.
Thermofoil and laminate cabinets lack penetrable wood, but painters can adhere colored coats to the surface. Likewise, existing wood stains or dense finishes may need to be removed for the new stain to set properly. Always test products on discreet inner cabinet areas first before proceeding.
Checking Wood Condition
Inspect cabinets inside and out for flaws that may become accentuated after staining. Damage like scratches, gouges and worn edges continues showing unless substantial repairs are made beforehand. Sand away minor issues, but larger problem areas likely need professional patching for an imperfection-free finished product.
Preparing Cabinets for Stain
Proper prep prevents pitfalls! It lets stains adhere correctly so your handiwork lasts. Completely clear counters and surrounding space first. Remove doors, drawers, shelves, hardware and lighting fixtures. Label pieces carefully for accurate reinstallation.
Cleaning and Sanding
Eliminate existing dirt, oil and grease so new stains don’t get rejected. Scrub surfaces with a degreasing agent like TSP substitute wearing protective eyewear and gloves. This removes grime from years of cooking splatters.
Lightly sand with 150-220 grit sandpaper afterwards. This roughs up the finish so stains can grab hold. Thoroughly wipe away all dust with a tack cloth. Now the wood awaits your vibrant stain solution!
Achieving Adequate Ventilation
Stains off-gas fumes requiring proper airflow. Open exterior doors and windows, circulate room air with fans and consider wearing a protective mask. Cover any forced air system vents to prevent vapors spreading throughout interior ductwork.
| Ventilation Tips | Benefits |
|---|---|
| Open doors and windows | Lets in fresh air |
| Use fans | Circulates fumes out |
| Cover HVAC vents | Prevents spreading vapors |
Choosing Your Cabinet Stain
Today’s stains outperform old varnishes with better durability and environmental friendliness. Water-based acrylic options minimize odors and cleanup versus oil-based varieties with stronger fume potential.
Color selection presents endless opportunities for customization. Bring sample chips home and view under existing lighting to confirm tone. Remember dark colors like espresso or charcoal minimize flaws while lighter shades show imperfections.
Considering Color Undertones
Check undertones so hues complement your decor instead of clashing. Stains come in warm, cool or neutral varieties. Warm amber and red cabinet tones promote cozy traditional spaces. Cool blue and green underscoring fits more modern styles. Soft beiges and grays adapt easily as neutrals.
Stay mindful of surroundings too. North-facing rooms may drain vitality from some cooler shades. Dark surfaces could feel oppressive in small or enclosed layouts. Liven things up with an accent wall sporting bolder color if the complete monochromatic look overwhelms.
Specialty Staining Techniques
Standard solid stains provide even saturation, but other approaches create extra depth. Glazing involves applying a semi-transparent tinted layer over darker stain underneath to emphasize grain contours. Distressed stains mimic worn, timeworn appearances through uneven scrubbing motions. Whitewashing leaves hints of original wood showing through a milky soft-white coat.
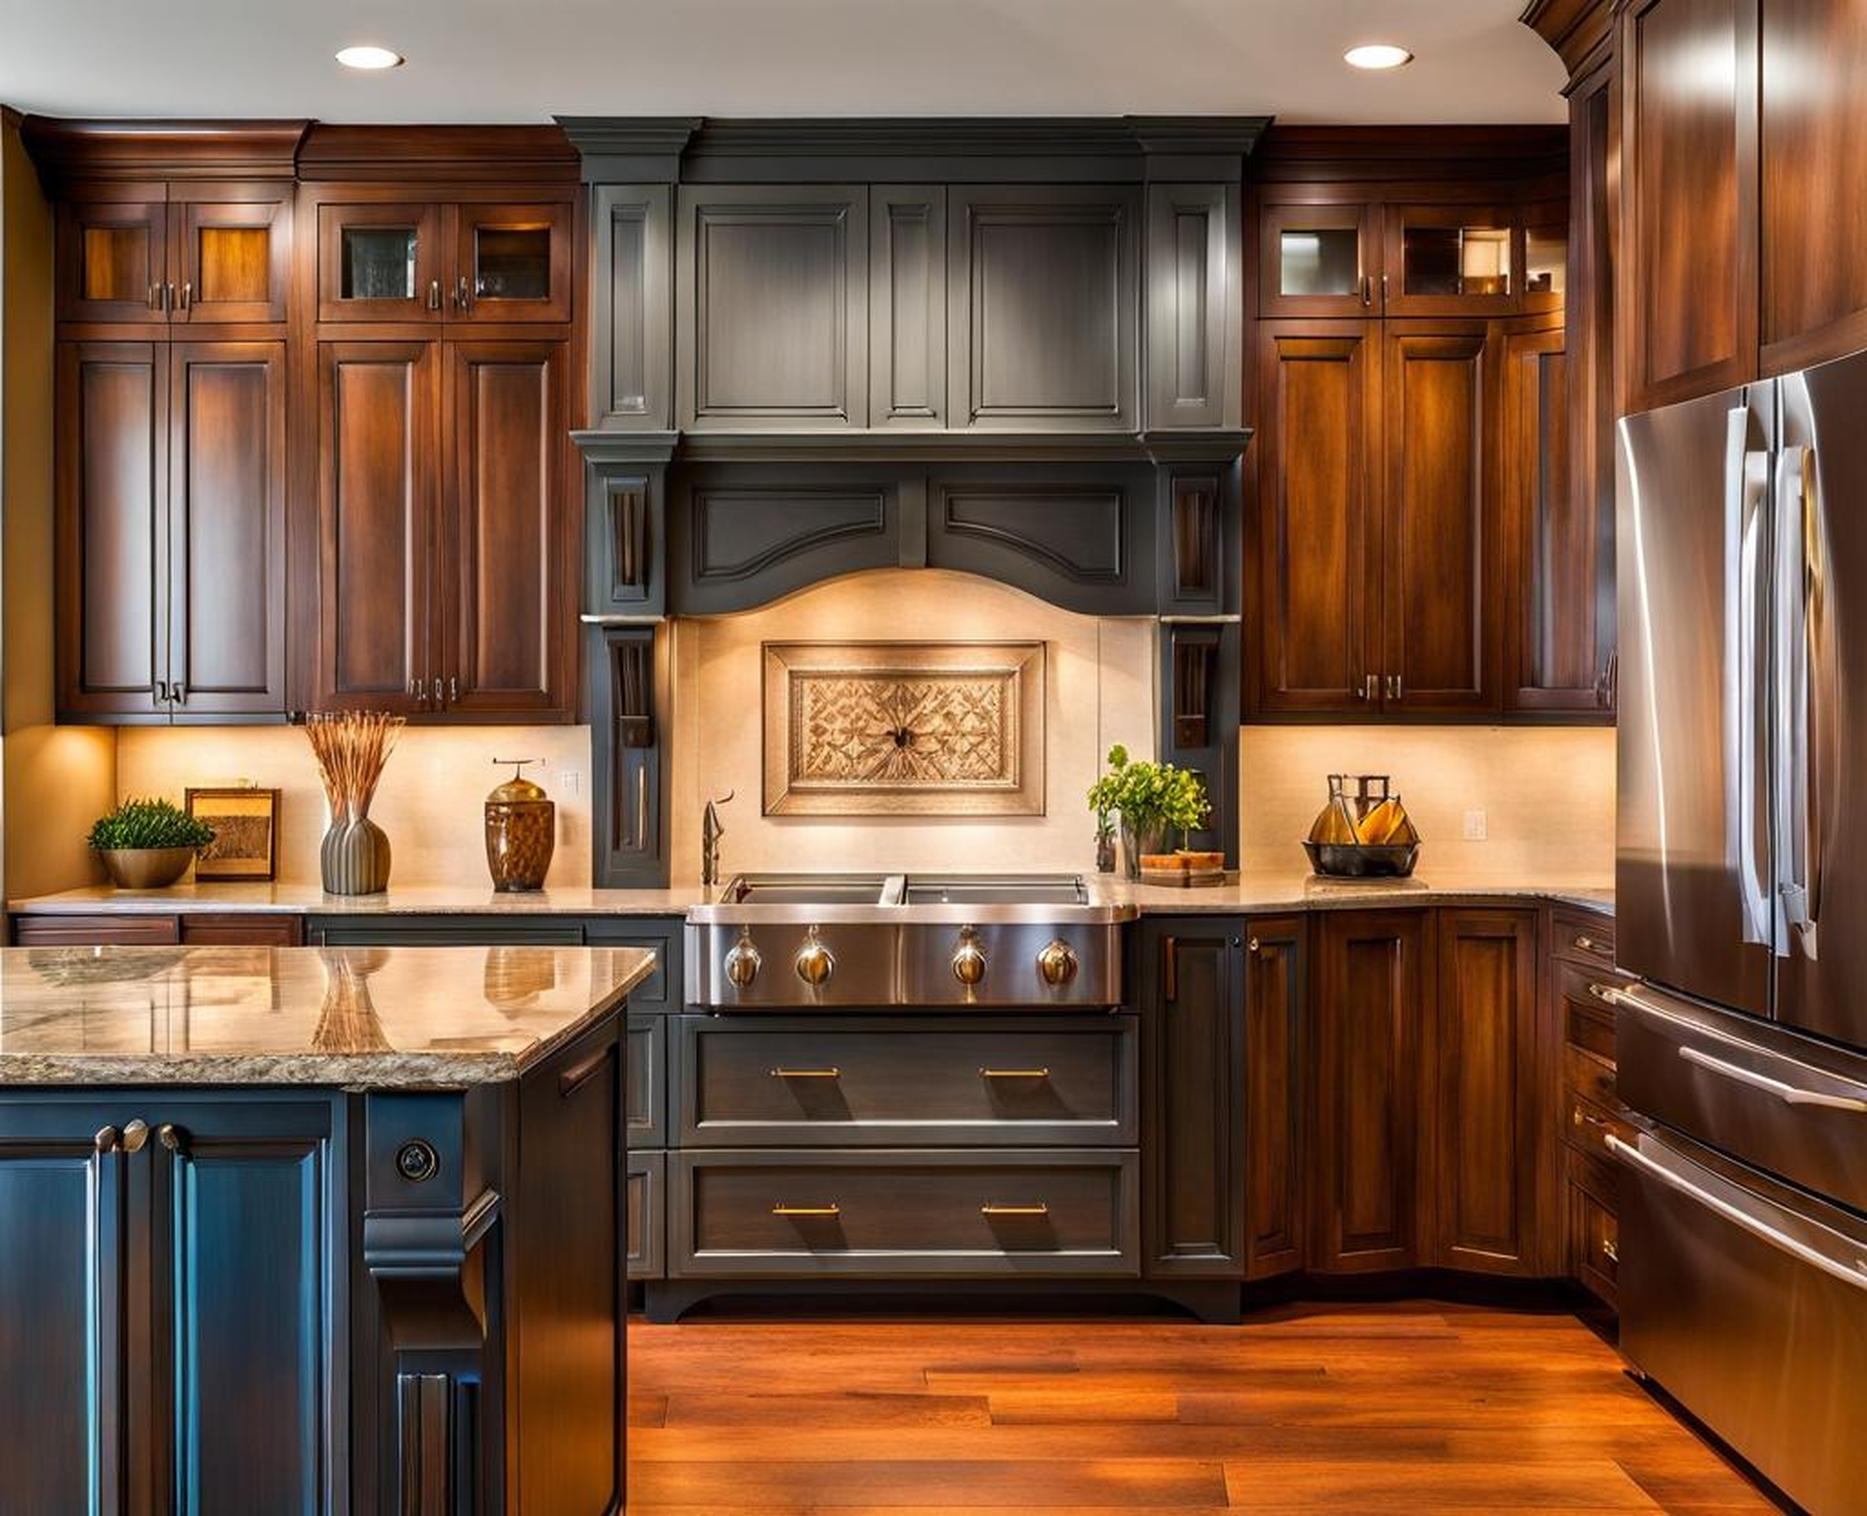
Stain Color Options for Cabinets
Selecting that perfect shade depends on the mood you want to set. Dark espresso evokes sophisticated elegance while a white-washed coastal vibe emanates breezy relaxation. Here’s an overview of common hue categories to consider when deciding how to repurpose your lackluster cabinets.
Light to Medium Wood Tones
These take a delicate hand but reward with luminosity. Lighter maple, oak, birch and ash colors add airy brightness. Soft beige, gray and whitewashed pastel hues keep the focus on accent decor instead. Remember constant upkeep protects the ethereal look against everyday wear which can quickly dull fragile tones.
Deep Rich Wood Tones
Nothing says “gourmet kitchen” quite like the opulent ambiance achieved by espresso, mocha, cinnamon and coffee-inspired shades. Blackish browns nod toward exotic luxury. Reddish browns containing golden yellow undertones charismatically embrace traditional sensibilities. Just take care near sunlit windows since intense light falling across ultra-dark surfaces sometimes spotlights uneven application issues.
Driftwood & Weathered Finishes
These bridge old and new with timeworn wisdom. Soft chalky grays gently transition traditional spaces toward modern or farmhouse aesthetics. Textural effects gained from white-washing and distressing techniques add approachable charm. The weathered patina effect caps off the historic appeal.
Application Process for Cabinet Stains
Arm yourself with a quality brush, foam applicators, lint-free cloths, wood conditioner and grain filler for handling any application scenario smoothly. Lay doors flat across sawhorses for easiest handling. Start sections over corners or vertical frame components first.
Wiping On Stain & Removing Excess
Wear protective gloves and eyewear when applying. Dip a foam brush into stain and coat a small section using smooth, even, back-and-forth strokes. Softly fuzz borders into surrounding areas before excess stain dries. Allow penetration for 5-15 minutes then gently wipe off surplus residue with a clean lint-free cloth.
Continue progressively around each piece until fully covered. Vertical door edges prone to drips may need a quick mid-coat wipe. Complete all initial coats before evaluating if subsequent ones are required. Allow proper drying times between applications.
Achieving Even Color Coverage
Inconsistent staining often results from inadequate surface prep. Pre-conditioning wood helps equalize absorbency differences across various grain areas. Using grain filler evens out deep pores on woods like oak. Always work systematically from top to bottom while applying. Maintain a wet edge border where fresh stain meets drying areas.
Protecting and Caring for Stained Cabinets
Shield your staining handiwork against moisture, spills and UV fading by applying one or two coats of clear sealer afterwards. Water-based polyurethane works well for its quick dry time and low odor. Allow adequate cure times before rehanging doors. Handle freshly finished pieces gently until completely hardened.
Cleaning Colored Stained Cabinets
Use microfiber cloths lightly dampened with mild dish soap and water to gently wipe stained cabinet exteriors when needed. Immediately dry surfaces. Avoid abrasive cleaners or excessive moisture which may damage the finish over time. Promptly clean up spills before they soak in.
Touching Up Nicks and Scratches
Minor stained cabinet finish damage disappears quickly with colored wax stick touch-up kits. Just select the closest matching hue, fill in the spot according to package directions and buff gently once dry. Retouch annually to keep cabinets looking their refinished best.
Improper prep and application often plague first-time stain projects with blotchiness, uneven color or mismatched pieces. Pinpointing errors gets easier with a systematic checklist reviewing essential steps.
Ensure sanding opens wood grain without exposing raw patches. Condition surfaces first if using soft woods like pine or birch. Always work top to bottom and maintain wet edge borders between sections. Allow sufficient drying and curing times before adding protective topcoats.
When in doubt, call in an experienced professional. Their expertise transforms even the most outdated oak or maple cabinets into an elegant focal point showcasing beautifully rich, colored stain solutions!
