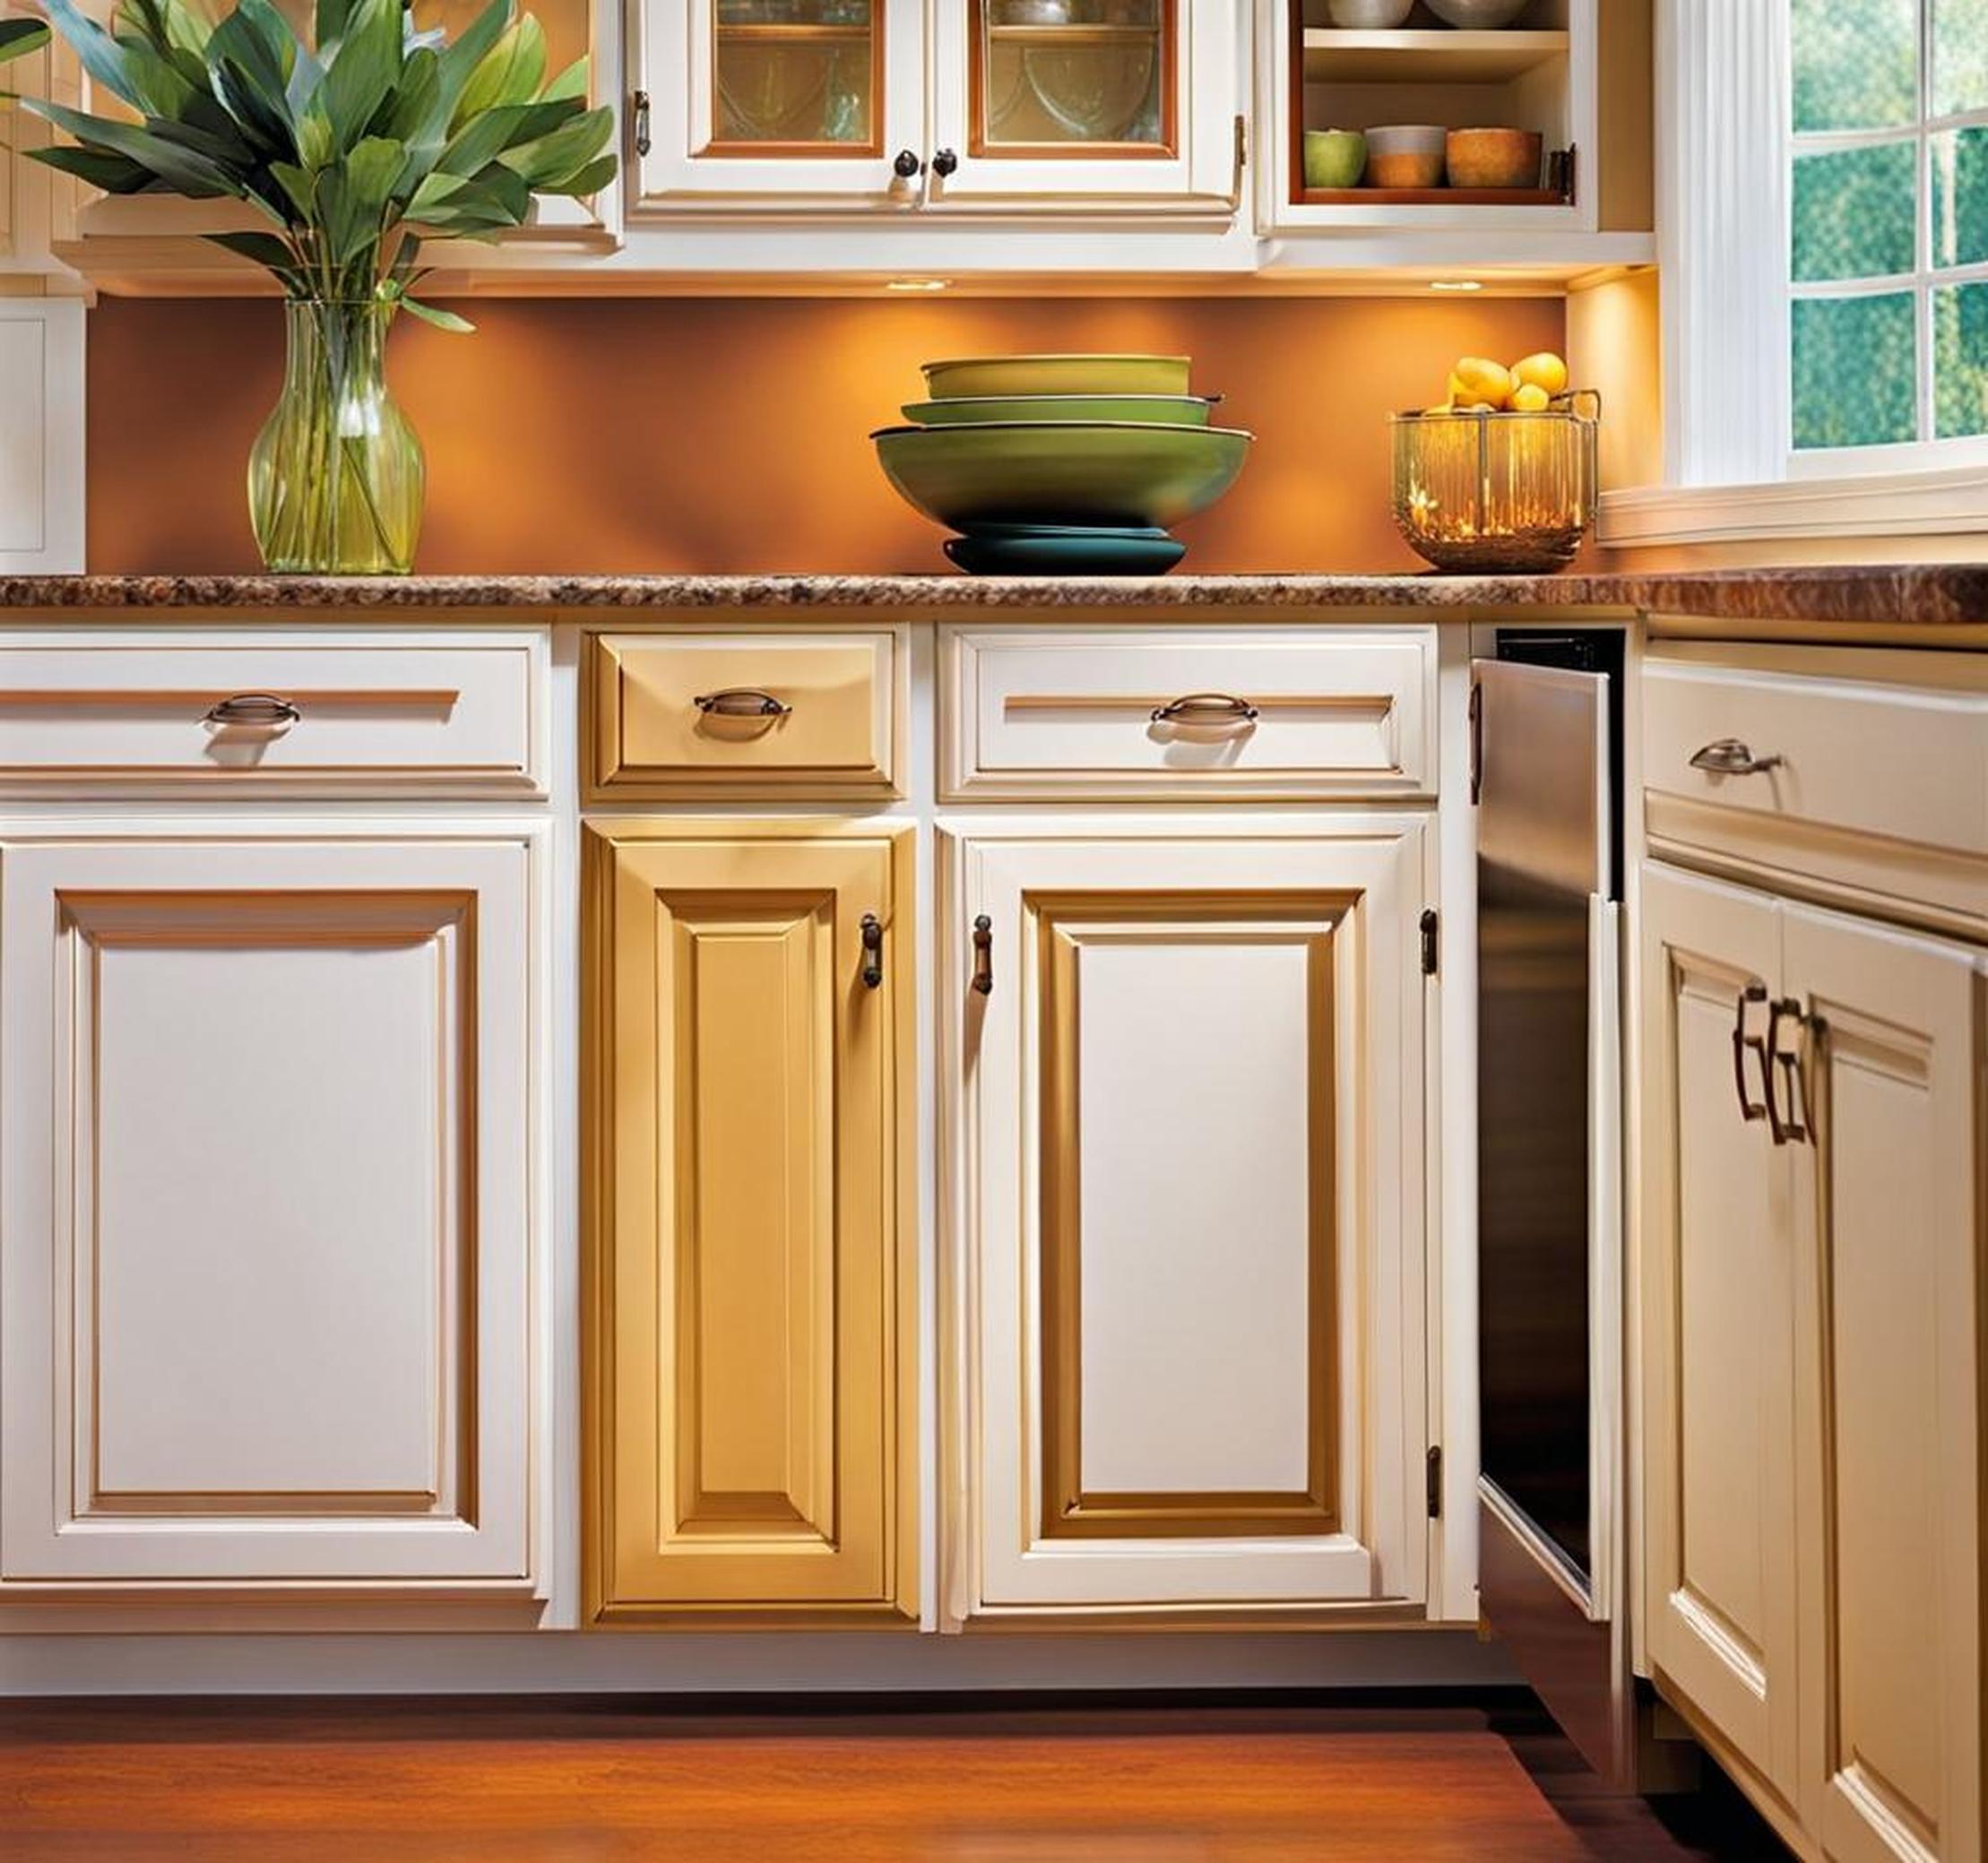
When it comes to kitchen upgrades, refinishing cabinets can provide a dramatic facelift for a fraction of the cost of full cabinet replacement. While most DIYers focus their painting efforts on the cabinet exteriors, don’t overlook the importance of also painting the interiors. Refinishing your cabinets from the inside out creates a polished, professional look that makes the most of your remodeling investment.
By following some simple tips and techniques, you can completely transform the look of your kitchen in a weekend.
Assessing Your Cabinets
Cabinet Condition
Start by carefully examining the current condition of your cabinets. Look for areas of damage, excessive wear and tear, or any existing finishes that will need to be removed. Thermally-fused laminate cabinets cannot be painted, so make sure your cabinets have a wood substrate or an existing layer of paint that can be recoated.
Cabinet Materials
Determine what material your cabinets are made of. Most cabinet boxes consist of plywood, medium density fiberboard (MDF), or solid wood frames with wood or laminate doors. The substrate you’re working with will impact the prep work and painting techniques required.
Cabinet Style
Assess your cabinet configuration as well. Are they framed or frameless? What type of cabinet doors do you have – slab, shaker, inset? The style of your cabinetry will determine how to best go about removing doors and drawers for refinishing.

Prep Steps Before Painting Interior
Remove Hardware and Shelving
Start by removing all hardware including hinges, pulls and knobs. Take down any adjustable shelving inside the cabinets as well. Number pieces and wrap them in soft cloths to prevent damage during the refinishing process.
Clean Surfaces
Thoroughly clean all interior cabinet surfaces using a degreasing agent to remove any grime or oils. A final wipe down with a tack cloth will remove any residual dust or debris.
Lightly Sand
Use 150-220 grit sandpaper to lightly scuff interior surfaces. This roughens the existing finish to help the new paint adhere properly. Take care not to over-sand, which can damage the wood substrate.
Fill Holes and Imperfections
Inspect for any holes, dents or imperfections. Use a wood filler to patch minor flaws, allowing adequate dry time before sanding smooth.
Prime
After proper prep, apply two coats of an interior bonding primer like Kilz or Zinsser Bulls Eye. Allow the full drying time between coats for proper adhesion.
Painting the Interior Cabinet Boxes
Painting Technique
Use a combination of small brushes for detail areas and a mini foam roller for larger flat expanses when painting the cabinet interiors. High density mini rollers work best for a smooth finish.
Paint Selection
Choose a premium cabinet paint in a satin or semi-gloss sheen for ease of cleaning. Options like Benjamin Moore Advance or Behr Scuff Defense offer great coverage and durability.
Apply Paint
Follow the manufacturer’s instructions, but generally two coats of paint applied over the primed surface will provide a flawless finish. Allow proper drying time and lightly sand between coats for a smooth surface.
Painting Interior Doors and Drawers
Remove Doors and Drawers
Number all doors, drawers and hardware to keep organized during the refinishing process. Follow the prep, sanding and priming steps above before painting.
Paint Nooks and Crannies
Use a small tapered brush to meticulously paint the nooks, crannies and edges of each piece. Slowly work the paint into grooves and corners.
Spray Option
For flat panel cabinet doors, opt for spraying which will greatly speed up the painting process. Hold the paint sprayer 6-10 inches away for even coverage.
Sealing High-Traffic Areas
Protect Drawers and Shelves
Add an extra layer of protection in high wear areas by applying a clear water-based polyurethane. Focus on interior shelves, drawer bottoms and sides.
Focus on Edges
Sealing all the edges of shelves and drawers will help prevent inevitable chips and dings that occur over time with use.
Reinstall Cabinetry
Allow Proper Dry Time
Before rehanging doors, replacing shelves and hardware, allow all painted surfaces to cure for at least 48-72 hours. Your paint will be fully hardened by then.
Replace Shelves and Hardware
Refer to labels and numbering to properly reinstall all shelving, hinges, knobs and pulls in their original locations.
Touch Up as Needed
Carefully inspect for any new nicks or scratches incurred during reassembly and use a small artist’s brush to touch up paint.
After all your hard work, stand back and admire your transformed kitchen cabinets. With some elbow grease you’ve saved thousands over a full cabinet replacement, and created a kitchen you can be proud of for years to come. Be sure to share before and after photos to inspire others about the dramatic impact of painting cabinet interiors.
