Recessed lighting installation requires careful planning, especially when considering the distance from exterior walls. The proper placement of these fixtures can transform a room’s ambiance, creating a warm and inviting atmosphere while ensuring optimal illumination. Understanding the ideal recessed lighting distance from walls is crucial for homeowners and designers alike. This knowledge not only enhances the aesthetic appeal of a space but also addresses important safety concerns. Let’s delve into the intricacies of recessed lighting placement and explore how to achieve the perfect balance between form and function in your lighting design.
The Importance of Proper Recessed Lighting Distance from Walls
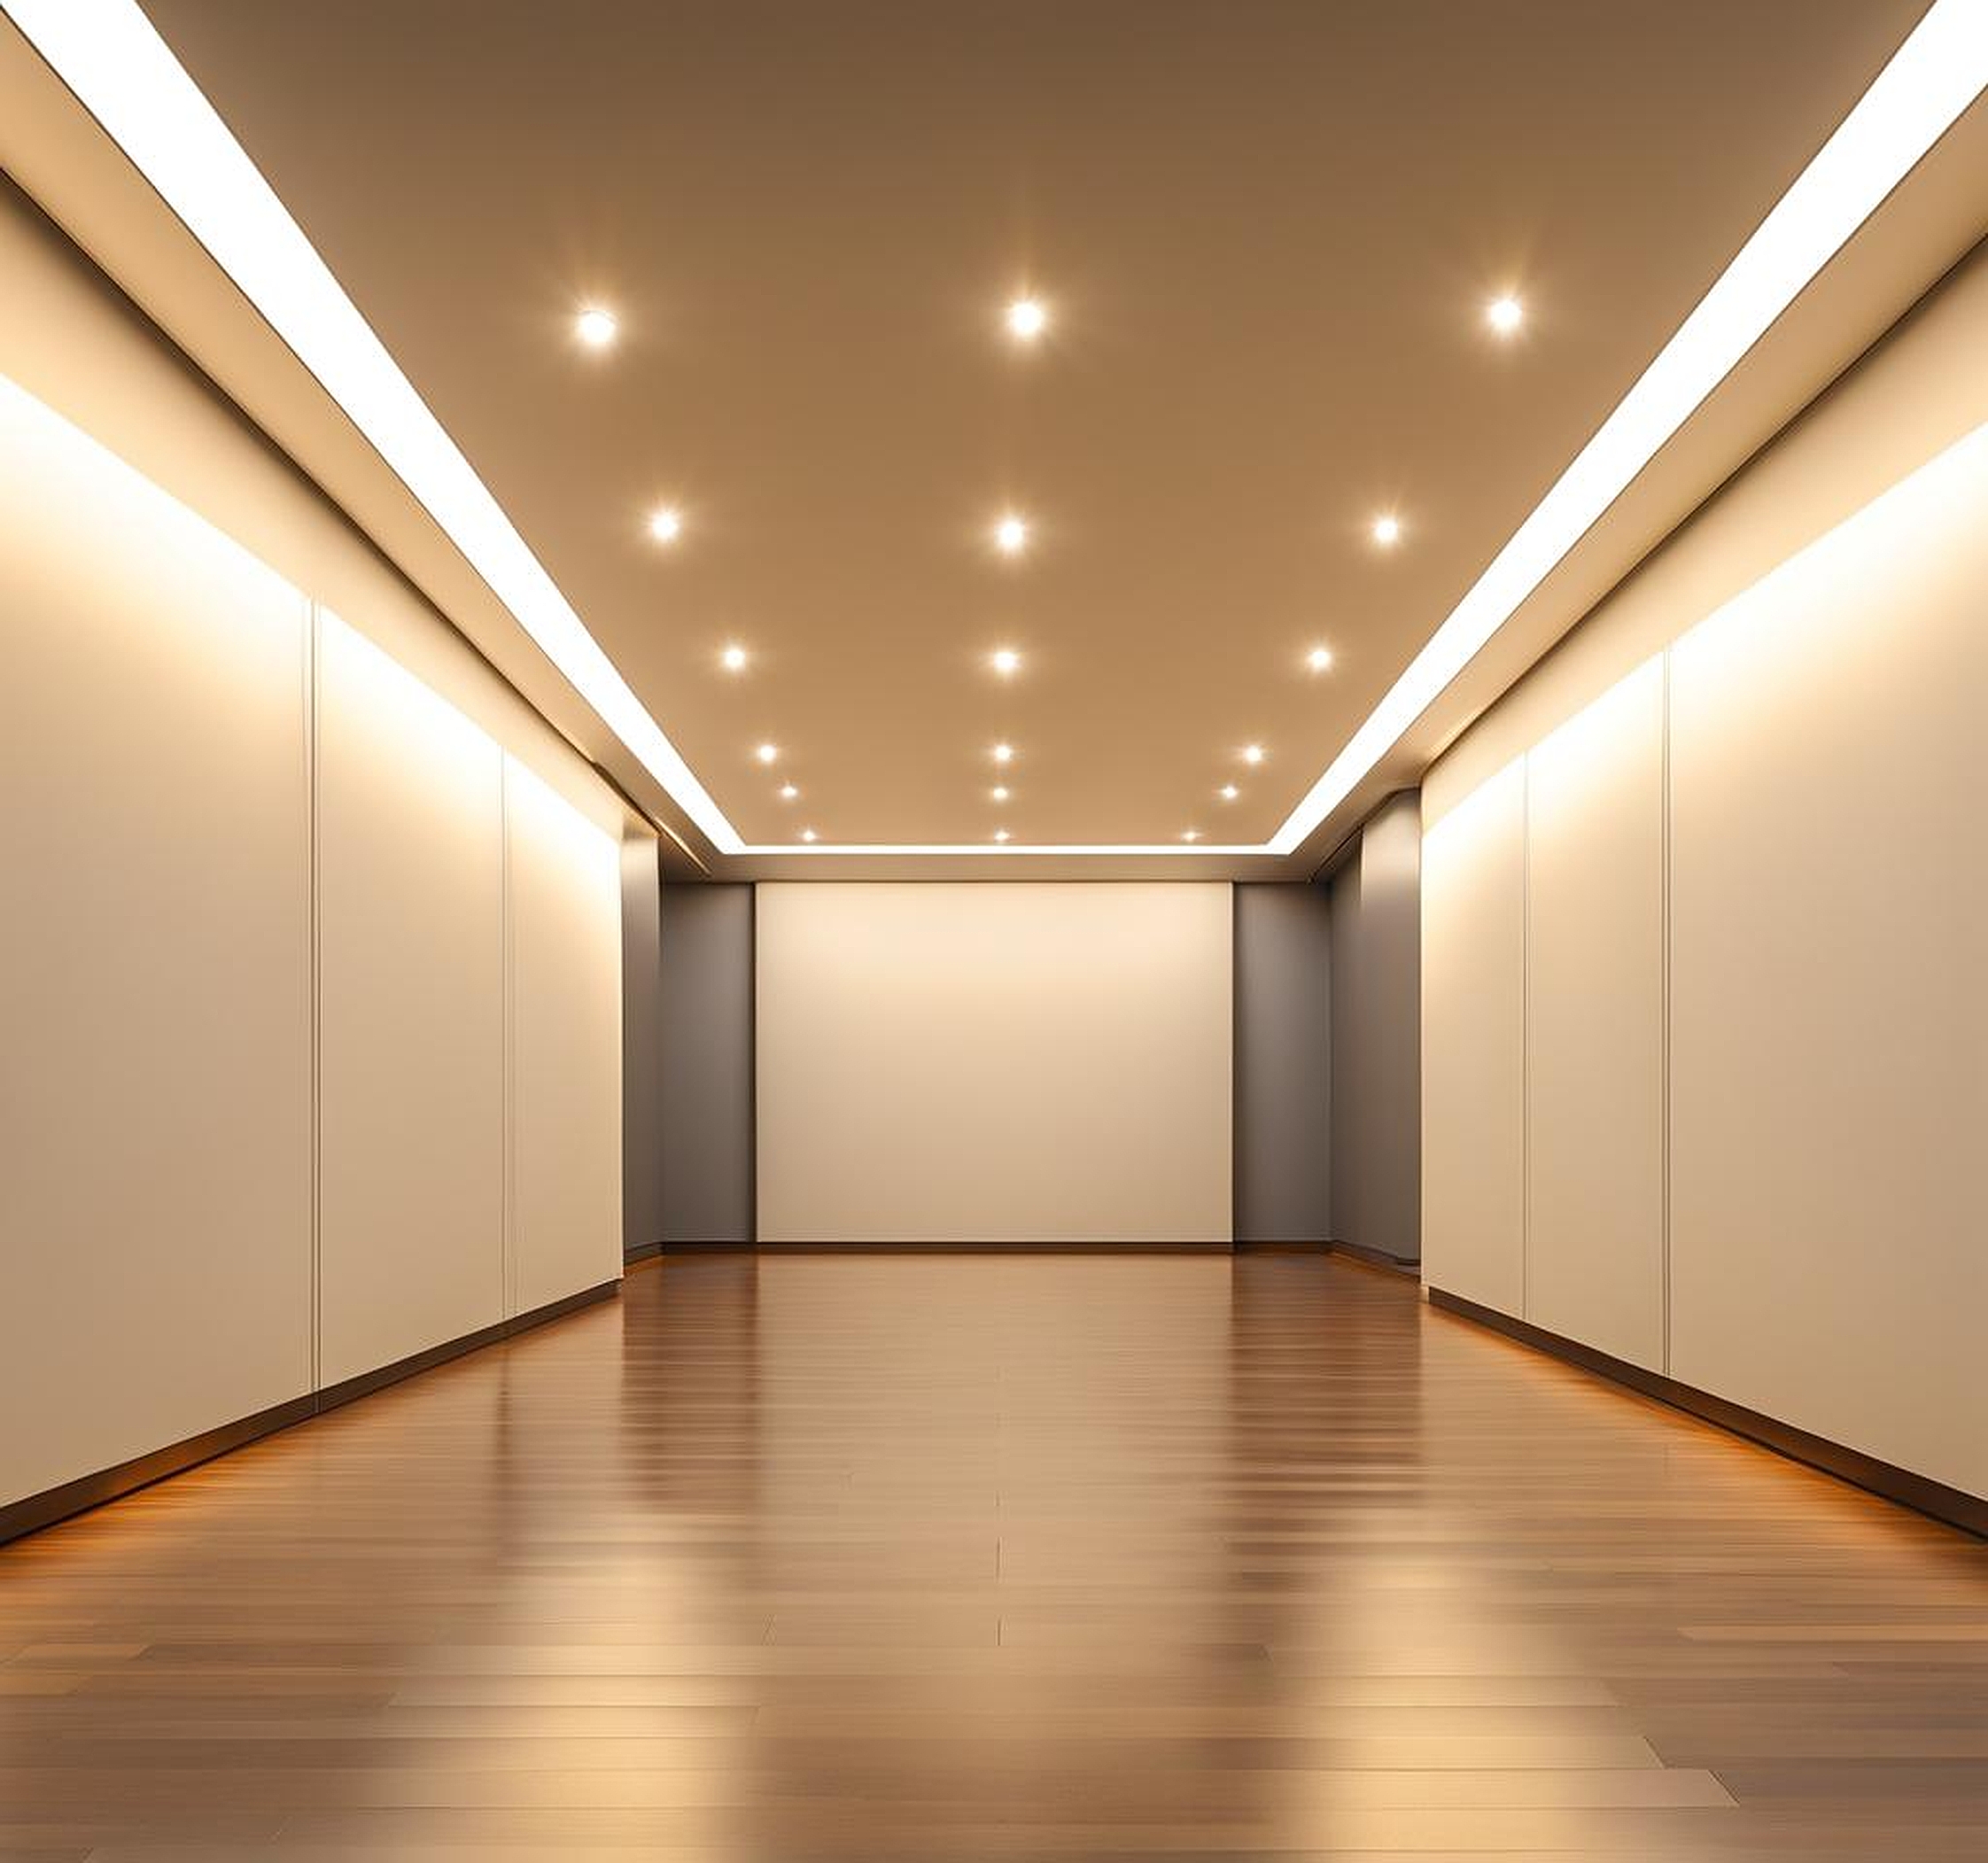
When it comes to recessed lighting, the distance from walls plays a pivotal role in achieving the desired lighting effect. The right placement can dramatically enhance the visual appeal of a room, creating depth and dimension that might otherwise be lacking. I’ve seen firsthand how proper spacing can make a world of difference in both residential and commercial spaces.
Ideally, recessed lights should be positioned about 1.5 to 3 feet away from walls. This range allows for a technique called “wall washing,” where light cascades down the wall surface, creating a soft, even glow. Wall washing is particularly effective in making rooms appear larger and more open. It’s a trick I often use in smaller spaces to give the illusion of expansiveness.
However, the optimal distance can vary depending on several factors. The height of your ceiling, for instance, plays a crucial role. In rooms with standard 8-foot ceilings, I typically recommend staying closer to the 1.5-foot mark. For higher ceilings, moving towards the 3-foot distance often yields better results. The key is to experiment and find what works best for your specific space.
Another aspect to consider is the beam spread of your recessed lights. Narrow beam spreads (15-30 degrees) are great for accent lighting but require closer placement to walls for effective coverage. Wider beam spreads (50-60 degrees) allow for greater distance while still providing ample illumination. I always advise my clients to choose fixtures with adjustable trims, as these offer flexibility in directing light where it’s needed most.
Remember, the goal isn’t just to illuminate the room but to create a balanced, visually appealing environment. Proper distance from walls ensures that your recessed lighting complements rather than overpowers the space. It’s about striking that perfect balance between functionality and aesthetics.
Calculating the Ideal Recessed Lighting Layout and Wall Spacing
Determining the optimal layout for recessed lighting involves more than just eyeballing it. There’s a science to it, and I’m here to break it down for you. The key is to create a recessed lighting layout guide that ensures even illumination throughout the space while maintaining the right distance from walls.
Start by measuring the length and width of your room. A general rule of thumb I follow is to divide the ceiling height by two. This gives you the ideal spacing between each recessed light. For example, in a room with 8-foot ceilings, you’d want to space your lights about 4 feet apart. This method helps prevent dark spots and ensures uniform lighting distribution.
When it comes to wall spacing for recessed lights, I typically recommend positioning the first row of lights about 3 feet from the wall. This distance allows for effective wall washing without creating harsh shadows or overly bright spots. However, this can be adjusted based on your specific needs and the room’s features.
To create a comprehensive recessed lighting layout, consider these steps:
- Sketch your room layout, including windows, doors, and any focal points.
- Mark the areas that require task lighting, such as over a kitchen island or reading nook.
- Plan your lights in a grid pattern, starting with the center of the room and working outwards.
- Adjust the grid to accommodate any architectural features or obstacles.
Remember, flexibility is key. While these guidelines provide a solid starting point, don’t be afraid to tweak the layout to suit your specific needs. I often find that a mix of recessed lighting with other fixtures, like pendant lights or wall sconces, can create a more dynamic and layered lighting scheme.
For rooms with unique shapes or sizes, consider using lighting design software. These tools can help you visualize different layouts and calculate the optimal spacing based on your room’s dimensions. It’s a technique I’ve used in complex projects to ensure every corner is adequately lit.
Lastly, don’t forget about dimmer switches. Incorporating dimmers into your recessed lighting plan allows for greater control over the ambiance and can help compensate for any minor imperfections in your layout. It’s a small addition that can make a big difference in the overall lighting experience.
Installation Tips for Optimal Recessed Light Placement Near Walls
When it comes to installing recessed lighting, proper placement near walls is crucial for achieving the desired effect. I’ve installed countless recessed lights over the years, and I’ve picked up some valuable tips that I’m excited to share with you. These insights will help ensure your lighting installation goes smoothly and results in a beautifully illuminated space.
First and foremost, always start with a clear plan. Before you even think about cutting into your ceiling, map out your lighting layout. Use painter’s tape to mark where each light will go. This visual guide is invaluable and has saved me from many potential mistakes. It allows you to step back and see how the lights will interact with the room’s features and adjust as needed before any permanent changes are made.
When installing recessed lighting near walls, pay close attention to the trim style. For wall washing effects, I recommend using eyeball or adjustable trims. These allow you to direct the light precisely where you want it, which is especially useful when you’re working close to walls. Fixed trims work well for general lighting but may not provide the flexibility needed for wall-adjacent installations.
Here’s a quick guide to recessed light placement near walls:
| Wall Distance | Effect | Best Used For |
|---|---|---|
| 12-18 inches | Dramatic wall washing | Highlighting artwork or textured walls |
| 18-24 inches | Balanced wall washing | General room illumination |
| 24-36 inches | Subtle wall lighting | Creating depth in larger rooms |
Remember, these are guidelines, not hard and fast rules. I always encourage experimenting to find what works best for your specific space.
Another crucial tip is to be mindful of obstacles. Check for joists, pipes, or wiring before cutting any holes. I can’t stress enough how important it is to use a stud finder and to inspect your attic space if accessible. This extra step can save you from costly mistakes and potential safety hazards.
When it comes to the actual installation, ensure you’re using the right type of housing for your ceiling. If you’re working with an insulated ceiling, use IC-rated housings to prevent overheating. For new construction, new construction housings are your best bet, while remodel housings are ideal for existing ceilings.
Don’t forget about the importance of proper wiring. Always turn off the power at the circuit breaker before beginning any electrical work. If you’re not confident in your electrical skills, it’s worth hiring a professional. Safety should always be your top priority.
Lastly, consider the color temperature of your bulbs. For areas near walls, I often recommend warm white lights (2700K-3000K) as they create a cozy, inviting atmosphere. However, if you’re highlighting artwork or want a more modern feel, cooler temperatures (3500K-4000K) can be effective. The right color temperature can make a significant difference in how your wall-adjacent lighting looks and feels.
Safety is paramount when it comes to any electrical installation, and recessed lighting near walls is no exception. Over my years of experience, I’ve encountered numerous situations where proper adherence to safety standards made all the difference. Let’s dive into the crucial aspects of ensuring your wall-adjacent recessed lighting is not only beautiful but also safe and up to code.
First and foremost, it’s essential to understand the electrical codes in your area. These codes can vary by location, so always check with your local building department. Generally, recessed lighting must be installed at least 6 inches away from any combustible material, including wooden studs in walls. This distance helps prevent overheating and reduces fire risk.
When installing recessed lighting near exterior walls, insulation becomes a key concern. Insulation contact (IC) rated fixtures are a must in these scenarios. These fixtures are designed to come into direct contact with insulation without overheating. If you’re working with non-IC rated fixtures, you’ll need to create a 3-inch clearance around the housing to prevent insulation contact.
Here’s a quick reference guide for recessed lighting safety standards:
- Use IC-rated fixtures for insulated ceilings
- Maintain at least 6 inches clearance from combustible materials
- Ensure proper electrical connections and grounding
- Use junction boxes for all wire connections
- Install thermal protection devices to prevent overheating
Another critical safety aspect is moisture protection, especially for recessed lights installed near exterior walls in bathrooms or kitchens. In these areas, use fixtures rated for damp or wet locations. These fixtures have special seals that prevent moisture from entering the electrical components, reducing the risk of short circuits and electrical fires.
Proper wiring is crucial for safety. Always use wire nuts to secure connections and ensure all wiring is properly tucked into the junction box. I’ve seen too many DIY installations where loose wires created potential hazards. If you’re not confident in your electrical skills, don’t hesitate to call a professional. The peace of mind is worth the investment.
When it comes to recessed lighting standards, it’s not just about safety – it’s also about performance. Look for fixtures that are ENERGY STAR certified. These meet strict energy efficiency guidelines set by the U.S. Environmental Protection Agency and the U.S. Department of Energy. They not only save you money on energy bills but often have longer lifespans and better light quality.
Don’t forget about the importance of proper ventilation. Recessed lights can generate heat, and without adequate ventilation, this heat can build up in the ceiling cavity. This is especially crucial when installing lights near walls where airflow might be restricted. Some modern LED recessed lights produce less heat, making them a safer option for wall-adjacent installations.
Lastly, consider the long-term maintenance of your recessed lighting. Choose fixtures with easily accessible bulb replacement mechanisms. This might seem like a minor point, but it can significantly impact safety down the line. Difficult-to-maintain fixtures might tempt future homeowners to ignore necessary replacements or repairs, potentially leading to safety issues.
Remember, while aesthetics are important, safety should never be compromised. By following these guidelines and staying informed about the latest safety standards, you can enjoy beautiful, well-lit spaces with the peace of mind that comes from knowing your installation is safe and compliant.
