Installing an in-ground pool is an exciting project that can enhance your backyard. But this major endeavor requires careful preparation and execution. One of the most important steps is ensuring you have a perfectly flat and stable base on which to build your pool.
Achieving a level pool base prevents a host of future problems, from safety issues to structural damage. By taking the time to properly level the ground first, you’ll avoid cracked walls, shifting soil, and water accumulating in low spots.
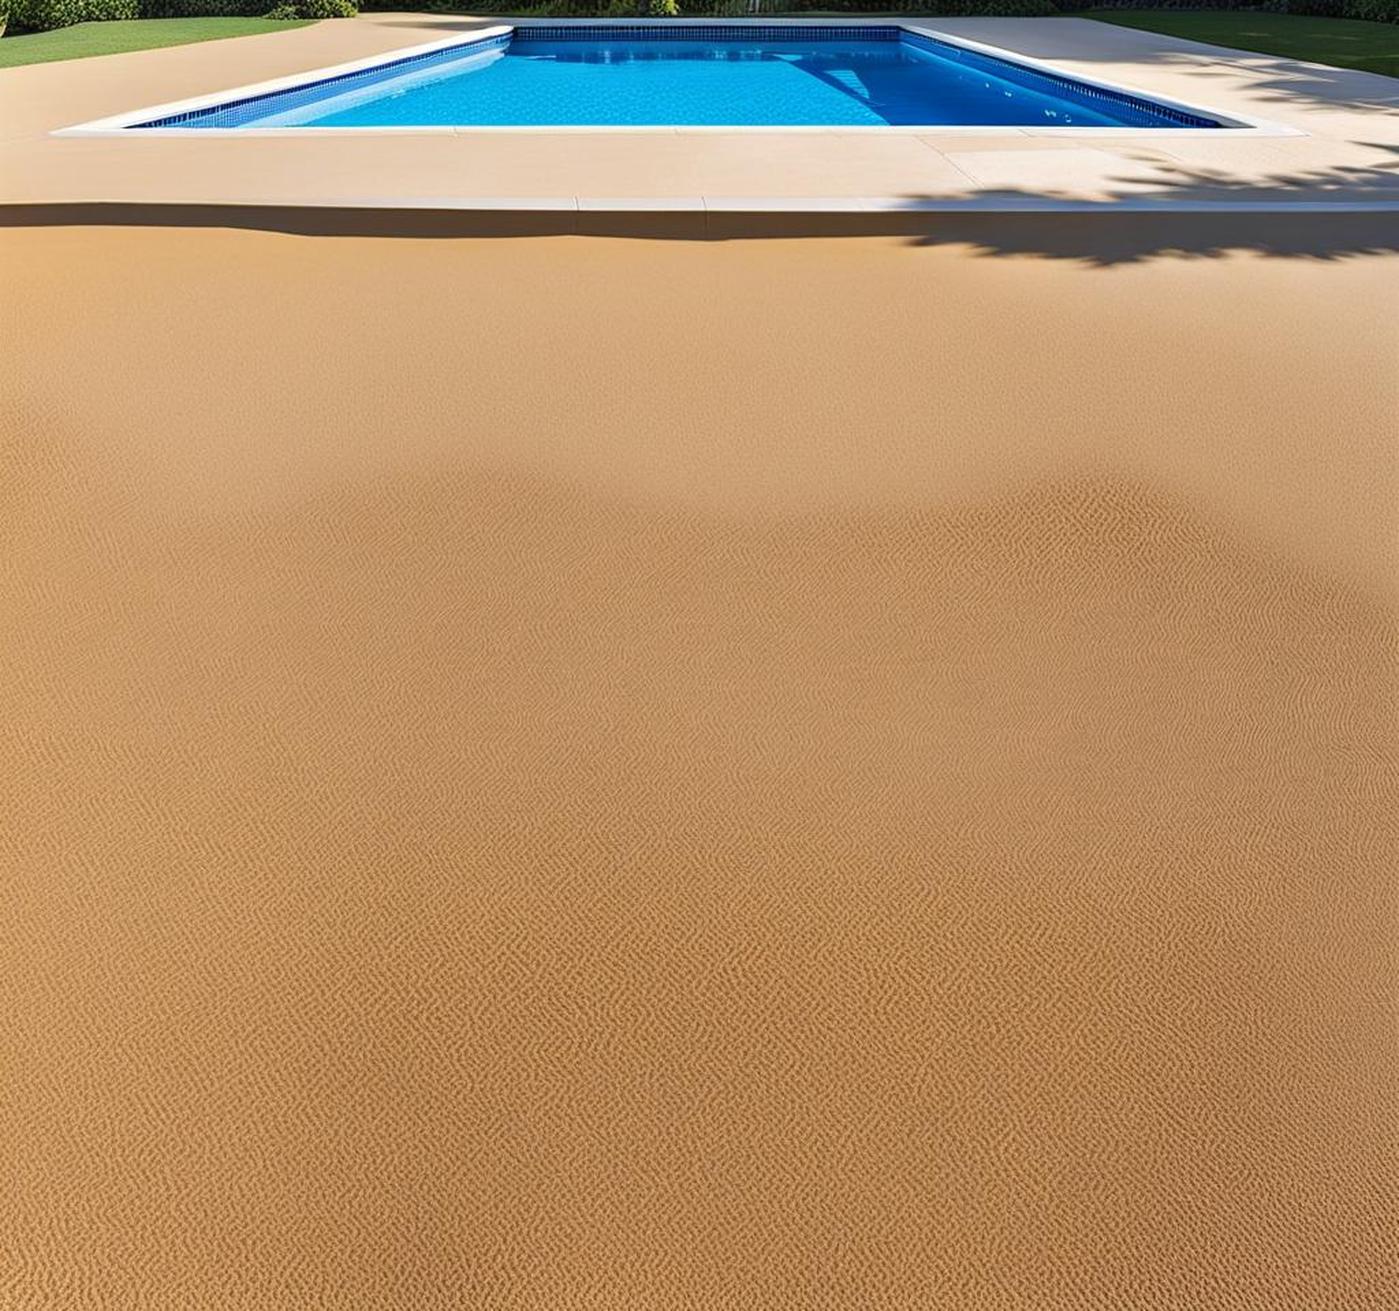
Why Sand is an Ideal Leveling Material
There are several options for leveling the ground before pool installation, but sand provides a simple and effective method. Here’s why it works so well:
- Sand is an affordable material that’s readily available.
- It’s easy to spread and smooth into an even layer.
- Sand compacts well when tamped down, creating a dense, stable base.
- It allows for drainage to prevent water buildup.
- Sand conforms nicely to the existing contours of the soil.
Follow these six straightforward steps for using sand to quickly level your pool area. With some elbow grease and attention to detail, you’ll have a flat, uniform base ready for your pool.
Step 1 – Check Current Ground Levelness
First, assess how uneven the ground is currently. This will help you determine how much sand you need to add.
Mark out the approximate shape and dimensions of your pool with stakes and mason’s string. Then, place 2×4 boards across the width of the area in several spots. Use a 4-foot level on top of the boards to identify high and low points.
Measure down from the bottom of the boards to the ground, making note of this distance. Repeat this at many locations to map out which sections are higher or lower.
Tips for Accurate Measurements
Small errors in your measurements can throw off your entire leveling effort. Here are some pointers for precision:
- Use a long, high-quality level – at least 4 feet.
- Check levelness across both directions – length and width.
- Mark all measurements right on the 2×4 boards with a permanent marker.
- Take measurements every few feet across the entire space.
The more data points you collect, the better understanding you’ll have of the terrain. This will allow you to calculate precisely how much sand you need.
Step 2 – Determine How Much Sand Is Needed
Now examine your measurements to find the lowest spots. The amount of ground unevenness here will determine the thickness your sand layer will need to be.
For example, if the lowest point is 3 inches below your flattest measured spot, you’ll need to add about 3 inches of sand across the entire space. This ensures you achieve a perfectly flat, uniform depth.
Calculate the volume of sand needed by multiplying the target depth by the square footage of your pool site. Provide extra to be safe – it’s easy to use up sand quickly when leveling.
Step 3 – Prepare the Ground
With your measurements complete, it’s time to prep the existing soil for your sand layer. Remove any grass, tree roots, mulch, and debris from the area your pool will cover.
Use a shovel, tiller, or other tools to get down to bare mineral soil. This provides a solid base. Compact the ground thoroughly with a hand tamper or lawn roller.
For improved stability and drainage, consider adding a 4-6 inch layer of gravel before the sand. However, this isn’t strictly required in most cases.
Step 4 – Add Sand to Low Areas
Now comes the fun part – spreading the sand! Work methodically and focus on building up the low spots first. Shovel or dump piles of sand around the site, concentrating it in the lower areas based on your measurements.
Use a straight board or rake to spread the sand, evening it out while adding more to the dips. Tamp down and compact the sand periodically as you work to prevent shifting.
The wetter the sand, the easier it will be to level. Mist it with water from a hose if it’s excessively dry.
Step 5 – Level Entire Area
Once the main depressions are filled, it’s time to flatten out the whole space. Distribute sand evenly across the entire pool’s footprint, building up thin layers.
Use a long, perfectly straight board as a guide. Drag it across the surface, checking for gaps or low spots. Add sand to any areas where the board teeters. Work methodically until the board lays flush at all points.
Repeat the process over the entire space, smoothing with a rake as you go. The board will help ensure you achieve a flat plane.
Step 6 – Final Check and Compaction
You’re in the home stretch! Do a final pass with the 4-foot level on the 2x4s. Verify that the boards now rest evenly on the sand without any gaps or tilting.
Wet down the sand until saturated, then compact again using a hand tamper or lawn roller. This will lock the grains together, stabilizing the layer.
Check for depressions and fill any spots that look low. Recheck levelness when the sand is dry to confirm your base is perfectly flat.
Additional Tips
Following proper techniques will ensure your sand base adequately supports your pool. Here are extra pointers for success:
- Consider adding a pool base mat for extra stabilization.
- Leave proper slope if installing an above-ground pool.
- Retest for levelness before installing the pool.
- Safely dig a shallow trench to bury pool walls.
Take it slow, double-check your work, and don’t cut corners. A flat foundation is the key to a smooth pool installation.
Leveling the ground for your pool using sand is a straightforward process. Follow the six steps covered here, taking precise measurements and thoroughly compacting the sand.
With some sweat equity invested upfront to properly prepare the base, you’ll be rewarded with a perfectly flat foundation ready for your pool.
Taking the time to level the ground prevents a range of problems, from shifting structure to water flow issues. Your hard work will pay off the moment you fill your pool with no adverse settling or warping.
Achieving a flawlessly level finish ensures safety, longevity, and beauty for your pool. Just grab a shovel and sand, and get ready to create a backyard oasis!
Use a Laser Level for Precision
While traditional levels get the job done, for maximum accuracy consider using a laser level. This projects a laser plane across the ground, allowing you to precisely identify high and low points down to a fraction of an inch.
Test Soil Compaction
Use a soil compaction tester after tamping down the ground and sand. This specialized tool measures the density, telling you if the soil needs further compacting for stability.
Install Drainage
Prevent erosion and water issues by installing a French drain, gravel trench or other drainage system around the perimeter before backfilling.
Add a Geotextile Layer
A geotextile fabric between the sand and ground provides extra protection for the pool liner against punctures from stones.
Check Water Level
Once filled, periodically check that the water level remains consistent. Adjust the sand if you notice any changing or sloping.
Monitor Temperature
The ground can shift with temperature changes. Keep an eye on the weather and make small level adjustments as needed.
Use a Pool Leveling Kit
Pool manufacturers offer special materials to simplify maintaining level. This includes adjustable pilings to account for settling.
For guidance on advanced leveling techniques, or help troubleshooting any problems, connect with a qualified pool builder or landscaper.
