Tackling uneven bathroom floors can be a game-changer for your home’s comfort and safety. Whether you’re dealing with a slight slope or noticeable dips, learning how to level a bathroom floor is a valuable skill that can save you time and money. From identifying problem areas to applying the right materials, we’ll dive into expert techniques that ensure a smooth, level surface without causing major disruptions to your daily routine.
Understanding Bathroom Floor Leveling: Importance and Challenges
Leveling a bathroom floor isn’t just about aesthetics; it’s crucial for safety and functionality. Uneven floors can lead to tripping hazards, improper drainage, and difficulties in installing fixtures. The challenges of bathroom floor leveling often stem from the unique environment – moisture, temperature fluctuations, and heavy foot traffic can all contribute to floor irregularities over time.
One of the primary bathroom floor construction techniques involves creating a solid, level foundation from the start. However, even well-constructed floors can settle or warp due to various factors. Knowing how to address these issues is key to maintaining a safe and comfortable space.
When considering bathroom floor leveling methods, it’s essential to understand the underlying causes of unevenness. Sometimes, the problem lies in the subfloor, which may have rotted or weakened due to water damage. In other cases, the issue might be with the foundation itself. Identifying the root cause is crucial for determining the most effective leveling approach.
Bathroom floor maintenance tricks can help prevent the need for major leveling projects. Regular inspections, prompt repairs of any cracks or gaps, and addressing water leaks immediately can all contribute to maintaining a level surface. However, when prevention isn’t enough, it’s time to explore more comprehensive solutions.
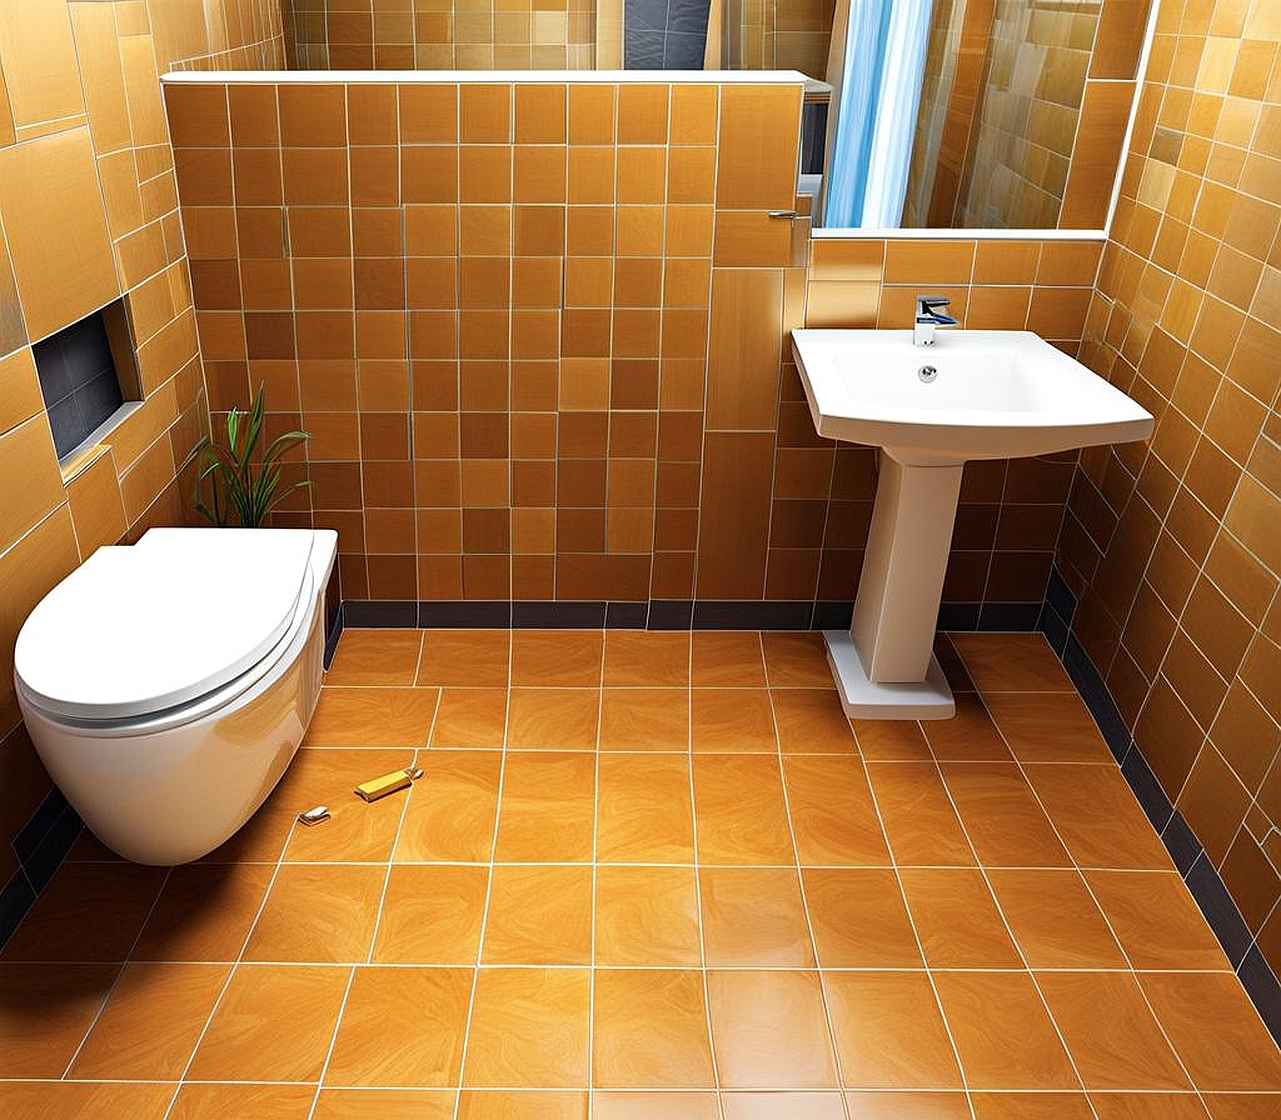
Level bathroom flooring is particularly important when it comes to tile installation. Even slight variations in floor height can result in lippage – where the edges of adjacent tiles aren’t flush. This not only looks unsightly but can also create tripping hazards and make cleaning more difficult.
- Importance of level floors:
- Safety (prevents tripping)
- Proper drainage
- Ease of fixture installation
- Aesthetic appeal
- Common challenges:
- Moisture-related issues
- Structural settling
- Subfloor damage
- Previous poor installation
Bathroom floor repair techniques vary depending on the severity of the unevenness and the type of existing flooring. For minor issues, using a self-leveling compound might suffice. More significant problems may require removing the existing floor and addressing issues with the subfloor or even the joists beneath.
Understanding bathroom floor elevation is crucial when planning your leveling project. You’ll need to consider how raising the floor height might affect door clearances, toilet flanges, and the transition to adjoining rooms. It’s a balancing act between achieving a level surface and maintaining the functionality of your space.
Essential Tools and Materials for Leveling a Bathroom Floor
Before diving into the process of leveling your bathroom floor, it’s crucial to gather all the necessary tools and materials. Having everything at hand will streamline the process and help you achieve professional-level results. Let’s explore the essentials you’ll need for successful bathroom floor preparation and leveling.
First and foremost, you’ll need a reliable level. A long level, preferably 4 feet or longer, is ideal for checking larger areas of the floor. For more precise measurements in corners and around fixtures, a shorter level will come in handy. Some professionals even use a laser level for ultimate accuracy in bathroom floor elevation assessment.
Another indispensable tool is a straight edge. This could be a long piece of lumber or a metal straight edge specifically designed for construction work. You’ll use this in conjunction with your level to identify high and low spots across the floor surface.
When it comes to materials, the star of the show in many bathroom floor leveling methods is the self-leveling compound. This miraculous substance flows into low spots and creates a smooth, level surface as it dries. Be sure to choose a high-quality compound suitable for bathroom environments – look for ones that are moisture-resistant and compatible with your planned flooring material.
Here’s a comprehensive list of tools and materials you might need:
- Long level (4 feet or more)
- Short level (2 feet)
- Straight edge
- Self-leveling compound
- Primer (for the subfloor)
- Mixing bucket and paddle
- Drill (for mixing compound)
- Trowel or squeegee
- Spiked shoes or cleats
- Safety gear (gloves, goggles, dust mask)
- Shop vacuum
- Patching compound (for filling cracks or holes)
- Sandpaper or sanding block
For bathroom floor concrete leveling, you might also need a concrete grinder or scarifier to roughen up the surface for better adhesion of the leveling compound. If you’re dealing with a wooden subfloor, you may require additional tools like a circular saw or jigsaw for making any necessary cuts or adjustments.
It’s worth noting that the specific bathroom floor installation procedure you’ll follow can influence the tools and materials needed. For instance, if you’re planning to install tiles after leveling, you’ll want to ensure your leveling compound is compatible with your chosen tile adhesive.
When selecting your self-leveling compound, consider factors like set time and thickness limitations. Some products are designed for thin applications, while others can be poured to greater depths. The floor leveling compound bathroom environments require should also have good flow characteristics to ensure it spreads evenly without much manipulation.
For those tackling more extensive bathroom floor renovation tips, you might consider renting or purchasing a power mixer. This can save considerable time and effort when mixing larger quantities of leveling compound. Just be sure to follow the manufacturer’s instructions carefully to achieve the right consistency.
Remember, proper preparation is key to successful floor leveling in bathroom spaces. Take the time to thoroughly clean and prepare your subfloor before applying any leveling products. This might involve removing old adhesive, filling cracks, or even replacing damaged sections of subfloor.
Now that we’ve covered the importance of level floors and the tools you’ll need, let’s dive into the nitty-gritty of how to level a bathroom floor. This step-by-step guide will walk you through the process, ensuring you achieve a perfectly level surface for your bathroom renovation project.
Step 1: Prepare the Area Before you begin any leveling work, you’ll need to clear the bathroom completely. Remove all fixtures, including the toilet, sink, and any cabinetry. If you’re dealing with existing flooring, such as tiles or vinyl, you’ll need to remove this as well. The goal is to expose the subfloor entirely.
Step 2: Clean and Inspect Once the subfloor is exposed, give it a thorough cleaning. Use a shop vacuum to remove all dust and debris. Inspect the subfloor carefully for any signs of damage, rot, or unevenness. If you find any issues, address these before proceeding with leveling.
Step 3: Identify High and Low Spots Using your long level and straight edge, systematically check the entire floor surface. Mark high and low spots with a pencil or chalk. This will give you a clear map of where you need to focus your leveling efforts.
Step 4: Address Major Unevenness If you have significant high spots, you may need to sand these down. For wooden subfloors, use a belt sander. For concrete, a grinder might be necessary. Be cautious not to remove too much material – the goal is to reduce the high spots, not create new low ones.
Step 5: Prime the Subfloor Apply a primer specifically designed for use with self-leveling compounds. This helps the compound adhere properly to the subfloor. Follow the manufacturer’s instructions regarding drying time.
Step 6: Mix the Self-Leveling Compound In a large bucket, mix your self-leveling compound according to the manufacturer’s instructions. It’s crucial to get the consistency right – too thick, and it won’t flow properly; too thin, and it may not set correctly.
Step 7: Pour and Spread the Compound Start pouring the compound at the lowest point of the floor, working your way towards the highest. Use a trowel or squeegee to guide the compound into place, but avoid overworking it – the compound is designed to self-level.
Step 8: Check for Bubbles As the compound settles, check for any air bubbles that may have formed. You can use a spiked roller to pop these and ensure a smooth finish.
Step 9: Allow to Dry Let the compound dry completely. This can take anywhere from a few hours to a day, depending on the product and thickness of application. Avoid walking on the floor during this time.
Step 10: Check the Level Once dry, use your level to check the floor again. If there are still some low spots, you may need to apply a second coat of compound in those areas.
Step 11: Final Preparations Once you’re satisfied with the level of your floor, you can proceed with any final preparations needed for your chosen flooring material. This might include sanding, applying a moisture barrier, or additional priming.
Throughout this process, it’s essential to keep bathroom floor maintenance tricks in mind. Ensure proper ventilation to aid drying and prevent moisture buildup. If you’re planning on bathroom floor tile installation, consider how the tiles will be laid out and make any necessary adjustments to your leveling to accommodate this.
Remember, bathroom floor leveling methods can vary depending on the specific conditions of your space. Always consult product instructions and, when in doubt, seek advice from a professional. With patience and attention to detail, you can achieve a perfectly level bathroom floor, setting the stage for a beautiful and functional renovation.
| Step | Key Action | Tools/Materials Needed |
|---|---|---|
| 1 | Prepare Area | Removal tools |
| 2 | Clean and Inspect | Shop vacuum, inspection tools |
| 3 | Identify Uneven Spots | Level, straight edge, marking tool |
| 4 | Address Major Unevenness | Sander or grinder |
| 5 | Prime Subfloor | Primer, application tools |
| 6 | Mix Leveling Compound | Compound, mixing tools |
| 7 | Apply Compound | Trowel or squeegee |
| 8 | Check for Bubbles | Spiked roller |
| 9 | Allow to Dry | Time, patience |
| 10 | Recheck Level | Level |
| 11 | Final Preparations | Varies based on flooring choice |
By following these steps and incorporating various bathroom floor construction techniques, you’ll be well on your way to achieving a perfectly level surface. Remember, the key to success lies in thorough preparation, careful application, and patience. With a level floor as your foundation, you’ll be ready to proceed with confidence to the next stages of your bathroom renovation, whether that’s bathroom floor tile installation or applying another type of flooring material.
