Dealing with a problematic Moen shower valve can be frustrating, but fear not! I’ve encountered my fair share of shower woes and I’m here to guide you through the process of troubleshooting and repairing your Moen shower valve. Whether you’re facing temperature fluctuations, pressure issues, or leaks, this comprehensive guide will equip you with the knowledge to diagnose and fix common problems. Let’s dive into the world of Moen shower valve troubleshooting and get your shower back to its optimal performance.
Understanding Moen Shower Valve Components and Common Issues
Before we delve into the nitty-gritty of Moen shower valve troubleshooting, it’s crucial to familiarize ourselves with the key components and common issues that plague these systems. The heart of your Moen shower faucet is the mixing valve, which regulates both water pressure and temperature. This ingenious device ensures you’re not scalded or frozen during your shower escapades.
In my years of tinkering with Moen shower valves, I’ve identified several recurring problems that homeowners often face:
- Inconsistent water temperature
- Sudden pressure fluctuations
- Persistent dripping or leaking
- Difficulty adjusting the handle
- Strange noises emanating from the valve
These issues can stem from various sources, but the most common culprits are wear and tear on the cartridge, mineral buildup, or improper installation. Understanding these components and potential problems is the first step in effective Moen shower valve troubleshooting.
The cartridge, a cylindrical component housed within the valve body, is particularly prone to issues. It’s responsible for mixing hot and cold water and can deteriorate over time, leading to temperature and pressure inconsistencies. If you’re experiencing these symptoms, it’s a telltale sign that your cartridge might need some attention or replacement.
Another critical component is the pressure-balancing spool. This nifty piece of engineering maintains a consistent ratio of hot to cold water, preventing those dreaded shower temperature swings when someone flushes a toilet or starts the dishwasher. If this spool becomes stuck or damaged, you might find yourself doing an impromptu hot-cold dance in the shower.
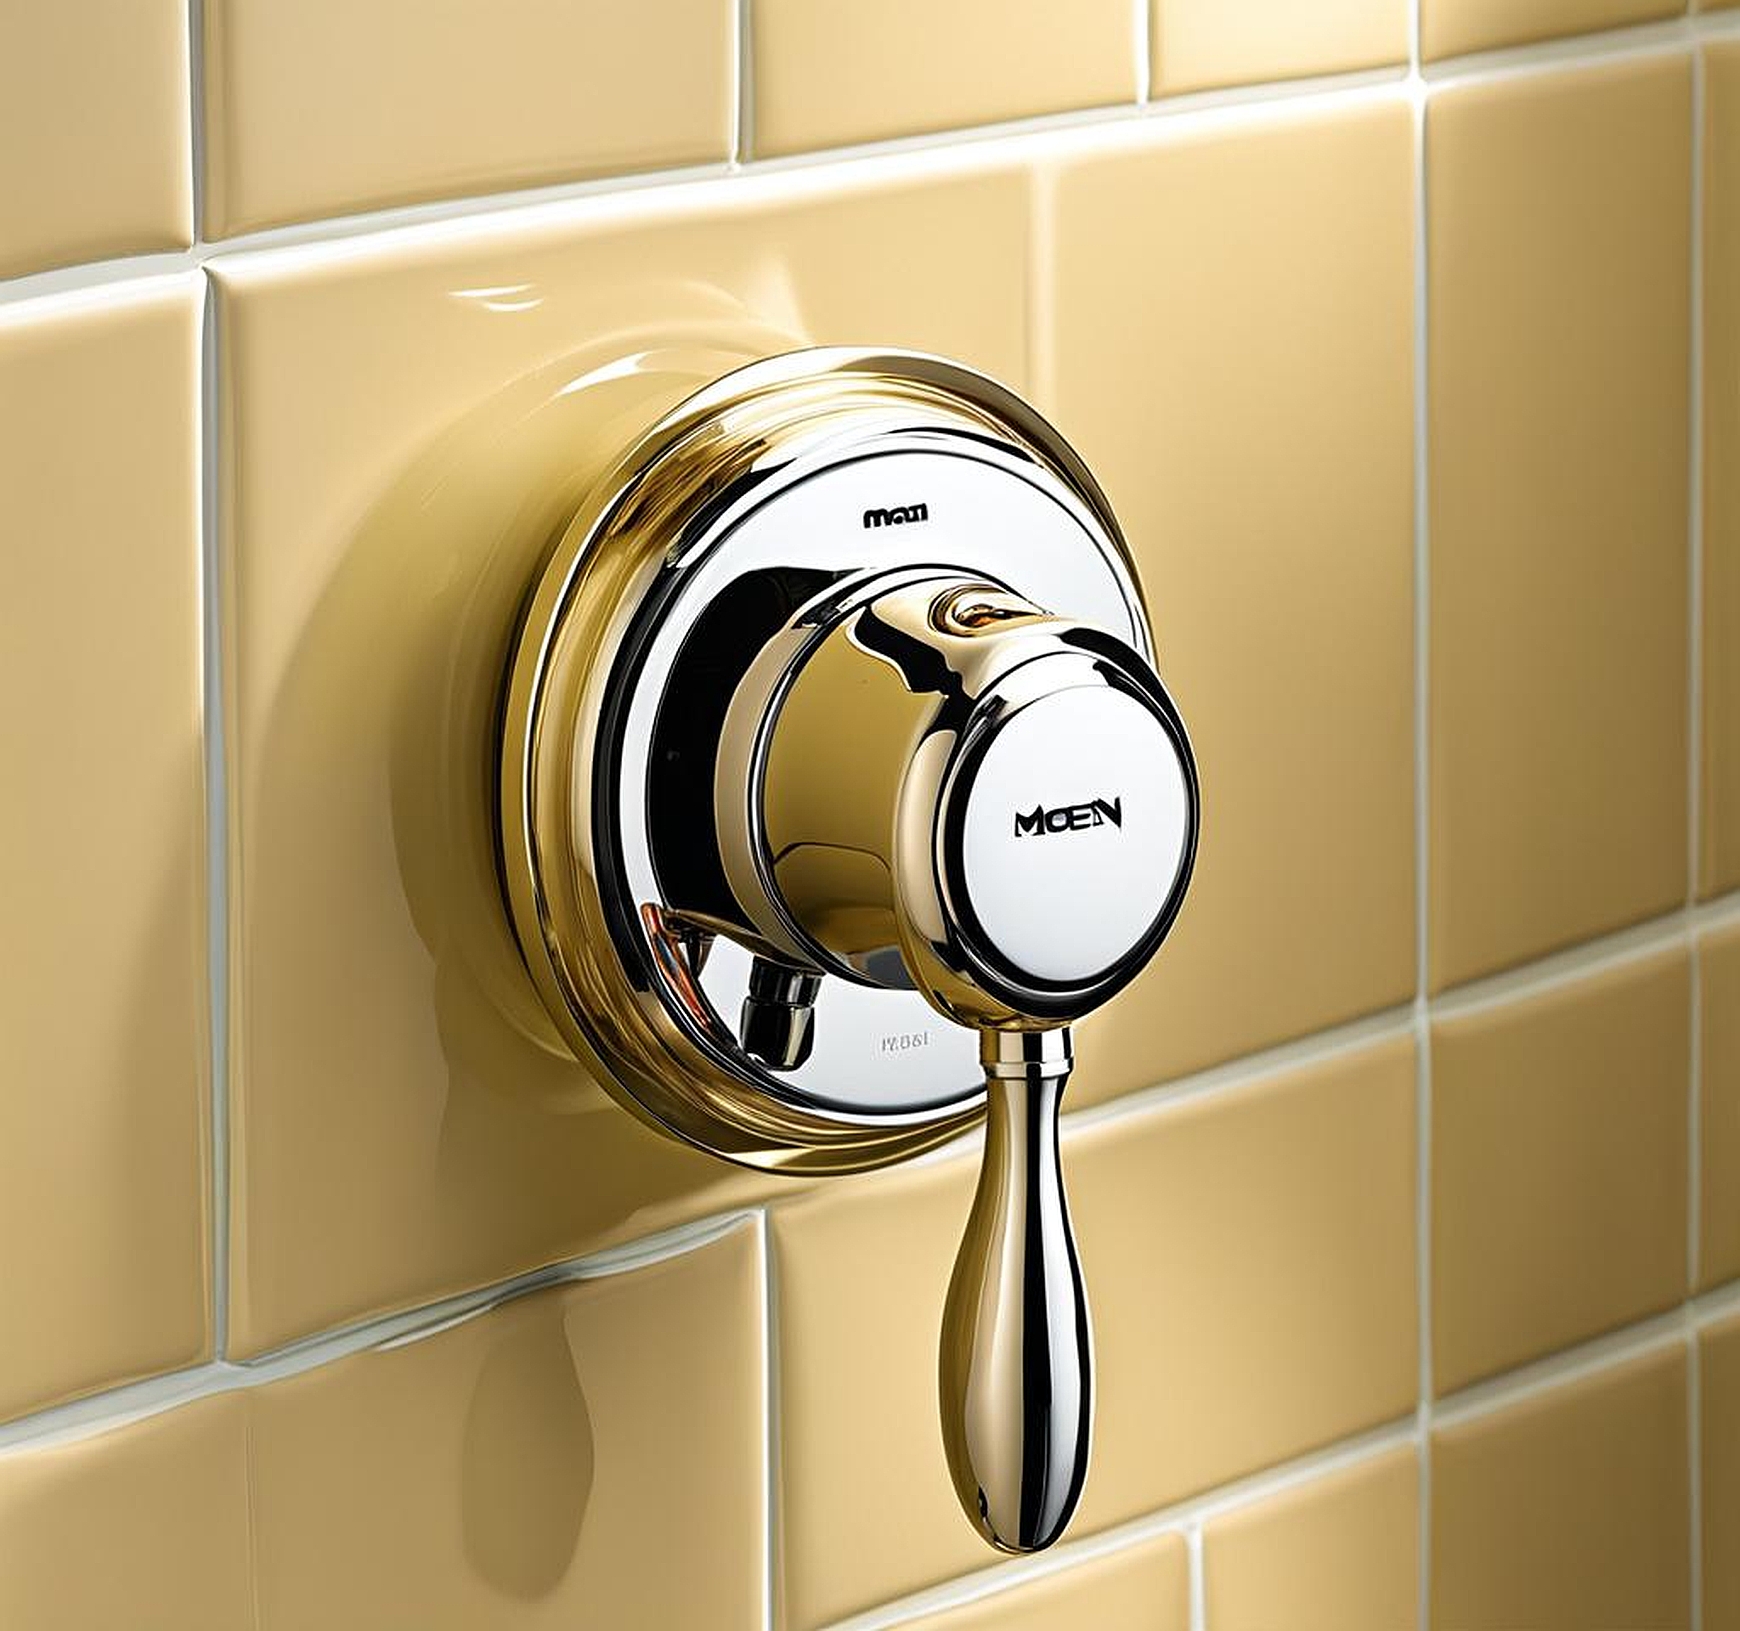
Let’s not forget about the valve stem and handle. These parts allow you to control the flow and temperature of water. If you’re noticing resistance when adjusting the handle or if it’s not staying in place, there might be issues with the stem or handle assembly that need addressing.
Diagnosing Specific Moen Shower Valve Problems
Now that we’ve covered the basics, let’s roll up our sleeves and get into the nitty-gritty of diagnosing specific Moen shower valve problems. I remember the first time I tackled a shower valve issue – it felt like solving a complex puzzle. But with a systematic approach, you’ll be surprised at how manageable it can be.
First on our Moen shower troubleshooting guide is addressing temperature inconsistencies. If you’re experiencing hot and cold flashes that rival menopausal symptoms, your pressure-balancing spool might be the culprit. To check this, remove the handle and trim plate to access the cartridge. Gently pull out the cartridge and inspect the spool for any debris or mineral buildup. A quick cleaning might just do the trick.
For those dealing with a Moen shower valve leak, the issue often lies with worn-out O-rings or seals. These little rubber rings play a big role in preventing water from escaping where it shouldn’t. Over time, they can dry out, crack, or simply wear down. To fix this, you’ll need to remove the cartridge and replace the O-rings. It’s a bit fiddly, but nothing a determined DIYer can’t handle.
If you’re noticing a significant drop in water pressure, don’t jump to conclusions about your home’s overall water supply just yet. The problem might be localized to your Moen shower valve. Start by checking for any visible kinks in the supply lines. If that’s not the issue, remove the showerhead and check for any debris clogging the inlet. You’d be surprised how often this simple fix solves pressure problems.
Another common complaint I hear is difficulty in adjusting the shower handle. This could indicate problems with the Moen shower valve adjustment mechanism. The culprit is often mineral buildup or a damaged stem. To address this, you’ll need to remove the handle and inspect the stem for any signs of wear or corrosion. A little lubricant can sometimes work wonders, but if the stem is damaged, replacement might be necessary.
For those brave souls attempting a Moen shower valve installation or replacement, proper alignment is crucial. If you’re experiencing issues post-installation, double-check that the valve is level and properly secured. An improperly installed valve can lead to a host of problems down the line.
Step-by-Step Moen Shower Valve Repair Techniques
Alright, now that we’ve identified the problem, it’s time to roll up our sleeves and get to work on fixing that Moen shower valve. Don’t worry if you’re not a professional plumber – I’ll walk you through the process step-by-step, just like I would if I were right there with you.
First things first, let’s talk about safety. Before you start any repair work, always turn off the water supply to your shower. There should be shut-off valves specifically for your bathroom, but if not, you might need to turn off the main water supply to your house. Trust me, skipping this step can lead to a very wet and frustrating experience – I learned that the hard way!
Now, let’s dive into some common Moen shower valve repair techniques:
Replacing the Cartridge
If you’ve determined that your cartridge is the issue, here’s how to replace it:
- Remove the handle and trim plate to expose the valve.
- Using pliers, remove the retaining clip that holds the cartridge in place.
- Gently pull out the old cartridge. If it’s stubborn, you can use a cartridge puller tool.
- Clean the valve body thoroughly, removing any debris or mineral buildup.
- Insert the new cartridge, making sure it’s properly aligned.
- Replace the retaining clip and reassemble the handle and trim plate.
This process can fix issues with temperature control and water pressure fluctuations.
Fixing a Leaky Valve
For a Moen shower valve leak, you’ll likely need to replace the O-rings:
- Follow steps 1-3 from above to access and remove the cartridge.
- Locate the O-rings on the cartridge and carefully remove them.
- Clean the grooves where the O-rings sit.
- Install new O-rings, making sure they’re properly seated.
- Reassemble everything as before.
Remember, using a bit of plumber’s grease on the new O-rings can help create a better seal and make installation easier.
Adjusting Water Temperature
If your shower is consistently too hot or too cold, you might need to adjust the temperature limit stop:
- Remove the handle to access the temperature limit stop (it’s usually a small plastic piece).
- Use pliers to carefully remove the stop.
- Rotate the stop slightly clockwise for cooler water or counterclockwise for hotter water.
- Replace the stop and handle, then test the temperature.
This Moen shower valve adjustment can help you find that perfect Goldilocks temperature – not too hot, not too cold, but just right!
Dealing with Low Water Pressure
Low pressure can often be resolved by cleaning the showerhead and valve:
- Remove the showerhead and soak it in vinegar to dissolve mineral deposits.
- While the showerhead is soaking, remove the valve cartridge as described earlier.
- Clean the valve body and cartridge thoroughly, paying special attention to any small ports or openings.
- Reassemble everything and enjoy your restored water pressure.
Remember, patience is key when troubleshooting Moen shower problems. Take your time, and don’t force anything if it doesn’t feel right. If you’re ever in doubt, it’s always better to consult a professional than to risk causing more damage.
As the saying goes, an ounce of prevention is worth a pound of cure. This couldn’t be truer when it comes to Moen shower valve maintenance. By implementing a few simple preventive measures, you can extend the life of your shower valve and avoid many common issues. Let me share some tried-and-true tips I’ve gathered over the years.
First and foremost, regular cleaning is crucial. Hard water can be the nemesis of your shower valve, leaving mineral deposits that can affect performance over time. I recommend using a mixture of equal parts white vinegar and water to clean your showerhead and visible parts of the valve at least once a month. For stubborn buildup, you can soak the showerhead overnight in this solution.
Another important aspect of Moen shower valve maintenance is checking for leaks regularly. Even a small drip can lead to bigger problems if left unchecked. Make it a habit to inspect around the base of your shower handle and any visible connections for signs of water when the shower isn’t in use. Catching and addressing leaks early can prevent water damage and save you from more extensive repairs down the line.
Don’t forget about the often-overlooked cartridge. While you don’t need to remove and clean it as frequently as the showerhead, giving it some attention every 6-12 months can work wonders. Remove the cartridge, clean it gently with a soft brush, and lubricate the O-rings with silicone grease before reinstalling. This simple maintenance routine can significantly extend the life of your cartridge.
Here’s a pro tip: keep a record of your Moen shower valve model number and the date of installation or last major repair. This information can be invaluable when you need to order replacement parts or if you ever need to call in a professional for help.
Lastly, be mindful of what goes down your drain. Hair and soap scum can build up over time, potentially affecting water pressure and overall performance of your shower system. Using a drain catch and cleaning it regularly can prevent these issues and keep your shower running smoothly.
By incorporating these maintenance tips into your routine, you’ll be taking proactive steps to prevent many common Moen shower problems. Remember, a little effort now can save you time, money, and frustration in the long run. Your shower valve will thank you for the TLC, rewarding you with years of reliable service and comfortable showers.
