Constructing a semi-inground swimming pool requires meticulous planning and execution, with ground leveling being a critical step. This process involves careful preparation of the pool area foundation, ensuring stability and longevity for your aquatic retreat. From initial pool site surveys to final pool installation preparation, each phase demands attention to detail. We’ll explore the intricacies of pool excavation requirements, techniques for effective pool ground leveling, and the essential pool backfilling process. By understanding these crucial elements, you’ll be well-equipped to create the perfect foundation for your semi-inground pool, setting the stage for countless summers of enjoyment.
Understanding the Importance of Ground Leveling for Semi-Inground Pools
Semi-inground pools offer a unique blend of aesthetics and functionality, sitting partially above and below ground level. These versatile structures require precise ground leveling to ensure their stability, safety, and longevity. The significance of proper leveling cannot be overstated in the pool construction preparation process.
A level foundation is crucial for several reasons. Firstly, it provides even weight distribution, preventing stress on the pool structure that could lead to cracks or leaks over time. Secondly, it ensures proper water circulation and filtration, which are essential for maintaining water quality and reducing maintenance costs. Lastly, a level pool enhances the overall appearance and usability of your backyard oasis.
Improper ground preparation can result in a host of problems. Uneven settling may cause structural damage, while poor drainage can lead to water accumulation around the pool, potentially compromising the integrity of both the pool and surrounding landscape. These issues not only affect the pool’s performance but can also lead to costly repairs down the line.
The pool site survey is a critical initial step in the leveling process. This comprehensive assessment evaluates the terrain, soil composition, and potential obstacles that could impact the pool’s installation. By conducting a thorough survey, you can identify any challenges early on and develop strategies to address them effectively.
During the survey, professionals assess factors such as soil stability, water table levels, and the presence of underground utilities. This information guides decisions on excavation depth, drainage requirements, and reinforcement needs. A well-executed survey lays the groundwork for a successful pool installation, ensuring that your semi-inground pool will be a source of enjoyment for years to come.
Assessing Your Pool Site: Survey and Planning
Before breaking ground on your semi-inground pool project, a comprehensive pool site survey is essential. This crucial step in pool construction site prep involves a detailed analysis of your property to determine the optimal location and layout for your pool.
The survey begins with a thorough examination of the proposed pool area. Professionals will assess the topography, identifying any slopes or uneven terrain that may require additional leveling. They’ll also evaluate the soil composition, which is vital for understanding the excavation requirements and potential challenges during the pool foundation preparation phase.
Soil types can vary significantly, even within a single property. Sandy soils may require additional stabilization, while clay soils might need special drainage solutions. Identifying these factors early allows for proper planning and ensures that the pool excavation process goes smoothly.
Measuring and marking the pool area foundation is a precise task that follows the initial survey. This step involves staking out the exact dimensions of your pool, considering not just the water area but also the surrounding deck or patio space. Accurate measurements are crucial for ordering materials and ensuring that the pool fits perfectly within your landscaping vision.
Drainage is another critical aspect of site assessment. Proper drainage prevents water accumulation around your pool, which can lead to erosion and structural issues. The survey will determine the natural water flow patterns on your property, allowing for the integration of effective drainage solutions into your pool design.
Armed with the information gathered during the survey, you can create a detailed plan for pool excavation requirements. This plan will outline the depth and shape of the excavation, taking into account the specific needs of a semi-inground pool. It will also identify any areas that require special attention, such as reinforcement for unstable soil or adjustments for underground utilities.
By investing time in a thorough site assessment and planning phase, you set the stage for a successful pool installation. This careful preparation minimizes surprises during construction and ensures that your semi-inground pool will be built on a solid, well-prepared foundation.
Essential Tools and Equipment for Leveling Pool Ground
Leveling the ground for a semi-inground pool requires a variety of tools and equipment, each serving a specific purpose in the pool ground leveling process. Whether you’re tackling this project yourself or working with professionals, understanding the necessary equipment is crucial for effective pool construction preparation.
For DIY enthusiasts taking on the challenge of ground leveling, several essential tools are indispensable:
- Laser Level: This high-precision tool ensures accurate leveling across the entire pool area.
- Transit Level: Similar to a laser level but often more affordable, it helps in establishing level points across distances.
- String Line and Stakes: Used to mark the pool’s perimeter and check for level surfaces.
- Shovels and Spades: Essential for manual digging and fine-tuning the ground level.
- Wheelbarrow: Useful for transporting soil and materials around the site.
- Rake: Helps in smoothing out the soil and removing debris.
- Tamper: Used to compact soil and create a firm foundation.
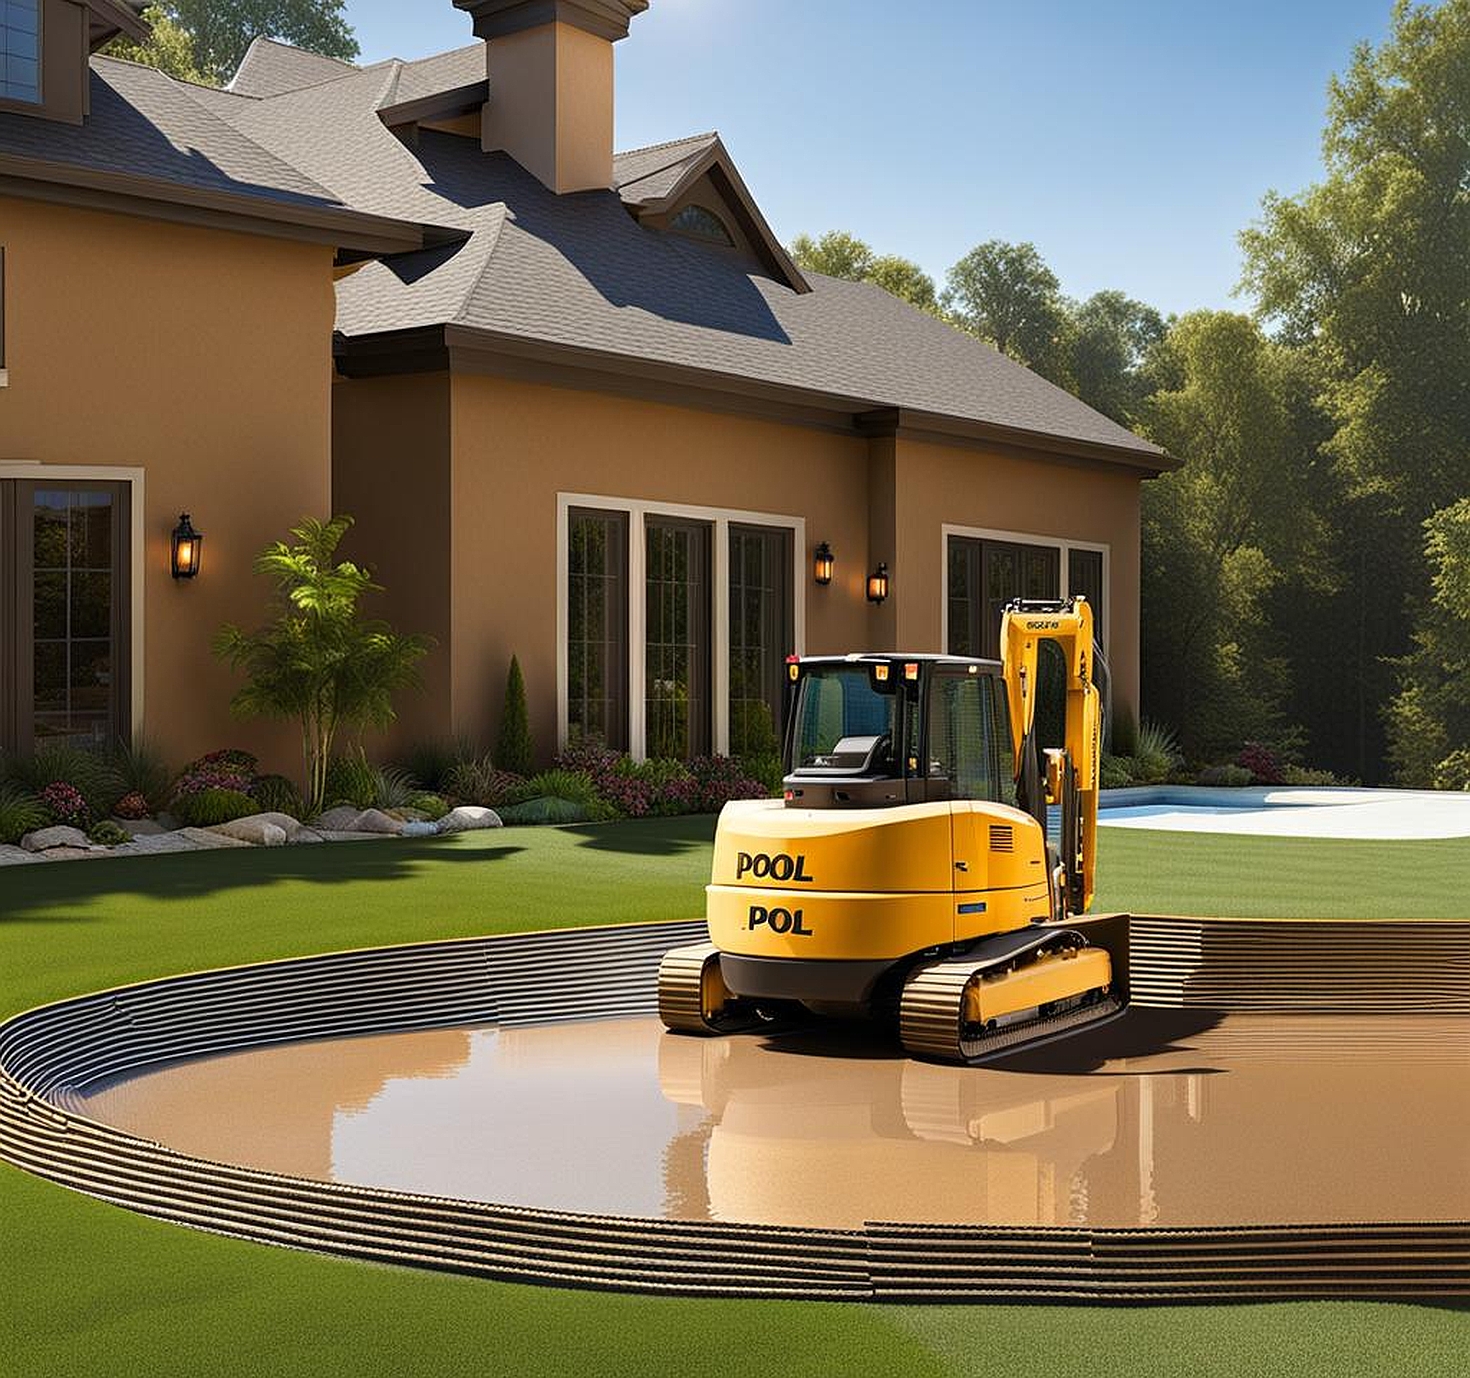
For larger projects or those requiring more extensive excavation, heavy machinery becomes necessary. These powerful tools can significantly speed up the pool site excavation process:
- Excavator: Ideal for digging out large volumes of earth quickly.
- Skid Steer: Versatile machine useful for both digging and moving materials.
- Bulldozer: Effective for rough grading and moving large amounts of soil.
- Compactor: Essential for ensuring a solid, stable foundation.
Safety should never be overlooked during pool construction site prep. Essential safety equipment includes:
- Hard Hats: Protect against falling objects and debris.
- Safety Glasses: Shield eyes from dust and flying particles.
- Work Gloves: Provide hand protection during manual labor.
- Steel-Toed Boots: Safeguard feet from heavy objects.
- High-Visibility Vests: Ensure workers are easily seen, especially when operating heavy machinery.
When deciding between renting and purchasing equipment, consider the scale of your project and future needs. For one-time use, renting heavy machinery is often more cost-effective. However, if you plan on undertaking multiple landscaping projects, investing in your own equipment might be worthwhile.
Remember, proper training and experience are crucial when operating heavy machinery. If you’re not comfortable with these tools, it’s best to leave the job to professionals who specialize in pool installation preparation. They have the expertise to handle complex excavation requirements and ensure a level, stable foundation for your semi-inground pool.
Step-by-Step Guide to Leveling Your Pool Site
Leveling the ground for your semi-inground pool is a meticulous process that requires attention to detail and patience. This step-by-step guide will walk you through the essential stages of pool ground leveling, ensuring a solid foundation for your aquatic retreat.
Begin by clearing and preparing the area for leveling. This involves removing all vegetation, including grass, shrubs, and small trees. Use a shovel or a sod cutter to remove the grass layer, ensuring you dig deep enough to eliminate all roots. For larger plants, you may need to use a stump grinder or call in professionals for safe removal.
Next, focus on removing rocks, debris, and any other objects that could interfere with the leveling process. Even small stones can cause issues later, so be thorough in your inspection and removal. A rake can be helpful in gathering smaller debris, while larger rocks may require manual lifting or the use of a skid steer for efficiency.
With the area cleared, it’s time to start the rough grading process. This initial leveling step aims to create a generally flat surface. Use a bulldozer or skid steer to move soil from higher areas to lower ones, gradually evening out the terrain. Pay close attention to the natural slope of your land, as you’ll want to maintain some degree of slope for proper drainage away from the pool.
Accuracy is crucial in pool site leveling, and using stakes and string lines can greatly enhance precision. Start by placing stakes at the corners of your planned pool area. Attach string between these stakes, creating a perimeter outline. Use a line level to ensure the strings are perfectly level, adjusting the stakes as necessary. This string grid will serve as your reference point for the entire leveling process.
Now that you have your reference points, you can begin the fine leveling process. This is where attention to detail becomes paramount. Use a laser level or transit level to check the ground height at various points within your pool area. Mark areas that are too high or too low, then use hand tools like shovels and rakes to make precise adjustments.
For areas that are too high, carefully remove excess soil. For low spots, add soil in thin layers, compacting each layer before adding the next. A plate compactor is ideal for this task, ensuring a stable base for your pool. Continue this process of checking, adjusting, and compacting until the entire area is level within a tolerance of about 1/4 inch.
Throughout the leveling process, it’s important to maintain proper slope for drainage. Typically, you’ll want a slight grade away from the pool area to prevent water from pooling around the structure. A slope of about 1/4 inch per foot is generally sufficient for adequate drainage.
Remember, patience is key in pool ground leveling. Rushing through this process can lead to problems later, so take your time and double-check your work frequently. By following these steps meticulously, you’ll create a perfectly level site ready for the next stages of your semi-inground pool installation.
Excavation and Soil Preparation for Pool Foundation
The excavation phase is a critical component of pool foundation preparation, particularly for semi-inground pools. This stage requires precision and careful planning to ensure the pool sits at the perfect depth and angle. Determining the correct depth is the first crucial step in this process.
For semi-inground pools, the depth of excavation typically ranges from 2 to 4 feet, depending on the desired above-ground height and overall pool depth. It’s essential to consider factors such as local building codes, water table levels, and the pool’s design when determining the excavation depth. Always consult with a professional or refer to the pool manufacturer’s specifications to ensure compliance and optimal installation.
Once the depth is determined, efficient excavation techniques come into play. Using an excavator or backhoe, begin digging from the center of the marked area, working your way outwards. This method helps maintain control and precision throughout the process. Be mindful of the pool’s shape, ensuring that curves and corners are accurately carved out according to your plan.
As you excavate, you’ll likely encounter different soil types, each presenting unique challenges. Sandy soils may require additional stabilization to prevent shifting, while clay soils might need extra attention to drainage. Rocky soil could necessitate the use of specialized equipment or even blasting in extreme cases. Adapting your approach based on soil conditions is crucial for a successful excavation.
After the main excavation is complete, the focus shifts to compacting the soil. This step is vital for creating a stable pool foundation preparation. Use a plate compactor or roller to firmly pack down the soil, paying extra attention to the corners and edges of the excavated area. Proper compaction prevents future settling that could lead to structural issues with your pool.
Managing excess soil is another important aspect of the excavation process. Depending on local regulations and the amount of soil removed, you may need to have it hauled away. Alternatively, consider using the excavated soil for landscaping purposes around your property, such as creating berms or filling in low areas.
Throughout the excavation and soil preparation phase, it’s crucial to maintain proper drainage. Ensure that the bottom of the excavated area slopes slightly towards one end or towards a designated drainage point. This will facilitate easier water removal during construction and help with long-term pool maintenance.
Remember, the goal of this phase is not just to create a hole in the ground, but to prepare a stable, well-drained foundation for your semi-inground pool. Taking the time to properly excavate and prepare the soil sets the stage for a successful pool installation and years of trouble-free enjoyment.
As we approach the final stages of ground preparation for your semi-inground pool, attention to detail becomes more critical than ever. The fine-tuning of your pool site’s level, the careful backfilling process, and the last steps of site preparation will ensure a perfect foundation for your pool installation.
Begin by revisiting the level of your pool site. Even after initial leveling and excavation, subtle shifts in the ground can occur. Use a laser level for the most precise measurements. This tool projects a level line across the entire area, allowing you to identify even the slightest variations in height. Work methodically, checking the level at multiple points across the excavated area. Any discrepancies should be addressed immediately, either by adding or removing soil as needed.
The pool backfilling process is a crucial step that provides stability to your semi-inground pool structure. Start by selecting the appropriate backfill material. A mixture of sand and gravel is often recommended, as it provides good drainage while still offering the necessary support. Begin backfilling around the pool walls in layers, typically 6 to 8 inches thick. After each layer, use a plate compactor to ensure the material is firmly packed. This prevents future settling that could lead to structural issues.
As you backfill, pay close attention to any plumbing or electrical conduits that need to be installed. These should be placed according to your pool’s design specifications and local building codes. Ensure that all pipes and conduits are properly supported and protected during the backfilling process to prevent damage or shifting.
Adding a sand or gravel base inside the pool area provides extra stability and helps with final leveling. Spread a layer of sand or fine gravel across the bottom of the excavated area, typically about 2 inches deep. Use a rake to distribute it evenly, then compact it with a plate compactor. This base layer not only provides a smooth surface for your pool liner but also helps with drainage and prevents sharp objects from potentially damaging the liner.
Before proceeding with pool installation preparation, conduct a series of final checks. Verify that all measurements match your pool’s specifications. Ensure that the area slopes slightly away from the house for proper drainage. Check that the pool area is free from any debris or sharp objects that could damage the liner.
At this stage, it’s also wise to review your local building codes one last time. Ensure that all aspects of your site preparation comply with regulations regarding setbacks, depth, and safety features. This diligence can save you from costly corrections later.
Finally, consider the surrounding landscape. Plan for any additional features like decking, paving, or plantings that will complement your pool. Proper planning at this stage can make the integration of these elements smoother and more cohesive with your overall backyard design.
With these final touches complete, your site is now perfectly prepared for the installation of your semi-inground pool. The careful attention to leveling, backfilling, and site preparation will pay dividends in the form of a stable, long-lasting pool that will be the centerpiece of your outdoor living space for years to come.
