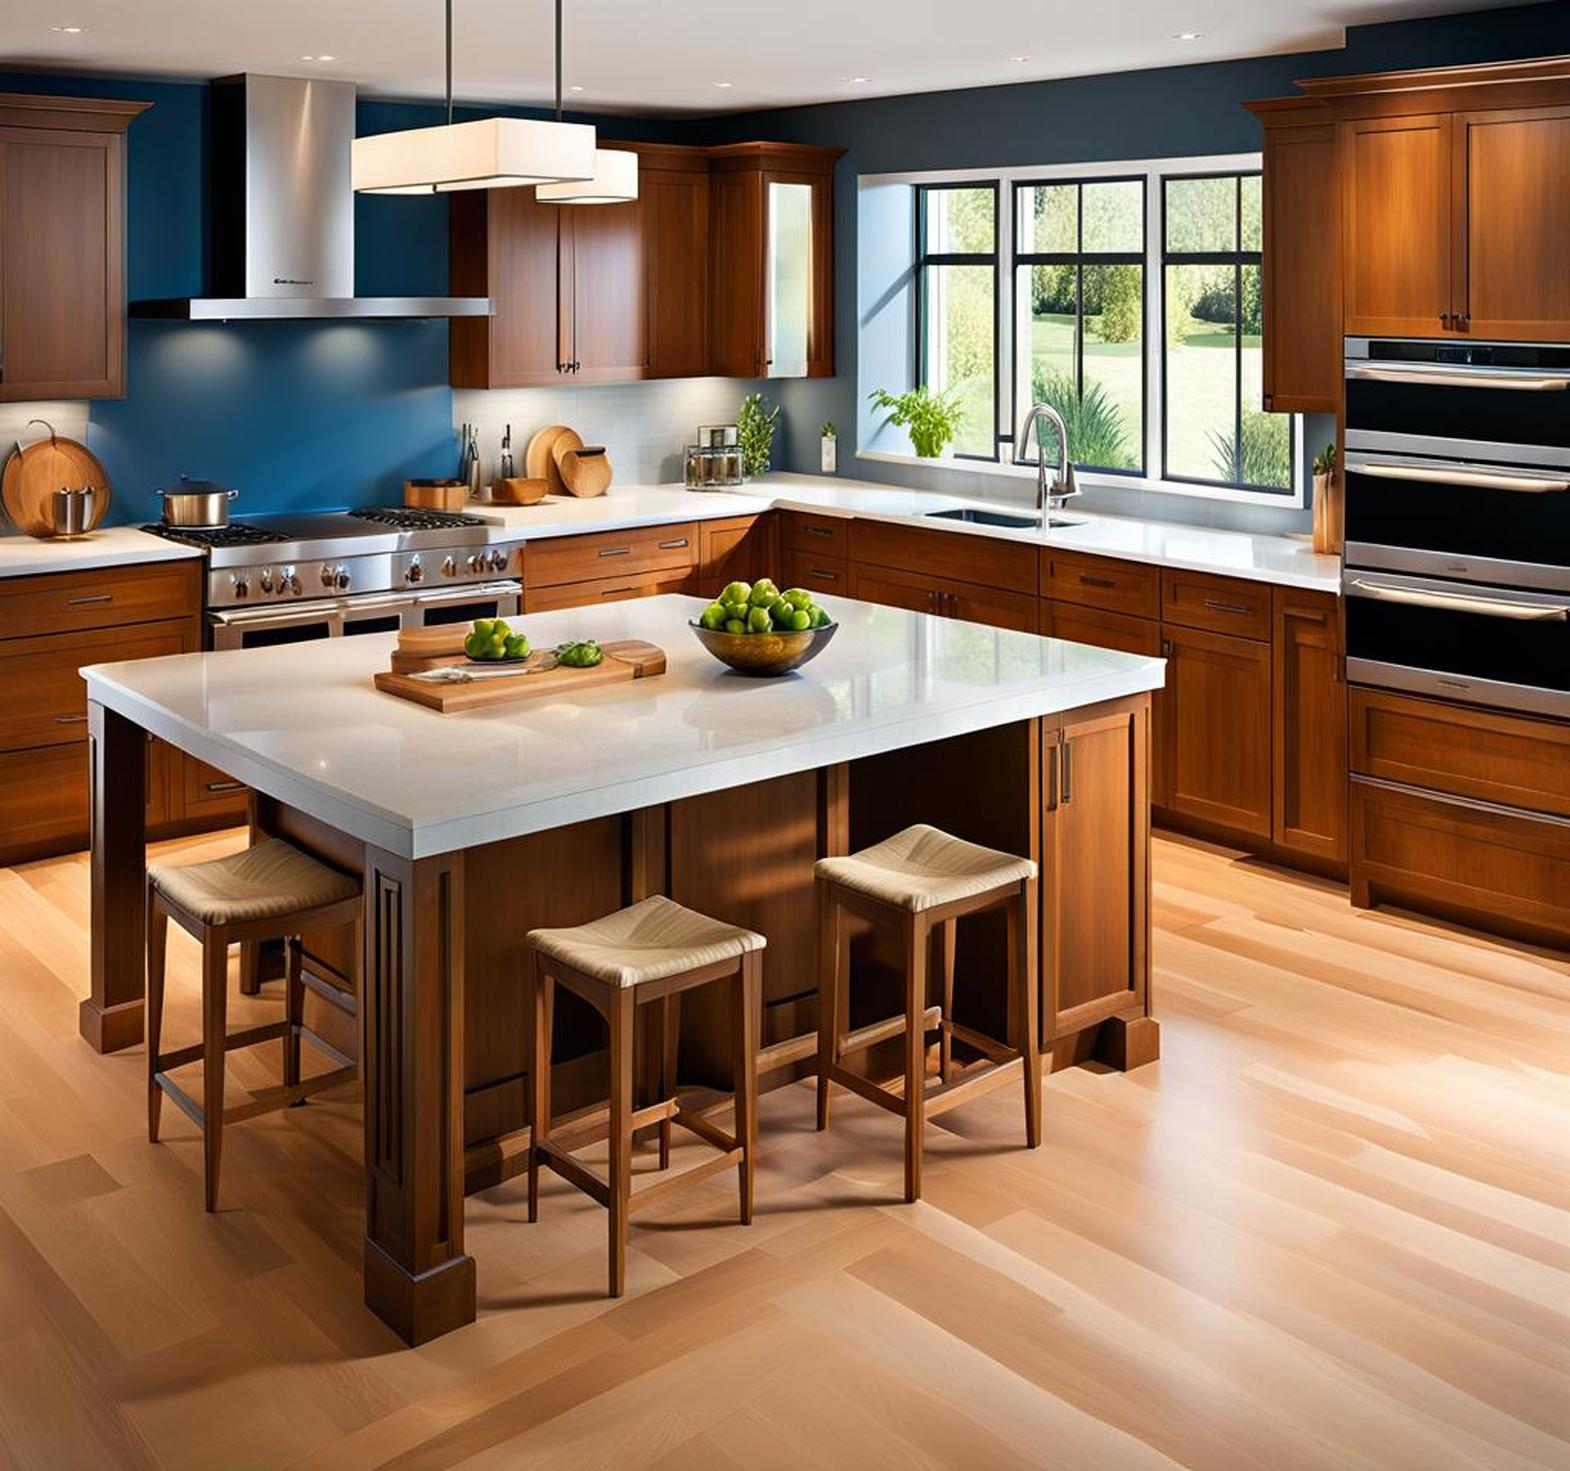
Kitchen islands are the ultimate way to upgrade your cooking space. Not only do they add valuable real estate for food prep and storage, but they also create a natural gathering spot for family and friends. For those wanting to steer their kitchen design in a sleek, modern direction, a contemporary DIY island is the perfect solution.
Constructing your own island allows for complete creative freedom – you can customize the size, height, materials, and features to perfectly suit your needs and style. While the project requires some carpentry skills, the end result of extra seating, counter area, and storage makes the time investment well worth it.
Planning Your Contemporary DIY Kitchen Island
The first step is deciding on the overall shape, dimensions, and functionality for your island. Measure your existing floor space carefully to find room for a structure at least 36-48 inches wide and 16-20 inches deep. Be sure to leave sufficient clearance on all sides – 42 inches is optimal. Think about what purpose your island will serve and how it can solve your specific needs, like lacking counter space for baking, needing more seating for big family meals, or an organized spot to store small appliances.
Selecting Materials
Choosing materials is the fun part! The base frame of your island can utilize wood boards, metal piping, or even a repurposed cabinet or dresser. Wood tones and metal finishes embody that clean, contemporary vibe. Just ensure your base materials provide sturdy support.
For the countertop, options like butcher block, concrete, stainless steel or thick wood boards are attractive modern choices that also deliver practical food-safe durability. Sleek materials with straight lines or square edges fit best aesthetically. You can even DIY a concrete countertop over plywood.
Maximize Storage
Including storage features means your island pulls double duty. Clever concealed spaces that don’t detract from the streamlined shapes of contemporary design include:
- Cabinet or drawer bases
- Wine racks
- Vertical drawer stacks
- Open shelving
- Baskets or bins
Other Design Considerations
Factor in these other elements during the planning process:
- Bar overhang for seating
- Pendant lighting for style and tasks
- Accent details like shelves or floating shelves
- Electrical outlets or charging station
- Casters for mobility
Constructing Your Contemporary DIY Kitchen Island
Once you’ve hashed out design details, it’s time to start building. Make sure to work in stages – completing the structural base first before adding counter and storage features.
Frame Construction
For wood bases, cut plank boards or plywood sheets to size. Arrange into a box frame securing joints at corners and edges with wood glue, screws, and nails. Alternatively, weld together a metal pipe frame according to your measurements. Apply decorative end caps. Level and reinforce the entire frame so it can handle weight without wobbling.
Installing the Countertop
Measure countertop materials like butcher block or Plywood substrate to precisely fit your frame. Use a jigsaw to cut curves and edges. Attach the countertop securely to the base structure from underneath. For concrete, pour your concrete mix over a waterproofed plywood layer after framing is complete. Use a trowel to smooth. Always seal surfaces appropriately.
Adding Storage Components
Because contemporary design embraces straight lines and geometric forms, it’s easy to DIY customized drawer and cabinet boxes. Cut wood or MDF boards with a table saw for crisp edges. Assemble into boxes, ensuring all corners and joints fit tightly. Add roller slides or tracks to install drawer stacks seamlessly. Attach handles or knobs if desired.
For open shelving, simply screw sturdy boards into the inner side framing to hold wine racks, baskets or other organizers. Floating shelves mounted to the outside island framing also supplement storage needs.
Finishing Touches
Look to sleek finishes like high-gloss paint, chrome hardware, or stain to treat wood elements. Accent edges could also utilize metal banding trim for an industrial vibe. Incorporate contemporary pendant lights or LED under cabinet lighting suited to your island’s size. Style with decor items like planters, trays or a cutting board.
Tips for DIY Success
Executing a kitchen island build from scratch is no small feat, but going the DIY route allows you to create precisely the modern centerpiece your kitchen needs. Ensure success and prevent common pitfalls with these key tips:
- Reinforce the entire frame structure to prevent sagging under heavier loads
- Measure carefully and repeatedly to achieve seamless cabinetry builds
- Level surfaces and use shims during assembly
- Work slowly and methodically for quality results
- Seal all wood, concrete and metal appropriately
By prioritizing sturdiness in your planning, you’ll craft an island that not only elevates your kitchen’s style but also withstands everyday use for years. With some dedication and the right materials, your custom contemporary creation can rival pricey designer options in form and function.
As the heart of home life shifts back toward the kitchen, no upgrade delivers more than an artfully designed and meticulously built island. With personalized dimensions and features catered exactly for you, embracing the DIY route puts the power in your hands to create a contemporary showstopper.
Not only does it expand your functional workspace, but the minimalist styling and clean lines also breathe new modern life into your whole kitchen aesthetic. Elevate both cooking and entertaining experiences for family and guests by carving out more room to create culinary masterpieces, enjoy casual meals or mix cocktails with ease.
Construct the island of tomorrow: one perfectly tailored to your needs, Style preferences and unique vision for a kitchen that fuses form, function and now an infusion of contemporary skyline inspiration through sleek finishes and architecturally influenced design.
