A flawless level 6 drywall finish requires attention to detail. This advanced technique goes beyond standard drywall finishing, creating an ultra-smooth surface that’s perfect for high-end projects and discerning clients. We’ll explore the essential tools, techniques, and troubleshooting tips needed to master this premium finishing method. Whether you’re a seasoned professional looking to expand your skills or a dedicated DIY enthusiast aiming for perfection, these insights will help you elevate your drywall game to new heights.
Understanding Level 6 Drywall Finish: The Pinnacle of Smooth Surfaces
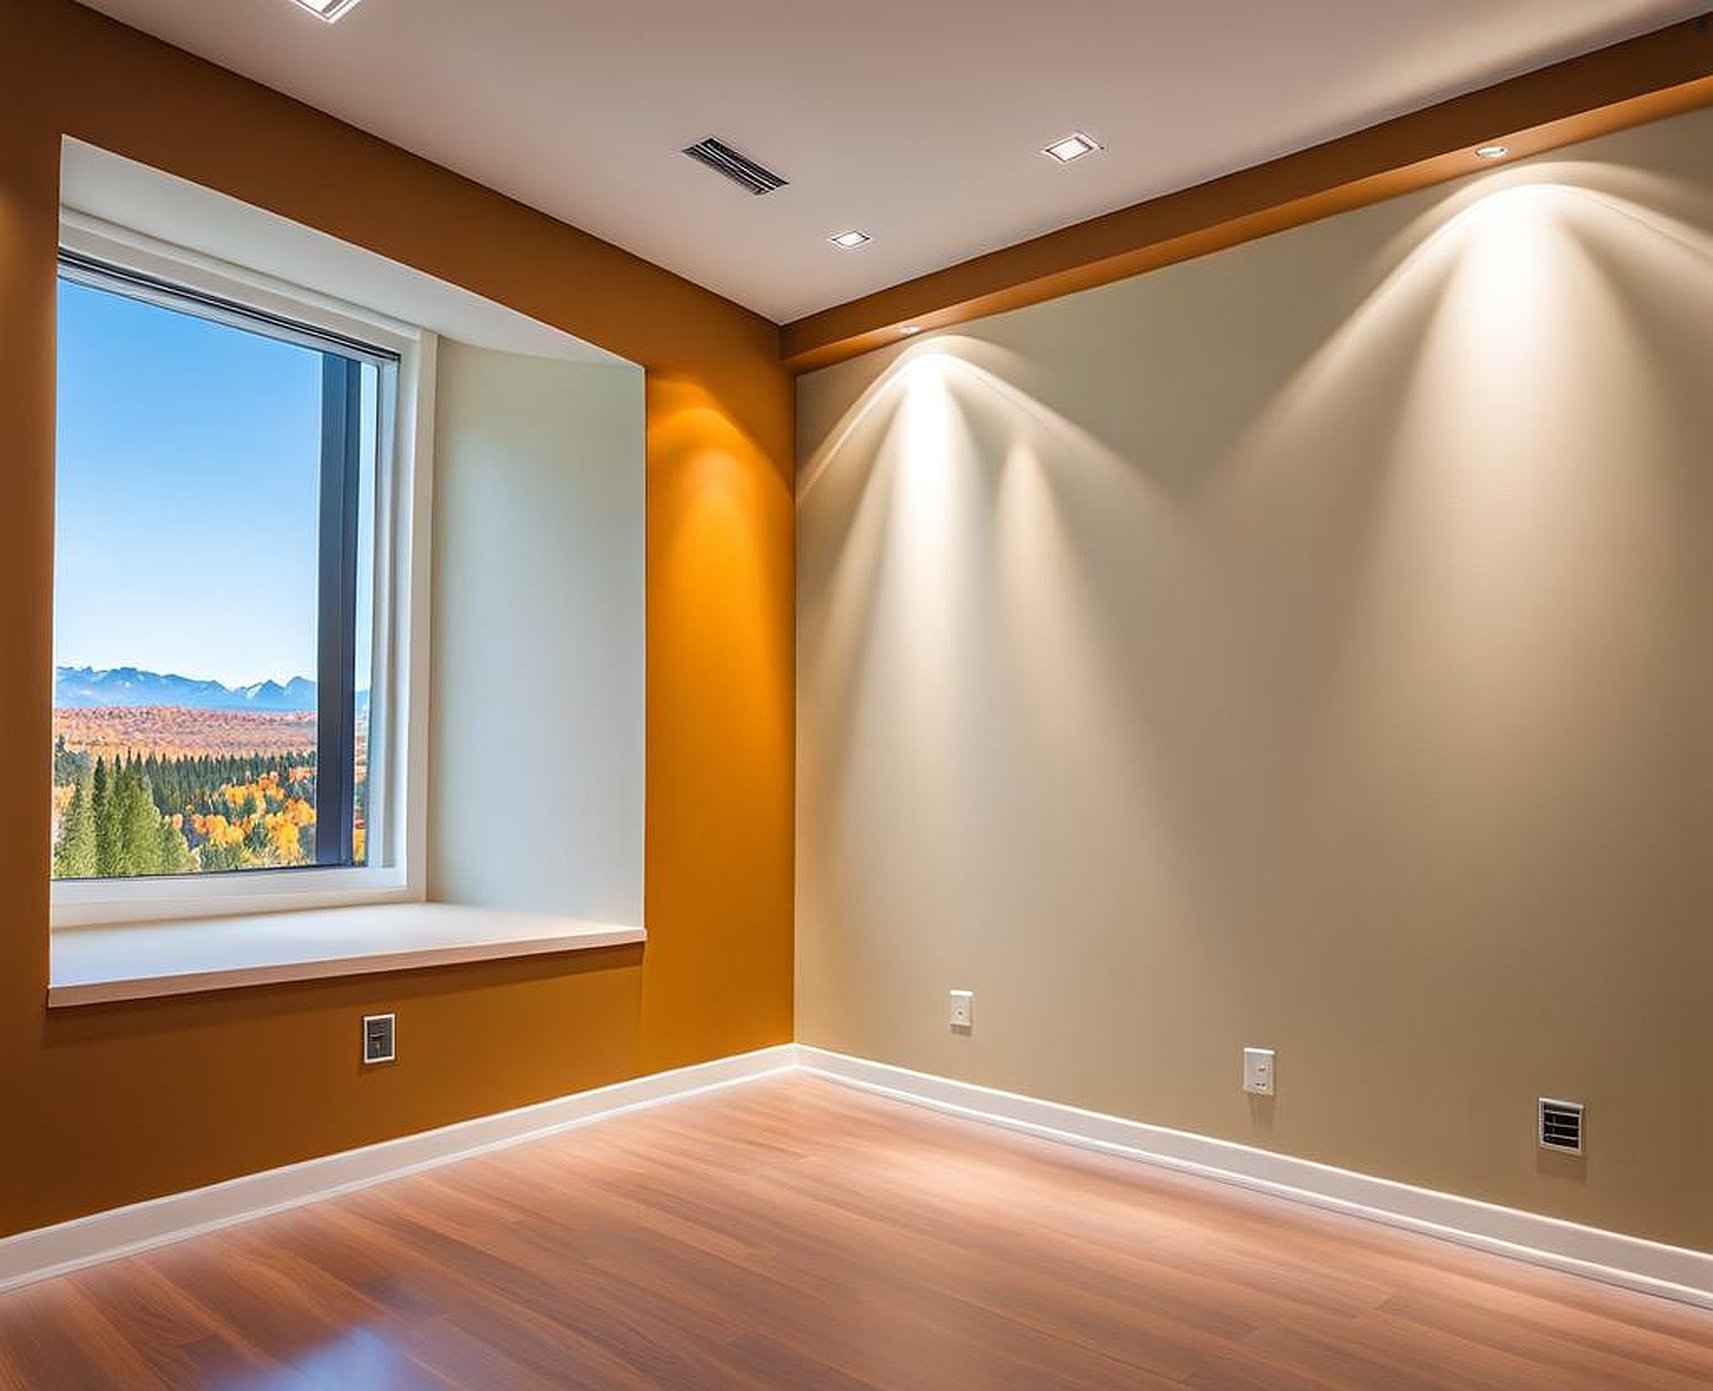
A level 6 drywall finish represents the gold standard in drywall work, surpassing the typical levels 1-5 in terms of smoothness and perfection. This superior drywall finish is characterized by its exceptionally even surface, free from any visible imperfections, joints, or textures. It’s the go-to choice for high-end residential and commercial projects where walls will be subjected to critical lighting conditions or adorned with high-gloss paints.
The key difference between a level 5 and a level 6 drywall finish lies in the additional steps and attention to detail. While a level 5 finish involves applying a thin skim coat over the entire surface, a level 6 finish takes this further by incorporating multiple skim coats, extensive sanding, and sometimes even polishing. This results in a surface that’s remarkably smooth to the touch and visually flawless.
Achieving a level 6 drywall finish requires advanced drywall finishing techniques and a significant investment of time and effort. It’s not just about applying more compound; it’s about developing an eye for perfection and the patience to work meticulously. This level of finish is particularly beneficial in spaces with:
- Large windows that allow in abundant natural light
- High-end lighting fixtures that cast dramatic shadows
- Walls intended for glossy or semi-glossy paint finishes
- Areas where artwork or mirrors will be prominently displayed
- Upscale environments where every detail matters
By mastering the art of level 6 drywall finishing, you’re not just improving walls; you’re creating a canvas for exceptional interior design. This precise drywall work sets the stage for stunning paint applications and helps to elevate the overall aesthetic of any space. It’s a skill that separates the good from the great in the world of drywall craftsmanship.
Essential Tools and Materials for Achieving a Level 6 Drywall Finish
To execute a flawless level 6 drywall finish, you’ll need a arsenal of specialized tools and high-quality materials. This expert drywall work demands nothing less than the best equipment to achieve that coveted ultra-smooth surface. Let’s break down the essentials you’ll need in your toolkit:
Tools:
- Drywall Taping Knives: A set ranging from 4″ to 12″ for various applications
- Mud Pan: For holding and mixing compound
- Sanding Tools: Both manual sanding blocks and power sanders with various grits
- Dust Extraction System: To maintain a clean work environment
- Halogen Work Lights: For identifying imperfections
- Stilts or Scaffold: For reaching high areas safely
- Spray Equipment: For applying thin, even coats of compound
Materials:
- Premium Joint Compound: Lightweight, all-purpose for easy sanding
- Topping Compound: For the final skim coats
- Fine-Grit Sandpaper: 220-grit or higher for final smoothing
- Primer: High-quality, specifically designed for level 6 finishes
- Microfiber Cloths: For wiping down surfaces between coats
Investing in high-quality tools is crucial for achieving a top-notch drywall finish. Cheap tools can leave streaks, bubbles, or other imperfections that are unacceptable in level 6 work. Similarly, using premium materials ensures better adhesion, easier sanding, and a smoother final result.
One often overlooked but essential tool for level 6 drywall finishing is proper lighting. Portable halogen lights positioned at low angles help reveal even the slightest imperfections that might be missed under normal lighting conditions. This critical inspection process is what sets apart a good finish from an exceptional one.
Remember, the key to success in complex drywall finishing is not just having the right tools, but knowing how to use them effectively. Practice with your tools before tackling a level 6 project, and don’t be afraid to invest in newer, more advanced equipment as your skills improve. With the right tools in hand, you’re well on your way to creating surfaces that are truly a cut above the rest.
Step-by-Step Guide to Executing a Flawless Level 6 Drywall Finish
Achieving a premium drywall finish requires patience, skill, and attention to detail. Follow this comprehensive guide to execute a level 6 drywall finish that will impress even the most discerning clients:
1. Preparation:
- Ensure the room is clean and dust-free
- Cover floors and any fixtures to protect from compound and dust
- Check that all screws are properly set and taped seams are dry
2. Initial Skim Coat:
- Apply a thin layer of all-purpose joint compound over the entire surface
- Use a wide knife (12″ or larger) to spread the compound evenly
- Allow this coat to dry completely (usually 24 hours)
3. First Sanding:
- Sand the entire surface with 150-grit sandpaper
- Use a pole sander for large areas and hand sanding for corners and edges
- Wipe down the walls with a damp microfiber cloth to remove dust
4. Second Skim Coat:
- Apply another thin layer of compound, focusing on any remaining imperfections
- Use a slightly thinned compound for easier application
- Allow to dry completely
5. Second Sanding:
- Sand with 220-grit sandpaper for an even smoother finish
- Pay extra attention to problem areas and edges
- Clean the surface thoroughly after sanding
6. Final Skim Coat:
- Apply a final, ultra-thin coat of topping compound
- This coat should be almost translucent when applied
- Use a spray system for the most even application
7. Final Sanding:
- Once dry, sand with 320-grit or higher sandpaper
- Use a light touch to avoid over-sanding
- Inspect the surface using angled lighting to spot any remaining imperfections
8. Priming:
- Apply a high-quality primer designed for level 6 finishes
- Use a roller with a 3/8″ nap for the smoothest application
- Allow the primer to dry completely before final inspection
Throughout this process, it’s crucial to maintain a keen eye for detail. The goal of a level 6 drywall finish is to create a surface so smooth that it appears seamless under any lighting condition. This level of precise drywall work often requires multiple rounds of touch-ups and spot-fixing.
Remember, patience is key. Rushing through any of these steps can compromise the final result. It’s not uncommon for a true level 6 finish to take several days to complete, especially when factoring in drying times between coats. The end result, however, is a wall surface that serves as the perfect canvas for high-end paint finishes or luxurious wallcoverings.
Advanced Techniques for Perfecting Your Level 6 Drywall Finishing Skills
Mastering level 6 drywall finishing requires more than just following basic steps. To truly excel and achieve an exceptionally smooth drywall finish, you’ll need to employ some advanced techniques. Here are some pro tips to elevate your skills:
1. Compound Mixing Mastery:
- Experiment with adding a small amount of water to your compound for easier spreading
- Use a drill with a mixing paddle for consistent texture
- Consider adding a few drops of dish soap to reduce air bubbles
2. Feathering Technique:
- Practice the art of feathering edges to blend seamlessly with surrounding areas
- Use light pressure and a wide knife to create ultra-thin edges
- Gradually increase pressure as you move towards the center of the area being filled
3. Cross-Hatch Application:
- Apply compound in a cross-hatch pattern for better coverage and smoothness
- First, apply horizontally, then vertically, and finally diagonally
- This technique helps eliminate any directional patterns in the finish
4. Wet Sanding:
- Use a damp sponge or special wet sanding pads for final smoothing
- This technique reduces dust and can achieve an ultra-smooth finish
- Be cautious not to over-wet the surface, which can damage the compound
5. Temperature and Humidity Control:
- Maintain consistent room temperature and humidity for optimal drying
- Use dehumidifiers or fans if necessary to control moisture levels
- Avoid working in extreme temperatures which can affect compound behavior
These advanced drywall finishing techniques require practice and patience to master. One key aspect of achieving a superior drywall finish is developing a feel for the material. Over time, you’ll learn to read the compound, understanding when it’s too wet, too dry, or just right for optimal application.
Another crucial skill is learning to “read” the wall with your eyes and hands. Running your palm over the surface can reveal subtle imperfections that might be missed visually. Similarly, using angled lighting to cast shadows across the wall can highlight areas that need additional attention.
For those aiming for the pinnacle of drywall perfection, consider investing in specialized tools like automatic taping and finishing machines. While these require a significant initial investment, they can dramatically improve consistency and efficiency on large-scale projects.
Remember, achieving a true level 6 finish is as much an art as it is a science. It requires a combination of technical skill, artistic vision, and an unwavering commitment to quality. By continually refining your techniques and staying open to new methods, you’ll be well on your way to producing drywall finishes that are truly exceptional.
Even with the most meticulous approach, challenges can arise when aiming for a level 6 drywall finish. Knowing how to identify and address these issues is crucial for maintaining the high standards required for this premium drywall work. Here are some common problems you might encounter and how to solve them:
1. Visible Joint Lines:
- Cause: Insufficient feathering or improper compound application
- Solution: Apply additional thin coats of compound, extending further out from the joint with each application. Sand between coats for a smoother transition.
2. Bubbles or Air Pockets:
- Cause: Air trapped in the compound or applying over a contaminated surface
- Solution: Pierce bubbles with a utility knife, then fill and sand. For prevention, ensure proper mixing of compound and clean surfaces before application.
3. Sanding Marks or Scratches:
- Cause: Using too coarse of sandpaper or applying too much pressure while sanding
- Solution: Use progressively finer grit sandpaper and apply light, even pressure. For deep scratches, fill with compound and re-sand.
4. Compound Shrinkage:
- Cause: Applying thick layers of compound or working in high humidity conditions
- Solution: Apply multiple thin coats rather than one thick coat. Use a dehumidifier to control moisture levels in the work area.
5. Uneven Texture:
- Cause: Inconsistent application technique or varying compound consistency
- Solution: Practice maintaining consistent pressure and speed when applying compound. Ensure thorough mixing of compound before each use.
6. Edge Cracking:
- Cause: Insufficient compound at panel edges or movement in the framing
- Solution: Ensure adequate compound coverage at edges and corners. Consider using flexible corner beads for areas prone to movement.
7. Delayed Popping:
- Cause: Screws not set properly or moisture changes in the wood framing
- Solution: Ensure all screws are set slightly below the panel surface. In problematic areas, consider using screws designed to prevent popping.
When troubleshooting these issues, it’s important to address the root cause rather than just treating the symptom. For instance, if you’re consistently seeing bubbles in your finish, take the time to perfect your mixing technique or invest in a power mixer to ensure properly blended compound.
Lighting plays a crucial role in identifying and addressing imperfections. Use a combination of overhead and angled lighting to reveal subtle issues that might be missed under normal conditions. Some professionals even use specialized inspection lights that mimic harsh sunlight to spot potential problems before they become visible to the client.
Remember, achieving a flawless level 6 drywall finish often requires multiple rounds of inspection and touch-ups. Don’t be discouraged if you need to revisit areas multiple times – this attention to detail is what sets apart a good finish from an exceptional one.
Lastly, keep in mind that environmental factors can significantly impact your work. Temperature fluctuations and humidity changes can affect drying times and compound behavior. Whenever possible, try to maintain consistent conditions in your work area throughout the finishing process.
By anticipating these common issues and knowing how to address them effectively, you’ll be well-equipped to handle any challenges that arise in your pursuit of the perfect level 6 drywall finish. With practice and persistence, you’ll develop the skills needed to consistently produce surfaces that meet the highest standards of quality and craftsmanship.
