Imagine staring out at your new above-ground pool on a hot summer day. The sparkling water calls your name. Yet taking that first dip, your bare feet detect an unpleasant surprise–one side of the pool droops dangerously low to the ground while the other perches perilously high. A sloped pool floor spells disaster for swimming and structural stability.
Proper leveling provides a flat base that keeps your pool sturdy through years of use. Sand plays a vital role in pool installations by cushioning the structure. But sand requires meticulous preparation to prevent shifting and settling over time.
Choosing the Optimal Sand for Leveling Ground
While sand forms an integral part of the installation process, not every type works well. Sand with varied particle sizes and shapes easily compacts unevenly. This leads to an unstable base and problems down the road.
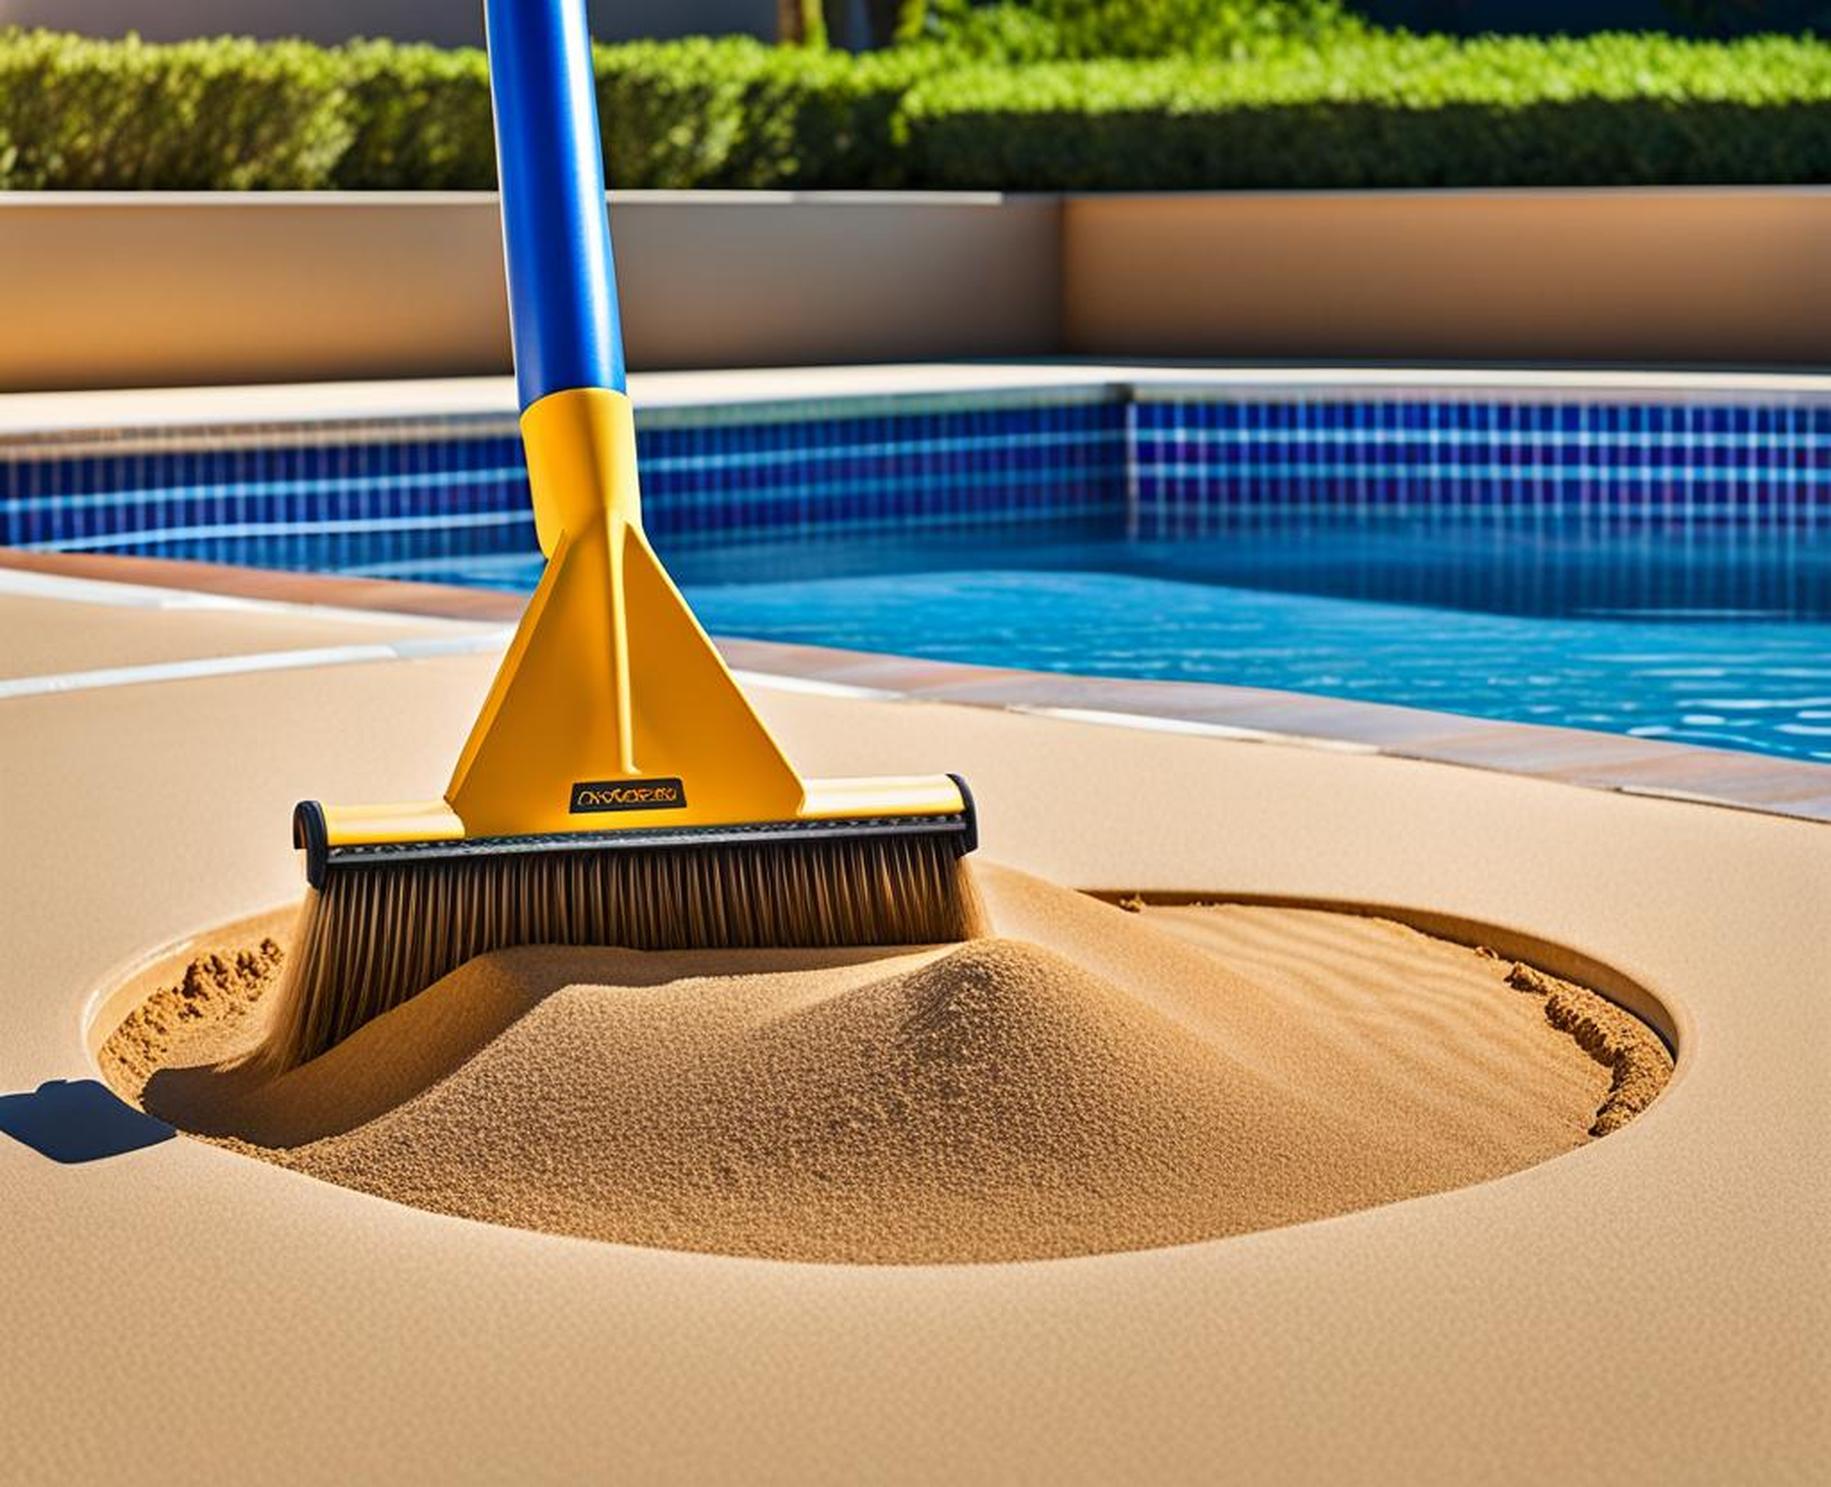
Seeking out sand specially designed for pool use ensures successful leveling. Play sand and masonry sand contain uniformly shaped grains measuring under 0.6 mm. The smaller grains pack tightly together when compacted. Uniform grain size prevents small particles from slipping through cracks into underlying soil–a phenomenon that causes sinking.
| Correct Sand Types | Play Sand | Masonry Sand |
| Uniform Grain Size | Maximum 0.6 mm | Maximum 0.6 mm |
| Ideal for | Sandboxes | Mortar, Concrete |
| Commonly Sold At | Hardware Stores | Quarries, Landscape Centers |
When sourcing sand, check specifications like grain size and shape. Play sand and masonry sand offer appropriately sized and shaped grains for leveling ground.
Calculating the Precise Volume of Sand
Finding enough sand prevents shortages mid-project yet avoids waste and extra expenditure. Calculating volume requires factoring for current ground level, desired depth, and overall pool size. One method utilizes this formula:
Sand Required = [(Highest Point – Lowest Point) / 2] x Diameter x [(Highest Point + Lowest Point) / 2]
To illustrate, imagine the following measurements:
- Pool Diameter: 15 feet
- Highest Ground Level: 6 inches
- Lowest Ground Level: 2 inches
Plug these numbers into the sand formula:
Sand Required = [(6 inches – 2 inches) / 2] x 15 feet x [(6 inches + 2 inches) / 2]
Sand Required = 2 inches x 15 feet x 4 inches
Sand Required = 30 feet x 2 feet
Total Volume of Sand: 60 cubic feet
Preparing the Installation Area
After choosing quality sand and calculating quantity, shift focus to site preparation. Every protrusion alters leveling efforts, so address them first. Use a flat shovel to:
- Strip away grass, roots and stubborn weeds
- Dig out rocks, sticks and debris
- Check for pipes or wires; reroute if necessary
- Loosen tightly packed earth for better blending
Create clearance of at least 18 inches around the pool’s perimeter. This space allows room to work yet still gets covered by the assembled structure.
Leveling Out the Sand in Layers
With the site cleared and ready, it’s time to integrate the essential sand base. Carefully tipping and spreading wheelbarrow loads prevents uneven piles. Use a flat shovel and sturdy metal rake to smooth out the sand.
Work Methodically in Layers
Add sand in thin 2 to 4 inch layers, raking systematically to fill all gaps. After each application, walk across the surface, stomping down with full body weight. Compact with a hand tamper, progressing methodically across the entire space.
A transit laser level verifies flatness between layers. Detected low points get targeted with additional sand and tamping until the laser registers a consistent plane.
Maintain 1/2 to 1 Inch Clearance
Continue building up layers, tamping firmly at each interval. Level to around 1/2 inch below the pool’s required height. The compacted sand should never touch metal components. Leaving 1/2 to 1 inch clearance prevents grinding and damage over time.
Stabilizing the Structure
Compacted uniform sand alone still risks slight settling under several tons of weight. Boost reinforcement with foundation blocks positioned under every vertical beam:
- Use solid concrete blocks or treated 4 x 4 posts
- Elevate slightly above sand layer on gravel or composite patio pavers
- Verify tops sit precisely level with laser transit
- Shim underneath as needed for precise leveling
| Foundation Materials | Concrete Block | Treated 4×4 Post |
| Weight Bearing | High | High |
| Stability | Permanent | Permanent |
Reinforced foundations boost structural integrity for long-lasting levelness. Just take care to position support blocks with precision to prevent twisting or sagging under immense loads.
Preventing Sand Shift and Settling
Compaction and blocking fortify levelness yet shifting remains a possibility. Consider containment measures:
- Install plastic or composite landscape edging around the perimeter
- Backfill inside with drainage gravel to disperse rain penetration
- Slope surrounding land away from the pool
- Check for level every spring; refill low spots as needed
Prompt attention at first signs of slope prevents progressive deterioration. Catching minor sand erosion early restores level through easier replenishment. But neglect may demand major fill work later.
When Legs Start Sinking
Nothing strikes dread into pool owners like seeing metal legs gradually disappearing into soft sand. Don’t just pile more sand underneath! That signals improper compaction plus possible drainage issues.
Solve the underlying problem first by:
- Excavating down to firmer ground
- Installing barrier edging and gravel backfill
- Compacting layered sand completely
- Reinforcing legs with supported concrete blocks or treated 4×4 posts
This comprehensive approach provides maximum insurance against repeats of shifting and sinking catastrophes.
Leveling sand for above-ground pools requires meticulous preparation and care to prevent slope slippage over time. Select appropriately sized sand grains for uniform compactability. Precisely calculate needed amounts and prepare the site fully. Systematically level in thin compacted layers reinforced by sturdy supports.
Paying close attention to containment, drainage and preventive maintenance saves work over the long run. But catching level issues promptly makes corrections simpler. Just don’t pile on more loose sand without addressing fundamental stability factors first.
Care taken during installation means enjoying pool season safely and happily for years before any significant leveling work becomes necessary again. Time spent leveling sand precisely equals more carefree summer memories ahead.
