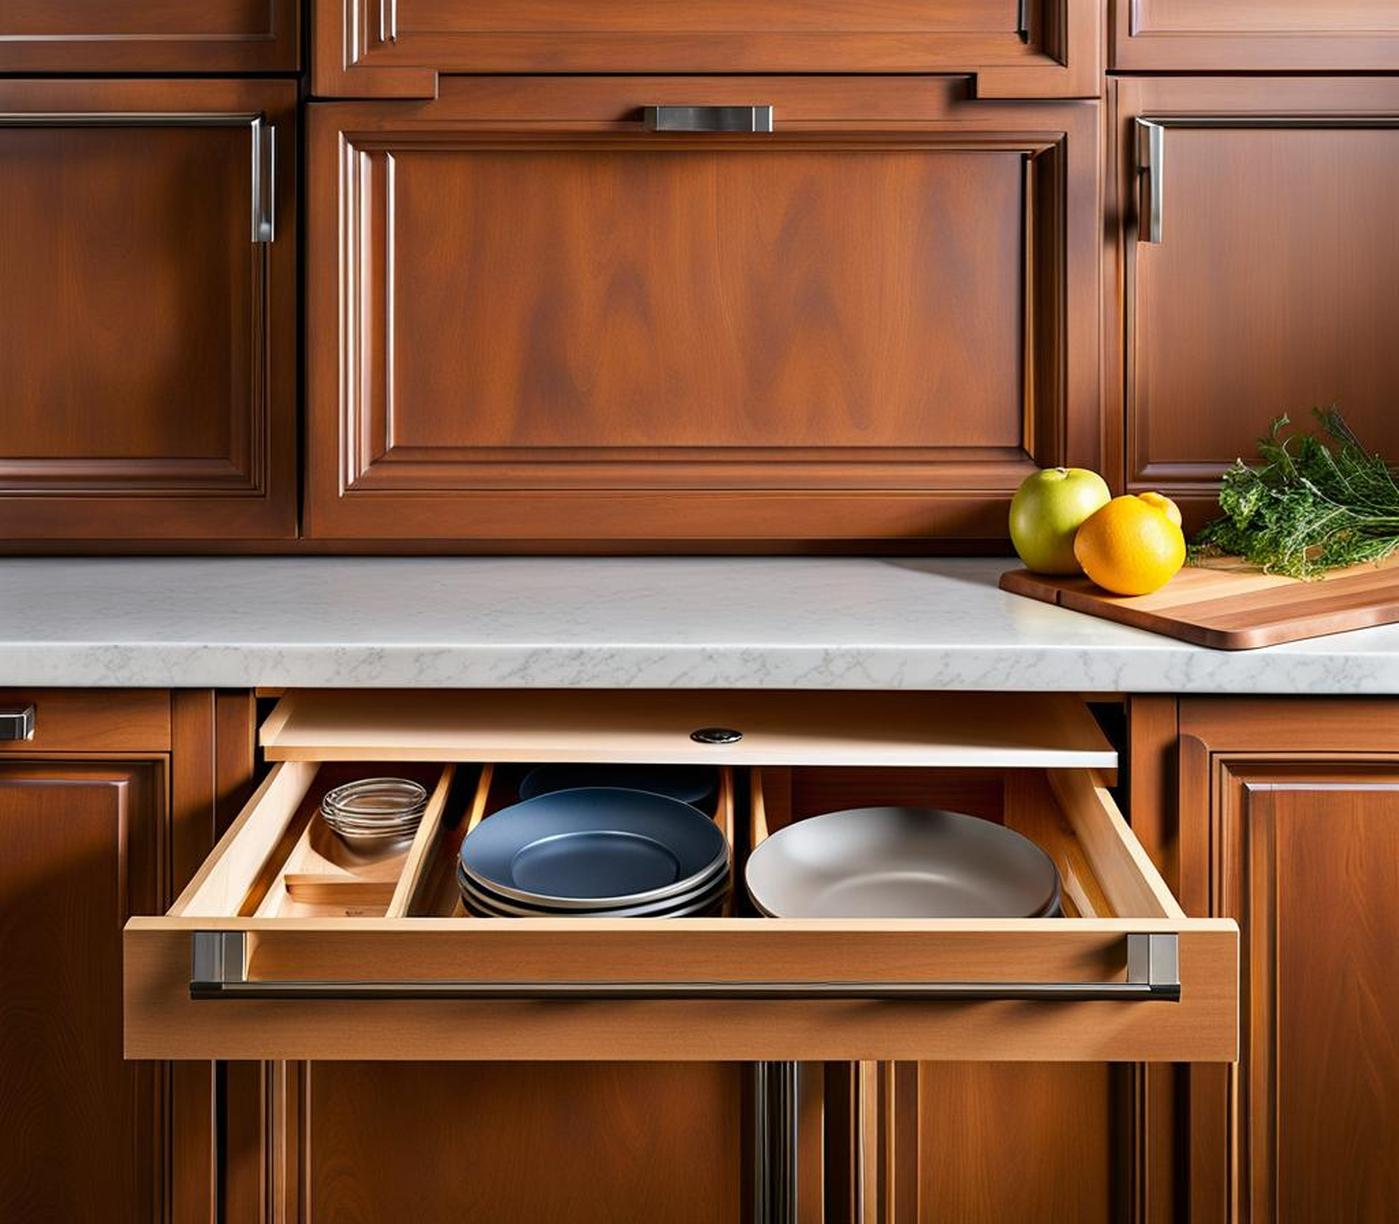
Is your kitchen stuck in the past? Do you dream of a sleek, contemporary space but can’t afford a full renovation? Updating your cabinet hardware is an easy, budget-friendly way to give your kitchen a modern facelift almost instantly.
Replacing dated or worn-out hardware like knobs, pulls, and hinges can fully transform the look of your kitchen cabinets. With some new handles and drawer pulls, you can change the whole aesthetic from country cottage to contemporary chic.
Why Upgrade Kitchen Cabinet Hardware?
Outdated Look
If your home has original cabinet hardware from decades past, it likely looks outdated or even boring by today’s standards. Trends in materials and styles have changed enormously over the years. What was once a bold, cutting-edge choice in the 70s or 80s can now appear ugly and obsolete.
New hardware offers an easy upgrade. Sleek, minimalist pulls or industrial pipe handles feel fresh and modern. Switching your decorative backplates and hinges can also make a dramatic impact.
Improved Functionality
Besides an updated look, new hardware adds functionality.Old warped drawer pulls don’t open smoothly. Stiff hinges strain to move. New slides, hinges, and handles operate like a dream in comparison.

High-quality ball-bearing slides glide seamlessly in and out. Soft-close hinges prevent slamming. Smooth knobs and pulls open and close cabinets with ease. Your kitchen becomes more user-friendly and accessible.
Affordability
A full kitchen remodel with new cabinet boxes, countertops, appliances, etc. costs an average of $15,000-30,000. With such a hefty price tag, a remodel isn’t feasible for everyone. Cabinet hardware replacement provides huge bang for your buck in comparison.
For approximately $10-60 per knob or handle, you can fully change the look of your kitchen. With 10-30 hardware pieces in a typical kitchen, expect to spend $200-500 total. It’s a small price for what can feel like a brand new kitchen!
Getting Started
Take Measurements
First, assess your existing hardware by taking careful measurements. Note the diameter of knobs and measurement points for pulls/handles. Determine the exact measurements of hinges, drawer slides and any additional hardware pieces.
Take time to identify any problem areas as well. Do certain drawers or doors stick? Can you spot locations where old hardware has split or become loose? Make notes so these issues can be addressed.
Choose New Hardware
With measurements in hand, start selecting replacements. New knobs and pulls come in a spectrum of shapes, sizes, materials and finishes. Choose a style that matches your desired aesthetic.
Consider finishes like brushed nickel, oil-rubbed bronze or matte black for a contemporary look. Iron, chrome and stainless steel also feel sleek and modern.
Be sure replacement hardware fits cabinet type too. Delicate glass knobs suit modern styles, while chunky warehouse pulls match shaker cabinets.
Replacing Cabinet Hardware
Gather Materials
To tackle hardware replacement, arm yourself with:
- Drill
- Drill bits
- Screwdriver
- Stud finder
- Level
- Tape measure
- Pencil
- Replacement hardware
- Wood putty
- Putty knife
- Sandpaper
Ensure all new hardware pieces are on hand before beginning. Having to halt a project midway can be inconvenient and messy.
Remove Old Hardware
First, use a screwdriver to carefully remove the existing hardware. Take photos beforehand if you want to replicate the previous installment pattern.
Remove knobs and handles gently to avoid cracking or splintering. Then fully detach slides, hinges and other hardware pieces from cabinet sides or doors.
Pro Tip: Soak rusted screws in WD40 for 10 minutes first for easy removal.
Fill Existing Holes
Examine cabinet doors and frames for visible holes from old hardware. Fill these using wood putty and a putty knife. Allow putty to dry completely then sand until smooth.
Tip: Holes with putty may accept stain differently than surrounding wood. Test stain compatibility on scrap wood first.
Drill New Holes
Replacement hardware likely requires new screw holes. Measure and mark holes on the interior of doors and frames. Clamp a block of scrap wood behind to prevent splintering as you drill.
Use a drill bit slightly smaller than new screws to drill pilot holes. Pilot holes allow smoother screw installation without risking splits.
Install New Hardware
Align and install hardware using a screwdriver, securing pieces into pilot holes. Refer to manufacturer instructions for specialized pieces like drawer slides and hinges. These typically involve a cabinet side component and drawer front component.
During installment, continually open and close doors, extending drawers to check alignment. Adjust pieces as needed to ensure proper functionality.
Troubleshooting Problems
Alignment Issues
If doors or drawers don’t close correctly after hardware swap, this likely indicates an alignment issue. Ensure hinges, pulls and handles have even spacing. Verify drawer slides are level using a spirit level.
Don’t be afraid to remove and reinstall hardware until everything operates smoothly. Take your time getting the alignment right.
Loose Hinges or Sticking Drawers
Hinges should feel tight and secure when correctly installed. Loose hinges indicate improper drilling or screws too small for holes. Consider using wood glue inside holes before re-screwing hinges.
If drawers stick after replacing hardware, ensure slides are level. Binding can also occur if new hardware is too large for the existing drawer space.
Replacing worn-out hardware rejuvenates the look of your kitchen instantly. As you admire the sleek, fresh hardware against your existing cabinetry, it will feel like a brand new kitchen!
Upgrading hardware takes just a weekend DIY project too. No need wait weeks or months for renovation completion!
Browse our photo gallery below showcasing stunning hardware swap transformations. Let the beautiful “after” shots motivate your own kitchen’s much-deserved makeover.
