Upgrading your bathroom with a 32 x 46 shower base can transform your daily routine into a spa-like experience. These rectangular shower bases offer a perfect blend of functionality and style, making them an increasingly popular choice for modern bathrooms. Whether you’re renovating an existing space or designing a new bathroom from scratch, understanding the ins and outs of 32×46 shower bases is crucial for creating a luxurious and practical shower area that meets your needs and enhances your home’s value.
Understanding 32×46 Shower Bases: Features and Benefits
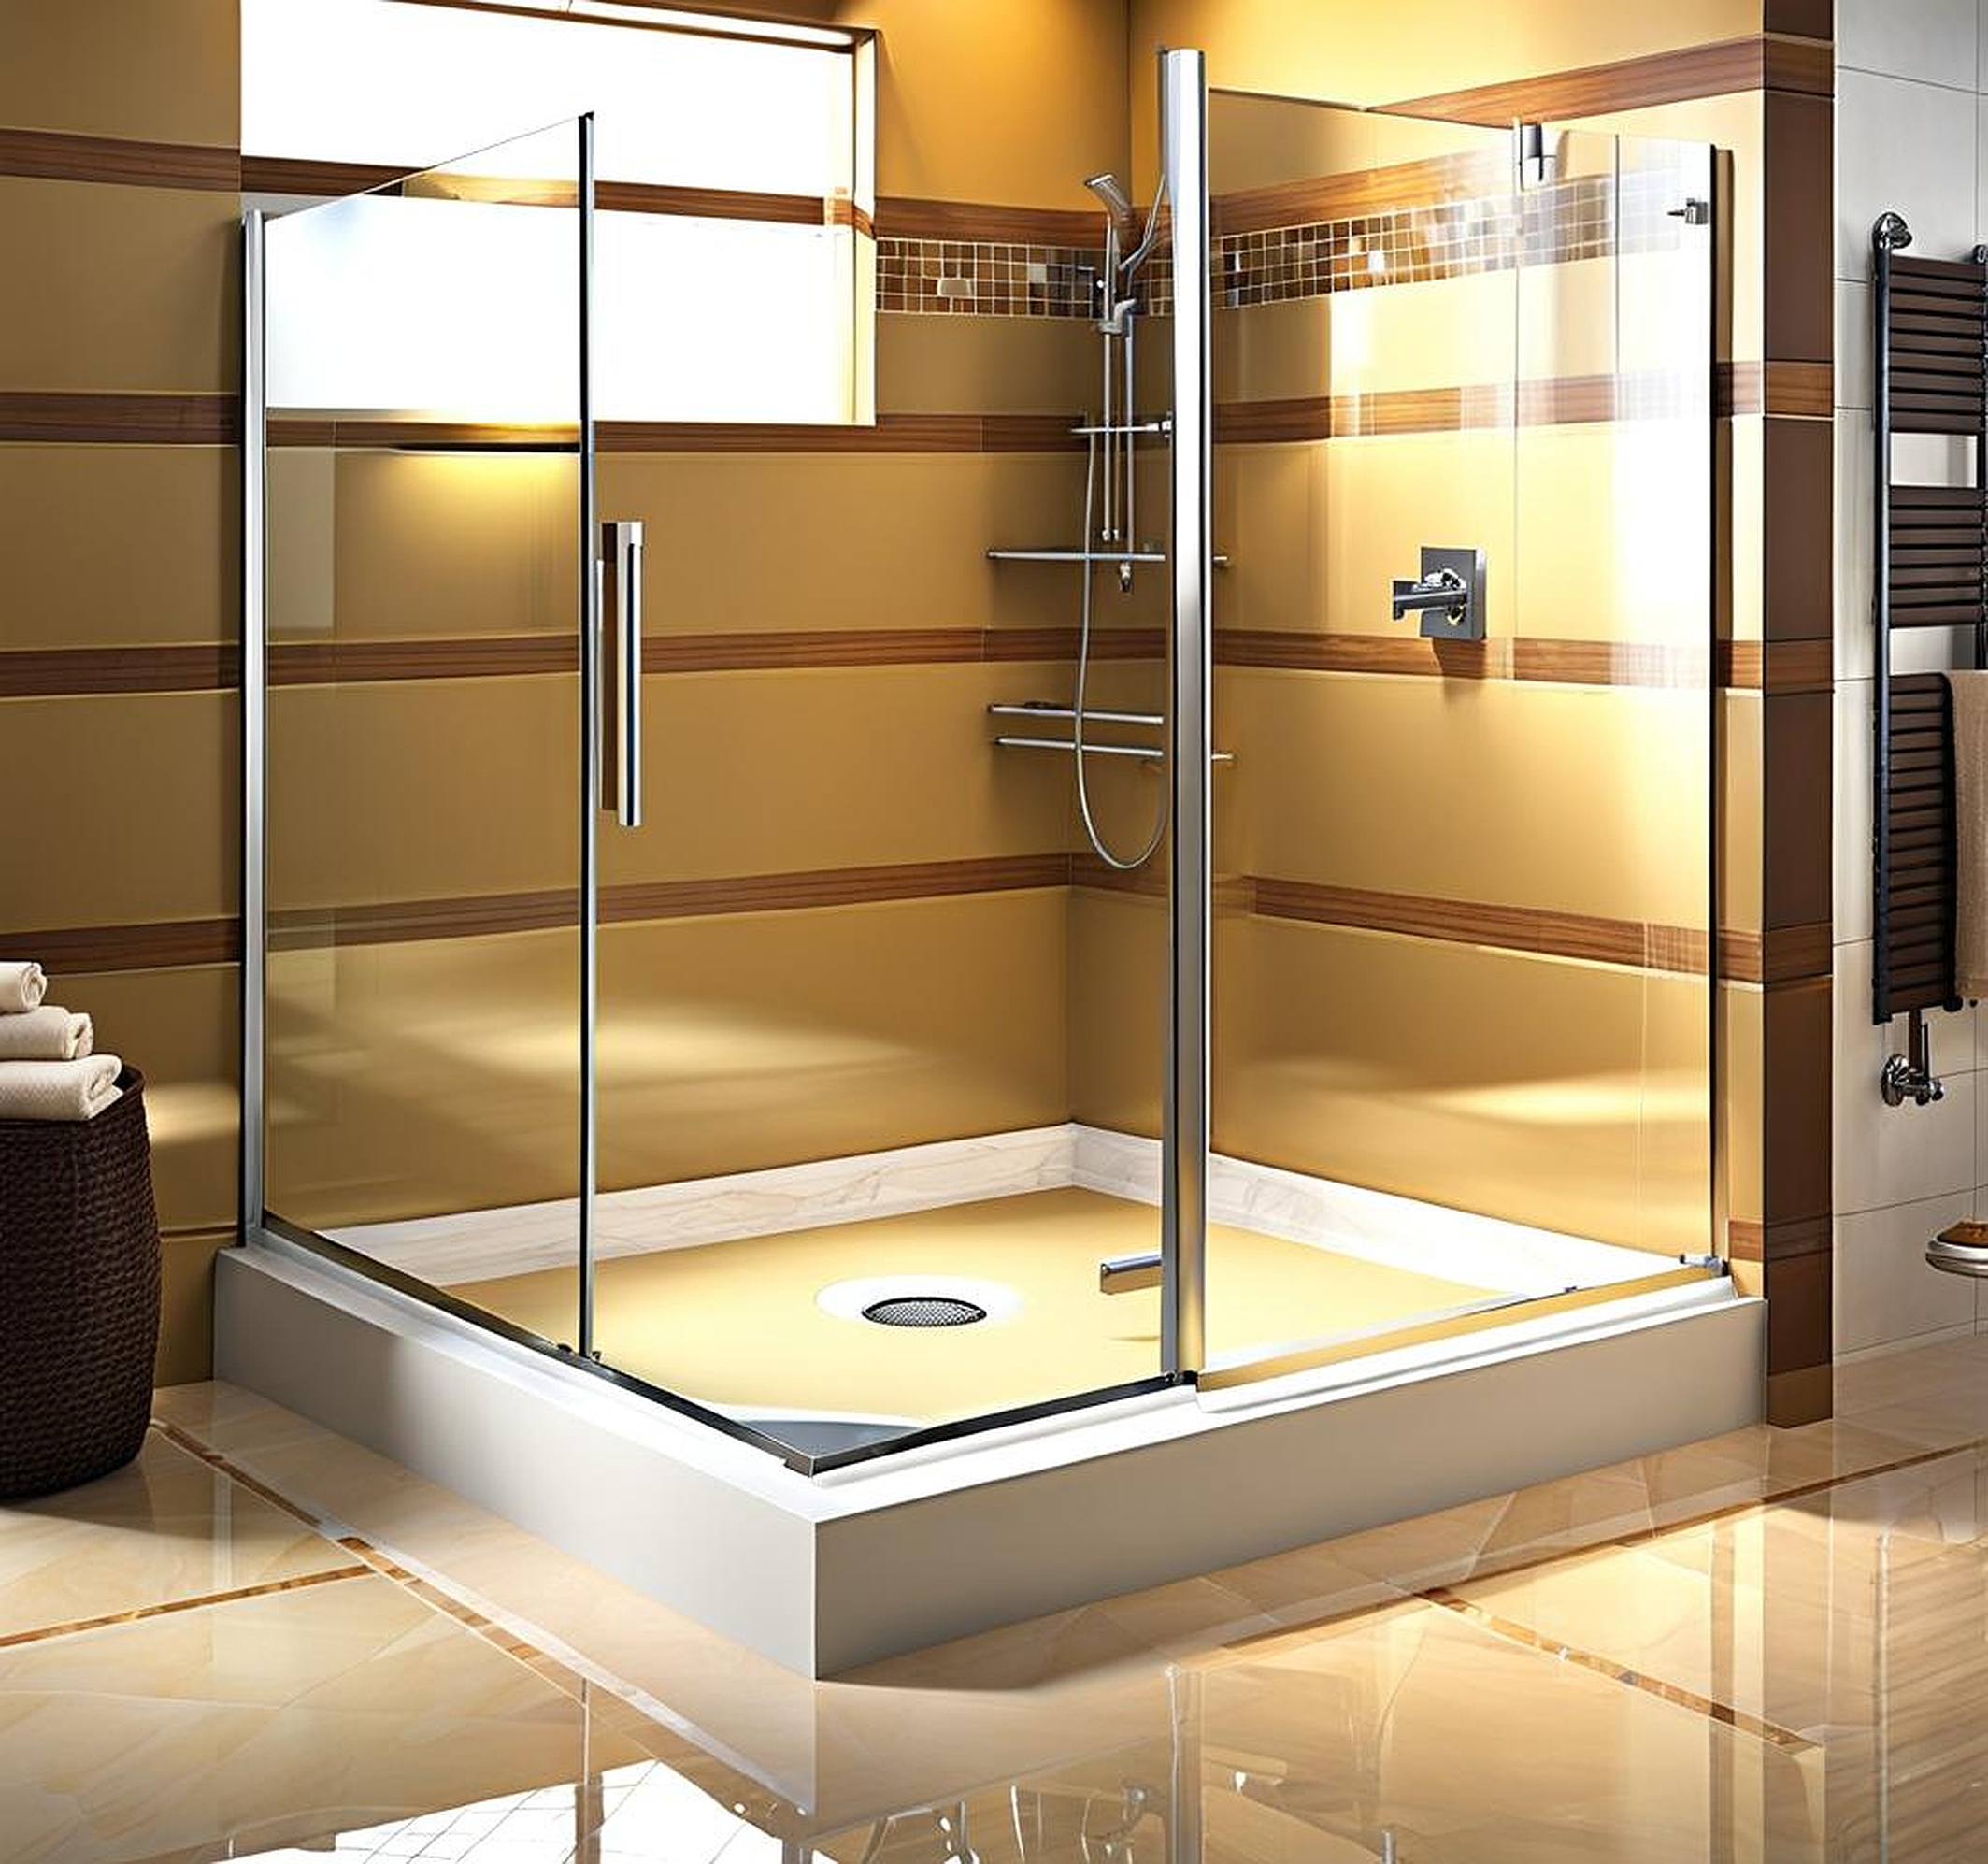
The 32 x 46 shower base, exemplified by products like the DreamLine DLT-1132480 SlimLine Shower Base, is a game-changer in bathroom design. These bases measure 48 inches in width and 32 inches in depth, with a modest height of 2.75 inches. This size strikes an ideal balance, offering ample space for comfortable showering without overwhelming smaller bathrooms.
One of the standout features of high-quality 32×46 shower bases is their construction material. Many, including the DreamLine model, are crafted from premium acrylic. This material isn’t just about looks; it’s scratch and stain-resistant, ensuring your shower base maintains its pristine appearance even with daily use. The durability of acrylic is further enhanced by fiberglass reinforcement, providing a solid foundation that can withstand years of use without warping or cracking.
Safety is a paramount concern in any bathroom, and these shower bases address this with a textured, slip-resistant floor. This feature is especially crucial in wet environments, offering peace of mind for users of all ages. The low threshold design, typically around 2.75 inches high, strikes a balance between water containment and ease of access, making it suitable for most users, including those with mobility concerns.
Installation ease is another significant advantage of 32×46 shower bases. Many models come with an integrated tile flange, a feature that simplifies the installation process and provides excellent waterproofing. This design element helps prevent water from seeping behind the walls, protecting your bathroom’s structure from moisture damage.
When comparing 32×46 shower bases to other sizes and shapes, several benefits become apparent. The rectangular design offers more space than square alternatives, allowing for a more comfortable showering experience. Unlike circular or oddly shaped bases, the straight lines of a rectangular base simplify the overall bathroom design, making it easier to incorporate into various decor styles.
The versatility of 32×46 shower bases is noteworthy. They can be installed as part of a larger shower enclosure or used in a more open, walk-in shower design. This flexibility allows homeowners to customize their bathroom layout to suit their preferences and space constraints. Whether you’re aiming for a minimalist look or a more luxurious feel, these shower bases provide a solid foundation for your design vision.
Choosing the Right 32×46 Shower Base for Your Bathroom
Selecting the perfect 32×46 shower base for your bathroom involves considering several factors to ensure you get a product that not only fits your space but also meets your functional and aesthetic requirements. Let’s dive into the key aspects you should keep in mind during your selection process.
First and foremost, consider the overall style of your bathroom. Are you going for a modern, minimalist look, or do you prefer something more traditional? The shower base you choose should complement your bathroom’s design theme. For a contemporary feel, look for bases with clean lines and a low profile. If you’re aiming for a more spa-like atmosphere, consider bases with subtle textures or those that can seamlessly integrate with natural stone tiles.
Material choice is crucial when selecting a shower base. While acrylic is a popular option due to its durability and ease of maintenance, other materials like cultured marble or solid surface composites are also worth considering. Each material has its pros and cons in terms of durability, weight, and price point. For instance, acrylic shower bases like the DreamLine SlimLine are lightweight, making them easier to install, especially in upper-floor bathrooms where weight might be a concern.
Don’t overlook the importance of color in your selection process. While white remains a classic choice that easily matches most bathroom decors, modern shower bases come in a variety of colors and finishes. Some manufacturers offer options like cream, gray, or even black, allowing you to create a more personalized look. Remember that lighter colors can make your bathroom appear larger, while darker shades can add a touch of drama and sophistication.
When it comes to drainage, pay attention to the location and style of the drain. Most 32×46 shower bases come with a standard center drain, but some models offer offset drain options. This can be particularly useful if you’re replacing an existing shower and need to match the current plumbing configuration. Additionally, consider the drain cover design – some bases come with matching covers that blend seamlessly with the base, while others allow you to choose custom drain covers for a more personalized look.
Compatibility with shower enclosures is another crucial factor. If you’re planning to install a full shower enclosure, ensure that the base you choose is compatible with the doors or panels you have in mind. Some manufacturers offer complete shower kits that include both the base and the enclosure, guaranteeing a perfect fit. If you’re mixing and matching components, carefully check the specifications to ensure compatibility.
Don’t forget to consider additional features that can enhance your showering experience. Some luxury shower bases come with built-in seating areas or shelves for added convenience. Others might offer advanced anti-slip technologies or antimicrobial treatments for improved hygiene. While these features might increase the initial cost, they can significantly enhance the functionality and enjoyment of your shower space.
Lastly, always check shower base reviews and ratings before making your final decision. Look for feedback from other homeowners who have installed the same model you’re considering. Pay attention to comments about ease of installation, durability, and how well the base has held up over time. This real-world feedback can provide valuable insights that you might not get from product descriptions alone.
Installing a 32×46 shower base might seem daunting, but with careful planning and the right approach, it can be a manageable DIY project for those with some home improvement experience. However, if you’re not confident in your skills, it’s always best to hire a professional to ensure proper installation. Let’s walk through the key steps and considerations for installing your new shower base.
Before you begin, gather all necessary tools and materials. You’ll typically need:
- Mortar or a shower base installation kit
- Caulk and caulk gun
- Level
- Drill
- Screwdriver
- Tape measure
- Pencil for marking
Start by preparing the installation area. Remove any existing fixtures and ensure the subfloor is clean, dry, and level. If you’re replacing an old shower, you might need to remove old tiles or the previous base. This is also the time to address any water damage or structural issues in the subfloor.
Next, do a dry fit of your 32×46 shower base. Place it in position without any adhesive to check for proper fit and alignment. This is crucial for identifying any potential issues before you commit to the installation. Use a level to ensure the base sits perfectly flat. If there are any gaps or unevenness, you may need to use shims or adjust the subfloor.
Once you’re satisfied with the fit, it’s time to prepare for permanent installation. If your shower base has an integrated tile flange, make sure it’s properly aligned with the wall studs. This flange is crucial for waterproofing, so proper positioning is essential.
Apply a layer of mortar or the adhesive from your shower base installation kit to the subfloor. Follow the manufacturer’s instructions carefully, as the type and amount of adhesive can vary. Carefully lower the shower base onto the prepared surface, pressing it firmly to ensure good contact with the adhesive.
Use your level again to check that the base is perfectly level in all directions. This is critical for proper drainage and to prevent water pooling. If necessary, gently tap the base with a rubber mallet to make minor adjustments.
Once the base is in place and level, allow the adhesive to cure according to the manufacturer’s instructions. This typically takes 24 to 48 hours. During this time, avoid stepping on or using the shower base.
After the curing period, it’s time to focus on waterproofing. Apply a bead of silicone caulk around all edges where the shower base meets the walls. This creates a watertight seal that prevents moisture from seeping behind the walls. Be sure to use a high-quality, mold-resistant caulk designed for bathroom use.
If you’re installing a complete shower enclosure, now is the time to add the walls and doors. Follow the manufacturer’s instructions carefully, ensuring all components are properly aligned and sealed.
To maintain your new 32×46 shower base, regular cleaning is essential. Use non-abrasive cleaners to avoid scratching the surface. For acrylic bases, avoid harsh chemicals that could damage the material. A mixture of warm water and mild soap is often sufficient for regular cleaning.
Periodically check the caulk around your shower base and reseal if necessary. This simple maintenance step can prevent water damage and extend the life of your installation.
By following these steps and taking care during the installation process, you can ensure your new 32×46 shower base provides years of trouble-free use, transforming your bathroom into a luxurious and functional space. Remember, proper installation is key to preventing leaks and ensuring the longevity of your shower base, so don’t hesitate to seek professional help if you’re unsure about any aspect of the process.
