Knowing how to turn off your water heater is an essential skill for every homeowner. Whether you’re planning a replacement, installation, or simply need to shut it down for maintenance, understanding the process can save you time, money, and potential headaches. This comprehensive guide will walk you through the steps to safely disable your water heater, ensuring you’re well-prepared for any situation that may arise. Let’s dive into the world of water heaters and learn how to manage this crucial household appliance with confidence.
Understanding Your Water Heater: Types and Components
Before we delve into the process of turning off your water heater, it’s crucial to understand the different types and components you might encounter. Water heaters come in two main varieties: gas and electric. Each type has its unique features and shutdown procedures.
Gas water heaters typically use natural gas or propane as their fuel source. They have a burner at the bottom of the tank that heats the water. Key components include the gas valve, thermostat, and a pilot light or electronic ignition system. When you need to stop a gas water heater, you’ll primarily be dealing with the gas valve and water supply.
Electric water heaters, on the other hand, use heating elements immersed in the water tank to heat the water. These units have a thermostat and usually two heating elements – one at the top and one at the bottom of the tank. The main components you’ll interact with when turning off an electric water heater are the circuit breaker and water supply valve.
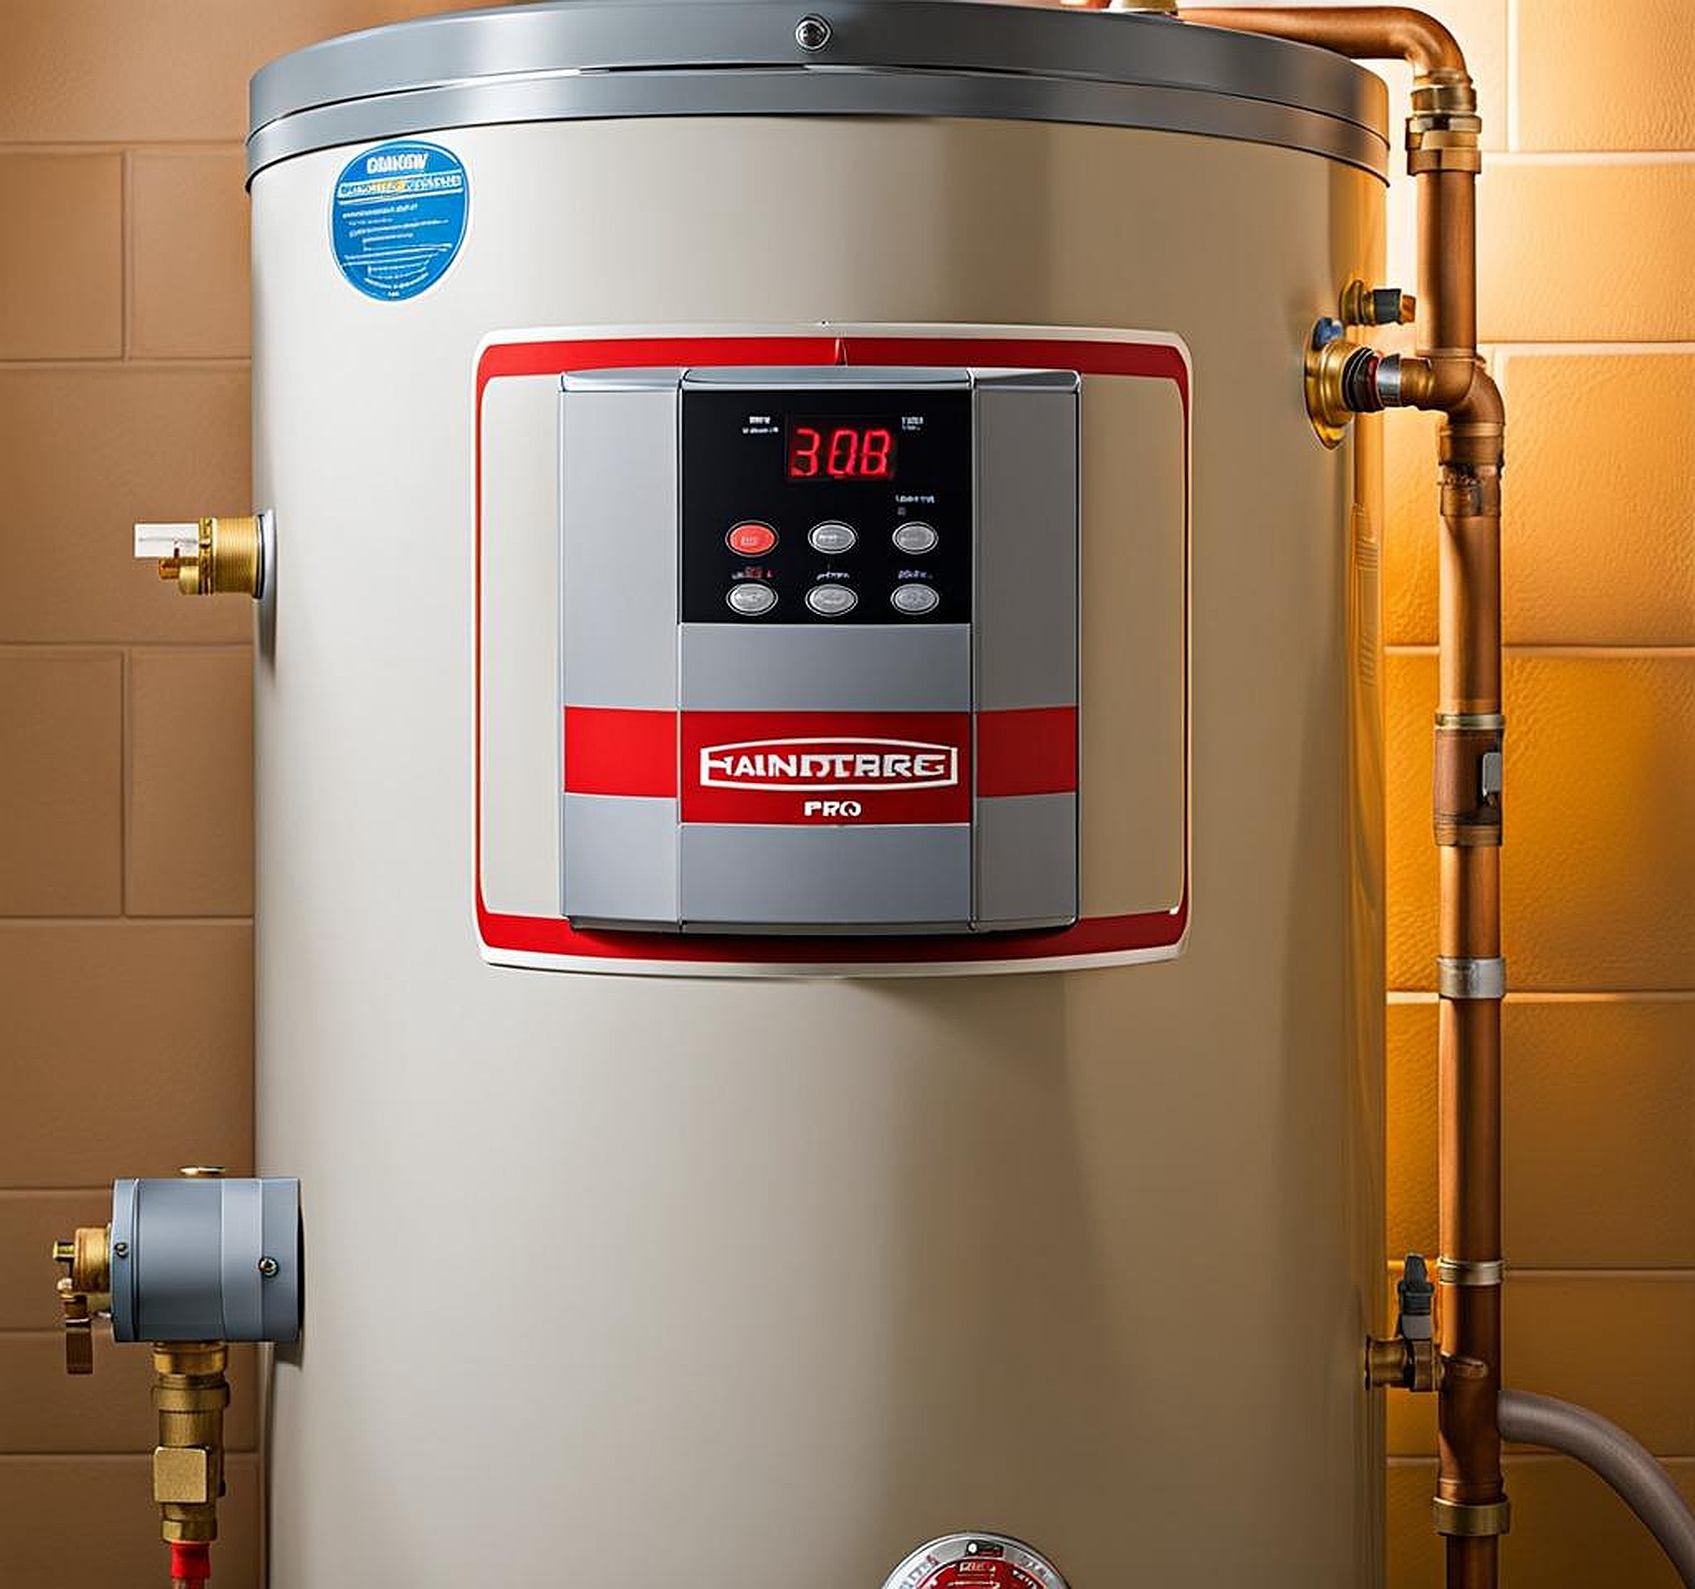
Both types of water heaters have a few common components:
- Tank: This is where the hot water is stored. It’s typically insulated to keep the water hot.
- Pressure relief valve: A crucial safety feature that releases pressure if it builds up too high in the tank.
- Drain valve: Located at the bottom of the tank, this valve is used for draining the heater.
- Anode rod: This sacrificial component helps prevent corrosion inside the tank.
- Dip tube: Brings cold water to the bottom of the tank for heating.
Understanding these components will help you navigate the process of disabling your water heater more effectively. Remember, whether you’re dealing with a gas or electric model, the goal is the same: to safely shut off the power source and water supply to your unit.
Safety Precautions Before Turning Off Your Water Heater
Before we dive into the nitty-gritty of how to turn off a water heater, let’s talk safety. After all, we’re dealing with a combination of electricity or gas, water, and high temperatures – a mix that demands respect and caution. By following these safety precautions, you’ll ensure that the process of stopping your water heater goes smoothly and without incident.
First and foremost, make sure you’re wearing appropriate protective gear. This includes closed-toe shoes to protect your feet from any accidental water spills, and heat-resistant gloves to guard against burns from hot pipes or water. If you’re working with a gas water heater, good ventilation is crucial. Open windows or doors to ensure proper air circulation, reducing the risk of gas accumulation.
Before you start, locate your home’s main water shut-off valve. In case of an emergency or if the water heater’s shut-off valve fails, you’ll need to know where this is. It’s typically located near where the main water line enters your home, often in the basement or crawl space.
If you’re dealing with an electric water heater, familiarize yourself with your home’s circuit breaker panel. Identify which breaker controls the water heater. For gas water heaters, know where the gas shut-off valve is located. This is usually near the water heater itself.
Here’s a crucial tip: never attempt to shut off your water heater if you suspect a gas leak. If you smell gas, immediately evacuate your home and call your gas company or emergency services. Your safety is paramount.
Lastly, if your water heater has been running recently, be aware that the water inside can be scalding hot. Exercise extreme caution when working around the tank and pipes. It’s often best to wait a few hours after last use before attempting to shut off and drain your water heater.
By taking these safety precautions seriously, you’re setting yourself up for a safe and successful water heater shutdown. Remember, if at any point you feel uncomfortable or unsure about the process, don’t hesitate to call a professional plumber. It’s always better to err on the side of caution when it comes to home repairs and maintenance.
Step-by-Step Guide: How to Turn Off a Water Heater
Now that we’ve covered the basics and safety precautions, let’s dive into the actual process of turning off your water heater. Whether you’re dealing with a gas or electric model, I’ll guide you through each step to ensure you can confidently disable your water heater when needed.
For a Gas Water Heater:
1. Locate the gas valve: This is typically a red or black knob near the bottom of the tank. 2. Turn off the gas: Rotate the valve clockwise until it stops. This cuts off the gas supply to the water heater. 3. Shut off the cold water supply: Find the water inlet pipe (usually on top of the heater) and turn the valve clockwise until it’s fully closed. 4. Turn off the water heater’s thermostat: Set it to the “Pilot” or “Off” position. For an Electric Water Heater: 1. Find your home’s circuit breaker panel. 2. Locate the breaker labeled for the water heater (usually a double-pole breaker). 3. Flip the breaker to the “Off” position. 4. Verify the power is off by testing a hot water tap. If no hot water comes out after a few minutes, you’ve successfully cut the power. 5. Shut off the cold water supply: As with the gas heater, find the inlet pipe and turn the valve clockwise until it’s fully closed.
After completing these steps, your water heater is effectively turned off. However, remember that the tank is still full of hot water. If you need to drain the tank (which is often necessary for repairs or replacement), you’ll need to follow additional steps, which we’ll cover in the next section.
A word of caution: If you’re stopping your water heater for an extended period, especially during cold weather, consider draining the tank to prevent freezing. Frozen pipes can cause significant damage to your water heater and plumbing system.
By following these steps, you’ve successfully learned how to shut off your water heater. This knowledge is invaluable for maintenance, repairs, or in case of emergencies. Remember, if you ever feel unsure or uncomfortable during this process, don’t hesitate to call a professional plumber. Your safety and the integrity of your home’s plumbing system should always be the top priority.
Draining and Flushing Your Water Heater After Shutdown
After you’ve successfully turned off your water heater, the next step often involves draining and flushing the tank. This process is crucial for several reasons: it allows you to perform maintenance, replace parts, or prepare the tank for removal. Moreover, regular flushing can extend the life of your water heater by removing sediment buildup. Let’s walk through this process step by step.
1. Allow the water to cool: This is a critical safety step. Hot water can cause severe burns, so wait several hours after turning off the heater before proceeding. 2. Attach a garden hose to the drain valve: The drain valve is typically located near the bottom of the tank. Ensure the other end of the hose leads to a suitable drainage area. 3. Open a hot water faucet: This might seem counterintuitive, but opening a hot water tap somewhere in your house allows air into the system, facilitating drainage. 4. Open the drain valve: Turn the valve to allow water to start flowing out of the tank. Be patient; draining a full tank can take 20-60 minutes depending on its size. 5. Flush the tank: Once the tank is empty, you can flush it to remove sediment. Close the drain valve, open the cold water supply for a few minutes, then drain again. Repeat this process until the water runs clear. 6. Close all valves: Once you’re done, close the drain valve and remove the hose.
It’s worth noting that flushing your water heater annually can significantly improve its efficiency and lifespan. Sediment buildup can reduce heating efficiency and even lead to premature tank failure. By incorporating this maintenance task into your routine, you’re not just learning how to turn off a water heater, but how to care for it properly.
If you’re replacing your water heater, this draining process is essential. It makes the old unit much lighter and easier to remove. Plus, it prevents any residual water from spilling during the removal process.
Remember, if you’re uncomfortable with any part of this process, or if you encounter any issues (like a stuck drain valve), it’s always best to consult with a professional plumber. They have the tools and expertise to handle more complex situations safely and efficiently.
Now that you’ve mastered how to turn off your water heater and perform necessary maintenance, it’s time to learn how to bring it back to life. Whether you’ve completed repairs, replaced parts, or simply finished your annual flush, reactivating your water heater correctly is crucial for its proper functioning and your home’s hot water supply.
For a Gas Water Heater: 1. Ensure the tank is full: Open the cold water supply valve and let the tank fill. You’ll know it’s full when water flows steadily from a hot water tap. 2. Relight the pilot light: Follow your manufacturer’s instructions carefully. Typically, this involves turning the gas valve to “Pilot,” pressing it down, and using the ignition switch. Once lit, continue holding the valve down for about a minute. 3. Turn on the main burner: Set the gas valve to “On” and adjust the temperature setting as desired. 4. Listen for the burner to ignite: You should hear a soft whoosh as the main burner lights. For an Electric Water Heater: 1. Refill the tank: As with gas heaters, open the cold water supply and let the tank fill completely. 2. Turn on the power: Flip the circuit breaker back to the “On” position. 3. Set the thermostat: Adjust to your desired temperature, typically around 120degF for energy efficiency and safety.
For both types, after reactivating, wait about an hour and then test a hot water tap to ensure everything is working correctly.
Troubleshooting Tips: – If your gas heater won’t light, ensure the gas valve is fully open and try again. If it still fails, there might be an issue with the thermocouple or gas control valve. – For electric heaters, if you’re not getting hot water, check if both heating elements are working. Sometimes, only one fails, resulting in lukewarm water. – If you hear rumbling noises, it could indicate sediment buildup. Try flushing the tank again. – Leaks around fittings or valves often can be fixed by tightening connections or replacing washers. – If your pressure relief valve is leaking, it may need replacement. This is a crucial safety component, so consult a professional if you’re unsure.
Remember, regular maintenance, including knowing how to properly shut off and restart your water heater, can significantly extend its lifespan and efficiency. By mastering these skills, you’re not just saving money on potential repairs or replacements; you’re ensuring a constant supply of hot water for your home.
In conclusion, whether you’re stopping your water heater for maintenance, disabling it for replacement, or simply need to shut it off in an emergency, the process is straightforward if you follow these steps carefully. Always prioritize safety, and don’t hesitate to call a professional if you encounter any issues you’re not comfortable handling yourself. With this knowledge, you’re well-equipped to manage one of your home’s most essential appliances effectively.
