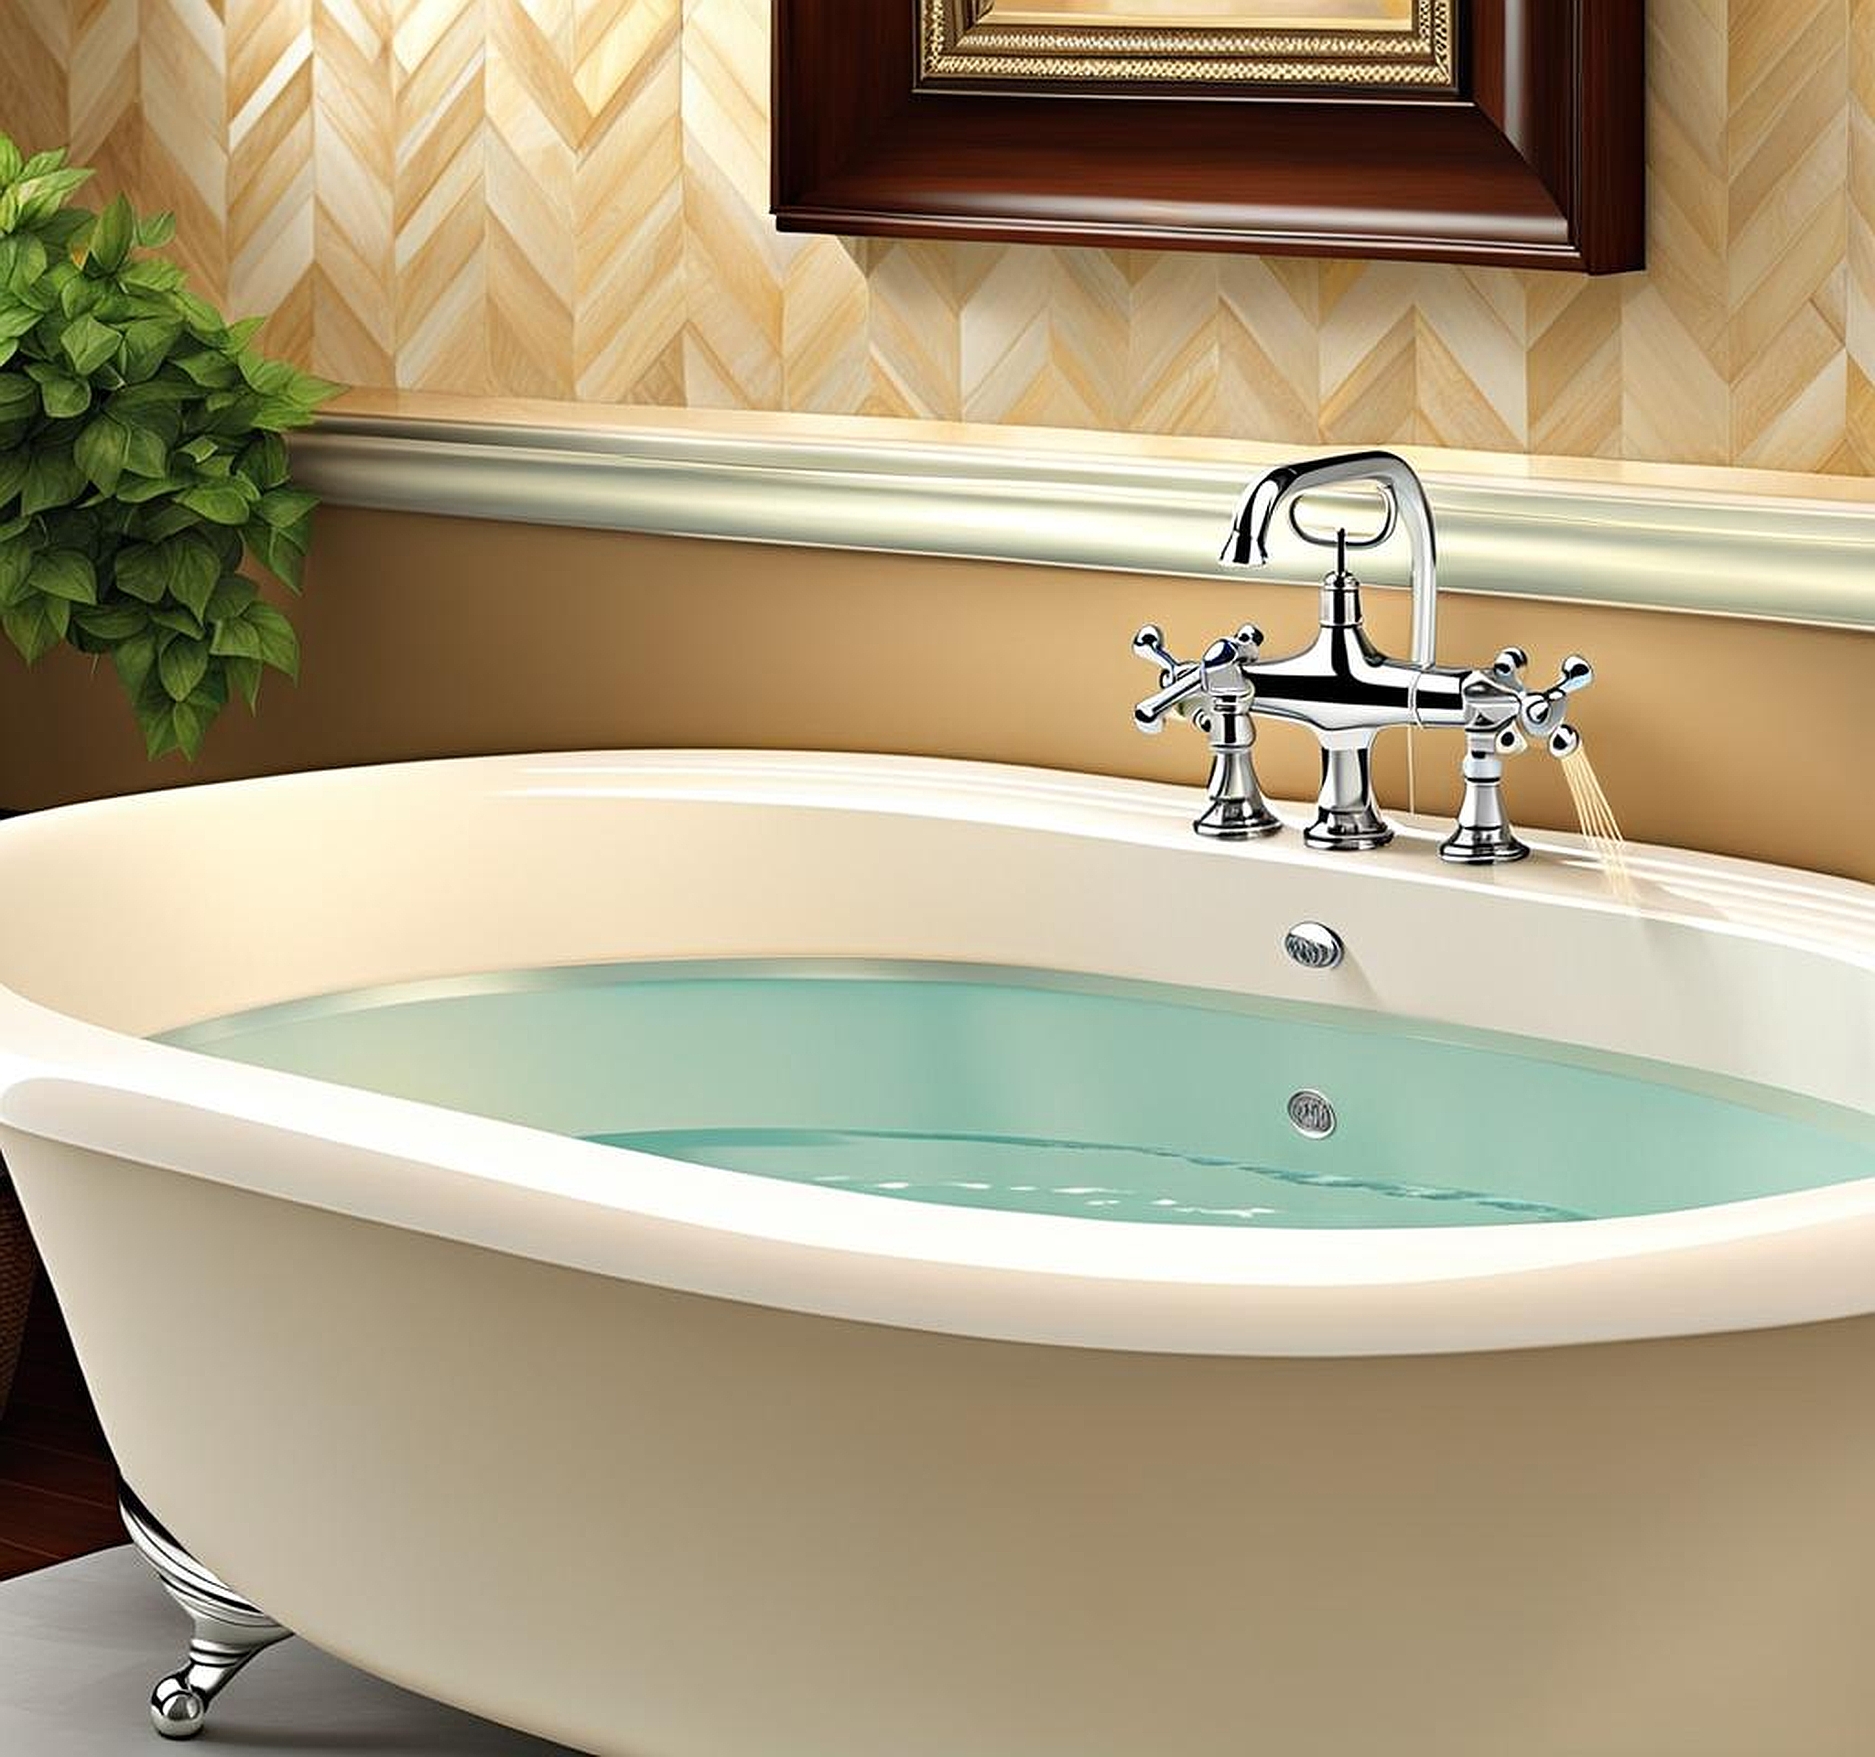
Tackling a stubborn bathtub stopper can be a frustrating experience for any homeowner. Whether you’re dealing with a clog or simply need to clean out your bathtub stopper, knowing how to remove the bathtub stopper is an essential skill. This comprehensive guide will walk you through the process of identifying, removing, and maintaining various types of bathtub stoppers, ensuring a smooth and efficient bathtub experience. Let’s dive into the world of bathtub drain stopper removal and uncover the secrets to keeping your tub in top condition.
Understanding Different Types of Bathtub Stoppers
Before we delve into the nitty-gritty of bathtub stopper removal, it’s crucial to understand the various types of stoppers you might encounter. Each type has its unique mechanism, and identifying your specific model is the first step towards successful removal.
The most common types of bathtub stoppers include:
- Push-and-pull stoppers
- Lift-and-turn stoppers
- Toe-touch stoppers
- Flip-it stoppers
- Pop-up stoppers
- Trip-lever stoppers
Push-and-pull stoppers are straightforward; you simply push them down to close the drain and pull them up to open it. Lift-and-turn stoppers require you to lift and turn the knob to operate. Toe-touch stoppers are convenient as you can open or close them with a tap of your toe. Flip-it stoppers have a small lever that you flip to control the drain. Pop-up stoppers are connected to an overflow plate and are operated by a lever or knob. Lastly, trip-lever stoppers use a lever on the overflow plate to control a plunger inside the drain.
Identifying your stopper type is crucial because the removal process varies for each. Take a close look at your bathtub drain and compare it to images or descriptions of different stopper types. Once you’ve identified your stopper, you can proceed with the appropriate removal method.
Understanding the mechanism behind your bathtub stopper not only aids in removal but also helps in diagnosing issues. For instance, if you’re dealing with a clogged bathtub stopper, knowing its type can help you determine whether the problem lies in the visible parts or deeper within the drain system.
Essential Tools for Bathtub Stopper Removal
Now that we’ve identified the types of bathtub stoppers, let’s gear up with the right tools for the job. Having the proper equipment at hand will make the process of removing bathtub drain stoppers much smoother and prevent potential damage to your plumbing fixtures.
Here’s a list of basic tools you’ll likely need:
- Flathead screwdriver
- Phillips head screwdriver
- Pliers (needle-nose and adjustable)
- Channel-lock pliers
- Drain key or tub drain wrench
- Penetrating oil (like WD-40)
- Cleaning brush
- Vinegar and baking soda (for cleaning)
- Plumber’s tape
- Rubber gloves
For most bathtub stopper removal tasks, a combination of screwdrivers and pliers will suffice. The flathead screwdriver is particularly useful for prying off caps or loosening set screws. Pliers come in handy when you need to grip and turn stubborn parts or remove debris from the drain.
A drain key or tub drain wrench is a specialized tool that can be invaluable when dealing with certain types of stoppers, especially those that are deeply recessed or have unique fittings. If you’re tackling a particularly stubborn or rusted stopper, penetrating oil can help loosen tight connections.
When it comes to cleaning out your bathtub stopper, a sturdy brush and a mixture of vinegar and baking soda can work wonders. These natural cleaning agents are effective at breaking down soap scum and mineral deposits without harsh chemicals.
Safety should always be a priority when working with plumbing fixtures. Wear rubber gloves to protect your hands from sharp edges and potentially harmful bacteria that may be lurking in the drain. If you’re using any chemical cleaners, ensure proper ventilation in the bathroom.
Having these tools ready will prepare you for most bathtub stopper removal scenarios. However, if you encounter a particularly complex or stubborn stopper, don’t hesitate to consult a professional plumber. They have specialized tools and expertise to handle even the most challenging bathtub drain stopper removal tasks.
Step-by-Step Guide to Removing Various Bathtub Stoppers
Armed with knowledge about stopper types and the right tools, we’re ready to tackle the main event: removing bathtub drain stoppers. Let’s break down the process for each common type of stopper, ensuring you can handle whatever your bathtub throws at you.
Removing Push-and-Pull Stoppers:
- Lift the stopper to its fully open position.
- Look for a knob at the top of the stopper and turn it counterclockwise to unscrew it.
- If the stopper doesn’t come out easily, check for a setscrew on the side of the stopper’s post. Use a flathead screwdriver to loosen it.
- Once loosened, lift the entire stopper assembly out of the drain.
Taking Out Lift-and-Turn Stoppers:
- Turn the top knob counterclockwise while holding the stopper body steady.
- If it doesn’t unscrew, look for a small setscrew on the side of the knob. Loosen this with a flathead screwdriver.
- Once the knob is off, you should be able to unscrew the stopper from the strainer crossbar.
- If it’s stubborn, use pliers to grip the base and turn counterclockwise.
Bathtub Drain Stopper Removal for Toe-Touch Mechanisms:
- Ensure the stopper is in the open (up) position.
- Grasp the stopper cap and turn it counterclockwise. It should unscrew from the drain.
- If the entire mechanism doesn’t come out, you may need to unscrew a brass insert from inside the drain using needle-nose pliers.
Removing Flip-It Stoppers:
- Flip the lever to the open position.
- Look for a setscrew on the side of the stopper base. Loosen it with a flathead screwdriver.
- Once loose, the entire stopper should lift out of the drain easily.
Techniques for Pop-Up and Plunger-Type Stoppers:
- Remove the overflow plate on the side of the tub by unscrewing the visible screws.
- Gently pull out the linkage connected to the overflow plate.
- The pop-up stopper should now lift out of the drain easily.
- For plunger types, you may need to twist the stopper while pulling up to release it from the linkage.
Remember, when removing any bathtub stopper, do so gently to avoid damaging the drain or the stopper itself. If you encounter significant resistance, stop and reassess. It may be due to built-up grime or a corroded connection, which might require additional cleaning or lubrication before proceeding.
After successfully removing the stopper, take the opportunity to clean both the stopper and the drain thoroughly. This is an excellent time to address any clogs or buildup that may have been affecting your bathtub’s drainage.
Troubleshooting Common Bathtub Stopper Issues
Even with the knowledge of how to remove bathtub stoppers, you might encounter some common issues that require troubleshooting. Let’s explore these problems and their solutions to ensure you can handle any bathtub drain challenge.
Fixing a Clogged Bathtub Stopper:
A clogged bathtub stopper is often the result of hair, soap scum, and other debris accumulating over time. To address this:
- Remove the stopper following the appropriate method for your stopper type.
- Use a drain claw or plumber’s snake to remove any visible debris from the drain opening.
- For deeper clogs, consider using a mixture of baking soda and vinegar, followed by hot water, to break down the blockage.
- If the clog persists, you may need to use a plunger or call a professional plumber for hydro-jetting services.
Unclogging Bathtub Drain Stopper Mechanisms:
Sometimes, the stopper mechanism itself can become clogged or stuck due to mineral buildup or corrosion. Here’s how to address this:
- Remove the stopper and soak it in a solution of equal parts vinegar and water for several hours.
- Use an old toothbrush to scrub away any remaining debris or buildup.
- For mechanical parts, apply a small amount of plumber’s grease to ensure smooth operation.
- Reassemble and test the stopper to ensure it’s working correctly.
Dealing with Rust or Mineral Buildup:
Rust and mineral deposits can make stopper removal challenging and affect functionality. To combat this:
- Apply a rust penetrant or vinegar to the affected areas and let it sit for several hours.
- Use a wire brush to gently scrub away loosened rust or deposits.
- For stubborn buildup, consider using a commercial lime and rust remover, following the product instructions carefully.
- After cleaning, apply a thin layer of silicone-based lubricant to prevent future rusting.
Addressing Stuck or Broken Stopper Components:
If parts of your stopper are stuck or broken, try these steps:
- For stuck parts, apply penetrating oil and let it sit for 10-15 minutes before attempting to loosen the component.
- If a part is broken, determine if it can be replaced individually or if you need to replace the entire stopper assembly.
- For complex mechanisms like trip levers, consider purchasing a replacement kit that includes all necessary parts.
- When reassembling, use plumber’s tape on threaded connections to ensure a secure fit and prevent future sticking.
By addressing these common issues, you can often restore your bathtub stopper to proper functioning without the need for professional intervention. However, if you encounter persistent problems or feel uncomfortable with any step of the process, it’s always wise to consult a licensed plumber. They can provide expert solutions and ensure that your bathtub drain system is in optimal condition.
Maintaining your bathtub stopper is key to preventing future issues and ensuring a smooth bathtub experience. Regular care can save you time, money, and the frustration of dealing with unexpected problems. Let’s explore some essential maintenance tips to keep your bathtub stopper in top condition.
Regular Cleaning Out of Bathtub Stoppers:
Cleaning your bathtub stopper should be a part of your regular bathroom maintenance routine. Here’s how to do it effectively:
- Remove the stopper at least once a month for a thorough cleaning.
- Soak the stopper in a mixture of warm water and mild dish soap to loosen dirt and grime.
- Use an old toothbrush to scrub away any remaining debris, paying special attention to crevices and moving parts.
- For mineral deposits, soak the stopper in a solution of equal parts white vinegar and water for a few hours before scrubbing.
- Rinse the stopper thoroughly and dry it completely before reinstalling.
Lubricating Moving Parts for Optimal Function:
Keeping the moving parts of your bathtub stopper well-lubricated is crucial for smooth operation:
- After cleaning, apply a small amount of silicone-based lubricant to any moving parts.
- For plunger-type stoppers, lubricate the spring mechanism to prevent sticking.
- If your stopper has a pivot rod, apply lubricant to the rod where it enters the drain pipe.
- Avoid using petroleum-based lubricants as they can degrade rubber components over time.
When to Replace vs. Repair Your Bathtub Stopper:
Knowing when to replace your bathtub stopper can save you from ongoing issues:
- If the stopper shows signs of significant wear, corrosion, or damage, it’s often more cost-effective to replace it entirely.
- For stoppers with replaceable parts, such as gaskets or O-rings, consider replacing these components before opting for a full replacement.
- If your stopper is more than 10 years old and giving you frequent problems, a new model might offer better functionality and easier maintenance.
- When replacing, choose a stopper that matches your drain size and bathtub style for the best fit and performance.
Preventive Measures to Avoid Future Stopper Issues:
Taking proactive steps can significantly reduce the likelihood of future bathtub stopper problems:
- Use a drain cover or hair catcher to prevent hair and debris from entering the drain and clogging the stopper mechanism.
- Avoid using harsh chemical cleaners that can corrode the stopper components. Opt for natural cleaners like baking soda and vinegar instead.
- Teach family members proper usage of the stopper to prevent unnecessary strain on the mechanism.
- Periodically check the water level in your P-trap to ensure it doesn’t dry out, which can lead to odors and potential clogging.
- If you live in an area with hard water, consider installing a water softener to reduce mineral buildup on your plumbing fixtures, including the bathtub stopper.
By implementing these maintenance tips, you can extend the life of your bathtub stopper and ensure it continues to function smoothly. Regular cleaning, proper lubrication, and timely repairs or replacements will not only keep your bathtub in great condition but also prevent the need for more extensive and costly plumbing work in the future.
Remember, a well-maintained bathtub stopper contributes to the overall hygiene and functionality of your bathroom. It prevents water waste, ensures proper drainage, and maintains the aesthetic appeal of your bathtub. With these tips in your homeowner’s toolkit, you’re well-equipped to handle any bathtub stopper challenge that comes your way, ensuring a pleasant and hassle-free bathing experience for years to come.
