Framing an outdoor kitchen is a rewarding project that can transform your backyard into a culinary oasis. This comprehensive guide will walk you through the process of how to frame an outdoor kitchen, from initial planning to final construction. Whether you’re a DIY enthusiast or working with professionals, understanding the fundamentals of outdoor kitchen framing is crucial for creating a durable and functional cooking space that will serve you for years to come.
Planning Your Outdoor Kitchen Frame
Before diving into the construction process, it’s essential to carefully plan your outdoor kitchen frame. This initial stage sets the foundation for a successful project and ensures that your outdoor cooking space aligns with your vision and practical needs.
Understanding the importance of proper framing for outdoor kitchens is the first step. A well-constructed frame provides stability, supports heavy appliances, and protects against the elements. It’s the skeleton of your outdoor kitchen, determining its longevity and functionality.
Assessing your backyard space and determining the ideal location for your outdoor kitchen is crucial. Consider factors such as proximity to your indoor kitchen, views, shade, and wind patterns. You’ll want to create a seamless flow between your indoor and outdoor living spaces while maximizing comfort and convenience.
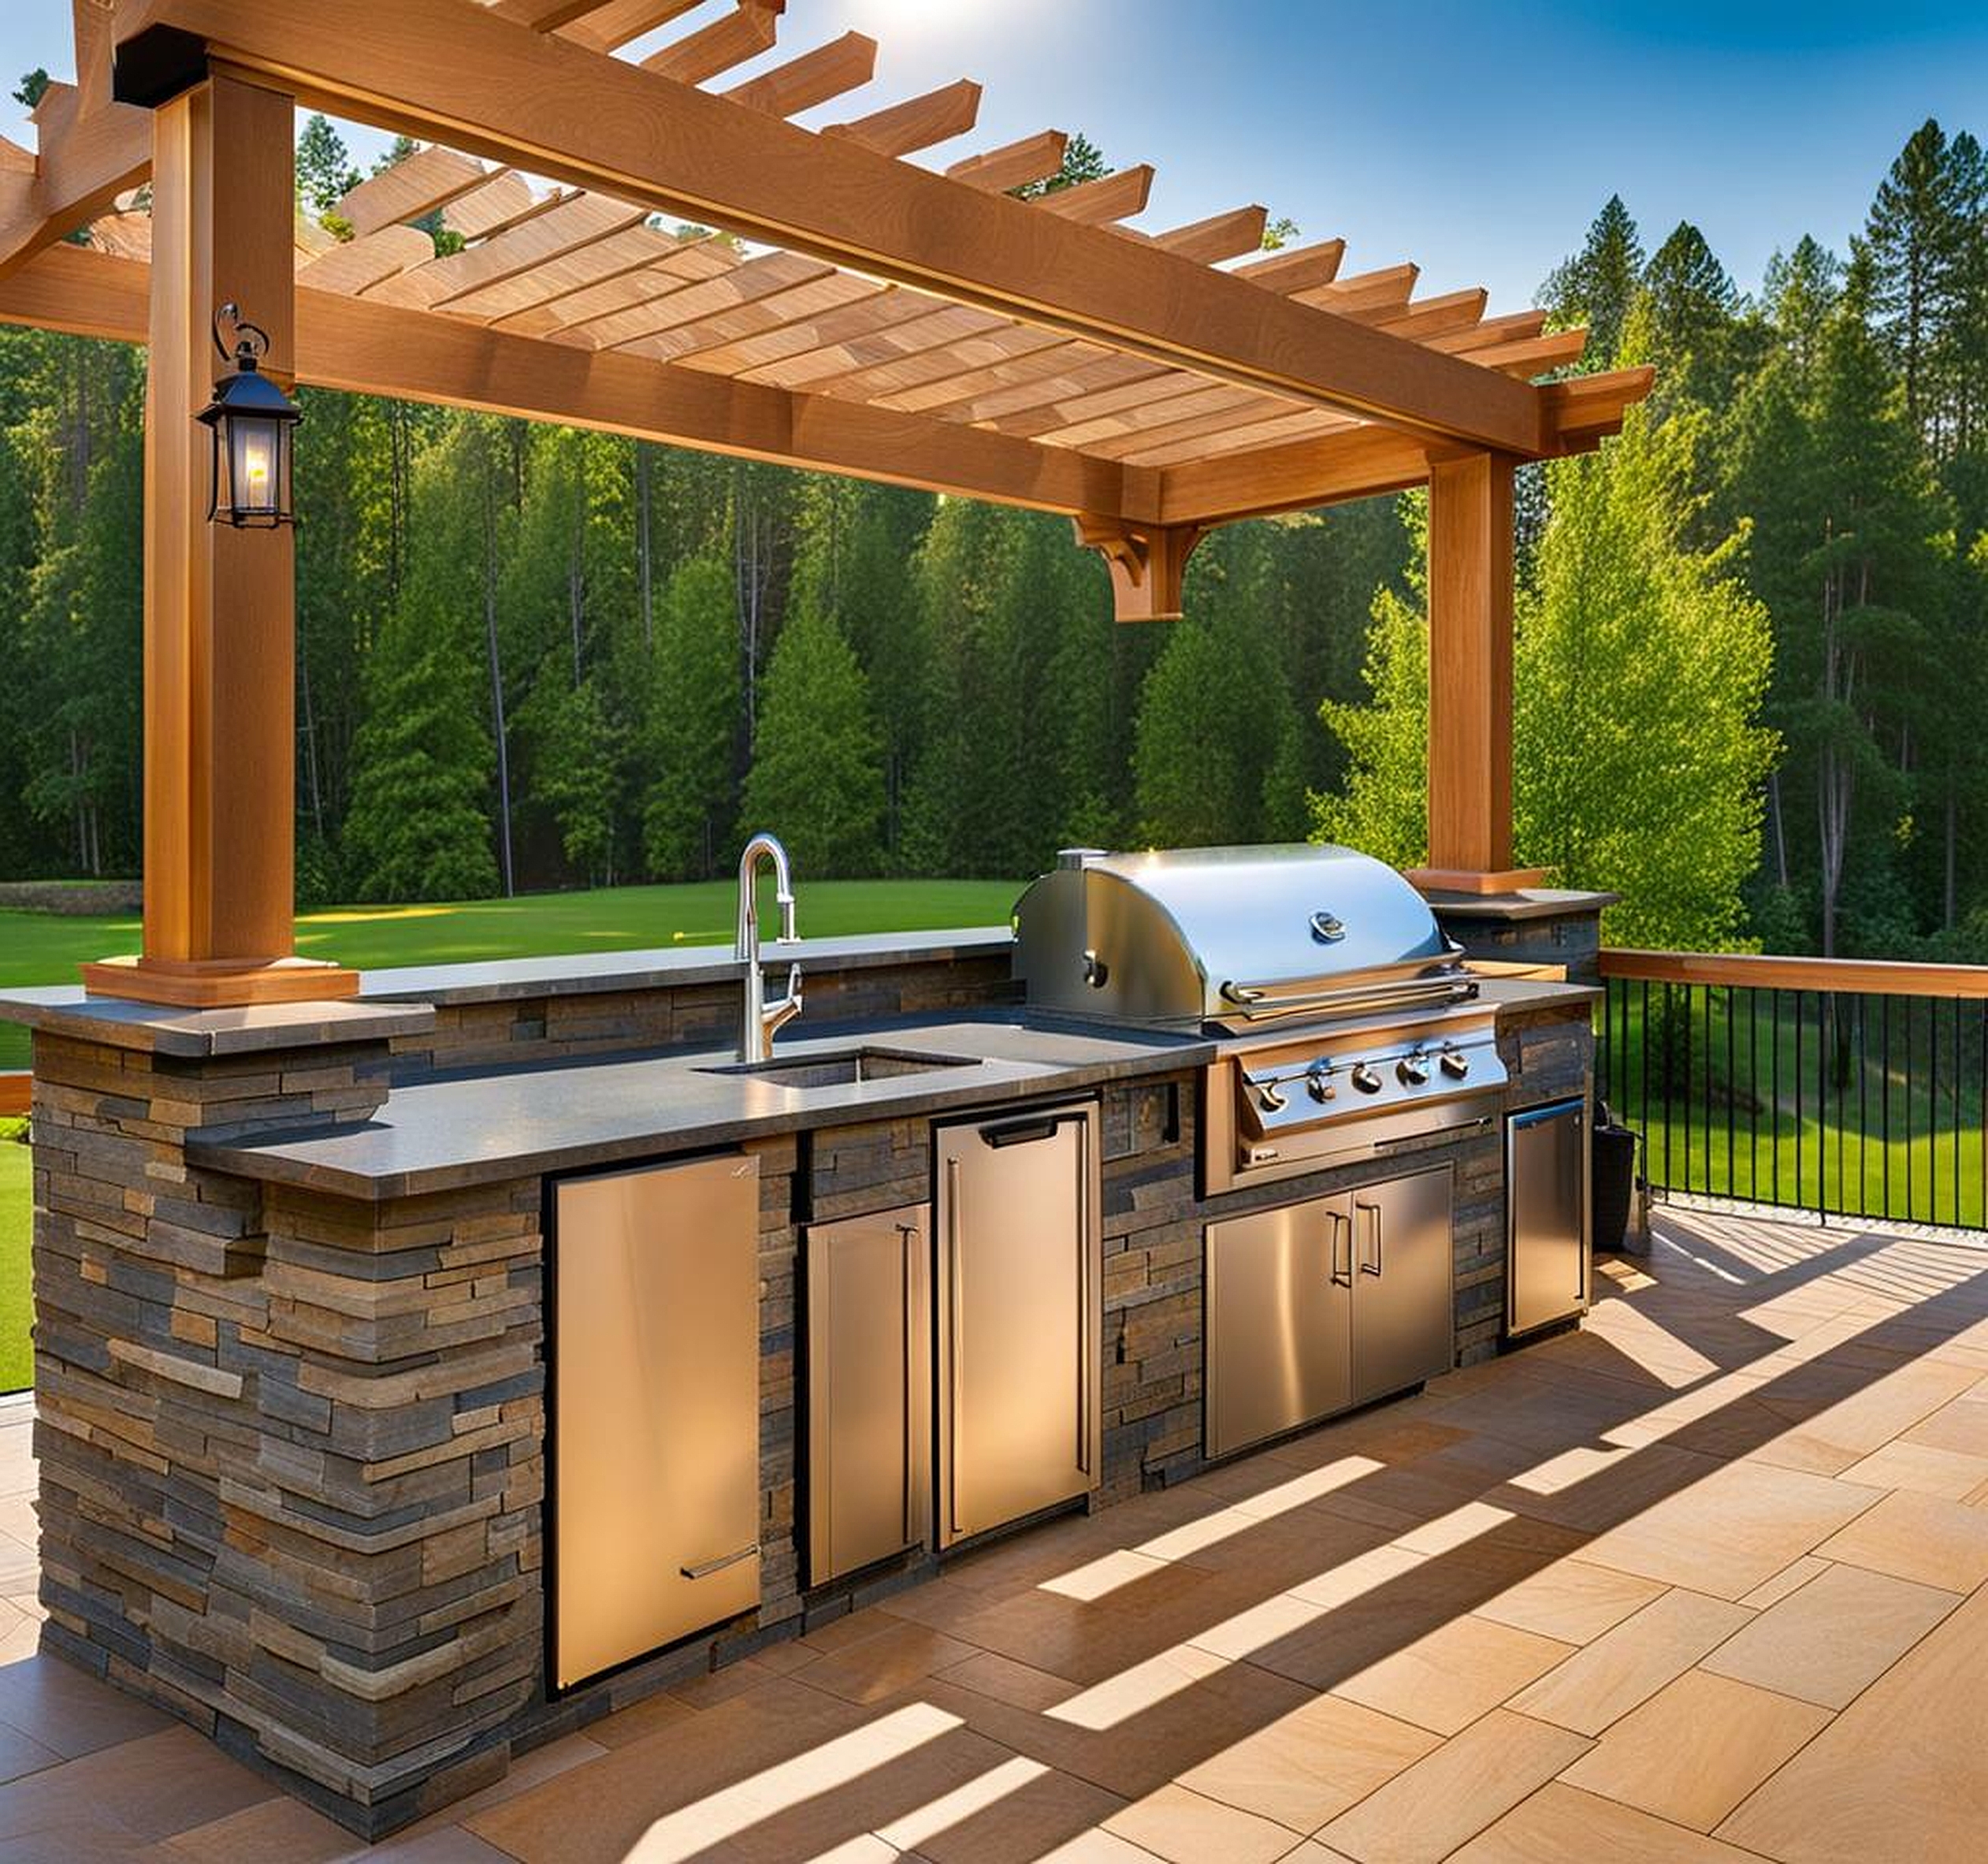
Creating a design plan for your outdoor cooking space is the next critical step. This involves deciding on the layout, size, and features of your kitchen. Will you include a grill, sink, refrigerator, or pizza oven? How much counter space do you need? Sketching out your ideas or using design software can help visualize the final product and identify potential issues before construction begins.
Choosing materials for outdoor kitchen framing is a decision that impacts both aesthetics and durability. Common options include:
- Pressure-treated lumber: Affordable and easy to work with, but requires regular maintenance
- Metal studs: Resistant to rot and insects, ideal for humid climates
- Concrete blocks: Durable and fire-resistant, perfect for supporting heavy countertops and appliances
Each material has its pros and cons, so consider your climate, budget, and design preferences when making your selection.
Lastly, obtaining necessary permits and following local building codes is a crucial step that shouldn’t be overlooked. Building regulations vary by location, and compliance ensures safety and avoids potential legal issues down the line. Check with your local authorities about requirements for outdoor structures, electrical work, and plumbing installations.
Essential Tools and Materials for Framing an Outdoor Kitchen
Proper preparation is key when embarking on an outdoor kitchen construction project. Having the right tools and materials at hand will streamline the framing process and contribute to a professional-quality result.
Let’s start with the essential tools you’ll need for framing your outdoor kitchen:
- Circular saw: For cutting lumber to size
- Level: To ensure your frame is perfectly straight
- Measuring tape: For accurate measurements
- Drill and drill bits: For creating pilot holes and driving screws
- Framing square: To check for 90-degree angles
- Hammer: For general construction tasks
- Safety gear: Including goggles, gloves, and ear protection
As for framing materials, your list will depend on the design and size of your outdoor kitchen, but generally includes:
- Lumber: 2x4s or 2x6s for the frame
- Screws and nails: Various sizes for different applications
- Bolts and washers: For securing the frame to a concrete base
- Concrete anchors: If attaching to an existing concrete slab
- Weather-resistant sealant: To protect wood from moisture
When selecting materials for outdoor kitchen framing, prioritize weather resistance. Your frame will be exposed to the elements, so choose lumber that’s pressure-treated or naturally resistant to decay, such as cedar or redwood. If opting for metal framing, ensure it’s galvanized or powder-coated to prevent rust.
Estimating quantities and creating a budget for your outdoor kitchen construction is a crucial step. Measure your planned kitchen area carefully and calculate the amount of lumber needed for vertical supports, horizontal beams, and countertop framing. Don’t forget to factor in wastage – it’s always better to have a little extra than to run short mid-project.
When budgeting, consider not just the cost of materials but also any tool rentals or professional services you might need. If you’re not comfortable with electrical or plumbing work, for instance, you’ll need to factor in the cost of hiring specialists for those aspects of the project.
Step-by-Step Guide to Framing Your Outdoor Kitchen
Now that we’ve covered planning and materials, let’s dive into the actual process of how to frame an outdoor kitchen. This step-by-step guide will walk you through the construction process, ensuring you build a sturdy and durable frame for your outdoor cooking space.
1. Preparing the ground and creating a level foundation:
Start by clearing the area where your outdoor kitchen will be located. Remove any grass, rocks, or debris. If you’re building on soil, you’ll need to create a level base. This typically involves excavating the area, adding a layer of gravel for drainage, and pouring a concrete slab. If you’re building on an existing patio or deck, ensure it’s sturdy enough to support the weight of your outdoor kitchen.
2. Building the base frame for your outdoor kitchen:
Once your foundation is ready, begin by constructing the base frame. If you’re using wood, start with pressure-treated 2x4s or 2x6s to create a rectangular frame that matches the footprint of your kitchen design. Use a framing square to ensure your corners are at 90-degree angles. Secure the joints with screws or framing nails, and use joist hangers for added strength.
3. Constructing vertical supports and wall frames:
Next, build the vertical supports that will form the walls of your outdoor kitchen. Cut studs to the desired height, typically leaving room for a countertop. Place studs every 16 inches on center for standard framing. Don’t forget to frame out spaces for appliances and utilities. If you’re using metal studs, the process is similar, but you’ll use self-tapping screws instead of nails.
4. Installing horizontal supports and countertop framing:
Add horizontal supports between your vertical studs to provide additional strength and a surface for attaching exterior finishes. For the countertop area, create a sturdy frame that can support the weight of your chosen countertop material. This might involve doubling up on joists or using thicker lumber, depending on your design.
5. Framing for appliance and utility installations:
Carefully measure and frame out spaces for your grill, sink, refrigerator, and any other appliances. Consider access for plumbing and electrical lines. It’s often easier to run these utilities before fully enclosing the frame.
6. Techniques for ensuring square and plumb construction:
Throughout the framing process, continually check that your construction is square (corners at 90 degrees) and plumb (perfectly vertical). Use a level on both vertical studs and horizontal supports. Adjust as necessary before securing joints. This attention to detail will ensure your outdoor kitchen is structurally sound and that finishes and appliances will fit properly.
As we approach the final stages of framing your outdoor kitchen, it’s time to focus on the finishing touches that will protect your structure and prepare it for the next phases of construction. These steps are crucial for ensuring the longevity and functionality of your outdoor cooking space.
Weatherproofing your framed structure is an essential step in outdoor kitchen construction. Even if you’ve used weather-resistant materials, additional protection can extend the life of your frame. Apply a water-resistant sealant to all exposed wood surfaces. For metal frames, touch up any scratches or exposed areas with rust-resistant paint. Pay special attention to joints and areas where water might collect.
Installing sheathing and moisture barriers is the next critical step. Cover the frame with exterior-grade plywood or oriented strand board (OSB) to provide a solid backing for your finishing materials. Over this, apply a weather-resistant barrier such as house wrap. This layer helps prevent moisture from penetrating the frame while allowing any trapped moisture to escape.
Preparing the frame for countertops and finishing materials involves ensuring your structure is level and sturdy enough to support heavy materials like stone or concrete. You may need to add additional support in areas that will bear significant weight. If you’re planning to use tiles for your backsplash, install cement board as a base.
Incorporating storage solutions into your outdoor kitchen design can greatly enhance its functionality. As you finish framing, consider built-in cabinets, shelves, or pull-out drawers. Frame out these areas now to seamlessly integrate them into your final design.
Tips for seamlessly blending your outdoor kitchen with existing patio or deck structures:
- Match materials and colors to create a cohesive look
- Consider sight lines and traffic flow between spaces
- Use consistent lighting schemes to unify the areas
- Incorporate transitional elements like planters or seating areas
Remember, building an outdoor kitchen is a significant project that adds value to your home. Take your time with each step, and don’t hesitate to consult professionals for complex aspects like electrical or plumbing work. With careful planning and execution, you’ll create an outdoor cooking space that you and your family will enjoy for years to come.
By following this comprehensive guide on how to frame an outdoor kitchen, you’re well on your way to creating a beautiful and functional outdoor cooking space. Remember that patience and attention to detail are key throughout the framing process. As you progress, you’ll see your backyard kitchen framing take shape, bringing you closer to those enjoyable outdoor cooking experiences. Whether you’re building a simple grilling station or a fully equipped outdoor room, the principles of proper framing remain the same. Enjoy the process of outdoor kitchen construction, and soon you’ll be ready to add the finishing touches to your new favorite spot for outdoor entertaining.
