Determining the right number of can lights for your room is crucial for achieving optimal illumination. The quantity of recessed lighting fixtures needed depends on various factors, including room size, ceiling height, and intended use. By understanding these elements and following proper lighting design principles, you’ll create a well-lit space that enhances both functionality and ambiance. Let’s explore how many can lights per room you should install to transform your living spaces.
Understanding Can Lights and Their Purpose in Room Illumination
Can lights, also known as recessed lights or downlights, are versatile lighting fixtures that sit flush with the ceiling. These sleek, unobtrusive lights play a vital role in room illumination levels, providing focused beams of light that can enhance the overall ambiance of a space. Their primary purpose is to offer even, widespread illumination while minimizing shadows and glare.
When planning your room lighting layout, it’s essential to consider the various types of can lights available. Some common options include:
- Fixed can lights: These remain stationary and direct light straight down.
- Adjustable can lights: These allow you to tilt the light beam for more targeted illumination.
- Gimbal can lights: These offer even more flexibility, allowing you to rotate and angle the light in multiple directions.
The choice of can light type depends on your specific lighting needs and the room’s purpose. For instance, fixed can lights work well for general lighting in living rooms, while adjustable or gimbal lights are ideal for highlighting artwork or architectural features.
To determine how many can lights per room you need, you must first understand the concept of light output. Can lights are typically measured in lumens, which indicate the amount of light emitted. A standard 60-watt incandescent bulb produces about 800 lumens. However, modern LED can lights can provide the same amount of light using significantly less energy.
For effective room illumination, aim for about 10-20 lumens per square foot in living areas and 70-80 lumens per square foot in task-oriented spaces like kitchens. This guideline helps ensure adequate lighting throughout the room while allowing for adjustments based on personal preferences and specific room requirements.
Factors Influencing the Number of Can Lights per Room
Several key factors come into play when determining the optimal number of can lights for your space. By considering these elements, you’ll create a lighting design that not only meets functional needs but also enhances the room’s aesthetic appeal.
Room size and dimensions: The square footage of your room is a primary factor in calculating how many can lights you need. Larger rooms naturally require more fixtures to achieve even illumination. As a general rule, divide the room’s square footage by 4 to get a rough estimate of the number of 6-inch can lights needed.
Ceiling height: Taller ceilings may require more powerful can lights or a greater number of fixtures to ensure adequate light reaches the floor level. For rooms with high ceilings, consider using can lights with higher lumen outputs or incorporating additional lighting layers, such as wall sconces or floor lamps.
Room function: The intended use of the space greatly influences lighting requirements. For example:
- Living room lighting often combines ambient and accent lighting, requiring a mix of fixed and adjustable can lights.
- Kitchen lighting demands brighter, task-oriented illumination, especially over countertops and work areas.
- Bedroom lighting recommendations typically favor softer, more subdued lighting with dimming capabilities.
Natural light availability: Rooms with ample windows and natural light may require fewer can lights during daytime hours. However, ensure you have sufficient artificial lighting for evenings or overcast days.
Decor and color scheme: Dark-colored walls and furnishings absorb more light, potentially necessitating additional can lights. Conversely, lighter colors reflect light, allowing for potentially fewer fixtures.
Existing light sources: Take into account any other light fixtures in the room, such as table lamps, floor lamps, or pendant lights. These can complement can lights and contribute to the overall lighting scheme.
When planning your can light installation, it’s crucial to consider these factors holistically. A well-designed lighting plan balances functionality with aesthetics, creating a comfortable and visually appealing environment. Remember, the goal is not just to illuminate the space but to enhance its atmosphere and support the activities that take place within it.
Calculating the Optimal Number of Can Lights for Different Room Types
Determining the right number of can lights for various room types involves a combination of mathematical calculations and practical considerations. Let’s break down the process for some common living spaces to help you plan your home lighting effectively.
Living Room:
For a typical living room, aim for about 10-20 lumens per square foot. To calculate the number of can lights:
- Measure the room’s length and width, then multiply to get the square footage.
- Multiply the square footage by the desired lumens per square foot (e.g., 15).
- Divide the total lumens by the lumen output of your chosen can lights.
For example, a 200 sq ft living room aiming for 15 lumens per square foot would need 3,000 total lumens. If using 65-watt equivalent LED can lights that produce 650 lumens each, you’d need approximately 5 can lights.
Kitchen:
Kitchens require brighter lighting, typically 70-80 lumens per square foot. Follow the same calculation method as above, but use the higher lumen value. Additionally, consider task lighting over work areas:
- Install can lights every 4-6 feet along the edges of countertops.
- Place additional can lights over the sink, stove, and other work zones.
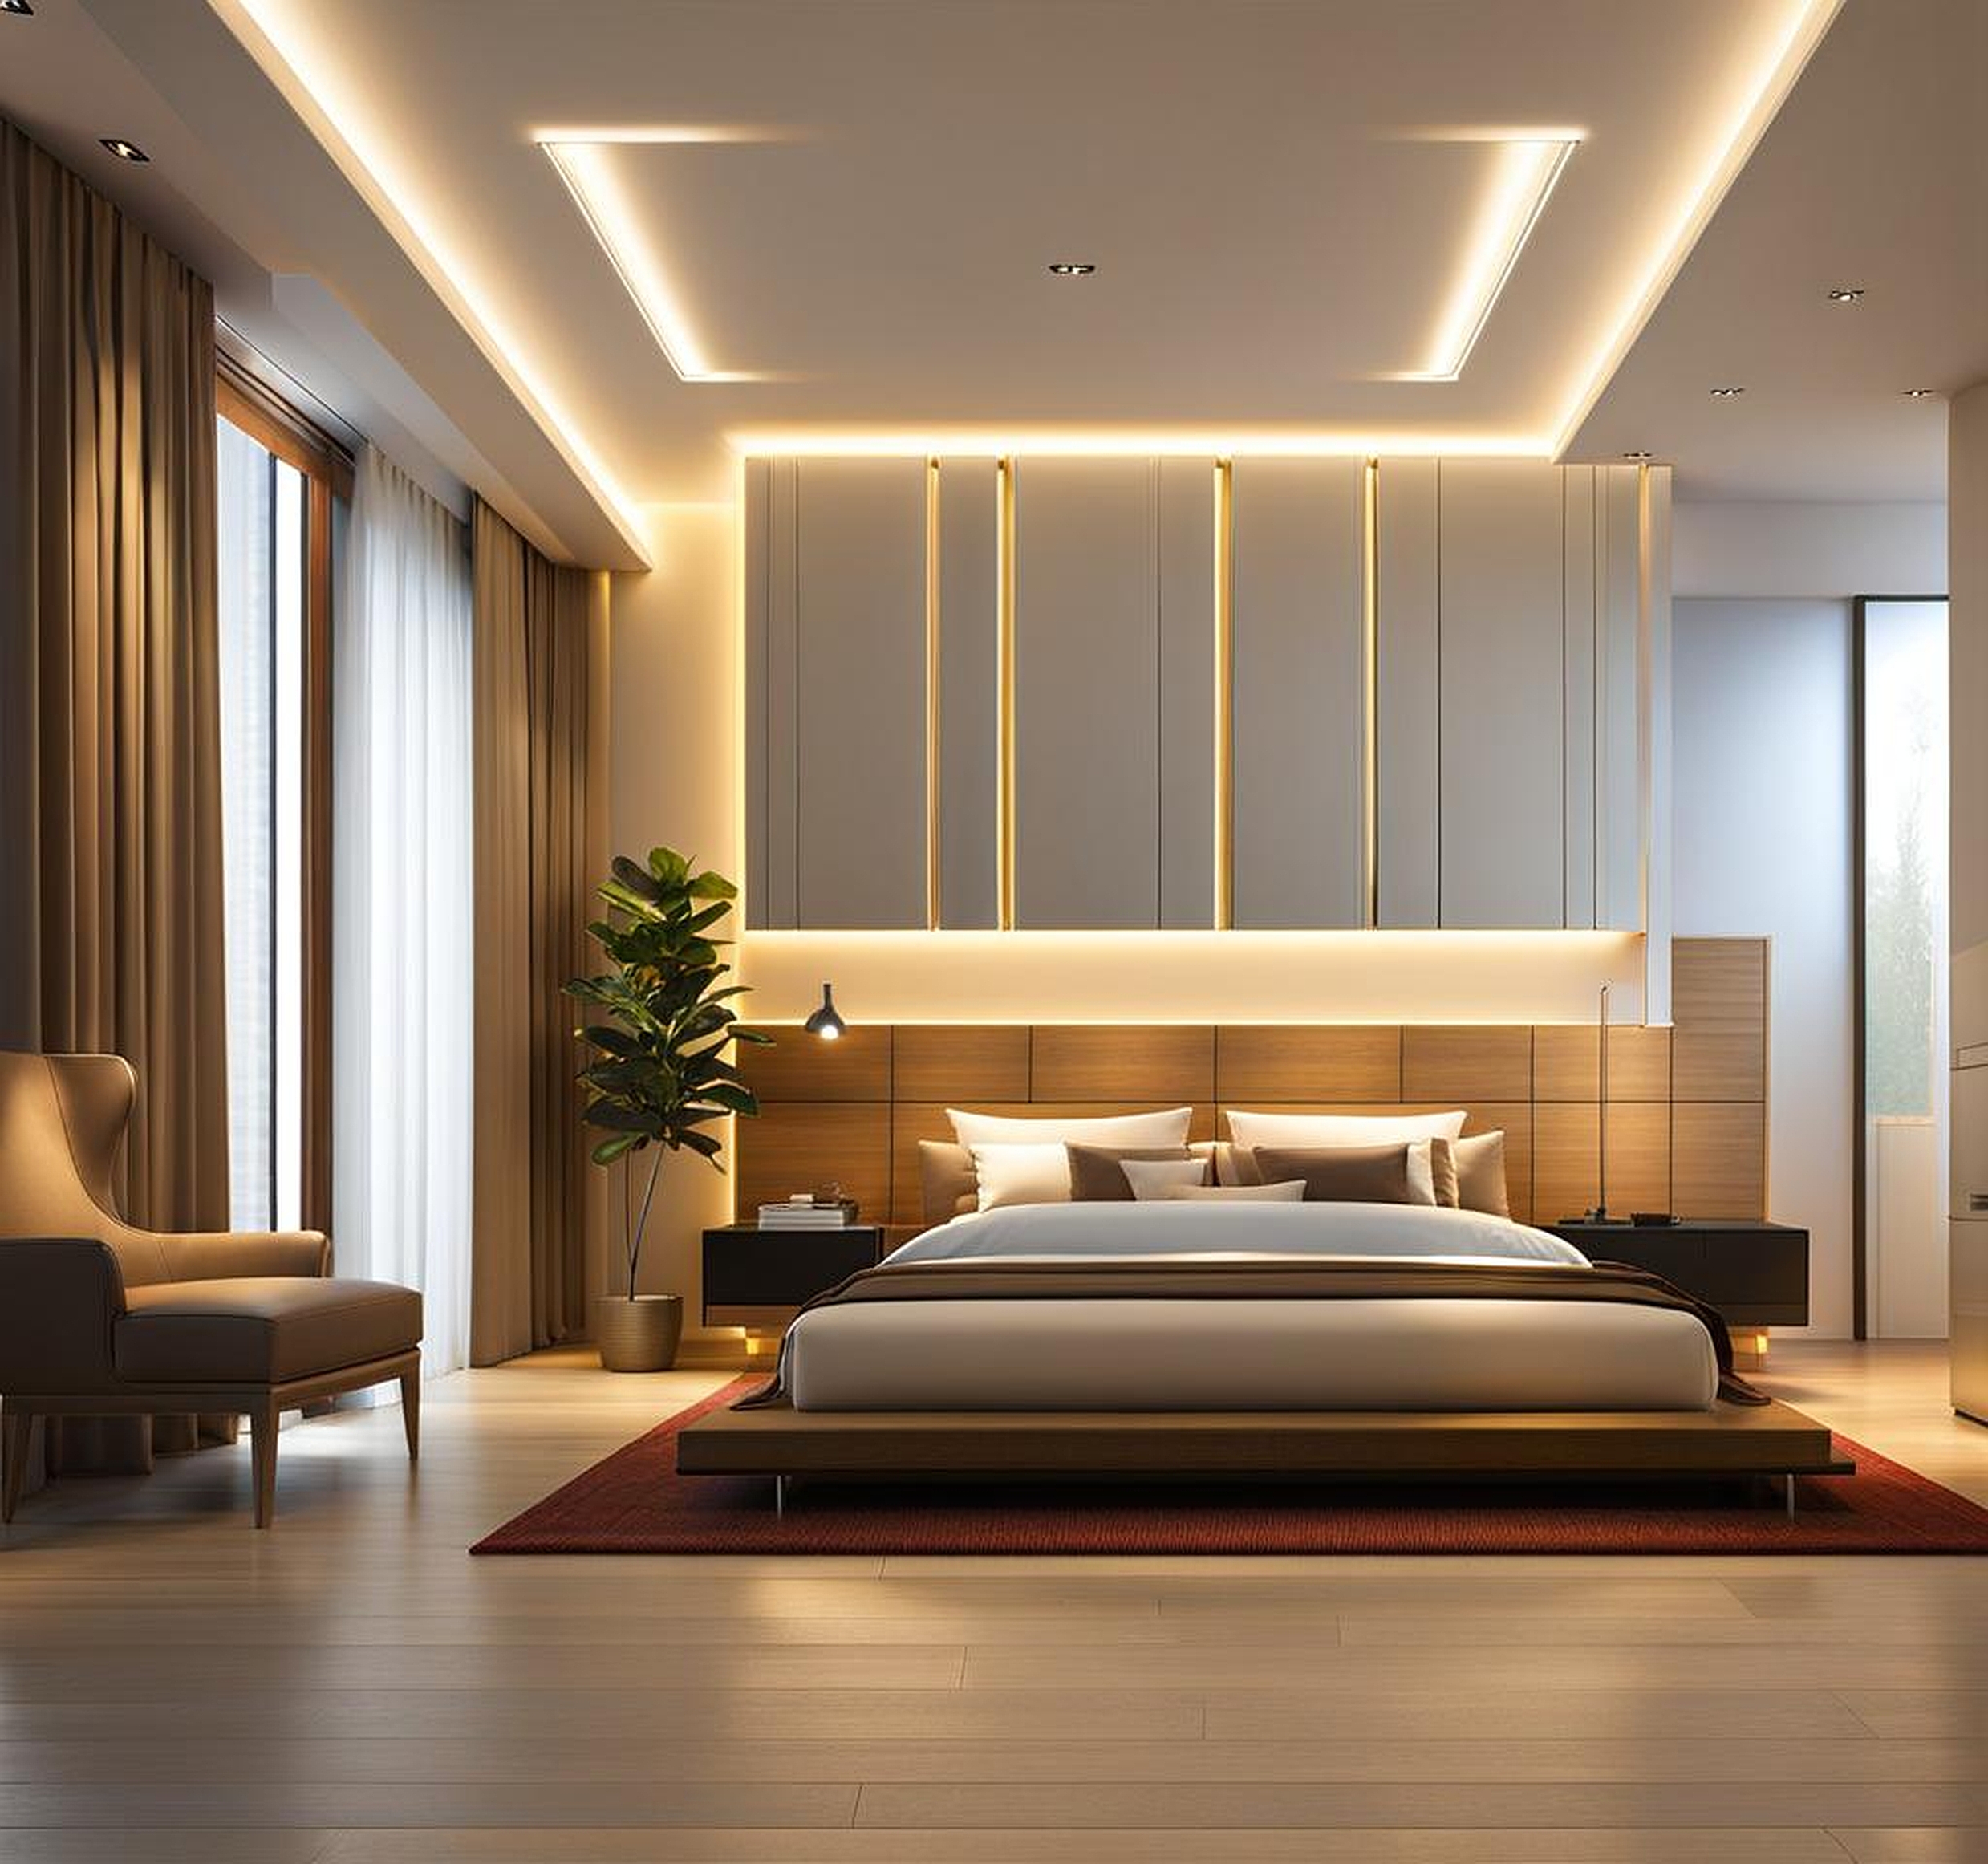
Bedroom:
Bedrooms generally need softer lighting, around 10-20 lumens per square foot. Calculate as you would for a living room, but consider these factors:
- Install can lights around the room’s perimeter for ambient lighting.
- Add focused can lights over reading areas or dressing spaces.
- Include dimmer switches for adjustable lighting levels.
Bathroom:
Bathrooms benefit from layered lighting. Aim for 70-80 lumens per square foot overall, with additional task lighting around the mirror. Consider:
- Placing can lights in the shower or tub area (use wet-rated fixtures).
- Installing can lights on either side of the mirror for even facial illumination.
- Adding a can light directly over the toilet area.
Home Office:
For a productive work environment, aim for 70-80 lumens per square foot. Remember to:
- Position can lights to minimize glare on computer screens.
- Include task lighting over the desk area.
- Consider natural light sources and adjust artificial lighting accordingly.
When calculating can lights per room, always round up to the nearest whole number. It’s better to have slightly more light than not enough. Additionally, consider the beam spread of your chosen can lights. A typical 6-inch can light has a beam spread of about 10 feet. Ensure there’s some overlap between lights to avoid dark spots.
Proper can light placement and spacing are crucial for achieving optimal room illumination levels. By following these best practices, you’ll create a well-balanced lighting design that enhances both the functionality and aesthetic appeal of your space.
General Spacing Guidelines:
- Space can lights approximately 24 to 36 inches away from walls.
- Divide the ceiling height by two to determine the ideal distance between can lights. For example, in a room with 8-foot ceilings, space lights about 4 feet apart.
- Avoid placing can lights directly over furniture pieces, as this can create harsh shadows.
Living Room Can Light Placement:
- Create a perimeter of can lights around the room’s edge for ambient lighting.
- Install additional can lights over seating areas or reading nooks.
- Use adjustable can lights to highlight artwork or architectural features.
Kitchen Lighting Solutions:
- Position can lights 24-30 inches from the wall where upper cabinets meet the ceiling.
- Center can lights between countertops and cabinets for even task lighting.
- Install can lights over the kitchen island, spaced evenly for consistent illumination.
Bedroom Lighting Recommendations:
- Place can lights around the room’s perimeter for gentle, ambient lighting.
- Install adjustable can lights near the closet for better visibility when choosing outfits.
- Consider adding can lights on either side of the bed for reading.
Bathroom Can Light Installation:
- Position can lights on either side of the mirror for even facial illumination.
- Install a can light directly over the shower or bathtub area (use wet-rated fixtures).
- Place a can light over the toilet area for task lighting.
Home Office Lighting Layout:
- Avoid placing can lights directly above computer screens to minimize glare.
- Install can lights slightly behind and to the sides of the desk area for optimal task lighting.
- Use adjustable can lights to illuminate bookshelves or artwork.
When planning your can light spacing, remember to consider the beam angle of your chosen fixtures. Standard can lights typically have a beam angle of 40-60 degrees. To ensure even coverage, aim for a slight overlap of light beams. This approach helps eliminate dark spots and creates a more uniform illumination across the room.
For rooms with unique layouts or architectural features, don’t hesitate to adjust the standard spacing guidelines. The key is to maintain a balance between functional lighting and aesthetic appeal. You might need to place can lights closer together in areas that require more focused illumination, such as over a kitchen island or a reading nook.
Incorporating dimmer switches into your can light installation offers flexibility in controlling light levels. This feature allows you to adjust the room’s ambiance for different activities or times of day. Dimmers are particularly useful in multipurpose spaces like living rooms or in bedrooms where you might want softer lighting in the evening.
Lastly, when planning your ceiling light placement, consider future furniture arrangements. While you can’t predict every layout change, try to create a versatile lighting scheme that will accommodate various room configurations. This foresight can save you from potential dark spots or over-lit areas when you decide to rearrange your space.
By following these best practices for can light placement and spacing, you’ll create a well-lit, inviting environment that enhances both the functionality and visual appeal of your rooms. Remember, effective lighting design is about more than just brightness – it’s about creating the right atmosphere for each space in your home.
