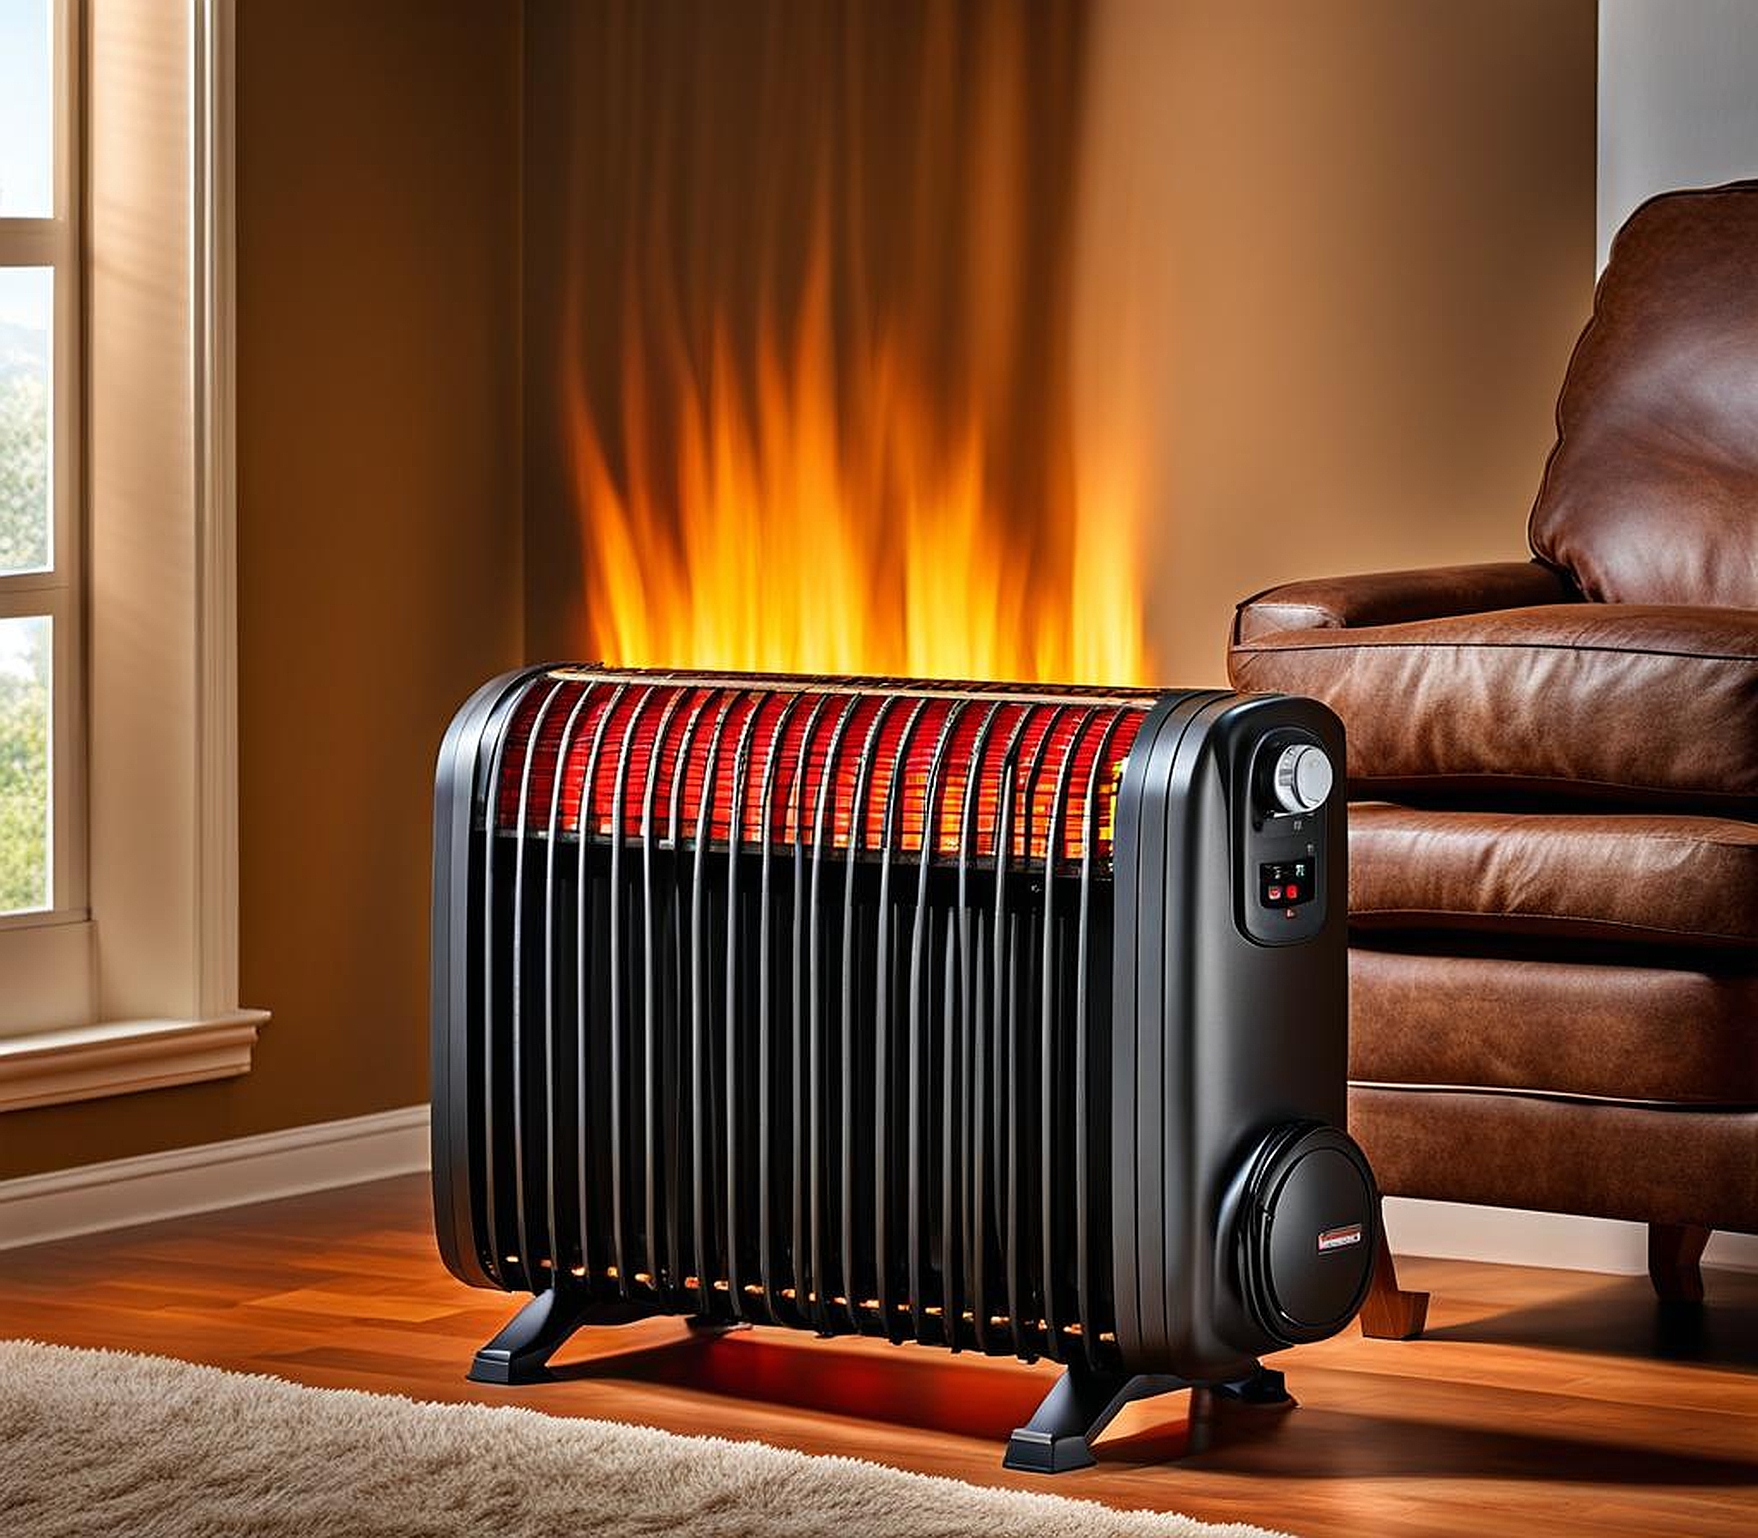
Feeling chilly despite your heater running? You’re not alone. Many homeowners face the frustrating issue of a heater that turns on but produces no heat. This common problem can leave you shivering and wondering what went wrong. Don’t worry – we’ve got you covered with expert tips to diagnose and fix your heater issues. Let’s dive into the causes and solutions to get your home warm and cozy again.
Understanding the Issue: Heater Turns On But No Heat
When your heater turns on but no heat comes out, it can be both puzzling and concerning. This problem often leaves homeowners scratching their heads, wondering why their heating system isn’t performing as expected. To tackle this issue effectively, we need to understand what’s happening behind the scenes.
The core of the problem lies in the disconnect between your heater’s power and its heat output. Your system might be receiving power and turning on, but something is preventing it from producing or distributing warmth throughout your home. This can happen for various reasons, ranging from simple fixes to more complex issues that require professional attention.
One common scenario is when your heater is not giving heat despite running. You might hear the system kick on, but the air coming from your vents remains cool or even cold. This indicates that while the blower motor is working, the heating element or fuel source isn’t activating properly.
Another variation of this problem is when your heater is not hot enough to warm your space effectively. In this case, some heat might be produced, but it’s insufficient to raise the temperature to your desired level. This could be due to issues with the thermostat, airflow problems, or an undersized system for your home’s needs.
Understanding these nuances is crucial because they help pinpoint the potential causes and guide us towards the most effective solutions. As we delve deeper into the common causes and troubleshooting steps, keep in mind that the goal is to restore your heater’s functionality and ensure it produces the warmth you need for a comfortable living environment.
Common Causes of Heaters Not Producing Heat
When your heater is not producing heat, several culprits could be at play. Let’s explore the most frequent reasons behind this frustrating issue:
1. Thermostat Problems: Often, the issue isn’t with the heater itself but with the thermostat. If your thermostat is malfunctioning, it might not send the correct signals to your heating system. This can result in your heater turning on but not actually heating. Check if your thermostat is set to “heat” mode and that the temperature is set higher than the current room temperature.
2. Dirty Air Filters: When air filters become clogged with dust and debris, they restrict airflow. This can cause your heater to work harder without effectively distributing warm air throughout your home. In some cases, a severely clogged filter can cause the system to overheat and shut down as a safety measure.
3. Pilot Light Issues: For gas furnaces, a extinguished pilot light means no heat production. If your heater is not hot, check if the pilot light is on. Modern systems often have electronic ignition instead of a standing pilot light, which can also malfunction.
4. Fuel Supply Problems: If you have a gas heater, issues with the gas supply can prevent heat production. This could be due to a closed gas valve or problems with the gas line. For electric heaters, tripped circuit breakers or blown fuses can interrupt power to the heating elements.
5. Blocked Vents or Ducts: Sometimes, the heater is working fine, but obstructions in your vents or ductwork prevent warm air from circulating. This can give the impression that your heater is not blowing air or that it’s blowing cold air instead of hot.
6. Mechanical Failures: Various components within your heating system can fail, leading to a lack of heat. This includes issues with the blower motor, heat exchanger, or burners. When these parts malfunction, your heater might turn on but fail to produce or distribute heat effectively.
7. Leaky Ductwork: If your ducts have leaks, warm air can escape before reaching your living spaces. This results in your heater running constantly but failing to heat your home adequately.
Understanding these common causes is the first step in diagnosing why your heater turns on but no heat is felt. By identifying the potential source of the problem, you can take appropriate action or decide when it’s time to call in a professional. Remember, some issues, especially those involving gas or electrical components, are best left to qualified technicians for safety reasons.
Troubleshooting Steps for a Heater That’s Not Giving Heat
When you’re faced with a heater that’s not giving heat, it’s time to put on your detective hat and do some troubleshooting. Here are some steps you can take to diagnose and potentially solve the problem:
1. Check Your Thermostat: Start with the basics. Ensure your thermostat is set to “heat” mode and the temperature is set higher than the current room temperature. If you have a programmable thermostat, verify that the schedule is correct. Sometimes, a simple adjustment here can solve the problem.
2. Inspect and Replace Air Filters: Locate your air filter and check its condition. If it’s dirty or clogged, replace it with a new one. This simple step can often restore proper airflow and heat distribution. It’s a good practice to change your filters regularly, typically every 1-3 months, depending on usage and environmental factors.
3. Examine the Pilot Light or Ignition System: For gas furnaces, check if the pilot light is lit. If it’s out, follow the manufacturer’s instructions to relight it. Be cautious and if you smell gas, exit your home immediately and call your gas company. For systems with electronic ignition, listen for clicking sounds that indicate it’s trying to light. If you hear clicking but no ignition occurs, there might be an issue with the ignition system.
4. Look for Tripped Circuit Breakers or Blown Fuses: Check your electrical panel for any tripped breakers related to your heating system. Reset them if necessary. For systems with fuses, check if any have blown and replace them if needed. If breakers trip repeatedly, it’s a sign of a more serious electrical issue that requires professional attention.
5. Verify Fuel Supply: For gas heaters, ensure the gas valve is open. If you have an oil-fired system, check the oil levels in your tank. Running out of fuel is a common reason for heaters not producing heat.
6. Clear Vents and Registers: Walk through your home and make sure all vents and registers are open and unobstructed. Move any furniture or objects that might be blocking airflow. This can help if your heater is not blowing air effectively into your living spaces.
7. Listen for Unusual Noises: Turn on your heating system and listen carefully. Unusual sounds like banging, whistling, or rattling can indicate mechanical issues. While you might not be able to fix these yourself, identifying them can help when you call a professional.
8. Check for Leaks: Inspect visible ductwork for any signs of leaks or disconnections. While you can’t see all your ducts, checking accessible areas can reveal obvious issues. Sealing small leaks with metal tape can improve heat distribution.
9. Bleed Radiators: If you have a hot water heating system, air can sometimes get trapped in the radiators, preventing them from heating up properly. Bleeding the radiators can release this air and restore heat output.
By following these troubleshooting steps, you might be able to identify and even resolve the issue causing your heater to turn on but produce no heat. However, if these steps don’t solve the problem or if you’re uncomfortable performing any of these checks, it’s time to consider professional help. Remember, safety should always be your top priority when dealing with heating systems.
Professional Solutions When Your Heater Blows Cold Air
When your troubleshooting efforts don’t resolve the issue and your heater continues to blow cold air, it’s time to call in the professionals. HVAC technicians have the expertise and tools to diagnose and fix complex heating problems safely and effectively. Here’s what you can expect from professional solutions:
1. Comprehensive System Diagnosis: A qualified technician will perform a thorough inspection of your entire heating system. This includes checking the thermostat, inspecting electrical connections, examining the heat exchanger, and testing the blower motor. They’ll use specialized equipment to detect issues that aren’t visible to the naked eye.
2. Thermostat Calibration or Replacement: If the thermostat is found to be faulty, the technician may recalibrate it or recommend a replacement. Modern, programmable thermostats can not only solve your current issue but also improve your system’s efficiency.
3. Burner and Ignition System Repair: For gas furnaces, professionals can clean or repair burners and ignition systems. This might involve adjusting the gas pressure, cleaning the burners, or replacing faulty ignition components to ensure your heater produces heat consistently.
4. Heat Exchanger Inspection and Repair: A cracked heat exchanger is a serious issue that can lead to carbon monoxide leaks. HVAC professionals have the tools to detect these cracks and can either repair or replace the heat exchanger as needed.
5. Blower Motor Servicing: If your heater is not blowing air properly, the blower motor might be the culprit. Technicians can lubricate, repair, or replace the motor to restore proper airflow.
6. Ductwork Inspection and Sealing: Professional duct inspection can reveal leaks or disconnections that you might have missed. They can seal leaks and insulate ducts to improve heat distribution throughout your home.
7. Electrical Component Repair: For issues related to electrical components, such as capacitors, contactors, or circuit boards, professionals can safely diagnose and replace these parts.
8. Refrigerant Leak Detection and Repair: If you have a heat pump system, low refrigerant levels can cause it to blow cold air. HVAC technicians can detect and repair leaks, then recharge the system with the correct amount of refrigerant.
9. System Upgrade Recommendations: In some cases, particularly with older systems, the most cost-effective solution might be to upgrade your heating system. Professionals can provide recommendations based on your home’s needs and your budget.
10. Safety Checks: HVAC technicians will perform important safety checks, especially for gas systems, to ensure there are no carbon monoxide leaks or other hazardous conditions.
Remember, attempting to repair complex heating issues without proper training can be dangerous and may void your warranty. Professional solutions not only fix the immediate problem but can also identify potential future issues, improving the longevity and efficiency of your heating system. When your heater is not producing heat despite your best efforts, don’t hesitate to call in the experts for a safe and lasting solution.
The best way to deal with heating problems is to prevent them from occurring in the first place. Regular maintenance can keep your heater running efficiently, reduce the likelihood of breakdowns, and extend the life of your system. Here are some preventive measures you can take to avoid future heater issues:
1. Schedule Annual Professional Maintenance: Have a qualified HVAC technician inspect and service your heating system before the cold season begins. They can catch potential problems early and ensure all components are working correctly.
2. Change Air Filters Regularly: Mark your calendar to replace air filters every 1-3 months, depending on usage and environmental factors. Clean filters improve air quality and prevent your system from working harder than necessary.
3. Keep Vents and Registers Clear: Regularly check that furniture, curtains, or other objects aren’t blocking your vents and registers. This ensures proper airflow and prevents your heater from overworking.
4. Monitor Your Thermostat: Pay attention to how your thermostat performs. If you notice inconsistent temperatures or the need for frequent adjustments, it might be time for a replacement or recalibration.
5. Insulate Your Home Properly: Good insulation helps maintain indoor temperatures, reducing the workload on your heating system. Check for drafts around windows and doors, and add insulation to your attic if needed.
6. Clean Around Your Outdoor Unit: If you have a heat pump, keep the area around your outdoor unit clear of debris, leaves, and snow. This helps maintain proper airflow and system efficiency.
7. Listen for Unusual Noises: Familiarize yourself with the normal sounds of your heating system. If you start hearing unusual noises, address them promptly before they escalate into bigger problems.
8. Check Carbon Monoxide Detectors: If you have a gas heating system, ensure your carbon monoxide detectors are working correctly. Replace batteries annually and the entire unit every 5-7 years.
9. Maintain Consistent Temperatures: Avoid frequently adjusting your thermostat to extreme temperatures. Maintaining a consistent, comfortable temperature puts less stress on your system.
10. Educate Yourself: Learn about your specific heating system. Understanding how it works can help you identify potential issues early and communicate more effectively with HVAC professionals when needed.
By implementing these preventive maintenance steps, you can significantly reduce the chances of facing a situation where your heater turns on but no heat is produced. Regular care not only ensures a warm and comfortable home but also leads to energy savings and a longer lifespan for your heating system. Remember, a little attention now can prevent major headaches and expenses down the road.
