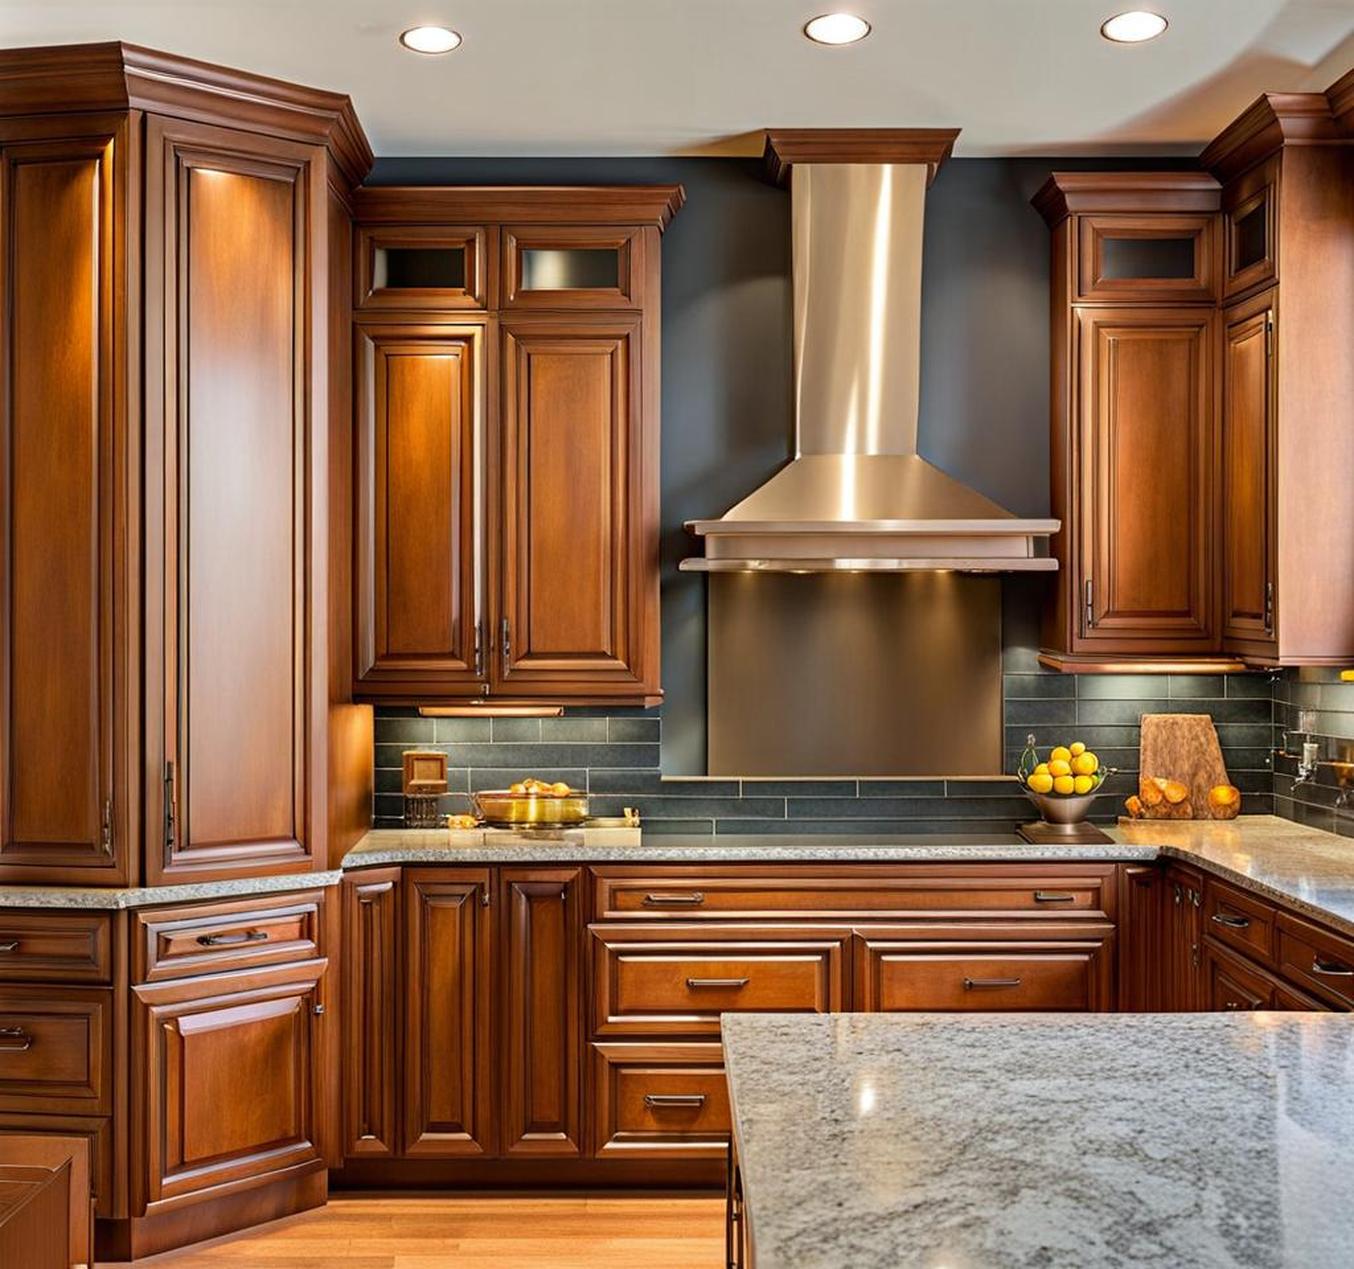
Is your kitchen looking tired and dated? Do your cabinets show wear and feel dreary? Instead of embarking on a pricey remodel, consider giving your existing cabinets a makeover with stain. Staining can revive dull woodgrain and transform the entire look of your kitchen in just a weekend. With the right prep and staining techniques, you can achieve gorgeous, long-lasting results. This comprehensive guide will walk you through how to properly prepare your cabinets, choose a complementary stain, apply it like a pro, and add protective topcoats for a flawless finish. Read on to learn insider tips for staining success and complete instructions to refresh your kitchen cabinets affordably.
Staining offers an easy and budget-friendly alternative to replacing your cabinets entirely. Just a few coats of rich, bold stain can update the color and disguise signs of wear. Staining also enhances the natural beauty of the wood, highlighting the knots and grains. Unlike painting which covers the natural wood, stain penetrates deep into the surface to accentuate its character. With far less mess and disruption than a full remodel, you can quickly change the look of your kitchen just by altering the stain color. Follow this guide for foolproof steps to achieve stunning results.
Assessing Your Cabinets for Staining
Before beginning any staining project, start by examining the current condition of your cabinets closely. Look for signs of damage like cracks, chips, or peeling finishes. Inspect to see if the doors operate smoothly and check for any loose hinges or hardware. Repair minor flaws using wood filler before starting. However, cabinets with extensive deterioration or water damage may require full replacement.
Identify what type of wood your cabinets are made from. Typical kitchen cabinet woods include oak, cherry, maple, hickory, and birch. Knowing the exact species is helpful for choosing the ideal stain color and finish. For instance, maple absorbs stain differently than oak. You can bring a sample of the wood to your local hardware store for identification. The grain pattern can also provide clues about the wood type.
Be sure to test your selected stain color on a hidden spot before committing to the entire kitchen. An area inside a cabinet or on the cabinet back works well. Check how the stain adheres and if any blotchiness occurs after drying. Testing first gives you a preview of the color and final result before you begin.
Cleaning Cabinets Prior to Staining
Thorough cleaning before staining is a must for proper adhesion and an evenly saturated finish. Grease, dirt, or residue left on the cabinet surface will block stain penetration. Use a degreaser like TSP substitute mixed with warm water to cut through built-up grime. Scrub all surfaces with a cloth, paying extra attention to the cabinet frame and doors. Rinse thoroughly and let the cabinets dry completely before sanding.
Sanding Cabinets for Staining Prep
Lightly sanding the cabinets smooths the existing finish so stain can properly adhere. Use 120-150 grit sandpaper and sand in the direction of the wood grain. Work in sections, sanding doors and frames individually. Remove all sanding dust with a vacuum and tack cloth. Proper sanding provides the ideal porous surface the stain needs to soak into the wood.
Choosing the Right Stain for Your Cabinets
With countless stain options on the market, selecting the right one for your kitchen can feel overwhelming. But armed with the right information, you can zero in on a stain that achieves your desired color and style.
First, gather inspiration photos of kitchens with finishes you love. Note colors and styles that appeal to you before visiting the stain aisle. Next, decide if you want to match your existing cabinet color or go bold with something dramatically different. An undated but cohesive look usually works best.
Familiarize yourself with the types of stains available:
- Penetrating stains – thin, absorb deeply into wood
- Wiping stains – thicker, sit on surface with color control
- Gel stains – thick consistency, build to bold colors
Also determine if the stain has an oil or water base. Oil-based products provide richer color but require mineral spirits for cleanup. Water-based options are lower in odor but may raise the wood grain more. Purchase a few sample sizes to test colors and types on your actual cabinets. Seeing how the stain looks and applies is extremely helpful before purchasing a full quart.
Staining Your Cabinets for a Fresh Look
Once you have selected the perfect stain, you are ready to begin the transformation. Work in manageable sections, completing one cabinet frame and set of doors before moving to the next. Lay down dropcloths and remove hardware and doors before starting. Follow all safety precautions when working with chemical wood stains.
Applying Oil-Based Stain
Use a high-quality natural bristle stain brush to apply oil-based stains. Maintain a wet edge as you work in smooth, even strokes along the wood grain. Allow the stain to penetrate the surface for 5-10 minutes. Then use a clean lint-free cloth to gently wipe away any excess. Applying too much pressure can remove too much stain from porous areas. Allow proper drying time before adding additional coats to achieve your desired color.
Using Gel Stain
Gel stains offer rich, opaque color perfect for dramatic transformations. Use a foam stain applicator brush to sweep gel stain across the wood in thin, even layers. Allow each coat to dry fully before adding another. Three or more coats may be needed for full color saturation. Avoid over-brushing gel stains as they sit on the surface.
Here are some key tips for staining success:
- Always test stain on a sample board or hidden spot first
- Stir stain thoroughly before and during application
- Wipe in direction of the wood grain for an even finish
- Apply when temperatures are between 50-90degF
- Work in proper ventilation and allow ample drying time
With patience and proper technique, staining can give your cabinets dramatic visual impact. Continue applying coats until the luster, color saturation, and intensity meet your vision.
Applying Protective Topcoats
The final step after the stain is dry is sealing it with protective topcoats. Not only do they safeguard your stained finish, they also enhance the depth of color and provide further durability. Polyurethane is the best sealant for kitchen cabinets, as it strongly protects against grease, spills, and moisture. Opt for oil-based polyurethane for the most water-resistant barrier.
Choose between satin, semi-gloss, and matte sheens. Satin offers a nice compromise between shine and durability. As with staining, work in small sections to apply the topcoats. Use a good quality synthetic bristle brush to brush on thin, even layers. Allow proper drying time between coats, then lightly sand with fine grit sandpaper to ensure adhesion. Typically two to three coats of polyurethane sufficiently seal and protect stained cabinets.
Caring for Your Stained Cabinets
While polyurethane provides exceptional protection, take steps to prolong your stained finish:
- Use cabinet liners and coasters under hot pans
- Immediately clean up spills and splatters
- Avoid harsh cleaners or abrasive pads
- Consider DIY touch-up if stain shows wear
Reinstalling Doors and Drawers
Once the stain and sealant have fully cured, reattach the cabinet doors, drawers, and hardware. Take care not to bump or scratch the still-tender finish. Use helpers and move carefully. Refer to manufacturer’s guidelines for reinstalling specific hardware pieces. Finally, stand back and admire your beautifully refreshed, updated kitchen cabinets!
staining kitchen cabinets is an easy project to do. Proper cleaning, sanding, stain types, and application techniques all impact the outcome. Sealants like polyurethane lock in the rich color and offer protection. Invest the time to properly prepare cabinets for staining and carefully apply coats for a flawless, long-lasting finish. The transformed look can make your entire kitchen feel brand new without the price tag!
