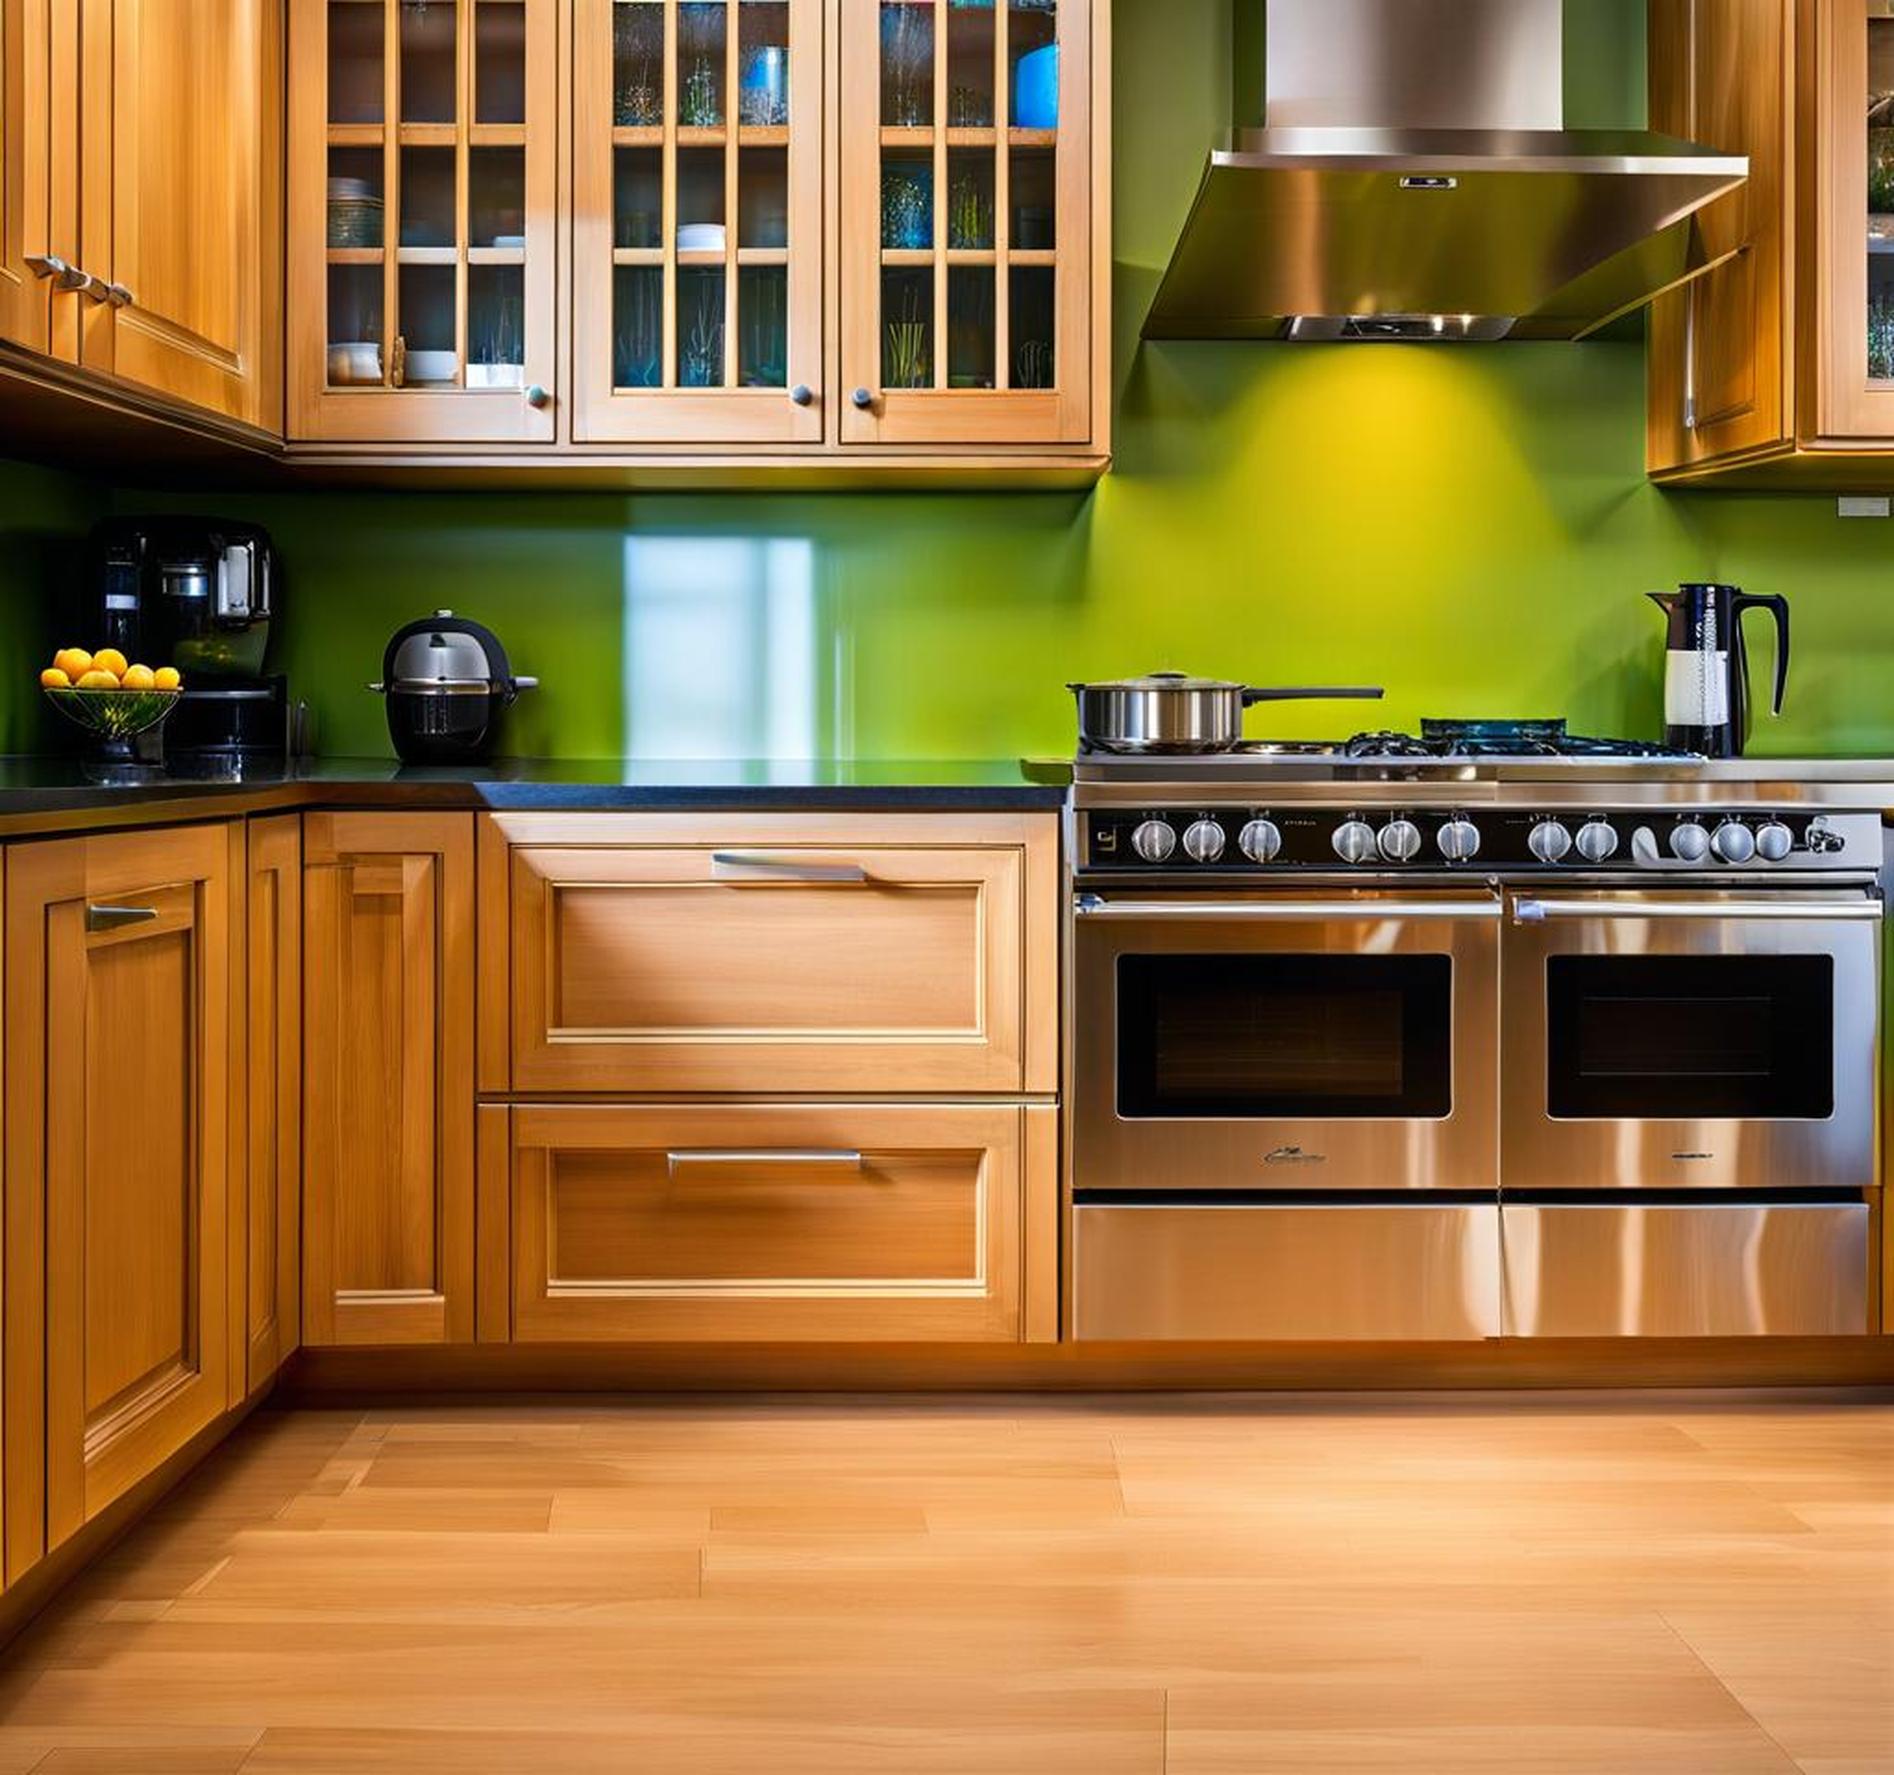
If you’ve noticed warping, cracks, or other damage on your kitchen cabinet’s bottom panel, it may be time for a replacement. This horizontal panel at the base of the cabinet plays an important role in structural support and moisture protection. Replacing it properly will restore strength and prevent further water damage or pest infestations behind your cabinets. Read on for essential advice on selecting materials, removing old panels, installing new ones, and adding the perfect finishing touch.
Before you begin, understand that bottom panels bear weight and take abuse. Constructed of plywood or medium density fiberboard (MDF), they must stand up to spills, kicking feet, and more. Although unseen, they impact durability and your kitchen’s lifespan.
Knowing When You Need a New Bottom Panel
Because bottom panels are hidden, damage often goes unnoticed until it’s quite severe. Signs you need a new one include:
- Visible water damage or rotting from leaks
- Warping, large cracks or holes
- Evidence of pests entering through crevices
Even if you cover your bottom panel with a decorative fascia or separate plinth strip, extensive damage can undermine the cabinet’s integrity. Addressing issues early prevents more headaches down the road.
Choosing the Right Replacement Material
When selecting a new bottom panel, choose moisture-resistant plywood or MDF in the same thickness as your original cabinet floor. Consider whether you’ll add trim molding later; if not, a pre-finished panel creates a tidier interior.

Plywood vs. MDF: Know the Differences
Plywood offers exceptional strength and water resistance. But MDF (compressed wood fibers) costs less while resisting warping. Both plywood and MDF come pre-finished or bare. If you’ll add trim or won’t see the base, bare versions help cut costs.
Matching Your Cabinet’s Finish
Ideally your new bottom should match or coordinate with existing cabinet materials and stain/paint. For an exact match, bring an intact floor section when buying replacements. Or opt for neutral bare wood to support diverse styles.
Consider Moisture-Resistance
Since bottom panels confront leaks, spills and high moisture, choose water-resistant plywood rated “Exterior” for maximum durability. Pressure-treated lumber also deters water damage. Such features buy peace of mind after you’ve completed this fix.
Removing the Old Bottom Panel
Start panel replacement by emptying the cabinet and detaching doors, drawers and any hardware or decorative front panels. Then pry or angle-grind away the damaged floor:
- Using a pry bar and hammer, pull away the panel, nails and all.
- Inspect for further damage like mold or pest infestations.
- Use wood filler and allow to dry before installing the new panel.
Removing adjacent panels may make it easier to position the new piece.
Preparing and Installing Your New Panel
With the old bottom panel discarded, shift focus to the new one:
- Measure twice to ensure a precision fit.
- Use a circular saw or table saw for any necessary cuts.
- Sand cut edges softly to remove sharpness.
- Stain, prime and paint new MDF or plywood as needed.
- Apply wood glue generously before placing into position.
- Nail the panel firmly around the perimeter and let glue dry.
If your new panel feels unsteady or develops gaps, shim underneath as needed to stabilize it prior to fastening. Take care aligning edges to existing cabinetry.
A Green Alternative Emerges
As environmental awareness grows, sustainable bamboo offers an eco-friendly alternative bottom panel material. Renewably harvested every 3 to 5 years without replanting, bamboo resists moisture beautifully. It machines similarly to wood yet performs comparable to steel in tensile strength tests. Though costlier than wood, bamboo eliminates the glues utilized in composites like MDF or particleboard.
Achieving a Polished Finish
While you can leave new bottom panels unfinished, adding trim lends a complete, built-in look:
- Attach trim pieces or molding with wood glue and finish nails.
- Install a separate plinth facia along the cabinet’s bottom edge.
- Caulk gaps to prevent moisture and pest intrusion.
- Complete with paint or stain touch ups for seamlessness.
If your budget allows, choose a fully finished panel plus coordinated trim or facia strips. The small effort to conceal bottom edges keeps your new flooring pristine.
Your kitchen makeover isn’t over yet! Protect that fresh panel installation with these proactive steps:
- Stick on clear laminate sheets to guard from spills.
- Seal all plumbing joints behind appliances with caulk.
- Plug cracks along walls, around pipes and any openings.
- Promote ventilation to discourage condensation buildup.
- Level floors to prevent puddles near cabinet bases.
Catch problems early and maintain watertight joints to help your updated bottom panel last. Invest a little now in prevention, and dodge big headaches later.
Revitalizing your kitchen cabinets starts below, as replacing worn-out bottom panels impacts aesthetics, functionality and value. Heed these tips for choosing perfect materials, expert installation and achieving durable results. With a little know-how, you can conquer this fix and enjoy renewed storage space for years more.
