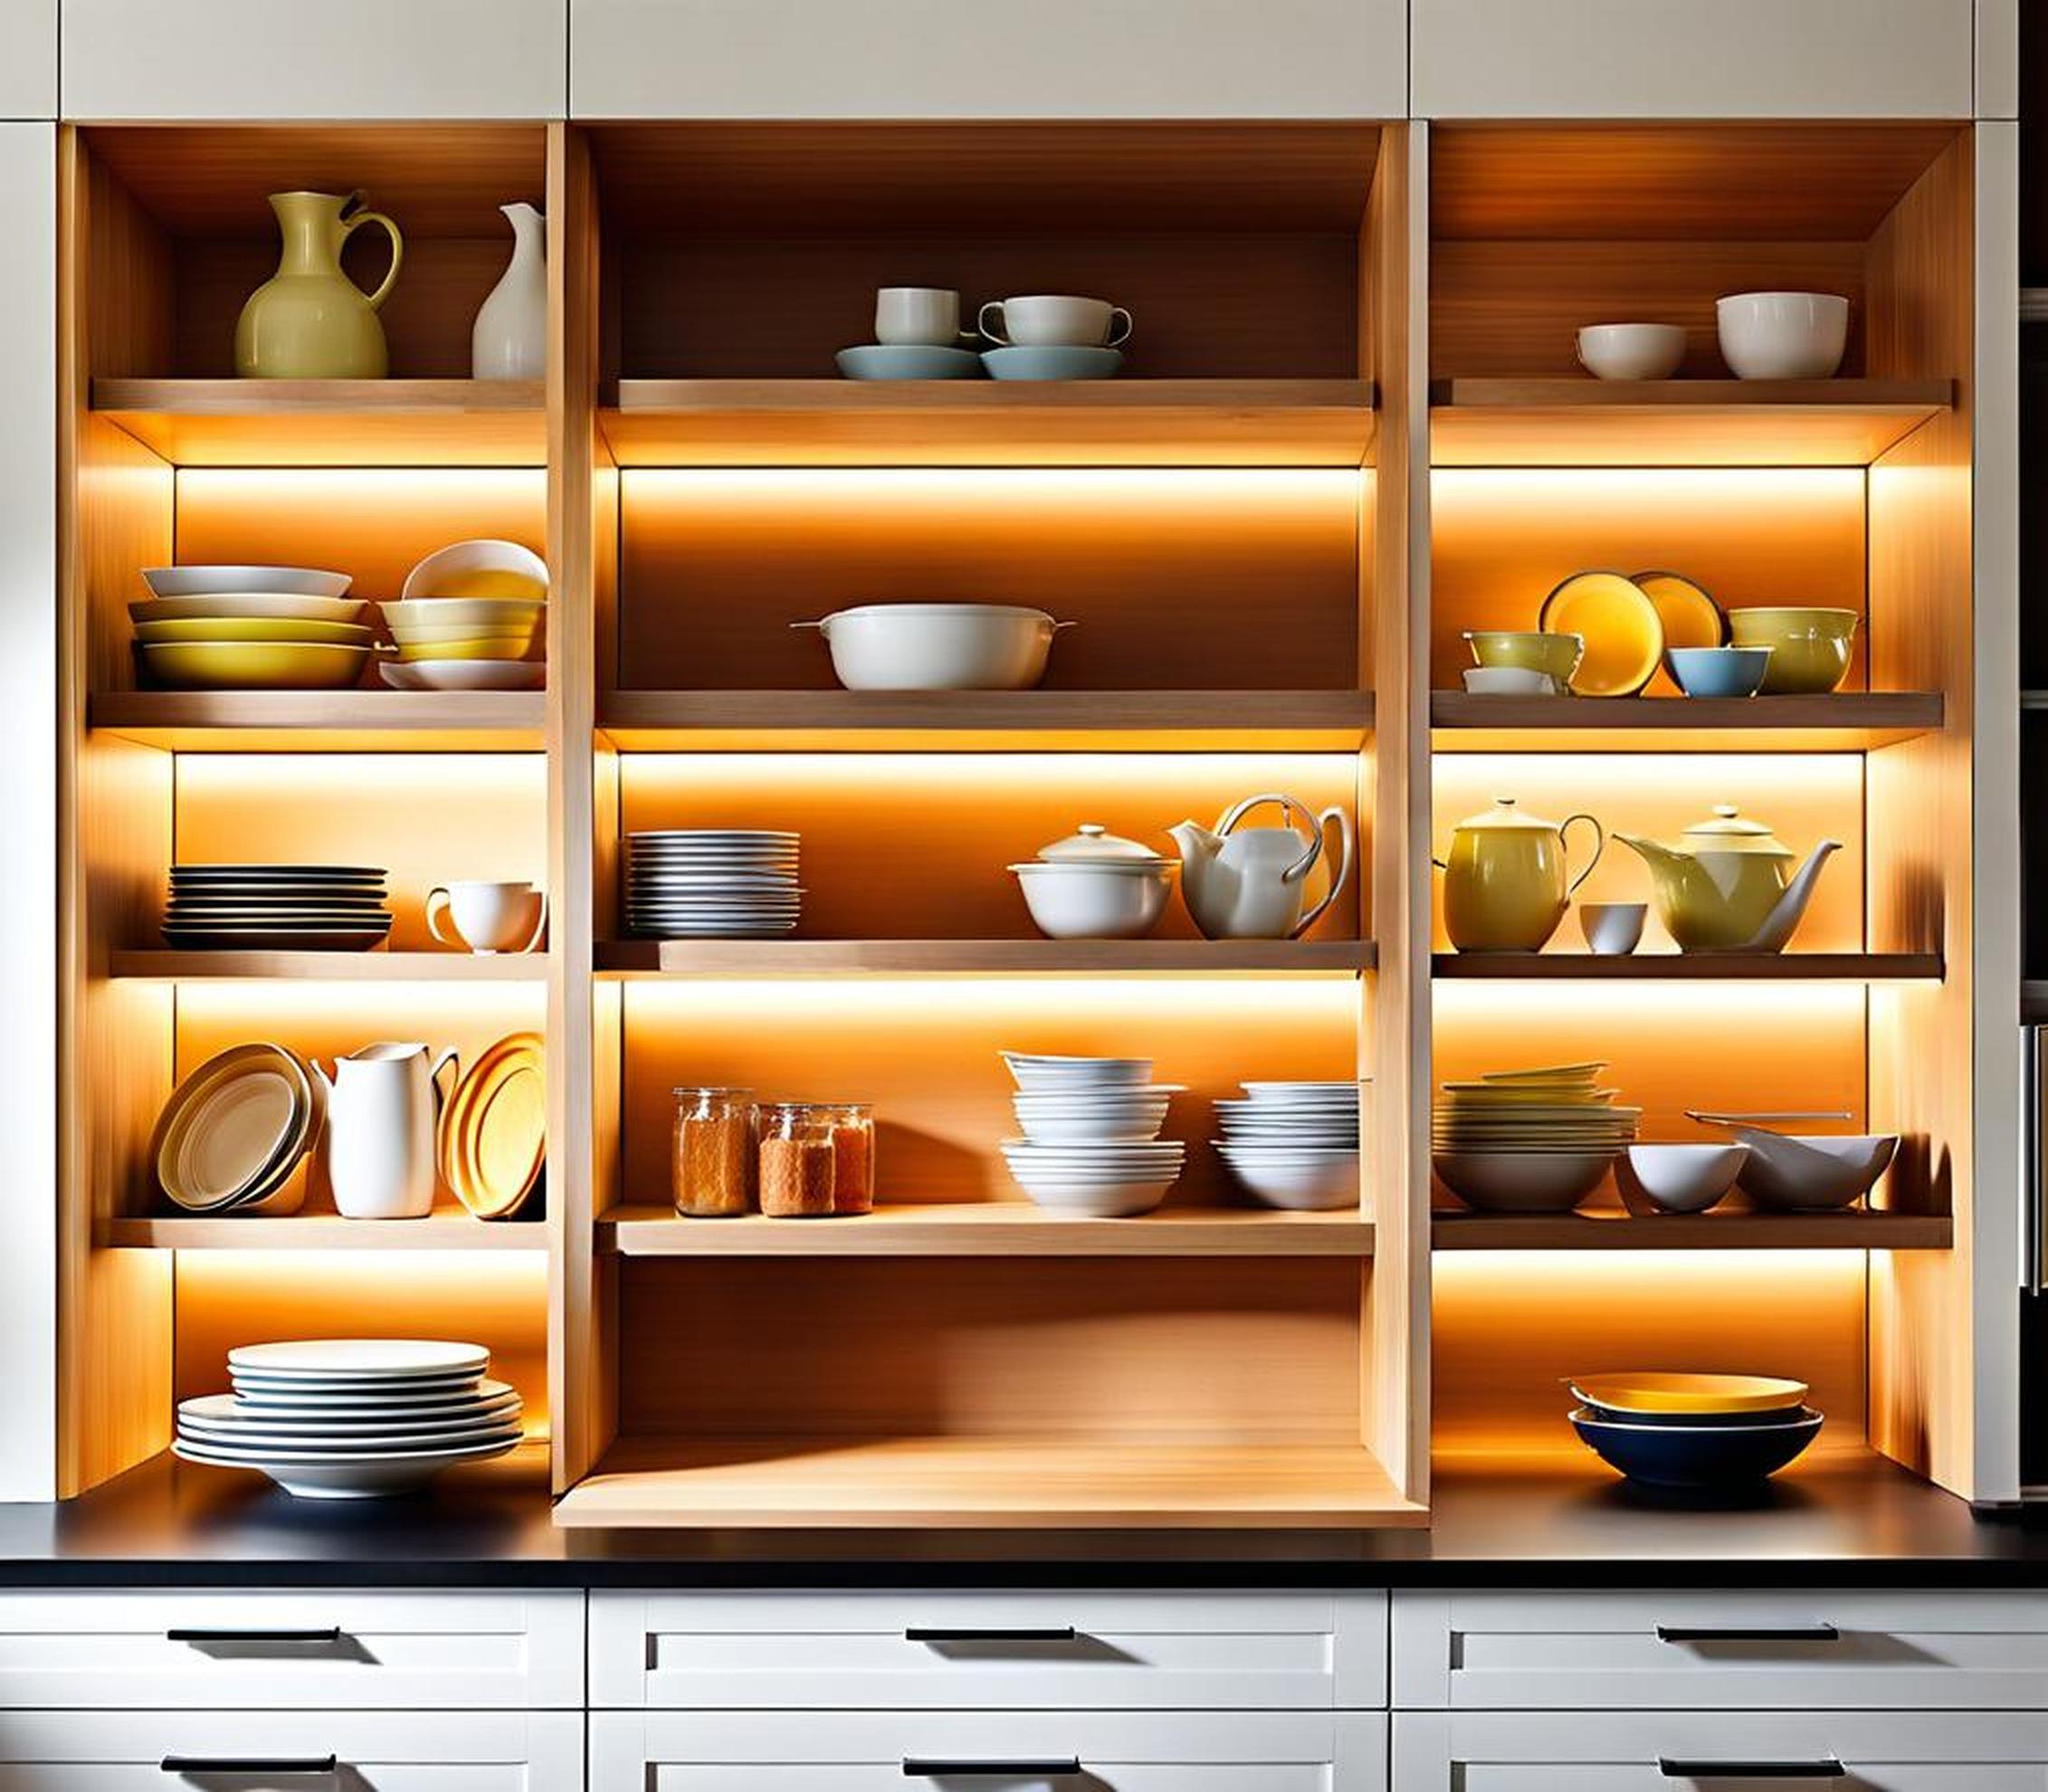
If your kitchen cabinets are stuffed to the brim, it may seem like there’s no space left to add storage. But with some simple DIY shelves on the cabinet sides, you can gain valuable real estate for organizing kitchen items. Installing shelves next to your cabinets is an easy, budget-friendly way to maximize your storage potential.
From measuring for the perfect fit to creative storage solutions, these shelves can make your kitchen more efficient and attractive.

Materials to Use for Cabinet Shelving
The foundation of great DIY shelves is choosing the right building materials. Consider these options for your cabinet shelving project:
- Plywood – An all-purpose option, plywood can be cut to size and stained or painted. It’s durable enough for the kitchen.
- Wire shelving – Open wire designs offer transparency and adjustable shelves. Easy to install.
- Prefinished panels – Prefinished metal or wood panels simply need brackets. No finishing work required.
The Benefits of Plywood for DIY Shelves
Of all the shelving materials for kitchen cabinets, plywood is one of the most versatile. As an all-wood option, plywood brings these advantages:
- Can be cut to any size to fit your unique cabinet configuration.
- Sturdy enough to hold heavier items without sagging over time.
- Takes paint or stain well if you want colored or wood-look shelves.
With the right brackets, almost any cabinet can be outfitted with plywood shelves. And you can build exactly what you need – wine storage, narrow spice racks, or open shelves for cookbooks.
When to Use Alternative Shelf Materials
While plywood works for most, wire or prefinished shelving brings other perks:
- Wire – Best for visibility and adjustable shelves. Easy to keep clean.
- Prefinished – No work needed to complete the shelf. Quick installation.
Consider wire shelves if you’ll store mostly small items or want to easily view contents. Prefinished works well for quick upgrades or lightweight storage.
Measuring Your Cabinet Dimensions
Finding studs to anchor shelves isn’t an issue with cabinets. But you still need to measure carefully for an accurate fit:
- Depth – Shelves should be slightly less deep than cabinet depth.
- Height – Consider the cabinet opening height and existing shelves.
- Corner Angles – Account for any unusual angles.
Use a level and tape measure to capture dimensions. Record the height at both the top and bottom of the area getting shelves. This ensures you have the full profile.
Tips for Tricky Cabinet Configurations
It’s likely your kitchen cabinets have a few quirks that make shelving more interesting. Here are some solutions:
- For extra narrow spots, install tiered shelves to multiply storage.
- Bring hard-to-reach corners into play with diagonal corner shelves.
- Get full use of awkward spaces with specialized pull-out shelves.
Don’t be afraid to get creative with angled, tiered, or other unique designs to make the most of your cabinet sides!
Customizing Shelves to Your Storage Needs
Beyond getting measurements right, custom shelves should also suit what you intend to store. Think through what you need easy access to or use most.
Food Storage and Display
From tea collections to overflowing spice racks, kitchen items often need a home. DIY cabinet shelves can come to the rescue by housing:
- Wine racks or individual wine bottle slots.
- Narrow, specialized spice organizers.
- Shelves to neatly display cookbooks and magazines.
- Glassware and dishware racks for quick access.
Maximize your precious cabinet real estate by only installing the features you really need. Custom sizing and configurations keep things practical.
Specialized Storage Solutions
Don’t limit yourself to just rectangular shelves. With the right brackets, you can include handy specialized storage like:
- Pull-out baskets to cleanly corral packets and jars.
- Spice drawer organizers to keep flavors sorted.
- Tiered shelves and risers to make the most of vertical space.
Getting creative with shape, height, and accessories makes your new shelves work smarter. Seek out storage elements that solve your specific item issues.
Mounting Your New Shelves
All your mapping and planning pays off when it’s time to actually hang your shelves. Most DIYers can get shelves solidly mounted with basic tools and materials.
Securing Shelves to Cabinets
Though cabinets don’t have studs, anchoring shelves firmly is still important. Consider these mounting options:
- Floating shelves use heavy duty brackets secured to the cabinet bottom or sides.
- L-brackets allow attaching shelves around cabinets corners.
- Screws and nails (finish or cut) provide extra holding power.
In most cases, the shelf weight capacity exceeds what you’ll store. But reinforce the structure if you’ll have heavy items or pull-out shelves.
Extra Storage Ideas
The great thing about DIY shelving is that you can incorporate other organizational elements like:
- Boxes, baskets and bins for neat compartmentalization.
- Under shelf hooks to hang utensils or kitchen tools.
- Tension rods to hang paper towels or divide space.
- Battery powered lighting for accent or visibility.
Introducing handy extras makes your new shelves even more user-friendly. Choose options tailored to your kitchen workflow needs.
With your organizational masterpiece installed, a little upkeep makes sure it stays in top shape:
- Periodically check shelf brackets and connections are secure.
- Touch up paint or finish as needed to keep shelves looking fresh.
- Adjust shelves over time if storage needs change.
Taking quick steps to protect your investment goes a long way. DIY cabinet shelves become an invaluable kitchen asset with simple care.
