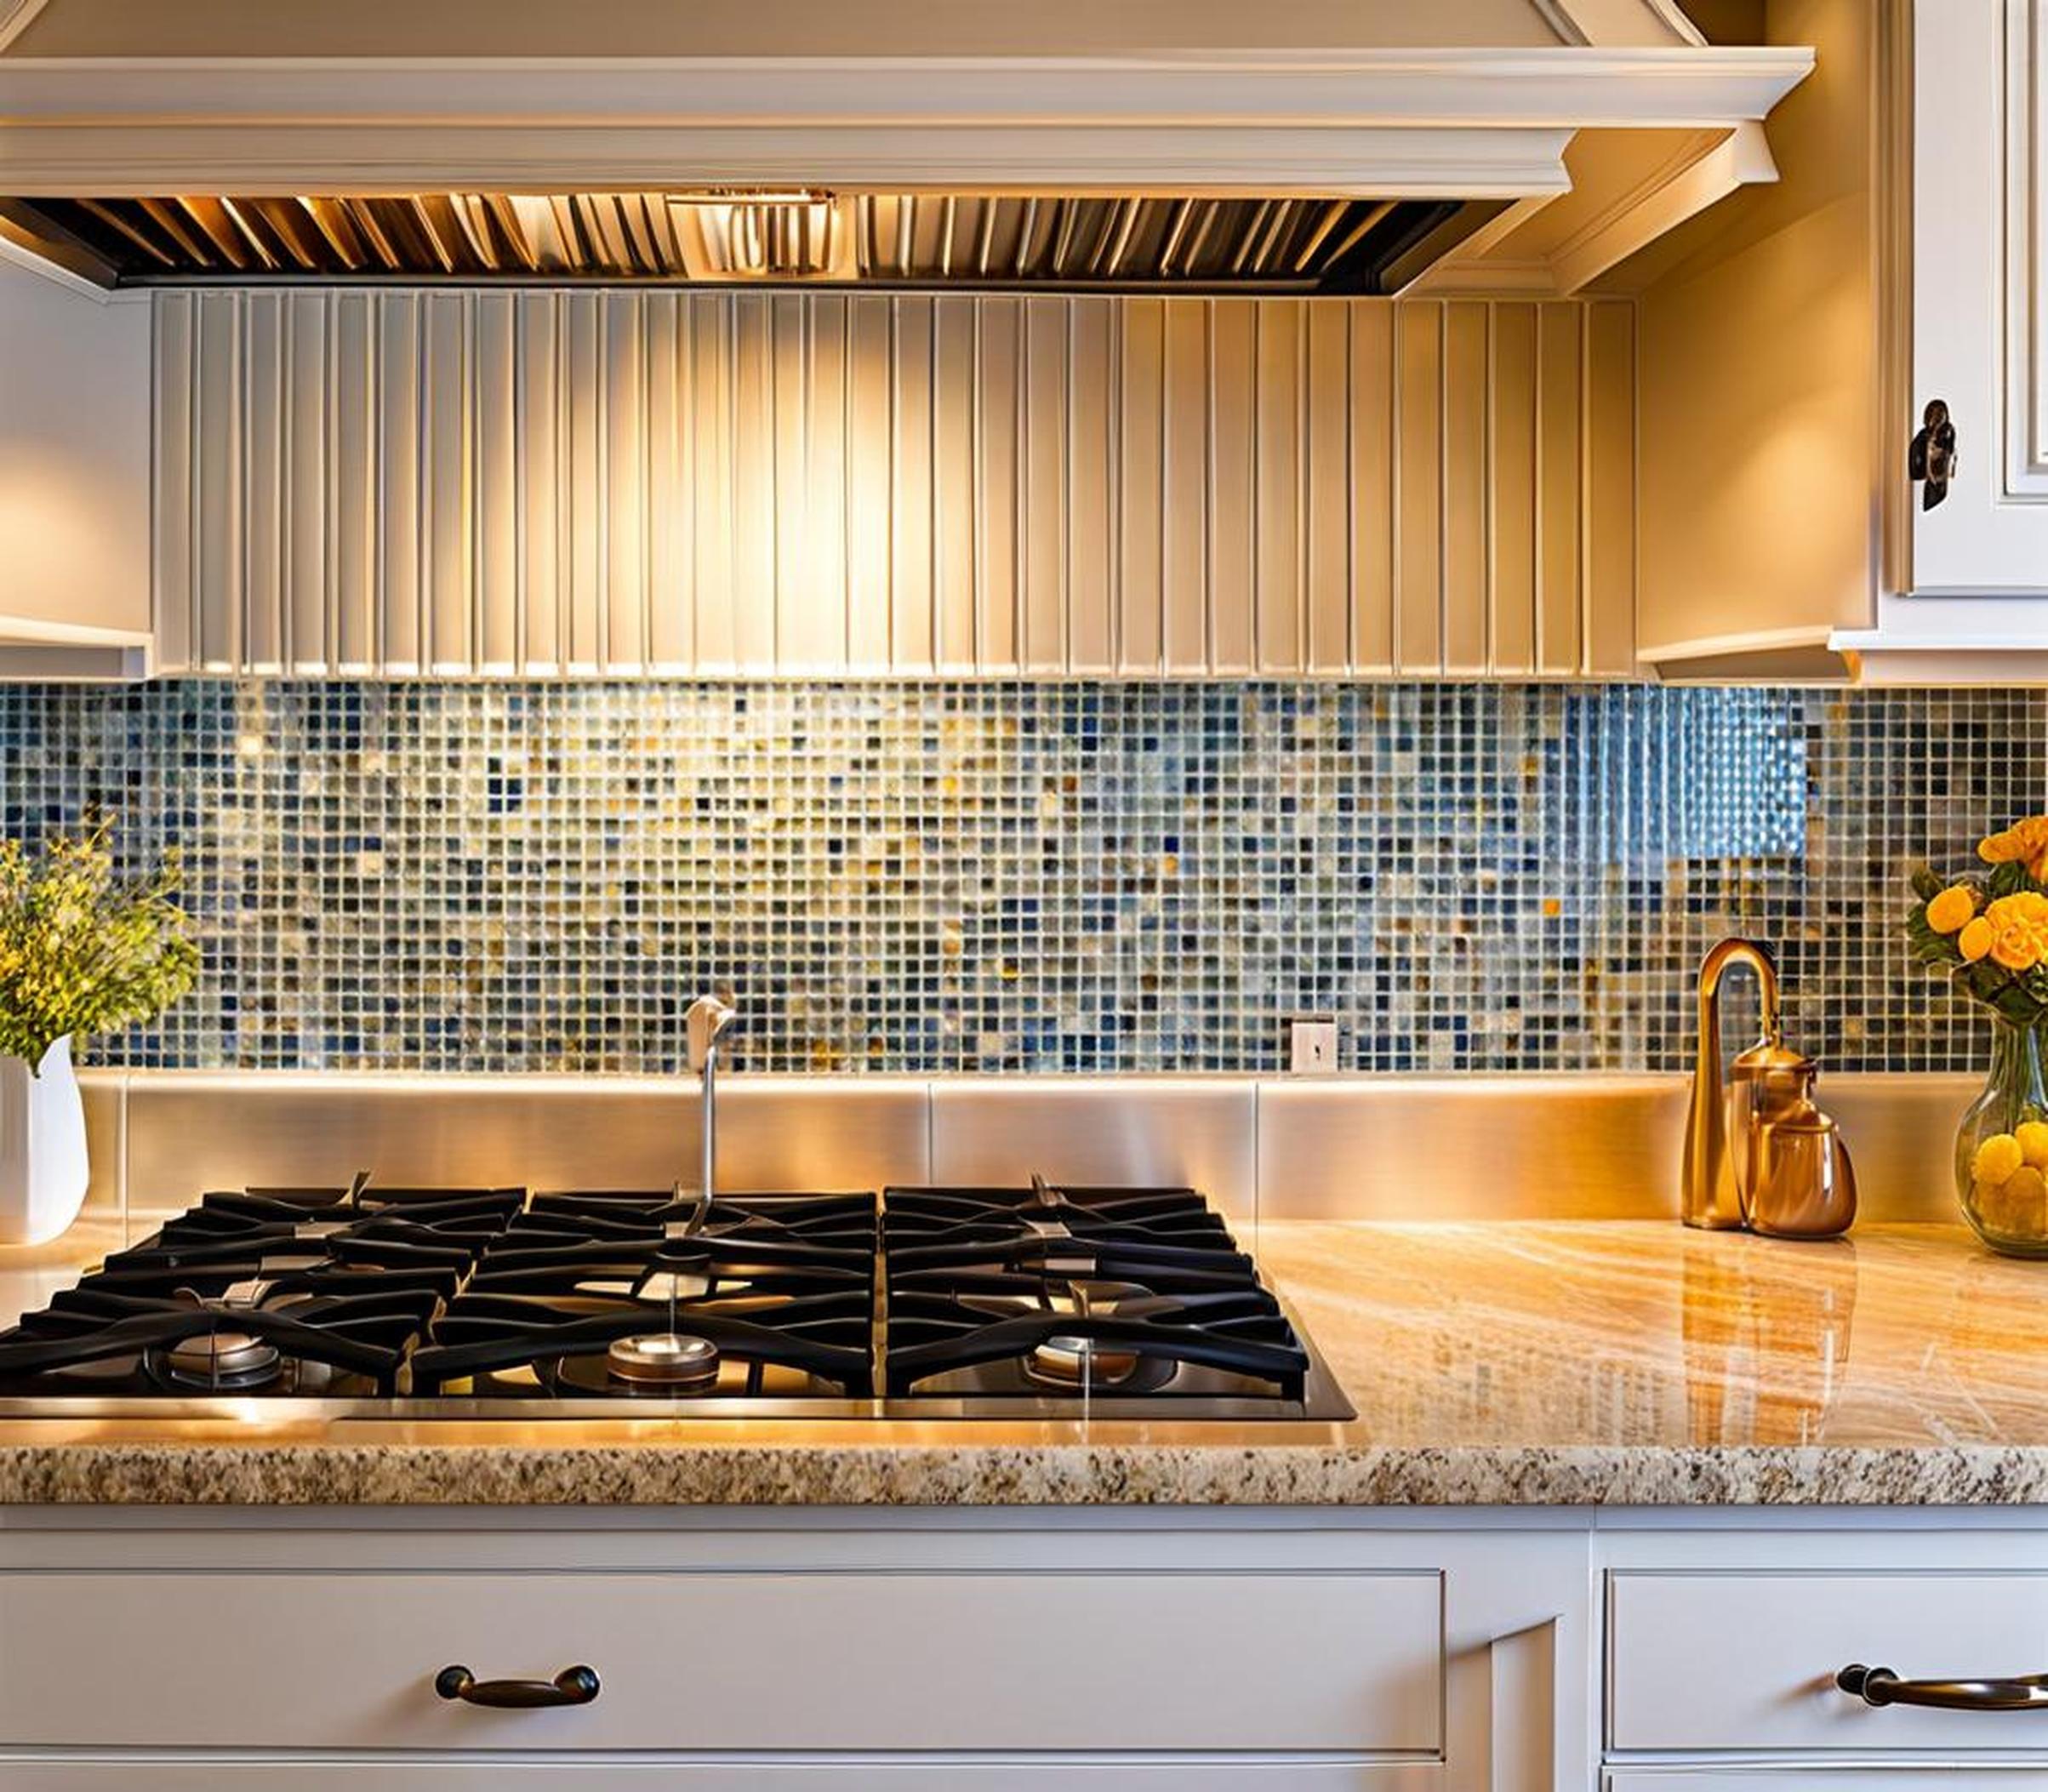
Is your kitchen looking a little dull and dated? Installing a new backsplash is one of the easiest and most affordable ways to upgrade any kitchen. Not only does a backsplash provide an easy surface to clean against messy countertops, but it also adds a major style element that can completely transform the look of your space.
While many homeowners opt to hire out their backsplash installation, this is a project that can absolutely be tackled DIY. With the right planning, materials, and techniques, you can install a beautiful, on-trend backsplash in your kitchen in just a weekend. This comprehensive guide will walk you through the entire process step-by-step.
Step 1 – Measure and Plan the Layout
Before you head to the store to purchase tiles, take accurate measurements of the entire backsplash area. This will allow you to determine exactly how many tiles you need to purchase. Be sure to account for pattern repeats and tricky areas like corners and outlets.
It’s also important to have a layout planned for your backsplash tiles. Standard subway tiles in a brick pattern may be the easiest option, but there are so many cool patterns to choose from – herringbone, chevron, stacked, or mosaic. Sketch out a few options to get a visual before finalizing your design.
Tips for Measuring and Planning
- Multiply the height x width of the backsplash area to get the total square footage.
- Purchase 10-15% extra tiles to account for cuts and potential breakage.
- Use spacers to account for consistent grout lines in your layout.
- Cut tile pieces will be needed for edges, outlets, corners, etc.
Step 2 – Prepare the Wall Surface
Preparing the wall surface is one of the most important steps in achieving a successful backsplash installation. Any wall imperfections, uneven areas, or debris left behind will show through the finished tiles.
Start by thoroughly cleaning the entire backsplash area. Remove any old backsplash tiles, grout, or adhesive using a putty knife or oscillating tool. Scrape and sand down the surface to remove any leftover residue.
Check for any holes, cracks, or uneven sections and fill these using spackle or wall filler. Allow the filler to dry completely and then sand smooth.
Tips for Prepping the Surface
- Fill any dents, holes, or cracks with spackle for a smooth finish.
- Sand the entire area with fine sandpaper, wiping away dust.
- Apply primer if the wall requires sealing or improved adhesion.
- Check that the wall is plumb using a level to avoid a crooked install.
Step 3 – Cut the Tiles
Once you have the actual tiles in hand, you can measure and mark each tile that requires cutting. Simple straight cuts can be made using a manual tile cutter with a carbide scoring wheel. Position the tile on the cutter, align the cutting wheel on your measurement mark, then apply firm pressure along the cut line. The tile will then snap cleanly along that line.
For L-cuts, U-cuts, and detailed cuts around electrical boxes or plumbing fixtures, a wet saw is extremely helpful. Wet saws minimize dust and allow you to neatly cut curves and angles. Place the tile on the saw bed, align the blade to your measurement mark, and cut slowly for maximum precision.
Nippers and other specialized tools can help trim and finesse any tricky spots for a perfect custom fit. Take your time with tile cutting to avoid costly mistakes.
Tile Cutting Tips
- Always measure twice and mark with a pencil before making cuts.
- Use a tile cutter for straight cuts and wet saw for detailed cuts.
- Cut edges and corners require L-cuts and U-cuts.
- Nippers neatly trim any sharp edges or uneven cuts.
Step 4 – Install the Tile Backsplash
Now for the fun part – installing the tiles! Always start at the bottom and work upward in sections. Prepare the adhesive using a notched trowel to spread an even layer on the wall surface. Use the trowel notches to create ridges of adhesive.
Press the first tile into place with a slight twisting motion to ensure maximum coverage and adhesion. Align the tiles using temporary spacers placed along each edge and corner. Continue laying tiles one row at a time, working methodically to keep everything straight and level.
As you approach electrical boxes, appliances, corners, and edges, you may need to adjust placement slightly and utilize those specialty cut tiles. Remove spacers once the main field is installed.
Tips for Proper Tile Installation
- Apply adhesive to a small work area at a time before it skins over.
- Use tile spacers between each tile for consistent spacing.
- Gently twist tiles into the adhesive for optimal adhesion.
- Keep checking layout lines stay straight and level.
Step 5 – Grout the Backsplash
Allow the tiles to set undisturbed for at least 24 hours before moving onto the grouting step. Thoroughly mix the grout using the manufacturer’s instructions, either by hand or with a mixing paddle. Apply the grout over the tiles using a rubber grout float, forcing the grout deeply into the joints with a firm, circular motion.
Make sure all edges and corners have grout packed tightly into place. Let it sit briefly before wiping away the excess grout with a damp sponge. Rinse the sponge frequently and wipe diagonally across the tiles to prevent pulling the grout out of the joints.
Avoid pressing too hard as you wipe, and be cautious along grout lines. Repeat the rinsing and wiping process until the tiles have a smooth, consistent appearance. Allow the grout to fully cure, generally 24-48 hours, before using the backsplash.
Grout Application Tips
- Allow tiles to set 24 hours before grouting.
- Force grout into joints with float using circular motion.
- Use damp sponge to wipe excess grout off tile faces.
- Be gentle when wiping near grout lines to avoid pulling grout out.
Step 6 – Seal and Protect the Backsplash
The final step is applying a penetrating grout sealer to fully protect your newly installed backsplash. This crucial step prevents staining, mildew growth, and dirt buildup within the grout lines. Use an applicator brush or sponge to apply the sealer over all grout lines, allowing time to soak in.
Buff off any excess sealer with a clean cloth. Reapply yearly or as needed to maintain the protective barrier. You may also consider applying a tile sealer to the entire backsplash surface for extra protection and easier cleaning.
Be very gentle when cleaning your finished backsplash. Avoid abrasive scouring pads or harsh cleaners which can scratch, dull, or damage the tile and grout. Use a soft sponge or microfiber cloth with mild soap and warm water instead.
Caring for the Finished Backsplash
- Apply grout sealer to all joints to protect from stains and mildew.
- Consider applying tile sealer for added protection.
- Clean gently using soft sponge and mild detergent, avoid abrasives.
- Reapply sealers yearly to maintain protection.
As you can see, installing a beautiful tile backsplash is an entirely achievable DIY project with the right planning and preparation. While it does take some time and elbow grease, the payoff is well worth it.
Not only will you save money doing it yourself rather than hiring a contractor, but you can take pride in the finished product knowing your own hands brought it to life. The transformative effect a new backsplash has on a tired or dated kitchen is truly incredible.
Follow these steps and tips closely as you embark on your backsplash project, and don’t be afraid to get creative with your design. With an endless array of tile shapes, colors, and patterns to work with, you’re sure to end up with a customized focal point that brings your kitchen style to the next level.
