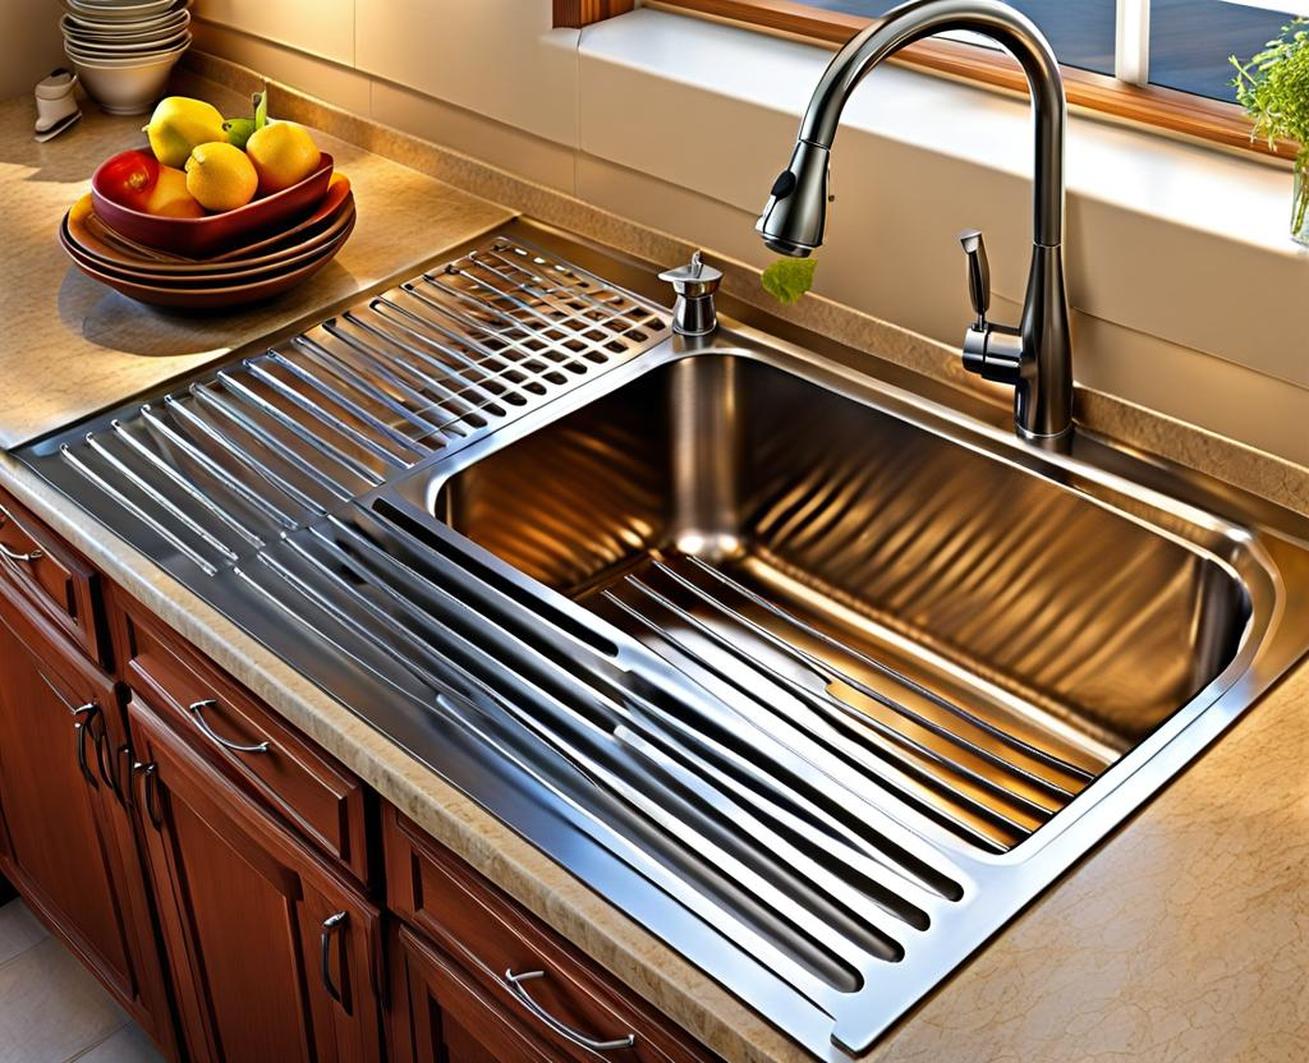
After cooking up a delicious family meal, the last thing you want is a cluttered kitchen counter overflowing with dirty dishes and glasses. But if space is limited in your kitchen, finding room for a dish rack can be a challenge. The solution? Install a built-in drain board right by your sink.
A drain board is an integrated ledge that allows you to wash and dry dishes in one place. Read on to learn how this clever upgrade can free up valuable counter space in your kitchen.
What Is a Drain Board?
A drain board is essentially an apron or overlay that attaches to one or both sides of your kitchen sink. It provides a designated spot to place wet dishes and utensils directly after washing them. The drain board’s grooved surface channels water back into the sink basin so dishes can air dry without puddles or drips.

Drain boards are typically made of thin stainless steel so they lie flat against the countertop. The slight downward angle facilitates drainage. Having this built-in drying area means you don’t have to devote your limited counter space to a bulky drying rack that simply gets in the way.
The Convenience of Built-In Drying
One of the biggest perks of installing drain boards is convenience. Washing and drying happen in one seamless workflow, without having to transfer dishes to a separate rack. Hands-free drying allows you to multitask and quickly tidy up after meals.
Items are within easy reach for putting away. You won’t have to clutter your counters searching for a place to stash that wet dish or glass. Drain boards keep everything right where you need it.
Saves Precious Counter Space
Lack of counter space is a common headache in small kitchens. Drain boards are a space-saving solution that eliminates the need for dish racks. Your counters stay clear for meal prep and serving.
Even in larger kitchens, keeping counters clutter-free promotes a calmer, more organized environment. Drain boards prevent the haphazard dish piles that can quickly take over.
Choosing the Right Drain Board
When selecting a drain board, opt for a size that will comfortably fit your largest dishes without overcrowding. Measure the sink area carefully to ensure adequate washing room remains.
Consider the number and depth of grooves. They should fully divert water off dishes. A wider gap between grooves, around 2 to 3 inches, is ideal.
Check that the drain board height allows enough clearance under faucets to easily fill pots and pans. Placement on the right or left side depends on your kitchen layout and if you want symmetry.
Tips for Seamless Installation
Coordinate your drain board finish with your existing sink and counter. Stainless steel is a versatile option for a streamlined look. Granite, marble, or laminate can also complement your kitchen style.
For DIY installation, choose a drain board with an included mounting kit. Carefully follow the manufacturer’s instructions.
If your plumbing setup allows it, have a plumber integrate the drain board into the sink construction for a truly seamless counter. This also enables custom sizing.
Maintaining a Hygienic Drain Board
To prevent mold and bacteria growth, keep your drain board clean. Rinse debris after each use and scrub weekly with a non-abrasive brush and mild detergent. Avoid harsh chemicals or scouring pads.
Be diligent about drying the grooves and corners. You may opt to remove dishes after washing and give the drain board a quick wipedown for maximum hygiene.
Drain boards are an ingenious way to maximize your kitchen workspace. This integrated drying solution keeps counters clear and makes after-meal cleanup more seamless.
For small, galley kitchens especially, a drain board is an affordable upgrade that pays dividends in saved space and convenience. Look for drain boards in stainless steel or materials to match your counters for a cohesive look.
tidying up is simpler with a built-in drain board. Your kitchen stays dry, organized and ready for the next meal, gathering, or entertaining occasion.
