Having a shower that fails to turn off can quickly become a soggy, stressful nuisance. Before you panic or call an expensive emergency plumber, know that many common culprits behind a perpetually running shower can often be identified and fixed yourself using basic tools and DIY know-how. With a methodical approach, you can troubleshoot and remedy that stubborn shower that just won’t shut off and avoid paying big bucks for professional repairs.
We’ll walk through simple steps for diagnosing why your shower persists flowing water even when turned to the “off” position. We’ll also cover how to fix the problem yourself using common household items. Soon, you’ll be back to enjoying a properly functioning shower.
Step 1: Shut Off the Main Water Supply
As soon as you notice your shower failing to turn off, locate the main water shut off valve for your home. This is typically near your water meter or water heater. Turning this main valve to the “closed” position stops water flowing into your home’s plumbing system while you diagnose and address the shower issue. This crucial first step halts additional water damage as you work.
If you aren’t sure where to find the main water shut off valve, trace your home’s incoming water line back from the water meter location. Follow any pipes through basements, crawl spaces, garages or utility closets. The shut off is usually a lever-style valve, rotating 90 degrees to stop water flow.
Prevent Flooding and Water Damage
Once the main water supply is switched off, confirm your shower has stopped running. If water continues flowing, there may be an alternate supply line still feeding water. Trace all supply lines and turn off auxiliary valves until the shower completely stops flooding.
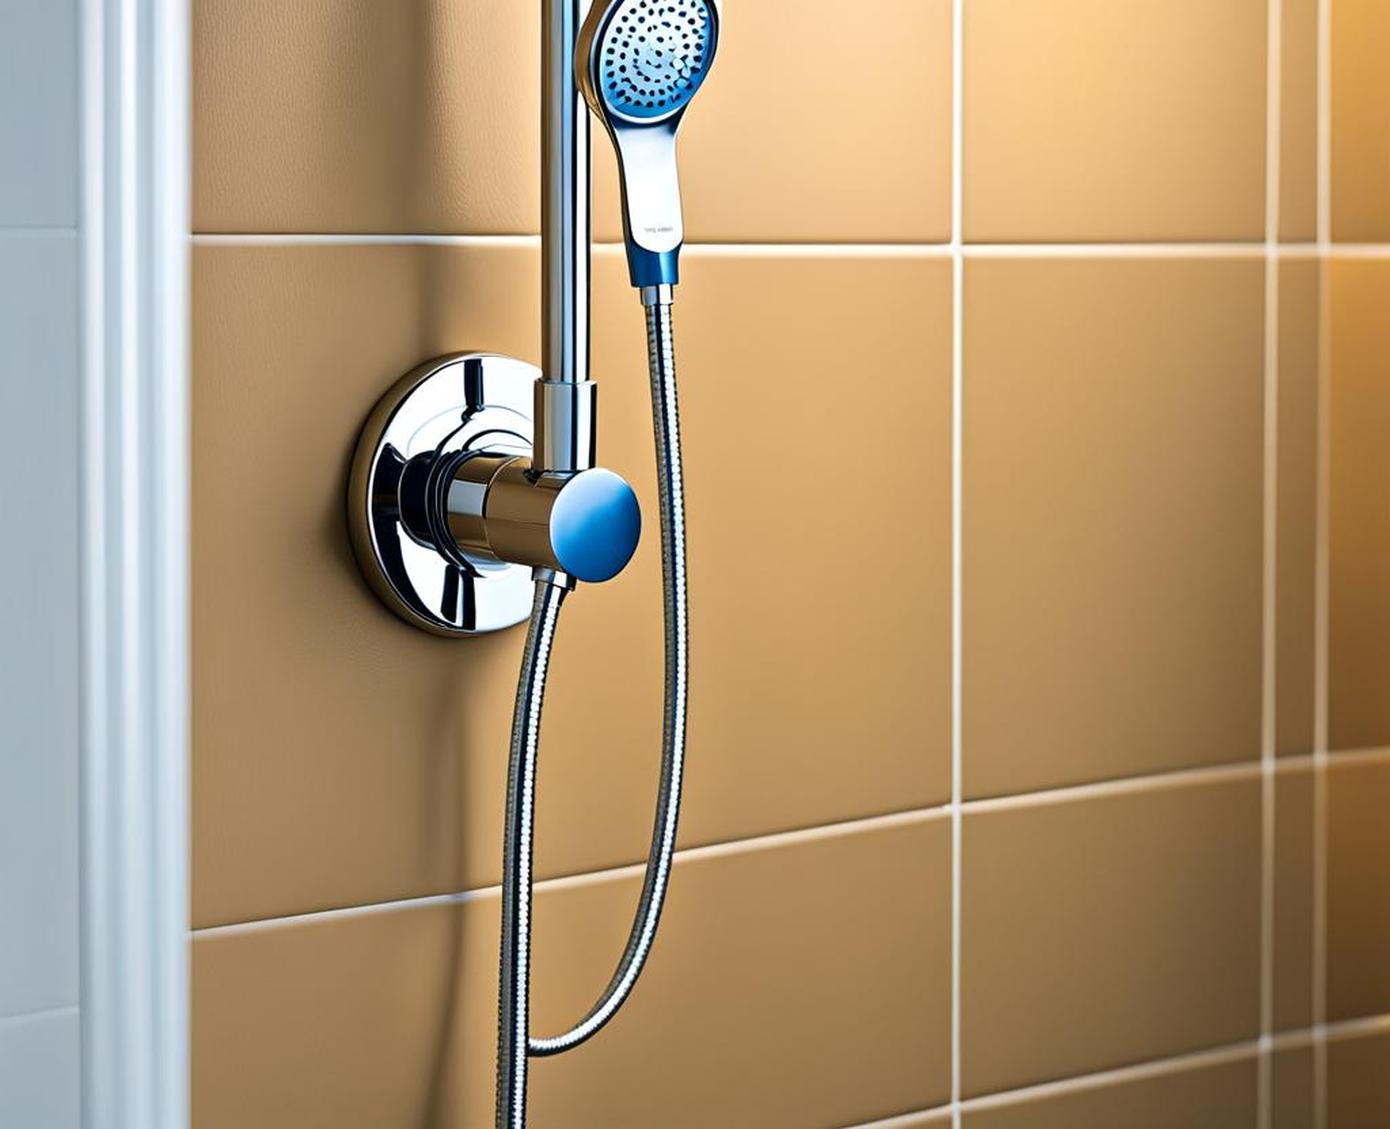
Step 2: Troubleshoot the Potential Causes
With the water halted, investigate why your shower fails to turn off. The most common culprits include:
- Faulty shower valve
- Worn-out rubber washers
- Sediment buildup
Inspect the Shower Valve and Handles
Access the shower valve behind your shower’s decorative trim plate. Inspect valve components and the handle for corrosion, damage or abnormalities preventing full closure. Try scrubbing away any debris or mineral deposits. If the valve cartridge seems faulty, replacing this key component typically remedies sticks or leaks.
Check Rubber Washers and O-Rings
Examine rubber gaskets at all shower and tub plumbing connections. Cracks, tears or flatten sections indicate wear. As washers age, they may no longer create a watertight seal, resulting in drips. Replace any deteriorated rubber fittings.
Clear Built-Up Sediment and Minerals
Over time, sediment, lime, calcium and other mineral deposits can accumulate inside shower valves and pipes. Soak clogged showerheads or accessible pipes in vinegar overnight then scrub vigorously with a wire brush. For valves, use a wire snake to scrape away stubborn interior buildup.
Step 3: Obtain and Install New Plumbing Parts
After inspecting your shower fixtures thoroughly, you should have identified which components need replacing. Visit your local home improvement store to purchase new washers, cartridges, valve assemblies or other shower parts specific to your make and model.
Remove Stuck Fixtures
Use penetrating oils, mild heat or leverage to free seized shower valves or connectors. Harsh prying or hammering risks cracking porcelain or tile finishes. Go slowly to avoid damage.
Follow Manufacturer’s Instructions
When installing replacement shower parts, carefully follow manufacturer provided directions. Correct orientation and positioning is vital for proper functioning and water sealing. Don’t skip steps that seem pointless or tedious.
Step 4: Prevent Future Shower Issues
Get ahead of frustrations like a shower that sticks open by performing regular maintenance and knowing when upgrades are worthwhile.
Routinely Clean and Lubricate
Every few months, clean showerheads and valves by soaking in de-scaling vinegar solutions. Remove mineral buildup before it creates flow restrictions requiring extensive repairs. Also lubricate handles and dials to keep movement smooth.
Upgrade Outdated Fixtures
If your shower valve or controls constantly give you trouble regardless of cleaning and replacing washers, it may be time to upgrade. Newer designs and materials greatly reduce corrosion and functional flaws.
Before making an expensive service call when your shower refuses to turn off, try fixing the problem yourself using basic household tools and supplies. Methodically shut off water, troubleshoot the cause, obtain parts, and make necessary repairs and replacements. A bit of effort can get your shower working again, prevent needless water waste and damage, and save you money.
