Is your kitchen sink suffering from frustratingly low water pressure? Do you find yourself waiting forever for the trickle of water to fill up a glass or wash the dishes? Low flow from the kitchen faucet can turn basic tasks into time-consuming chores. Even worse, you may notice the problem is isolated to just the kitchen sink, with normal water pressure at all other faucets.
When kitchen sink water pressure drops for seemingly no reason, it’s easy to feel confused and overwhelmed. But don’t stress – in most cases, the cause of low flow can be identified and fixed relatively easily if you know where to start.
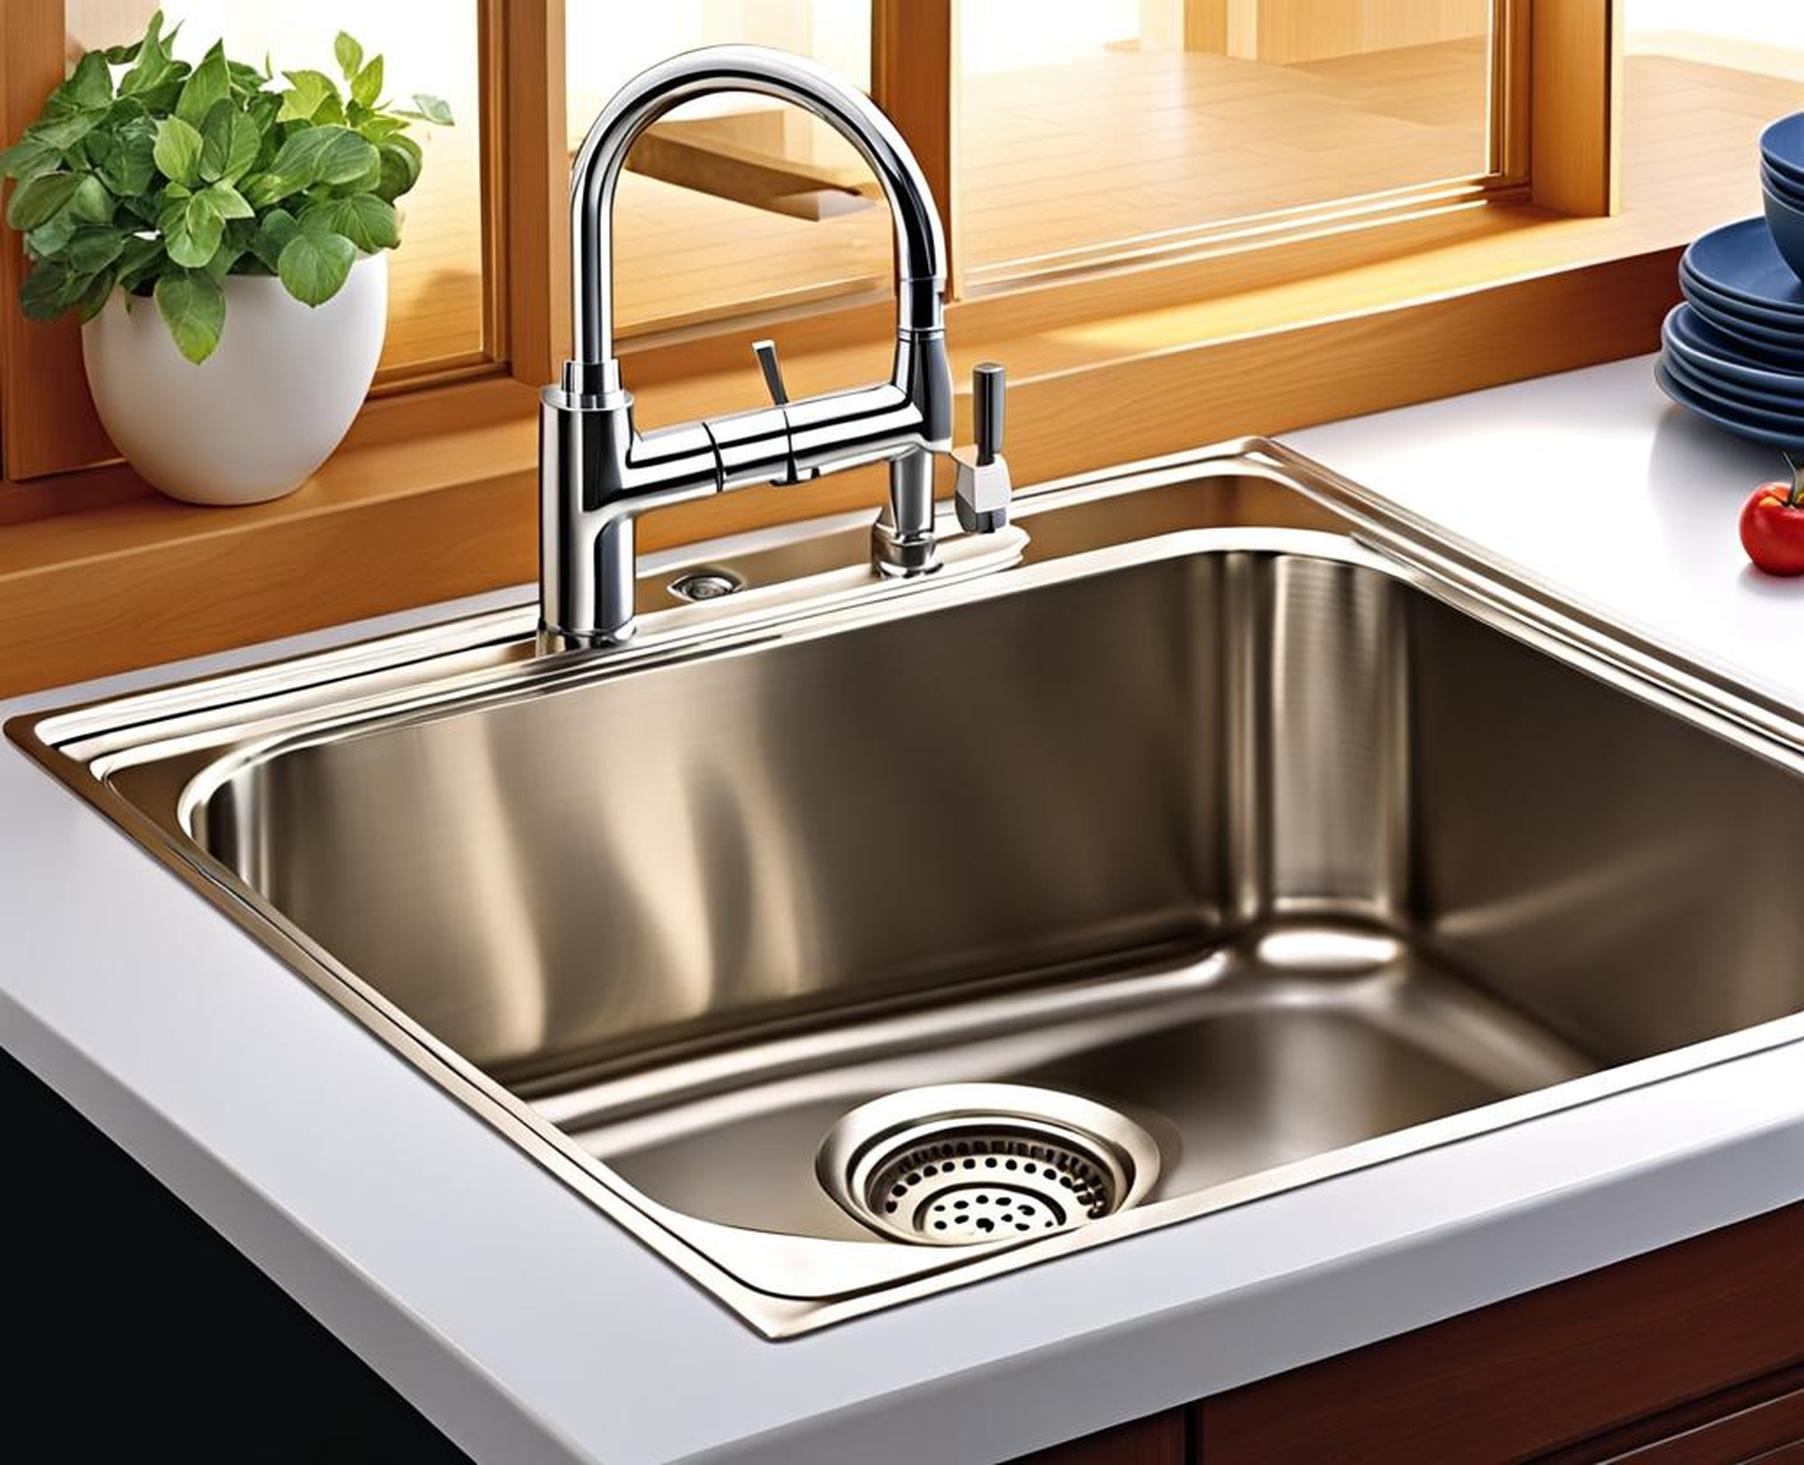
Inspecting the Faucet Aerator and Handles
The first place to start troubleshooting isolated low water pressure is at the kitchen faucet itself. Issues with flow often originate from clogged or faulty components in the faucet that are easy to remedy.
Remove and Clean Out Aerators
At the tip of most faucets is a small screen known as an aerator. It mixes air into the water stream. Over time, sediment, minerals, and other debris can build up inside the aerator and restrict water flow.
To clean the aerator, unscrew it from the faucet spout. Use a small brush or blast it with water to dislodge any trapped particles. Once clean, reattach the aerator and test water pressure.
Check Faucet Handles for Obstructions
Particles and corrosion can also become lodged inside the faucet handles and bodies, impeding flow. Try rapidly turning the handles from fully closed to fully open several times. This can dislodge any stuck debris.
Also pay attention to any differences between the hot and cold handles. Problems with one side indicate an issue with that water supply line specifically.
Replace Damaged Faucet Parts
If clearing the aerator and handle flushing doesn’t restore pressure, worn washers, seats, and cartridges inside the faucet may need replacement. Consult the manufacturer or a plumber to identify required replacement parts.
Installing new fixtures can seem daunting, but kitchen faucet repair is straightforward with basic DIY skills and proper precautions. If needed, replacement of the entire faucet is also an option.
Flushing Pipes and Faucet
In addition to faucet components, loose sediment and mineral deposits inside supply pipes and valves can hamper water flow. A thorough flushing helps clean the internals and restore pressure.
Use Faucet Manipulation to Flush
Start by rapidly opening and closing the handles to flush the faucet lines. Run both hot and cold water on full blast for a few minutes each. This turbulence helps dislodge any stuck particles.
Partially close the valve for a few seconds, then quickly open it fully. This change in pressure cleans the valve seat. Repeat this multiple times for a thorough flushing.
Check Water Pressure After Flushing
After finishing the flushing process, check if kitchen sink water pressure has improved. Flushing is most effective at removing loose sediment that may be obstructing flow.
If flushing restored flow, the issue was likely debris buildup. Continue monitoring water pressure in case clogging recurs. If it remains low, move on to checking other components.
Adjusting Water Pressure Regulators
Many homes have a whole-house pressure regulator installed on the main water supply line. This device maintains stable water pressure by lowering high incoming flow from the water main.
Inspect and Adjust Regulator
If the regulator is failing, pressure to the kitchen sink may be decreased while the rest of the home stays normal. Locate the regulator (often near where the main line enters your home) and check the current setting.
Carefully adjust the adjustment screw to raise the pressure setting slightly. Test kitchen sink flow and continue making small increases until optimal pressure is restored.
Replace Faulty Regulators
If the regulator is severely damaged or the valve seat is highly corroded, a new regulator will be required. Hire a plumber to handle replacement, as the main home shutoff valve must be closed.
Newer digital regulators are more precise and durable than older analog designs. Upgrading technology may be worthwhile.
Clearing Clogged Pipes and Drains
When kitchen sink water pressure is low, clogged drains and supply pipes can also be to blame. A blockage somewhere along the pipes restricts proper water flow.
Use Plungers and Drain Snakes
For clogged sinks and drains, a plunger can often break up the blockage. Push down firmly and repeatedly to dislodge the clog.
Use a drain snake for tougher sink clogs. Feed the rotating snake into the drain opening while cranking the handle. This thoroughly cleans the pipe.
Chemical Drain Cleaners
For bad sink clogs, boiling water and chemical drain cleaners help dissolve and loosen the blockage. Always follow product directions closely. Avoid combining chemical cleaners.
Professional Drain Cleaning
For extensive clogs in sink drains or supply pipes that DIY methods can’t clear, call a plumber. They have high-pressure water jets and industrial strength augers. Prompt cleaning prevents leaks or burst pipes.
Replacing Old Shutoff Valves
The shutoff valves controlling water flow under your sink can also be a source of decreased kitchen pressure. Older valves with worn parts restrict flow.
Instructions to Replace Valves
Start by turning off the main water supply and relieving pressure. Disconnect and remove old valves. Clean pipe threads and apply teflon tape. Screw in new valves by hand before tightening with a wrench.
Turn water back on slowly and check for any leaks. Finally, test kitchen faucet pressure. Replacing both hot and cold shutoff valves is recommended.
Hire a Plumber for Difficult Repairs
If the aged valves are heavily corroded or damaged, hire a professional plumber. They have the skills to safely repair or replace stubborn valves while avoiding water leaks.
Upgrade to 1/4 Turn Valves
Upgrading to 1/4 turn ball valves when replacing old shutoffs is wise. Lever-style 1/4 turn valves are much easier to operate than traditional multi-turn knob designs.
Checking for Leaks and Pipe Damage
Leaking from joints, cracks, or corrosion damage in supply pipes can lead to lower kitchen sink water pressure. Inspect lines thoroughly to find any issues.
Locate Leaking Joints
Check where pipes connect to valves and fittings under the sink. Tighten any loose joints with wrenches. Badly leaking compression fittings may need seal replacement.
Also check supply line connections at the faucet and look for drips. Tightening nuts or new gaskets/washers can fix small leaks.
Assess if Pipes Need Replacement
Examine pipes for cracks, scrapes, and corrosion damage. Tap along their length to find hidden thin spots. Severely damaged galvanized steel or lead pipes require full replacement.
For minor leaks at cracks, special epoxy sealants can repair damage without replacing the entire pipe.
Whole House Water Pressure Issues
In rare cases, low kitchen sink water pressure may originate from a problem affecting your entire water supply. This requires a more thorough diagnosis.
Test Pressure at All Faucets
To rule out whole house issues, check water pressure from all faucets, including bathrooms. Consistently low flow points to a main supply line problem.
If pressure loss is limited to the kitchen sink, the issue is isolated to that location’s plumbing.
Causes of Whole Home Low Water Pressure
Typical root causes for low pressure in all household faucets include malfunctioning well pumps, improperly sized supply pipes, leaks, coding, and pressure regulator failures.
These systems provide water to the entire home and require professional diagnosis and repair when they malfunction.
Call a Plumber for Whole House Issues
For comprehensive low pressure affecting your whole house, call a licensed plumber for inspection. They have the expertise to troubleshoot issues with complex supply systems and well components.
Seeking professional assistance avoids wasted time and protects your plumbing from further damage.
Preventing Low Water Pressure
Once your kitchen sink water pressure is restored, several proactive steps help prevent future flow problems.
Regular Faucet Maintenance
Periodically clean aerators and flush faucet internals to stop debris buildup before it blocks water flow. Also inspect washers and gaskets for wear.
Install a Booster Pump
For homes with chronic low pressure, installing an under-sink or whole house water booster pump helps maintain consistent flow at all fixtures.
Upgrade Faucet Fixtures
Replacing standard faucets with new commercial-grade models provides higher flow rates and durability. Commercial fixtures resist mineral buildup.
Ensure Adequate Home Supply Lines
When remodeling kitchens, ensure supply pipes are sufficiently sized. Larger diameter pipes to the kitchen prevent pressure drops compared to narrow lines.
Low kitchen sink water pressure can quickly go from a nuisance to a major headache. But in most cases, the fix winds up being relatively quick and painless. Following the troubleshooting steps outlined in this guide will help you accurately diagnose the root cause and get your sink flowing at full pressure again.
Start by inspecting faucet aerators, valves, and supply lines. Flushing built-up sediment restores flow in many instances. For persistent issues, drain cleaning, pipe and regulator repairs, or faucet replacement can get your kitchen up and running.
Know when to call in a professional plumber – they have the tools and knowledge to tackle repairs you can’t. With persistence and the right approach, you can solve annoying kitchen sink water pressure problems for good.
