Tiling corners can be a tricky task, even for seasoned DIY enthusiasts. The challenge lies in achieving a seamless transition while maintaining precision and aesthetics. Whether you’re dealing with an internal or external corner, mastering the art of tiling into a corner is crucial for a polished, professional look. From selecting the right tools to implementing advanced techniques, this comprehensive guide will equip you with the knowledge and skills needed to tackle corner tiling projects with confidence.
Understanding the Challenges of Tiling into a Corner
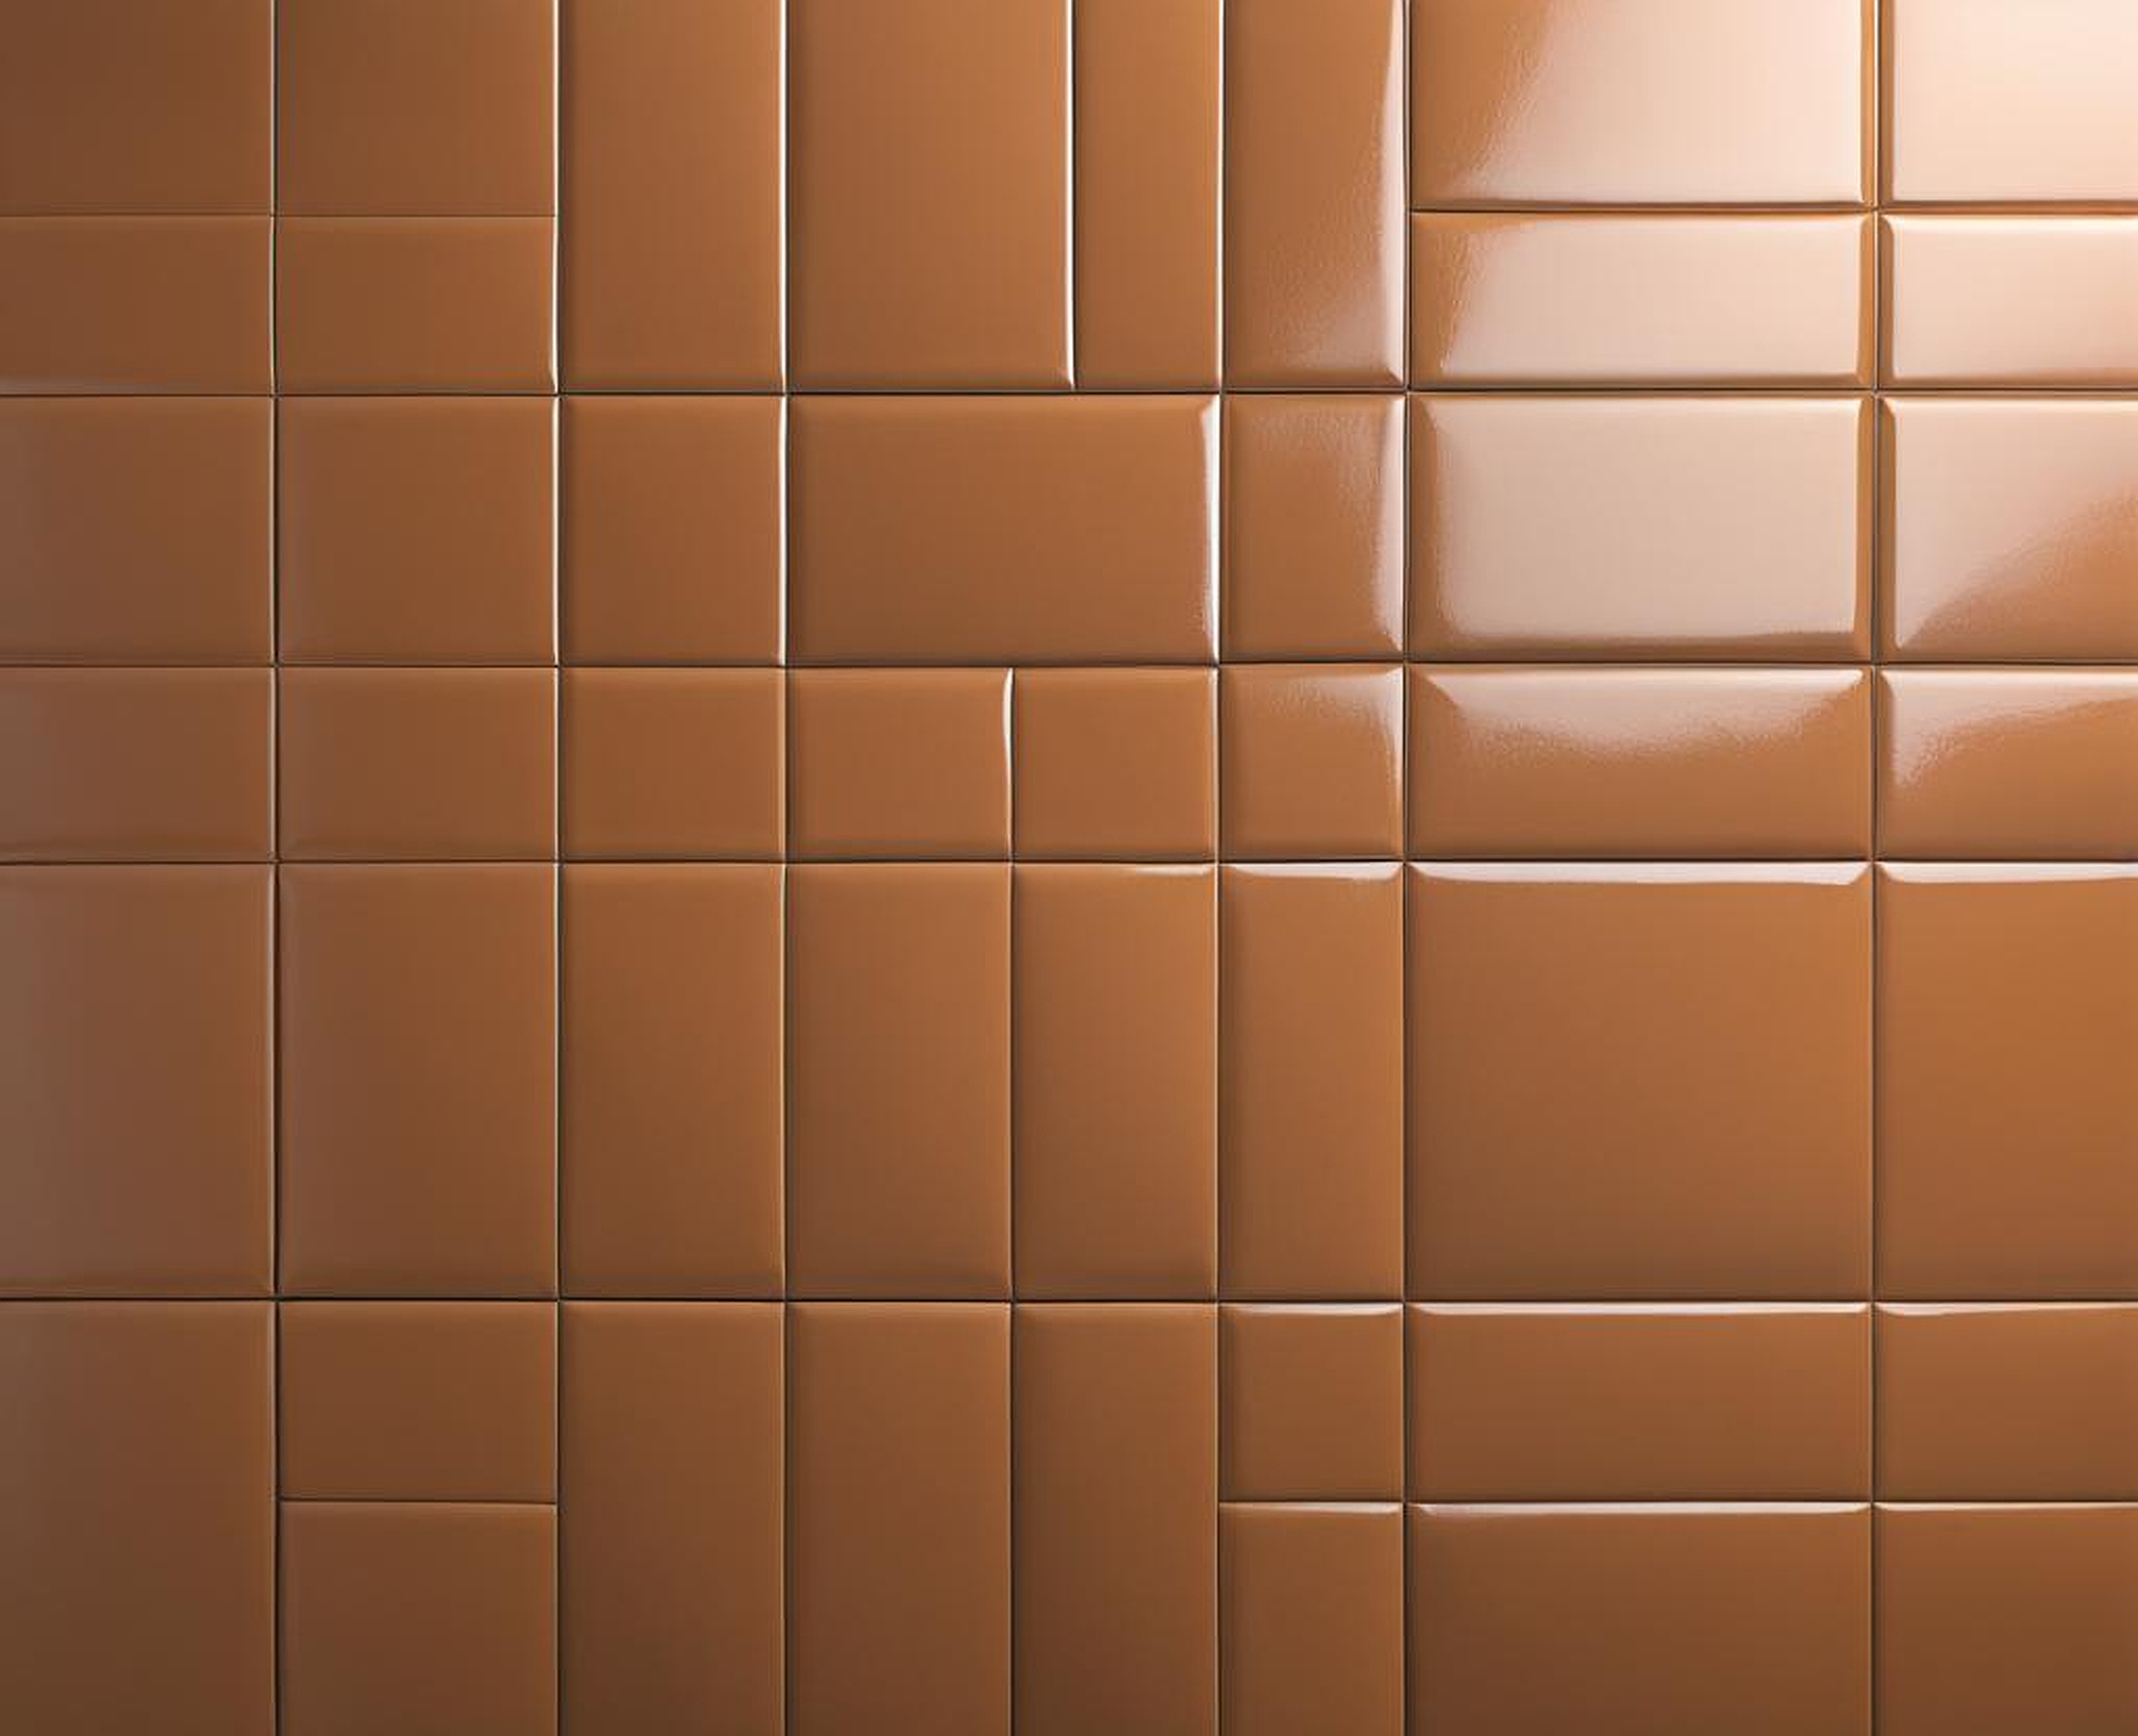
Tiling into a corner presents unique challenges that require careful consideration and planning. One of the primary difficulties is achieving a perfect fit where two walls meet. This intersection demands precision cutting and placement to ensure a seamless transition. Internal corners, where two walls converge inward, often require meticulous measurements and cuts to achieve a snug fit without unsightly gaps.
External corners, on the other hand, pose a different set of challenges. These protruding edges are more susceptible to damage and chipping, necessitating extra protection and attention to detail. The choice between mirrored or wrapped tile corners can significantly impact the overall aesthetic and durability of your tiling project.
Another critical aspect to consider is the substrate preparation. Corners are prone to movement and stress, which can lead to cracking or tile separation over time. Proper preparation of the corner area, including reinforcement and waterproofing, is essential for long-lasting results.
When it comes to corner tile solutions, there’s no one-size-fits-all approach. The complexity of the project increases with intricate tile patterns or large-format tiles. These scenarios often require advanced cutting techniques and specialized tools to achieve precise angles and clean edges.
Understanding these challenges is the first step towards mastering corner tile installation. By anticipating potential issues and preparing accordingly, you’ll be better equipped to handle the intricacies of tiling into corners, ensuring a professional finish that stands the test of time.
Essential Tools and Materials for Corner Tile Installation
Equipping yourself with the right tools and materials is crucial for successful corner tile installation. Let’s dive into the essentials you’ll need to tackle this project like a pro:
1. Tile Cutter: A quality tile cutter is indispensable for making straight cuts. For intricate corner cuts, a wet saw offers precision and clean edges.
2. Angle Grinder: This versatile tool, equipped with a diamond blade, is perfect for making curved cuts or trimming tiles to fit tight corners.
3. Tile Nippers: These are handy for making small, detailed cuts around obstacles or for perfecting corner pieces.
4. Measuring Tools: A combination of tape measure, carpenter’s square, and level ensures accurate measurements and straight lines.
5. Tile Spacers: These small plastic pieces help maintain consistent gaps between tiles for a professional look.
6. Notched Trowel: Essential for applying adhesive evenly, ensuring proper tile adherence.
7. Tile Adhesive: Choose a high-quality adhesive suitable for your specific tile type and installation area.
8. Grout: Select a grout color that complements your tiles and enhances the overall design.
9. Tile Corner Trim: For external corners, tile corner trim provides a clean, finished edge and protects tiles from chipping.
10. Safety Equipment: Don’t forget protective gear like safety glasses, gloves, and knee pads.
When it comes to corner tile edging and finishing, specialized materials can elevate your project:
– Tile Corner Pieces: These pre-formed corner tiles can create a seamless look, especially in shower installations or decorative borders.
– Tile Corner Molding: Available in various materials and finishes, corner molding offers both protection and aesthetic appeal for external corners.
– Tile Corner Details: Decorative corner pieces can add a touch of elegance to your tiling project, perfect for creating focal points or accentuating design elements.
For those tackling more complex corner tile designs, consider investing in:
– Laser Level: This tool projects a perfectly straight line, invaluable for ensuring tiles are aligned correctly, especially in corners.
– Tile Scribing Tool: Useful for marking irregular cuts, particularly when fitting tiles around pipes or fixtures near corners.
– Rubber Mallet: Helps in gently tapping tiles into place without damaging their surface.
By having these tools and materials at your disposal, you’ll be well-prepared to handle the challenges of corner tile installation. Remember, quality tools not only make the job easier but also contribute to a more professional finish. Don’t hesitate to invest in good equipment – it’s an investment in the quality of your work.
Step-by-Step Guide: How to Tile into a Corner Like a Pro
Now that we’ve covered the challenges and essential tools, let’s dive into the step-by-step process of tiling into a corner like a seasoned professional. This guide will walk you through the process for both internal and external corners, ensuring you achieve that perfect tile corner finish.
Step 1: Preparation and Planning
Before you start laying tiles, thorough preparation is key. Begin by cleaning the corner area thoroughly, removing any dust, debris, or old adhesive. If you’re working on a new installation, ensure the substrate is level and properly prepared. For walls, consider applying a waterproof membrane, especially in wet areas like bathrooms.
Next, plan your tile layout. Start from the center of the room and work your way towards the corners. This approach helps ensure a balanced look and minimizes the need for small cut pieces in visible areas. Use a level and chalk lines to mark your starting points and guide lines.
Step 2: Cutting Tiles for Internal Corners
For internal corners, you’ll need to cut tiles to fit snugly against each other. Here’s how:
- Measure the distance from the last full tile to the corner, accounting for grout lines.
- Mark this measurement on your tile, then use a tile cutter or wet saw to make a straight cut.
- For a perfect fit, you may need to make small adjustments using tile nippers.
Step 3: Handling External Corners
External corners require a different approach to ensure durability and a clean finish:
- Consider using tile corner trim for protection and a polished look.
- If using trim, install it before laying the adjacent tiles.
- For a mitered corner, cut tiles at a 45-degree angle using a wet saw.
- Alternatively, use specialized corner tiles or bullnose tiles for a smooth transition.
Step 4: Applying Adhesive and Setting Tiles
Now it’s time to start setting your tiles:
- Apply tile adhesive to the wall using a notched trowel, working in small sections.
- Press the cut tiles into place, starting from the bottom and working your way up.
- Use tile spacers to maintain consistent gaps between tiles.
- For external corners with trim, apply adhesive to the back of the trim and press it into place before setting adjacent tiles.
Step 5: Grouting and Finishing
Once the adhesive has fully cured (usually 24-48 hours), it’s time to grout:
- Mix the grout according to the manufacturer’s instructions.
- Apply grout using a rubber float, ensuring all gaps are filled, including corner joints.
- Wipe away excess grout with a damp sponge, being careful not to remove too much from the joints.
- Once dry, polish the tiles with a clean, dry cloth to remove any haze.
Pro Tips for Perfect Corner Tiling:
- When cutting tiles for corners, always err on the side of caution. It’s easier to make a tile slightly smaller than to start over with a new tile.
- For a seamless look in shower corners, consider using large-format tiles and making diagonal cuts to minimize grout lines.
- In areas prone to movement, use a flexible adhesive and grout to prevent cracking.
- For intricate corner tile designs, create a mock-up on the floor first to ensure your pattern works before applying adhesive.
By following these steps and tips, you’ll be well on your way to achieving professional-looking corner tile installation. Remember, patience and precision are key when tiling into corners. Take your time with measurements and cuts, and don’t rush the process. The result will be a beautifully tiled corner that looks like it was done by a seasoned pro.
For those looking to take their corner tiling skills to the next level, mastering advanced techniques can elevate your project from good to extraordinary. These methods not only enhance the aesthetic appeal but also improve the durability and functionality of your tiled corners.
1. Seamless Waterfall Edges
Creating a seamless waterfall edge is a stunning technique for external corners, particularly in kitchen countertops or shower walls:
- Use large-format tiles to minimize grout lines.
- Cut the edge of the tile at a 45-degree angle using a wet saw with a miter feature.
- Carefully align and join the mitered edges to create a continuous pattern around the corner.
- For added precision, use a straightedge and clamps to hold tiles in place while the adhesive sets.
2. Book-Matching for Natural Stone
When working with natural stone tiles, book-matching can create a striking effect in corners:
- Select two identical pieces of stone with prominent veining.
- Cut the tiles so that when placed in the corner, the veins mirror each other.
- This technique works particularly well with marble or onyx tiles, creating a luxurious, custom look.
3. Mosaic Corner Designs
Incorporating mosaic tiles into corners can add visual interest and solve tricky cutting issues:
- Use small mosaic tiles to create a feature strip in the corner.
- This technique is especially useful for transitioning between different tile patterns or sizes.
- Mosaic corners can also help disguise slight imperfections in the wall’s geometry.
4. Custom Corner Shelves
Integrating custom corner shelves into your tiling project adds both functionality and style:
- Create a recessed niche in the corner before tiling.
- Use the same tiles as the surrounding area for a seamless look, or contrast with a different material for emphasis.
- Ensure proper waterproofing and support for the shelf, especially in wet areas.
5. Epoxy Grout for Durability
For high-traffic or moisture-prone areas, consider using epoxy grout in corners:
- Epoxy grout is more durable and stain-resistant than traditional cement-based grouts.
- It’s particularly beneficial in shower corners or kitchen backsplashes.
- Be aware that epoxy grout requires careful application and quick cleanup.
6. Vertical Tile Layout for Illusion of Height
In smaller spaces, a vertical tile layout can create an illusion of height:
- Run tiles vertically from floor to ceiling in corners.
- This technique works well with subway tiles or long, narrow tiles.
- Ensure perfect alignment using a laser level for a striking visual effect.
7. Mixed Material Corners
Combining different materials in corners can create a unique, designer look:
- Transition from ceramic tiles to natural stone or glass in the corner.
- Use metal corner trim as a decorative element rather than just a functional one.
- Experiment with contrasting textures for added visual interest.
8. Curved Corner Solutions
For spaces with curved corners, consider these advanced techniques:
- Use small, mosaic tiles that can easily conform to the curve.
- For larger tiles, make multiple small cuts to create a smooth curve.
- Consider using flexible corner trim designed for curved edges.
9. Lighting Integration
Incorporating lighting into tiled corners can create dramatic effects:
- Install LED strip lights behind a translucent stone corner piece.
- Create a backlit niche in the corner for a soft, ambient glow.
- Use light-up corner trim for both functional and aesthetic purposes.
Mastering these advanced techniques will set your tiling projects apart, showcasing a level of craftsmanship that goes beyond basic installation. Remember, practice makes perfect, so don’t be afraid to experiment with these methods on sample boards before applying them to your final project. With patience and attention to detail, you’ll be creating stunning corner tile designs that rival those of seasoned professionals.
