Selecting the right grout for your tiling project can significantly impact the durability and appearance of your finished surface. The choice between sanded vs non sanded grout depends on various factors, including tile spacing, location, and the type of tiles used. Understanding the properties and applications of each grout type is crucial for achieving optimal results in your tile installation. This comprehensive guide delves into the intricacies of sanded and non-sanded grout, helping you make an informed decision for your specific needs.
Understanding Sanded and Non-Sanded Grout
Grout serves as a crucial component in tile installation, filling the gaps between tiles and providing stability to the overall structure. The primary distinction between sanded and non-sanded grout lies in their composition and intended applications.
Sanded grout contains fine sand particles mixed with cement, water, and other additives. This composition gives it added strength and durability, making it ideal for wider tile joints and high-traffic areas. The sand particles help prevent shrinkage and cracking, ensuring a long-lasting finish.
On the other hand, non-sanded grout lacks these sand particles, resulting in a smoother, finer texture. It’s composed primarily of cement, water, and non-sand particles. This formulation makes it perfect for narrow tile joints and more delicate tile materials that could be scratched by sand particles.
When deciding between sanded vs non sanded grout, consider the following key factors:
- Joint width: Sanded grout is typically used for joints wider than 1/8 inch, while non-sanded grout is best for joints 1/8 inch or narrower.
- Tile material: Delicate tiles like marble or polished stone are better suited for non-sanded grout to prevent scratching.
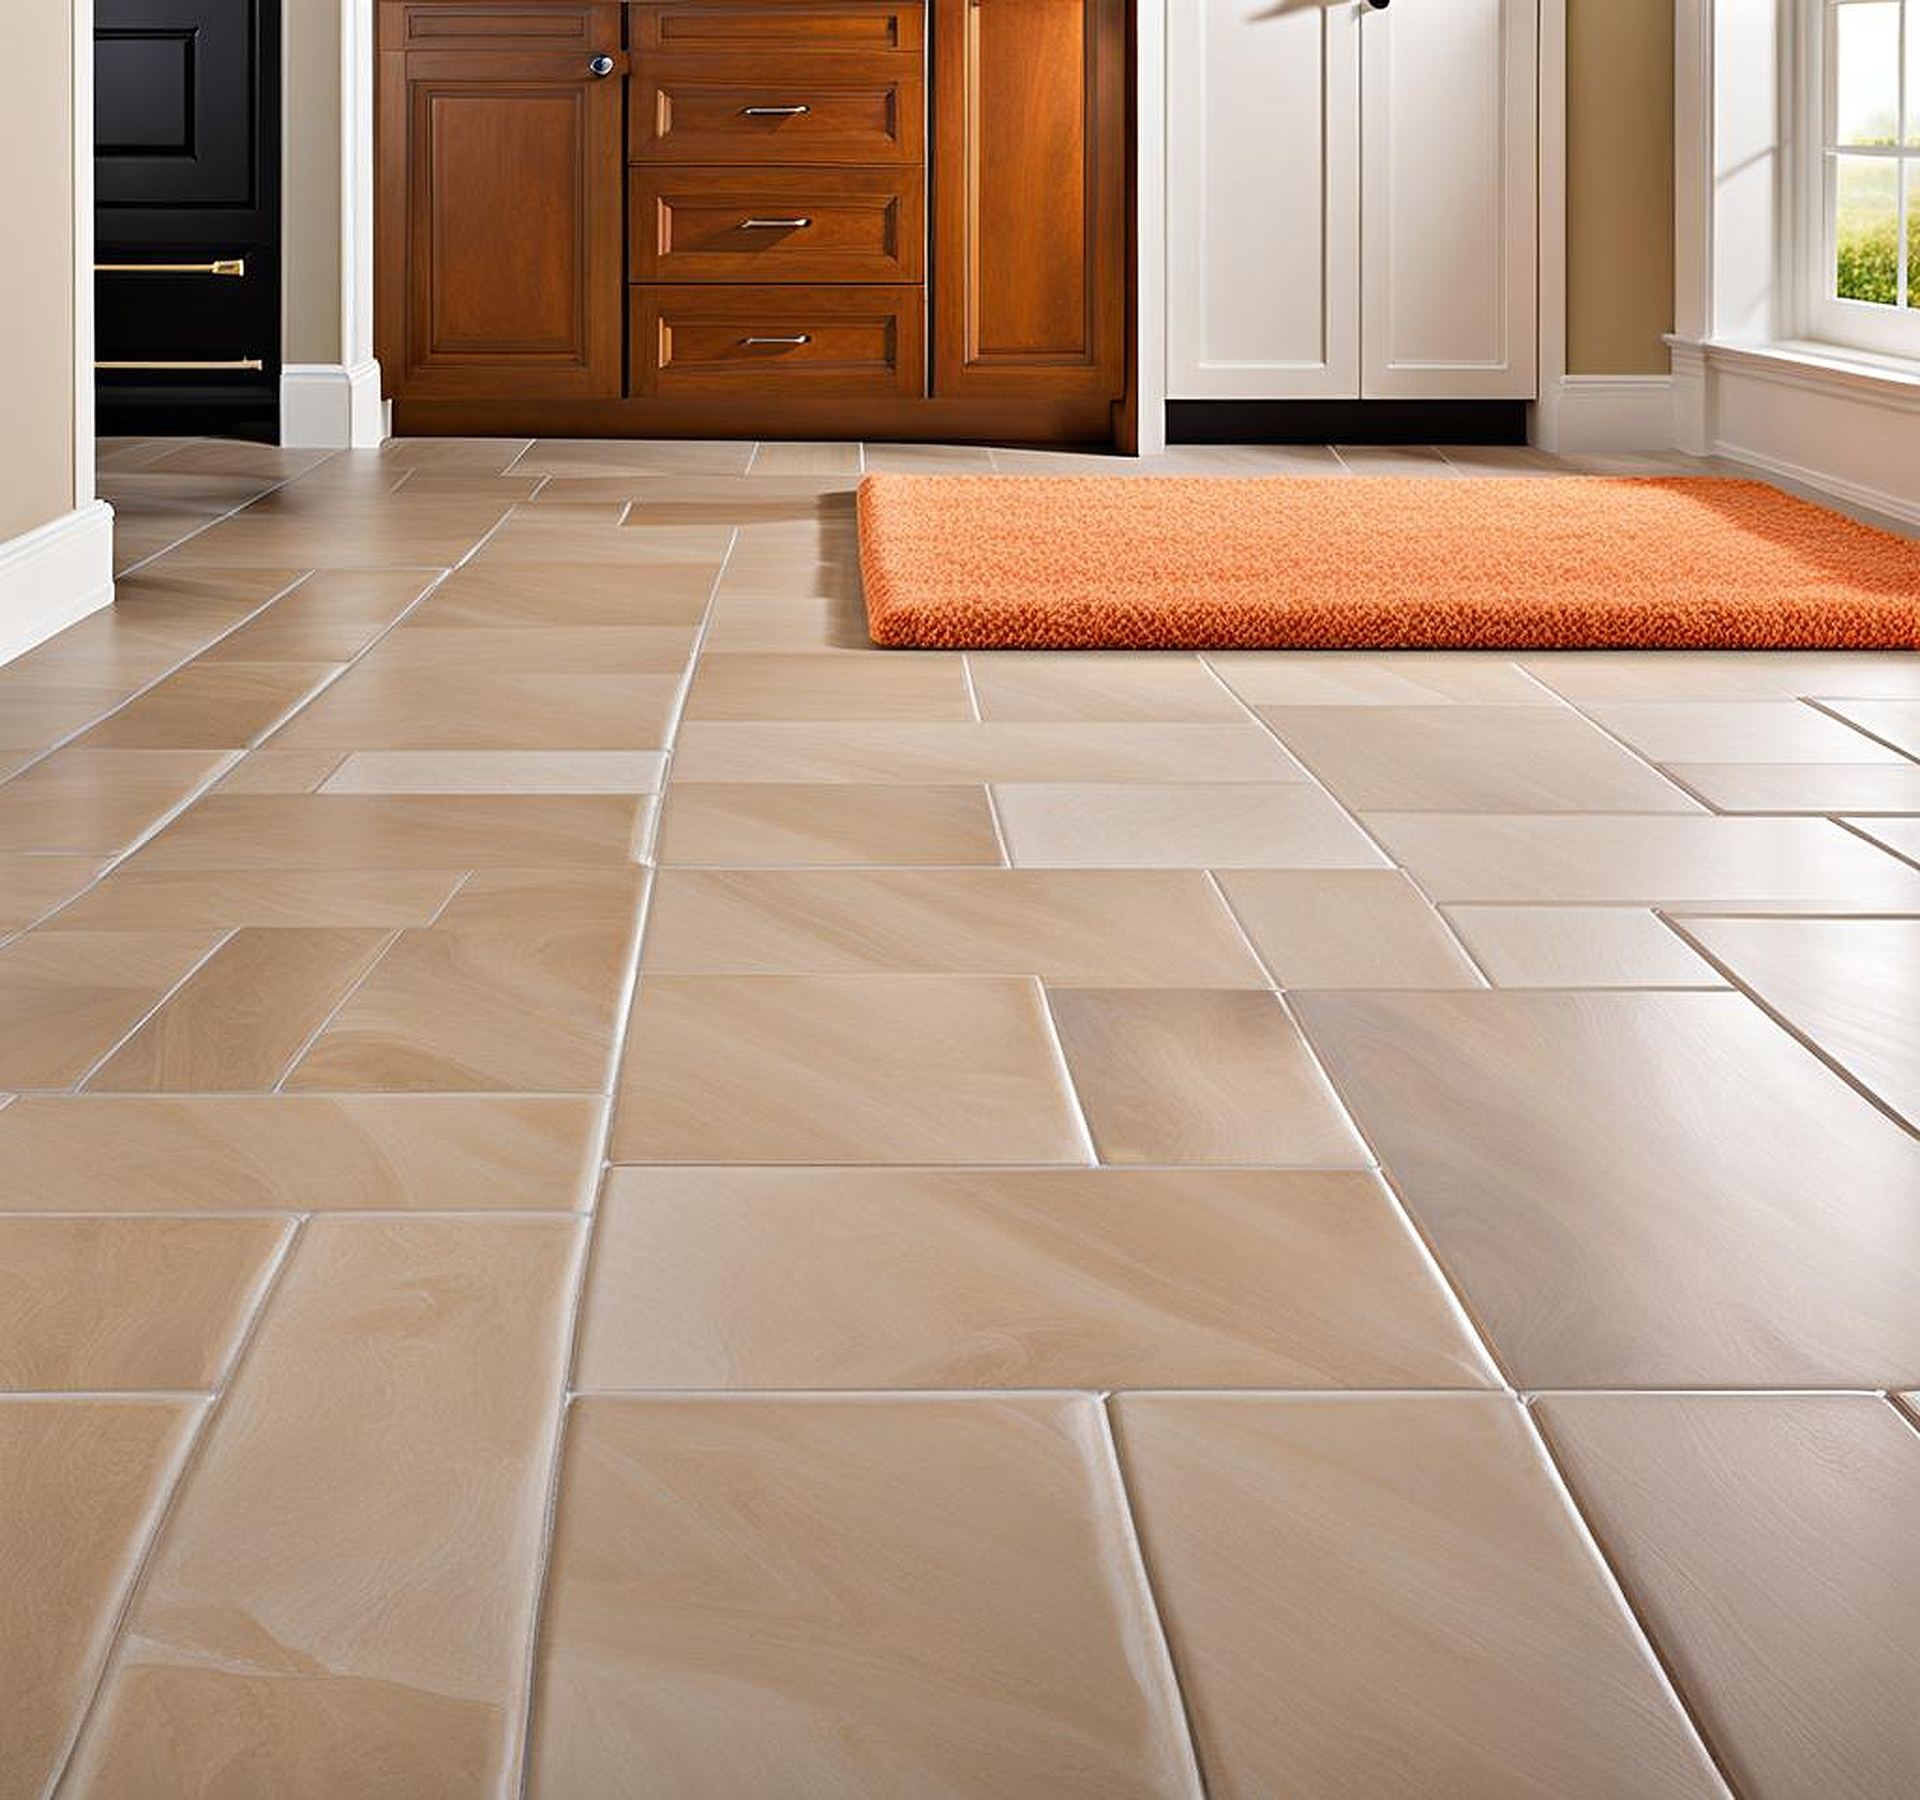
- Location: High-traffic areas or floors often benefit from the durability of sanded grout, while vertical surfaces may use non-sanded grout.
- Water resistance: Both types can be water-resistant, but sanded grout generally performs better in wet areas.
Understanding these fundamental differences will guide you in making the right choice for your specific tiling project, ensuring longevity and aesthetic appeal.
Sanded Grout: Properties and Applications
Sanded grout boasts a robust composition that makes it a popular choice for many tiling projects. Its unique properties stem from the inclusion of fine sand particles, which contribute to its strength and durability. Let’s explore the characteristics and ideal applications of sanded grout in more detail.
The composition of sanded grout typically includes Portland cement, fine sand, water, and sometimes additional polymers or additives for enhanced performance. This mixture results in a thicker consistency compared to non-sanded grout, allowing it to fill wider joints without shrinking or cracking as it dries.
One of the primary sanded grout benefits is its suitability for floor tile grout applications. The added sand provides excellent compressive strength, making it resistant to the pressures exerted by foot traffic and heavy furniture. This tear-resistant quality ensures that your grout lines remain intact even in high-traffic areas of your home or commercial spaces.
When it comes to tile joint widths, sanded grout shines in spaces wider than 1/8 inch. It’s particularly effective for joints up to 1/2 inch wide, though some specialized formulations can handle even wider gaps. This versatility makes sanded grout an excellent choice for a variety of tiling patterns and designs.
Sanded grout’s compatibility with natural stone and ceramic tiles is another significant advantage. However, it’s essential to exercise caution with polished or easily scratched surfaces. For these materials, a non-sanded or epoxy grout might be more appropriate to prevent potential damage during installation.
In terms of durability, sanded grout excels in resisting shrinkage and cracking. The sand particles provide structural support within the grout, reducing the likelihood of these common issues. This characteristic is particularly beneficial in areas subject to temperature fluctuations or moisture exposure, such as exterior grout applications.
For heavy traffic grout needs, sanded varieties often incorporate additional polymers or epoxy resins to enhance their strength and stain resistance. These formulations are ideal for commercial spaces, kitchens, and bathrooms where durability and easy maintenance are paramount.
While sanded grout offers numerous advantages, it’s important to consider potential drawbacks. The rougher texture can make it slightly more challenging to clean compared to smoother non-sanded options. Additionally, the sand particles may settle during mixing, requiring frequent stirring to maintain consistency during application.
Non-Sanded Grout: Features and Best Uses
Non-sanded grout, with its smooth texture and fine composition, offers unique advantages for specific tiling applications. Understanding its features and ideal uses will help you determine when to opt for this grout type in your projects.
The composition of non-sanded grout primarily consists of Portland cement, powdered pigments, and water, without the addition of sand particles. This results in a creamy, paste-like consistency that’s perfect for narrow tile joints. The absence of sand makes non-sanded grout less likely to scratch delicate tile surfaces during installation.
When it comes to recommended tile joint widths, non-sanded grout is ideal for spaces 1/8 inch or narrower. Its smooth texture allows it to be easily worked into these tight spaces without leaving voids or air pockets. This makes it an excellent choice for precision tiling work, especially with smaller tiles or mosaic patterns.
Non-sanded grout finds extensive use in bathroom renovation projects, particularly for shower grout applications. Its water-resistant properties, when properly sealed, make it suitable for areas exposed to moisture. The smooth finish also contributes to easier cleaning and maintenance in these high-humidity environments.
One of the standout features of non-sanded grout is its suitability for vertical surfaces. The lack of sand gives it a sticky consistency that adheres well to vertical tiles without sagging or slumping during installation. This characteristic makes it ideal for backsplashes, wall tiles, and other vertical applications in both residential and commercial settings.
For delicate tile materials such as polished marble, glass, or certain types of natural stone, non-sanded grout is often the go-to choice. Its smooth composition minimizes the risk of scratching these sensitive surfaces during installation and subsequent use. This makes it an excellent option for high-end tiling projects where preserving the integrity of premium materials is crucial.
In terms of maintenance, non-sanded grout often proves to be a low-maintenance option. Its smoother surface is less prone to trapping dirt and debris, making regular cleaning easier. However, it’s important to note that non-sanded grout may be more susceptible to staining in high-traffic areas compared to its sanded counterpart.
While non-sanded grout offers numerous advantages, it’s essential to be aware of its limitations. It’s not ideal for wider joints as it may shrink and crack when used in spaces larger than 1/8 inch. Additionally, it may not provide the same level of durability as sanded grout in high-traffic areas or floor applications.
Choosing Between Sanded and Non-Sanded Grout
Selecting the appropriate grout type for your tiling project involves careful consideration of various factors. Understanding the pros and cons of sanded vs non-sanded grout in different scenarios will help you make an informed decision that ensures the longevity and aesthetic appeal of your tiled surface.
The tile material plays a crucial role in your grout selection. For durable materials like ceramic or porcelain, both sanded and non-sanded grouts are suitable, with the choice depending more on joint width and location. However, for delicate materials like polished marble or glass, non-sanded grout is often preferred to prevent scratching during installation and use.
Joint width is another critical factor. As a general rule:
- For joints 1/8 inch or narrower: Use non-sanded grout
- For joints wider than 1/8 inch: Opt for sanded grout
The location of your tiling project also influences your grout choice. For floor tile grout in high-traffic areas, sanded grout’s durability makes it the preferred option. Its resistance to cracking and shrinkage helps maintain the integrity of your floor tiles over time. Conversely, for wall tiles or vertical surfaces, non-sanded grout’s adhesive properties and ease of application make it an excellent choice.
When considering exterior grout applications, sanded grout often performs better due to its superior resistance to weathering and temperature fluctuations. However, for exterior applications involving narrow joints or delicate tiles, a high-quality, weather-resistant non-sanded grout might be more appropriate.
For areas prone to moisture exposure, such as bathrooms or kitchens, both grout types can be effective when properly sealed. However, sanded grout’s density often provides better water resistance in the long term, especially for shower floors or other frequently wet areas.
Maintenance requirements should also factor into your decision. While both grout types benefit from regular cleaning and periodic sealing, non-sanded grout’s smoother surface often makes it easier to clean. However, sanded grout’s durability might mean less frequent repairs or replacements in high-wear areas.
When dealing with porous surface grout applications, such as natural stone tiles, the choice between sanded and non-sanded grout becomes more nuanced. While sanded grout provides better stability for wider joints, non-sanded grout might be preferable for narrower joints to prevent the sand particles from potentially staining the porous surface.
Tile sealing considerations also play a role in your grout selection. Both sanded and non-sanded grouts benefit from sealing to enhance their stain and water resistance. However, the type of sealer and application method might vary depending on the grout type and the specific requirements of your tiling project.
Specialized Grout Options and Alternatives
While sanded and non-sanded grouts cover a wide range of tiling needs, specialized grout options offer solutions for unique requirements or challenging environments. Understanding these alternatives can help you address specific project needs or overcome limitations of traditional cement-based grouts.
Epoxy grout stands out as a high-performance option that combines epoxy resins and hardeners instead of cement. This formulation results in a highly durable, stain-resistant, and waterproof grout that’s ideal for areas requiring superior chemical resistance or hygiene standards. Epoxy grout benefits include:
- Excellent stain and chemical resistance
- Virtual impermeability to water
- High durability in heavy traffic areas
- Suitability for both wide and narrow joints
However, epoxy grout’s higher cost and more challenging application process make it less common for standard residential use.
Polyester grout offers another specialized option, particularly useful for specific project needs. It provides good chemical resistance and quick curing times, making it suitable for commercial or industrial applications where rapid installation is crucial. Polyester grout also offers excellent color consistency and stain resistance.
For heavy-duty applications, concrete grout comes into play. This type of grout is typically used in large-scale commercial or industrial settings where exceptional strength and durability are required. Concrete grout can withstand heavy loads and is often used in tile installations for factories, warehouses, or other high-stress environments.
In challenging environments where chemical exposure is a concern, acid-resistant grout options become essential. These specialized grouts, often epoxy-based, are designed to withstand exposure to acids and other corrosive substances. They’re commonly used in laboratories, industrial kitchens, and manufacturing facilities where standard grouts would quickly deteriorate.
For those looking to add a unique aesthetic touch to their tiling project, decorative grout options offer exciting possibilities. These include:
- Metallic grouts: Containing metal powders for a shimmer effect
- Glitter grouts: Incorporating reflective particles for a sparkling finish
- Glow-in-the-dark grouts: Containing phosphorescent materials for nighttime illumination
These decorative options can transform a standard tiling job into a stunning design feature, adding depth and visual interest to your space.
When considering grout options for natural stone installations, specialized stone grouts are available. These are formulated to complement the characteristics of specific stone types, ensuring compatibility and enhancing the overall appearance of the installation.
For projects requiring exceptionally low maintenance, urethane grouts offer an interesting alternative. These pre-mixed, water-based grouts provide excellent stain resistance and flexibility, reducing the need for frequent sealing or intensive cleaning routines.
Proper installation and maintenance are crucial for maximizing the performance and longevity of your grout, regardless of whether you choose sanded or non-sanded varieties. Following best practices ensures a successful tile installation and helps maintain the beauty of your tiled surfaces for years to come.
When it comes to tile and grout installation, preparation is key. Ensure that the surface is clean, dry, and properly leveled before beginning. For optimal adhesion, use the appropriate tile adhesive for your specific tile type and installation location. Allow adequate drying time for the adhesive before proceeding with grouting.
Grout mixing is a critical step that significantly impacts the final result. Whether working with sanded or non-sanded grout, follow these tips for optimal performance:
- Use clean, cool water and mix in small batches to prevent premature drying
- Achieve a consistent, lump-free mixture by following manufacturer guidelines for water-to-grout ratios
- Allow mixed grout to slake (rest) for 5-10 minutes before remixing and applying
- For sanded grout, stir occasionally during use to maintain consistent sand distribution
During application, work in small sections to prevent the grout from drying before you can clean excess from the tile surface. Use a rubber float to press the grout firmly into joints, ensuring complete filling without voids. For sanded grout in wider joints, consider using a grout bag for more precise application.
After initial set, clean excess grout from the tile surface using a damp sponge. Be careful not to remove too much grout from the joints during this process. Allow the grout to cure according to manufacturer instructions, typically 24-72 hours, before exposing it to water or heavy use.
The application of grout sealants is an essential step for enhancing protection against stains and moisture. Most grouts benefit from sealing, though the timing can vary:
- Cement-based grouts: Wait 48-72 hours after installation before sealing
- Epoxy grouts: Generally do not require sealing
Choose a high-quality penetrating sealer for optimal protection, and reapply according to manufacturer recommendations, typically every 1-2 years.
Maintenance routines differ slightly between sanded and non-sanded grouts. For both types, regular cleaning with pH-neutral cleaners helps prevent stain buildup. Avoid acidic or harsh chemical cleaners that can erode the grout over time. For sanded grout, occasional deep cleaning with a soft brush can help remove embedded dirt from its more textured surface.
Addressing common issues promptly can prevent more significant problems down the line. For minor cracks in cement-based grouts, use a matching grout renew product. For more extensive damage, consider regrouting the affected area. Stains can often be addressed with specialized grout cleaners or a paste made from baking soda and water.
In high-traffic areas or locations prone to moisture, such as showers, pay extra attention to maintenance. Regular inspection and prompt addressing of any issues can significantly extend the life of your grout and maintain the overall appearance of your tiled surfaces.
By following these installation and maintenance best practices, you can ensure that your chosen grout, whether sanded or non-sanded, performs optimally and maintains its appearance for years to come. Remember that proper care not only preserves the aesthetic appeal of your tiled surfaces but also protects your investment in quality materials and craftsmanship.
