A sudden gushing leak from a burst pipe can quickly turn into a disastrous situation if not handled immediately. When faced with an emergency pipe leak, taking swift and decisive action is critical to stop flooding and prevent costly water damage throughout your home. With some basic preparation and understanding of plumbing systems, you can minimize the chaos and destruction of an unexpected pipe leak episode.
Signs of an Emergency Leak Requiring Urgent Attention
Some clear visual and auditory signs will alert you to a major pipe leak requiring emergency containment measures. These includes:
- Visible water spraying out from a burst section of pipe
- The sound of rushing water gushing loudly somewhere
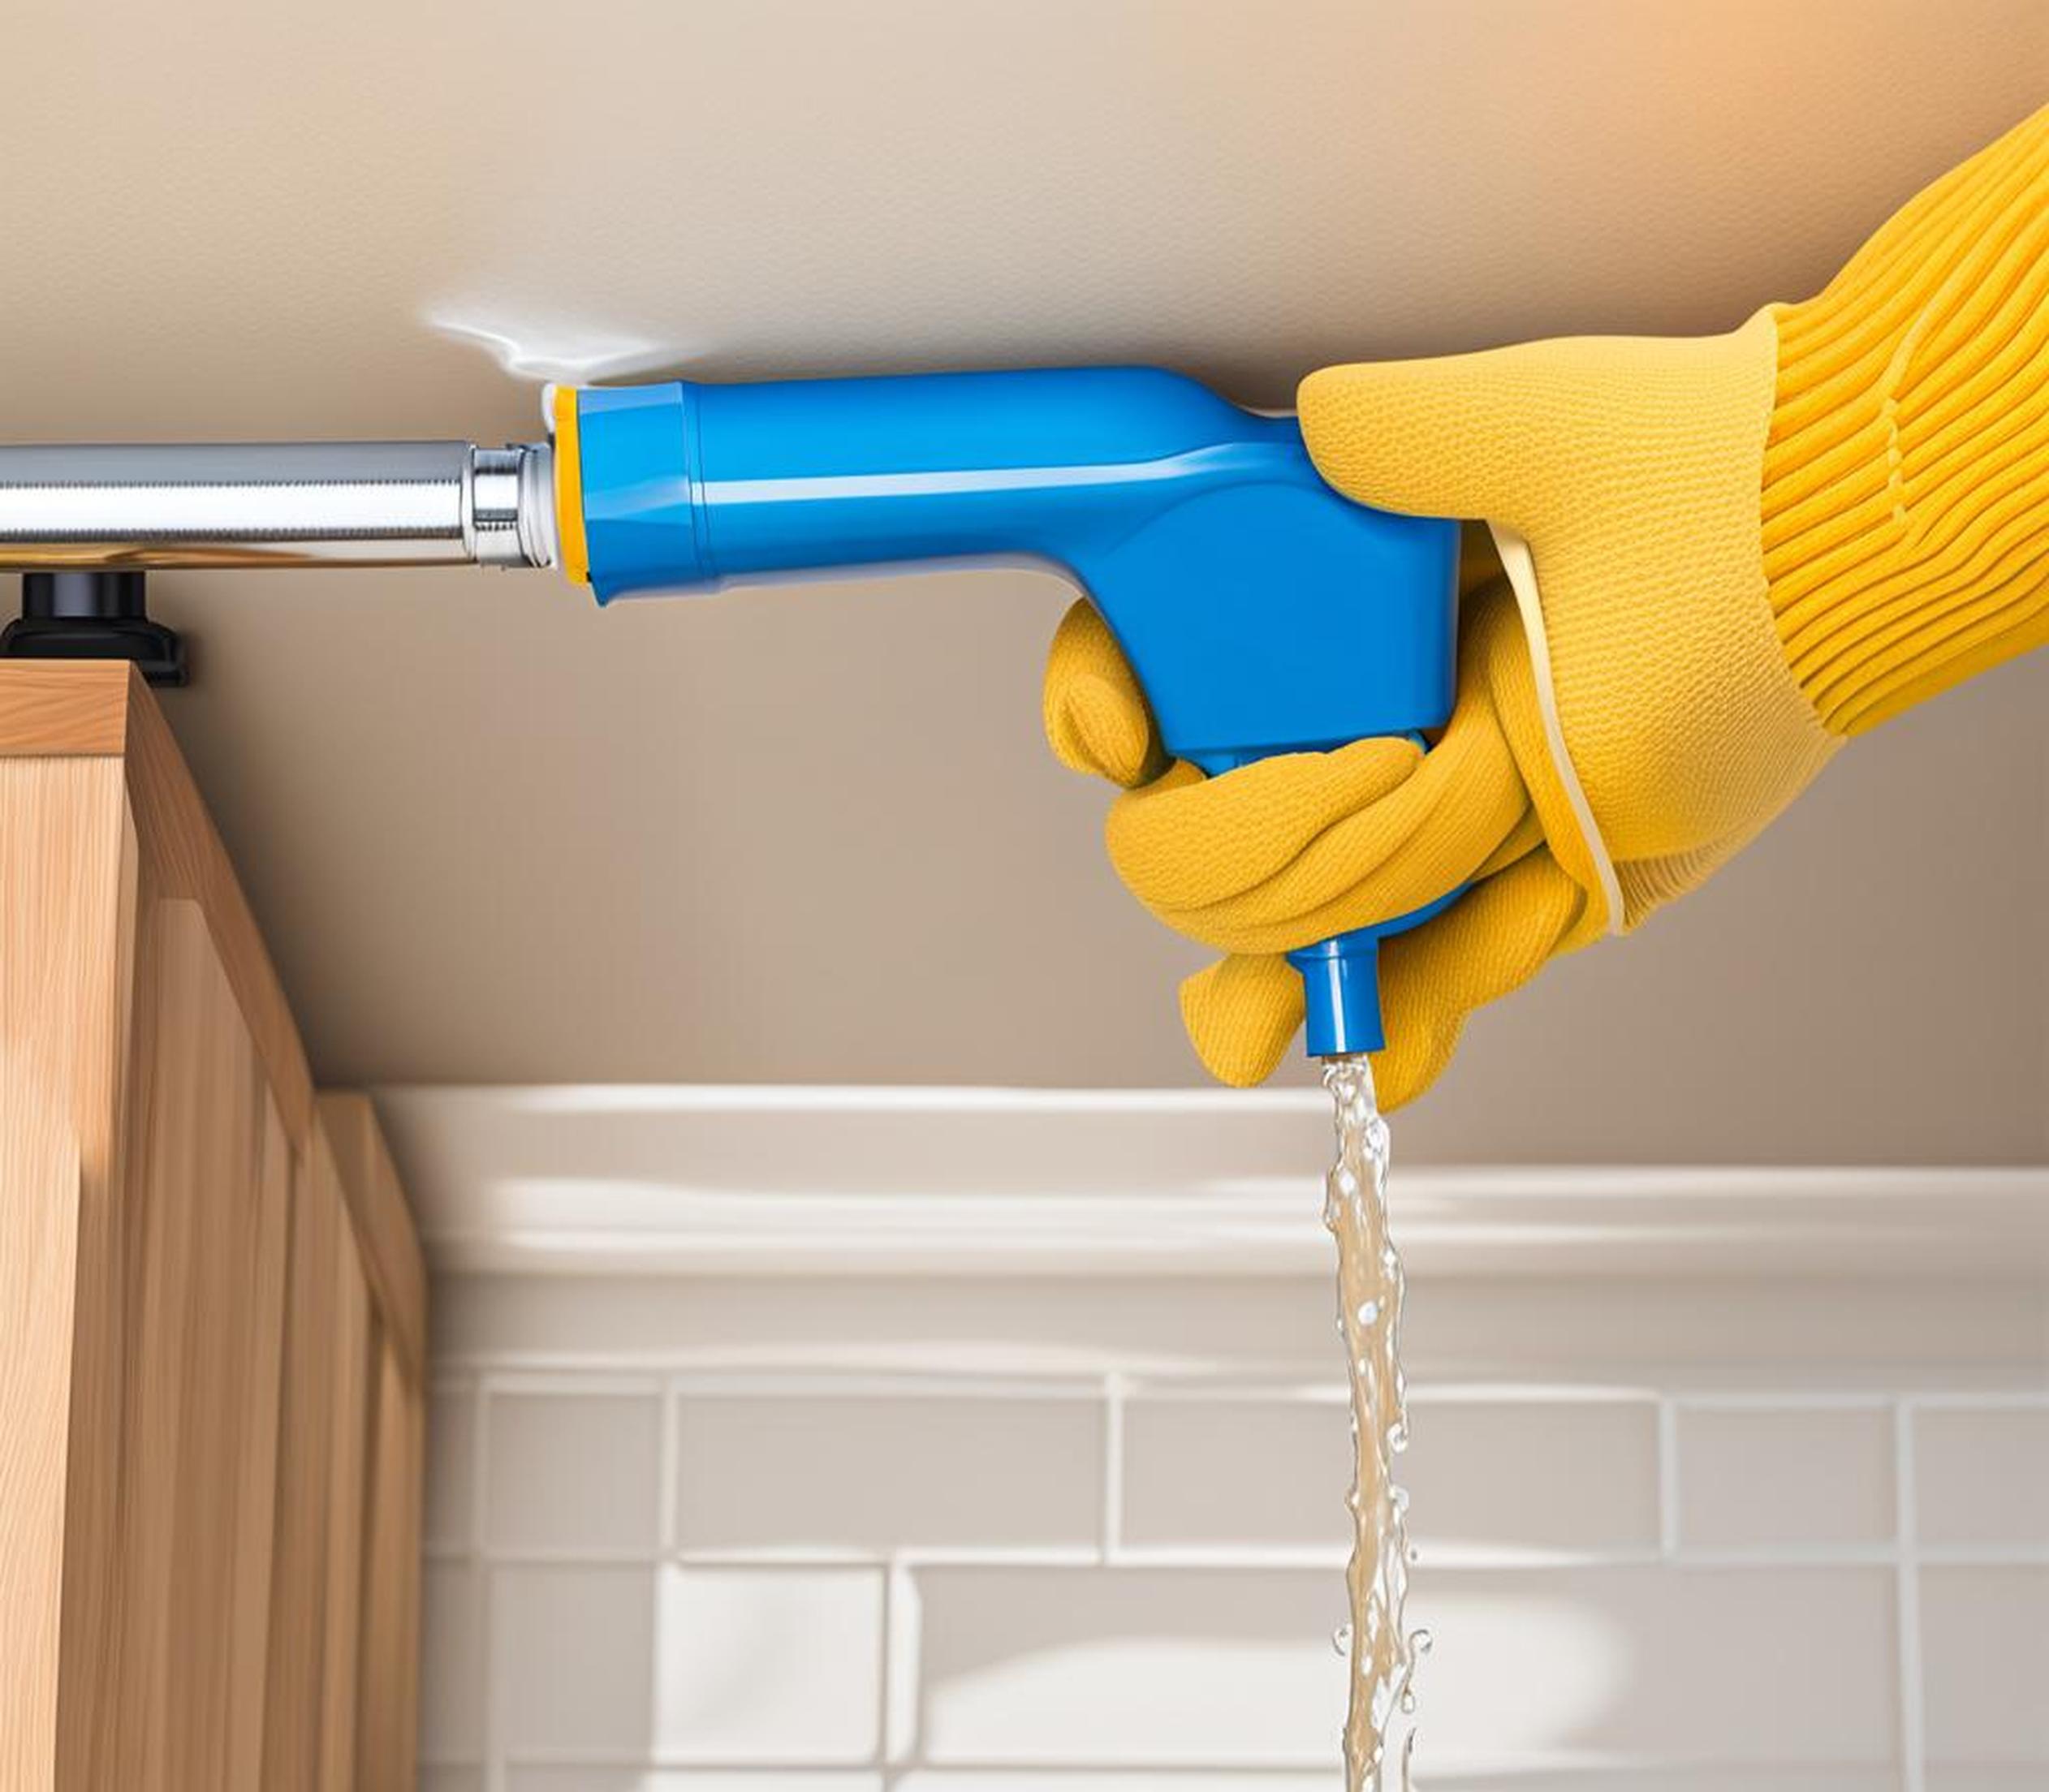
- Water leaking through the ceiling or walls in multiple rooms
- Flooding beginning to accumulate and spread across floors
Catching the early signs allows you to intervene faster. But extensive floods beginning to cause damage indicate a full-scale rupture. We’ll cover next steps for emergency response.
Shut Off the Water Supply Immediately
Upon discovering a burst pipe actively leaking, locating the main water supply line and shutting off the valve is the very first priority. This could be the primary shut off accessing the whole house, or an isolated valve affecting only the pipe section involved. Knowing your home’s layout helps identify the appropriate valve quickly. Shutting off the water flowing through the broken pipe stops additional flooding from occurring, giving you a chance to assess and address the problem.
Tools and Materials
Gather a few key items beforehand to prepare for emergency leak situations:
- Wrench/pliers to access valves
- Headlamp if leak occurs in dark space
- Towels to help contain early leakage
- Gloves to protect hands
Keep these maintenance tools in an easily accessible leakage emergency kit for fast response when needed.
Methods
When visibly confronted by a burst pipe spraying water uncontrollably, rush to turn off the water supply using one of these methods:
- Locate and switch the main water shut off valve lever to “Closed.”
- If there are isolation valves around section with broken pipe, close only that loop.
- Alternatively, water supply can be switched off at water meter.
Eliminating the flowing water prevents structural flooding damage while the actual pipe rupture is addressed. But water may still leak out of ruptured pipe briefly until supply runs out.
Assess Severity and Cause of Pipe Leak
With the water valve switched into the “off” position, the uncontrolled spray will stop, granting you time to diagnose the leak location and severity in order to plan appropriate repairs.
Pinpoint Source of Leak
Visually inspect the plumbing apparatus to identify:
- Exact origin point where pipe failure occurred
- Size of hole, crack or burst area
- Pipe material (e.g copper, PVC) and diameter
Look for drips or pooling water under pipe joints and sections as clues. Removing drywall panels or tile enables inspecting concealed plumbing as well.
Determine Factors Causing Rupture
Understand why the pipe spontaneously burst open in a gushing leak by considering:
- Age and corrosion – older metal pipes rust, crack, leak over decades of wear
- Physical stresses – shifts in foundation or soil puts stress on piping
- High water pressure – continuous excess pressure weakens joints
- Nearby construction activity – vibration/shifting underground pipes
- Freezing temps – water expands, cracks weakened sections of plumbing
This context clarifies best repair approach and preventative measures for the future.
Evaluate Repair Options
gauge whether a temporary sealant will suffice for a small isolated crack or whether whole section replacement is necessary for severely burst pipe spewing high pressure water.
Choose Appropriate Sealant Type for Pipe Leak
Selecting an optimal leak sealant depends on assessing factors like:
- Pipe size/location/pressure – high pressure main lines need heavy duty sealants
- Pipe material – match sealant compatibility with copper, galvanized, iron, PVC, CPVC piping
- Severity of rupture – pinholes vs cracks vs exploded joints
- Desired fix duration – temporary vs permanent repair solutions
Temporary Emergency Leak Sealants
For urgent spill containment until professional repairs, quick-bonding sealants to stop flowing water include:
- Plugging Compound – seals cracks/holes in minutes as hard stopper
- Pipes Putty – pliable sealant pressed into leaks for short term
- Thread Seal Tape – wrapped around pipe threads to block flow
- Leak Seal Pads – adhesive pads placed over troubled junction
These rapid fixes aim to just restrain water while planning pipe replacement.
Permanent Leak Sealants
Long term repair solutions for robust seals against high pressure include:
- Epoxy Putty – coats cracks for durable, waterproof barrier
- Liquid Sealants – brushed over leaks, solidifies as tough cover
- Hydraulic Cement – applied to holes/cracks, permanently bonds
- Pipe Clamps/Collars – fitted around pipe to seal damaged areas
These chemically suitable, high adhesion solutions effectively patch up or reinforce leakage zones.
Implement Chosen Sealant Repair on Defective Pipe
With water supply turned off and appropriate sealant selected, complete the emergency leak repair using manufacturer guidelines specific to the product while observing general best practices.
Prep Pipe Surface
To enable robust sealant bonding, thoroughly clean the leaking portion by:
- Drying it completely with towels/rags
- Sanding down slick areas for roughness
- Removing loose particles or flaking rust
Proper surface prep allows sealants to adhere tightly.
Apply Sealant
Administer sealant to defective pipe area following specifications:
- Plugging Compounds – firmly pack putty into entire crack/hole
- Epoxy Putties – knead together components, press into leak zone
- Tapes – wrap multiple layers with 50% overlap for full coverage
- Liquid Sealants – brush 1/8″ layer extending several inches past leak
Sealant amount and technique prevents water passing through repair points.
Clamp Rigidly
Use pipe clamps to mechanically brace repairs by:
- Positioning 2+ clamps evenly around repaired segment
- Tightening bolts/bands to fully support without shifting
- Retightening after sealant dries for extra strength
Proper clamping keeps high pressure sealants firmly contained.
Allow Sealant to Set Completely
Leave repair fully undisturbed during curing times before:
- Hydraulic cements – 72 hours to achieve strength
- Epoxy putties – 8-12 hours set time
- Liquid sealants – 24 hours to completely harden
Rushing leakage testing risks compromise if sealant bonds remain delicate.
Prevent Future Pipe Leaks Through Maintenance
Alongside sealing emergency leaks, implement preventative maintenance habits to avoid issues recurring.
Inspect Pipes Periodically
Visually check pipes occasionally for developing trouble signs:
- Corrosion – Flaking paint, rust weeping at joints
- Wear – Constricted/leaking at bends and connectors
- Cracks – Fissures along straight runs or branches
Early detection facilitates repairing minor leaks before erupting.
Update Vulnerable Systems
Consider proactive upgrades to inherently problematic piping:
- Replace old steel/iron piping prone to rust leakage
- Repipe with robust PEX or CPVC material to reduce cracks
- Reroute awkward pipe angles adding strain and fatigue over time
Modernizing leakage-susceptible infrastructure prevents issues.
Moderate Water Temperature/Pressure
Adjust household water conditions to safer levels by:
- Setting water heater temperature below 120degF
- Installing pressure reducing valve if over 80 psi
- Checking toilet fill valves not overfilling tanks
Excess heat/pressure accelerates pipe wear and risk of bursts.
Install Leak Detection System
Investing in advanced monitoring enables catching problems early:
- Smart water shut-off systems detect flow anomalies
- Digital moisture sensors alert to trace leakage
- Smart home water monitors track usage changes
Technology solutions let you deploy countermeasures faster.
Enlist Professional Plumbing Help When Necessary
While able to seal cracks temporarily on your own, complex piping leaks often require consulting pros.
Hard to Reach Spots
If burst occurs in convoluted access areas, pros have specialized tools like:
- Snake cameras to navigate tight spaces
- Pipe inspection drones saving demolition work
Getting visuals inside cramped plumbing aids precise repairs.
Behind Walls/Under Floors
For concealed pipe networks leaking in inaccessible areas:
- Plumbers pinpoint issue without excessive destruction
- They rebuild walls, floors, ceilings per code after fixing leaks
Minimizing collateral damage requires pro assessment/cleanup skills.
Major System Repairs
If leak results from or causes broader problems:
- Full pipe replacements to upgrade failing old materials
- Entire replumb to improve flow or reroute stresses
Pros handle major infrastructure refits efficiently.
Mitigate Resulting Water Damage
Despite quick response, some flooding from a burst pipe event is often unavoidable. Implement damage control tactics to minimize harm.
Extract Excess Water ASAP
To inhibit mold growth and structural issues:
- Use water pumps to rapidly drain flooded areas
- Soak up remaining moisture with towels
Getting things dry fast is imperative.
Run Dehumidifiers
Use high capacity dehumidification continuously for 1-2 weeks until humidity drops below 50% preventing mold.
Inspect for Hidden Impacts
Check walls/floors for subtle damage after drying out such as:
- Wallpaper bubbling or plaster cracking
- Loose floor tiles or warped hardwood
- Water stains marking intricate decay
Identifying obscured damage early reduces costs/complications.
Complete Repairs
Fix severely water-logged areas like:
- Replace mushy drywall sections prone to mold
- Eliminate moist insulation rendering it useless
- Refasten detached toilets/sinks now loose
Restoring damaged zones back to normal.
Dealing with sudden gushing pipe leaks requires quick thinking and action. After shutting off the water flows fueling it, emergency sealants can temporarily plug cracks and holes. Supporting professional repairs then permanently mend broken sections. Preventative maintenance helps avoid getting into leak crises in the first place. Implementing both stopgap and long term solutions will minimize chaos and costs when plumbing catastrophes eventually strike.
