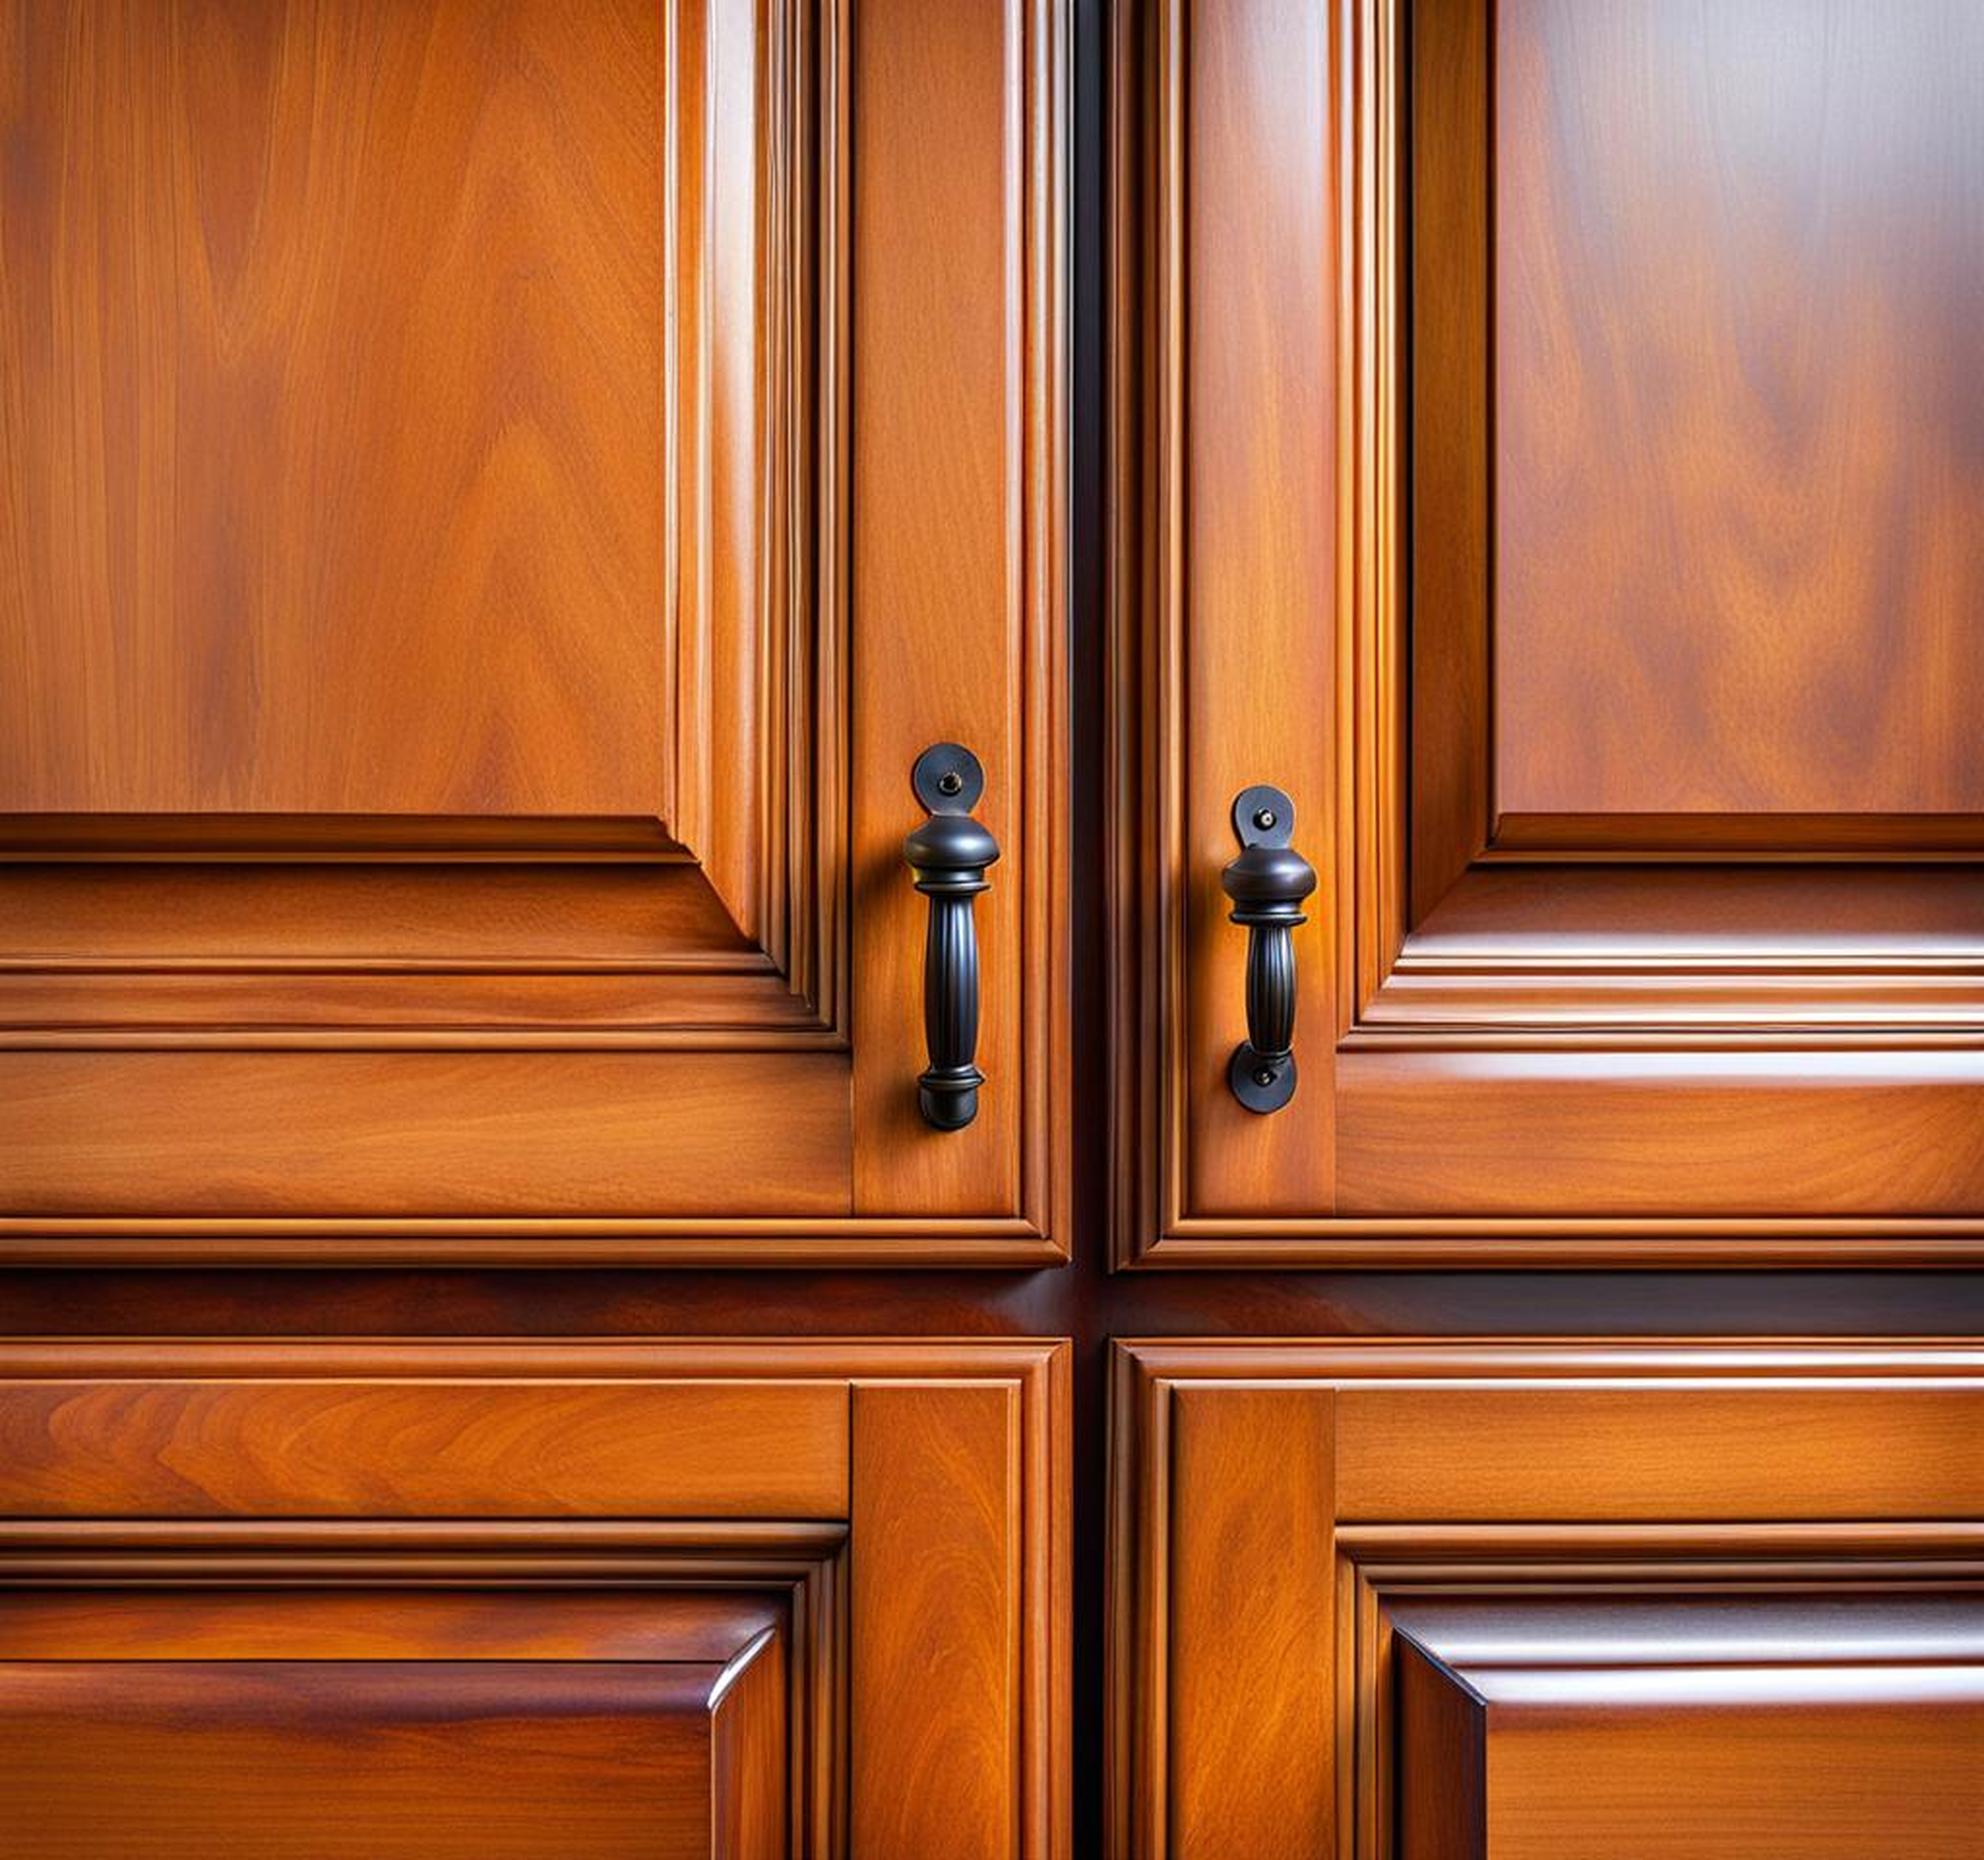
Has your kitchen seen better days? Before you replace your dated or damaged cabinets, consider trying some easy DIY repairs first.
Gather The Needed Supplies
Many cabinet repairs require just a few basic tools you likely already own including:
- Screwdrivers
- Hammer
- Wood glue
- Laminate adhesive
- Steel wool
- Sandpaper
- Painter’s tape
We’ll go over other supplies as needed for specific fixes below. Having these DIY repair essentials ready will make restoring your worn cabinets much easier.
Step-By-Step Directions
Fixing Loose Cabinet Doors
Do you have cabinet doors that sag, stick out from the frame, or just feel wobbly? Often the underlying issue is loose hinges. Here’s how to fix them:
- Inspect all hinges, identifying any loose screws.
- Use a screwdriver to tighten all screws until firm and the door hangs straight.
- For stripped screws or holes, apply wood filler before replacing screws.
- Adjust doors that are misaligned by loosening screws, repositioning, then tightly screwing hinges back in place.
These steps should resolve most cases of problem doors. However if hinge issues persist or doors are badly warped, you may need to replace damaged hardware.

Securing Detached Drawer Pulls and Knobs
Over time, the screws securing your cabinet hardware can loosen causing handles and knobs to detach.
Be sure to wipe away any excess globs of wood glue after securing hardware. Properly tightened screws with a bit of glue should resolve any issues of loose knobs or handles.
Rebonding Peeling Cabinet Laminate
Over years of use, moisture damage, or improper bonding, laminate surfaces can begin detaching. Don’t panic – with some adhesive and elbow grease, you can reaffix peeling pieces.
When working with laminates, be sure to remove all loose parts before attempting to rebond it. Taking your time to smooth and secure as adhesive sets will result in long-lasting repairs.
Eliminating Surface Scratches and Nicks
Even with everyday wear and tear, cabinet surfaces accumulate scratches, dings, and superficial damage over time. Here are thrifty ways to improve their appearance:
- For light scratches, rub area with wet sponge then use toothpaste as a gentle abrasive polisher when buffed with a soft cloth.
- Carefully wipe steel wool lightly oiled with olive oil along deeper scratches to minimize visibility.
- Use wood filler, let dry completely, then sand smooth for handling more substantial gashes.
Depending on the severity of surface damage, a few common household items can erase unsightly marks on your cabinets.
Maintaining Improvement Efforts
To help keep your refreshed cabinets looking revitalized, be sure to:
- Use only cabinet-safe cleaners and polishes.
- Periodically check and tighten any hardware.
- Seal laminate edges with caulk to prevent moisture entering.
A bit of proper care will help support your repair work for long-lasting results.
As you can see, many common kitchen cabinet damages can be fixed yourself without professional help. Skip the high costs of installing all new cabinets by restoring what you already have instead!
We hope these DIY solutions gave you ideas and confidence for ways to resolve loose doors, detached handles, peeling laminate, or unsightly scratches. With a little time and effort, you can breathe new life into your worn kitchen cabinets.
