Creating diy kitchen island with seating plans can revolutionize your culinary space, offering both functionality and style. This project combines practicality with personal flair, allowing you to craft a custom centerpiece that caters to your specific needs. Whether you’re a seasoned DIY enthusiast or a beginner looking to enhance your kitchen, this guide will walk you through the process of designing and building your dream kitchen island with ample seating.
Understanding the Benefits of a DIY Kitchen Island with Seating
A custom kitchen island with seating is more than just an additional workspace; it’s a transformative element that can redefine your entire kitchen experience. Let’s explore the myriad advantages of incorporating a DIY kitchen island into your home:
- Increased Functionality: By adding a kitchen island, you’re essentially creating a multipurpose station that can serve as a prep area, dining space, and storage solution all in one.
- Enhanced Storage: Custom-built islands offer the opportunity to incorporate tailored storage solutions, from deep drawers for pots and pans to open shelving for cookbooks and decorative items.
- Improved Traffic Flow: A well-designed island can optimize your kitchen’s layout, creating a more efficient workflow and reducing congestion during meal preparation.
- Social Hub: With integrated seating, your kitchen island becomes a natural gathering spot for family and friends, fostering a more social cooking and dining experience.
- Added Value: A thoughtfully crafted kitchen island can significantly boost your home’s resale value, making it an investment in both your current lifestyle and future returns.
When you embark on diy kitchen island designs, you’re not just building a piece of furniture; you’re crafting a central feature that will serve as the heart of your home. The ability to customize every aspect ensures that your island will perfectly complement your existing decor while meeting your unique needs.
Moreover, the process of creating your own kitchen island can be incredibly rewarding. You’ll gain valuable DIY skills, save money compared to pre-made options, and have the satisfaction of knowing that every detail was crafted by your own hands. This personal touch adds an intangible value that can’t be replicated by store-bought alternatives.
Planning Your Custom Kitchen Island: Design Considerations and Layout
Before you start building, it’s crucial to develop a solid plan for your kitchen island with seating. This phase involves careful consideration of your space, needs, and design preferences. Here’s how to approach the planning stage:
Assess Your Space: Begin by measuring your kitchen area. You’ll need to ensure there’s enough room for the island and adequate clearance around it for comfortable movement. A general rule of thumb is to allow at least 36 inches of clearance on all sides of the island.
Determine Functionality: Consider what you want your island to do. Will it primarily be for food prep, dining, or both? Do you need it to house appliances like a sink or cooktop? These decisions will influence your kitchen island layout and overall design.
Plan for Seating: Decide how many seats you want to incorporate. Standard kitchen island seating plans typically allow 24 inches of width per person for comfortable seating. Don’t forget to account for leg room beneath the countertop overhang.
Choose Your Style: Your island should complement your kitchen’s existing style. Whether you prefer a rustic farmhouse look or a sleek modern design, your choice will guide material selection and finishing details.
Consider Storage Needs: Think about what you’ll store in your island. Do you need drawers for utensils, cabinets for pots and pans, or open shelving for easy access to frequently used items?
Lighting Plans: Don’t overlook the importance of proper lighting. Pendant lights above the island can provide both task lighting and a decorative element.
To visualize your ideas, sketch out your kitchen island plans. This doesn’t have to be a professional-grade drawing; even a simple diagram can help you organize your thoughts and spot potential issues before you start building.
Remember, the key to a successful DIY kitchen island project is thorough planning. Take your time during this stage to ensure that your final product will be both beautiful and functional. Consider creating a mood board with images of islands you admire, material samples, and color swatches to help refine your vision.
Step-by-Step Guide to Build a Kitchen Island with Seating
Now that you’ve planned your custom kitchen island, it’s time to bring your vision to life. Follow these steps to build a kitchen island that will serve as the centerpiece of your culinary space:
- Create a Base Frame:
- Start by building a sturdy base frame using 2×4 lumber.
- Ensure the frame is level and square for a stable foundation.
- Secure the frame to the floor for added stability.
- Install Cabinet Boxes:
- If using pre-made cabinets, attach them to the base frame.
- For custom cabinets, build and install them according to your plans.
- Ensure all cabinet doors and drawers open smoothly.
- Add a Countertop:
- Measure and cut your chosen countertop material to size.
- Secure the countertop to the cabinet structure.
- If using stone or solid surface, consider professional installation.
- Incorporate Seating Area:
- Extend the countertop to create an overhang for seating.
- Install support brackets if necessary for extended overhangs.
- Ensure adequate leg room beneath the seating area.
- Install Any Appliances or Fixtures:
- If your island includes a sink or cooktop, now is the time to install them.
- Hire professionals for plumbing and electrical work if needed.
- Apply Finishing Touches:
- Add trim and molding to give your island a polished look.
- Paint or stain the exterior to match your kitchen’s aesthetic.
- Install hardware like drawer pulls and cabinet knobs.
Throughout the building process, it’s essential to take your time and double-check measurements. Remember, precision is key when you build a kitchen island. If you’re unsure about any step, don’t hesitate to consult online tutorials or seek advice from experienced DIYers.
For those new to woodworking, consider starting with a simpler design and gradually working up to more complex features as you gain confidence. The beauty of DIY kitchen island projects is that you can customize and expand your island over time as your skills improve.
Safety should always be your top priority. Wear appropriate protective gear, use tools correctly, and enlist help for heavy lifting or complex tasks. By following these steps and taking necessary precautions, you’ll be well on your way to creating a beautiful and functional kitchen island with seating that you can be proud of.
Materials and Tools for Your DIY Kitchen Island Project
Gathering the right materials and tools is crucial for the success of your DIY kitchen island project. Here’s a comprehensive list to help you get started:
Materials:
- 2×4 lumber for the base frame
- Plywood for cabinet boxes (if building custom)
- MDF or hardwood for cabinet doors and drawer fronts
- Countertop material (butcher block, laminate, granite, etc.)
- Cabinet-grade plywood for shelving
- Trim and molding
- Wood glue
- Wood filler
- Sandpaper (various grits)
- Paint or stain
- Drawer slides and hinges
- Cabinet handles and knobs
- Screws, nails, and other fasteners
Tools:
- Circular saw or table saw
- Drill and drill bits
- Kreg jig for pocket holes
- Measuring tape and level
- Carpenter’s square
- Clamps
- Paintbrushes or rollers
- Screwdrivers
- Hammer
- Jigsaw (for cutouts in countertop if needed)
- Safety gear (goggles, ear protection, dust mask)
When selecting materials for your kitchen island plans, consider both aesthetics and durability. For instance, while particleboard might be cheaper, it’s less durable than plywood for cabinet construction. Similarly, your choice of countertop material will impact both the look and functionality of your island.
If you’re incorporating a sink or electrical outlets into your island, you may need additional materials like PVC pipes, wiring, and junction boxes. For these elements, it’s often best to consult with or hire professionals to ensure safety and compliance with local building codes.
Don’t forget to factor in the finish of your island. If you’re painting, you’ll need primer, paint, and possibly a clear protective coat. For a stained finish, choose a stain that complements your kitchen’s color scheme and remember to apply a protective sealant.
As you gather your materials and tools, consider renting larger equipment like a table saw if you don’t own one. This can be a cost-effective solution for tools you won’t use frequently. Additionally, many home improvement stores offer cutting services, which can be helpful if you don’t have the tools or space to cut large sheets of plywood or countertop materials.
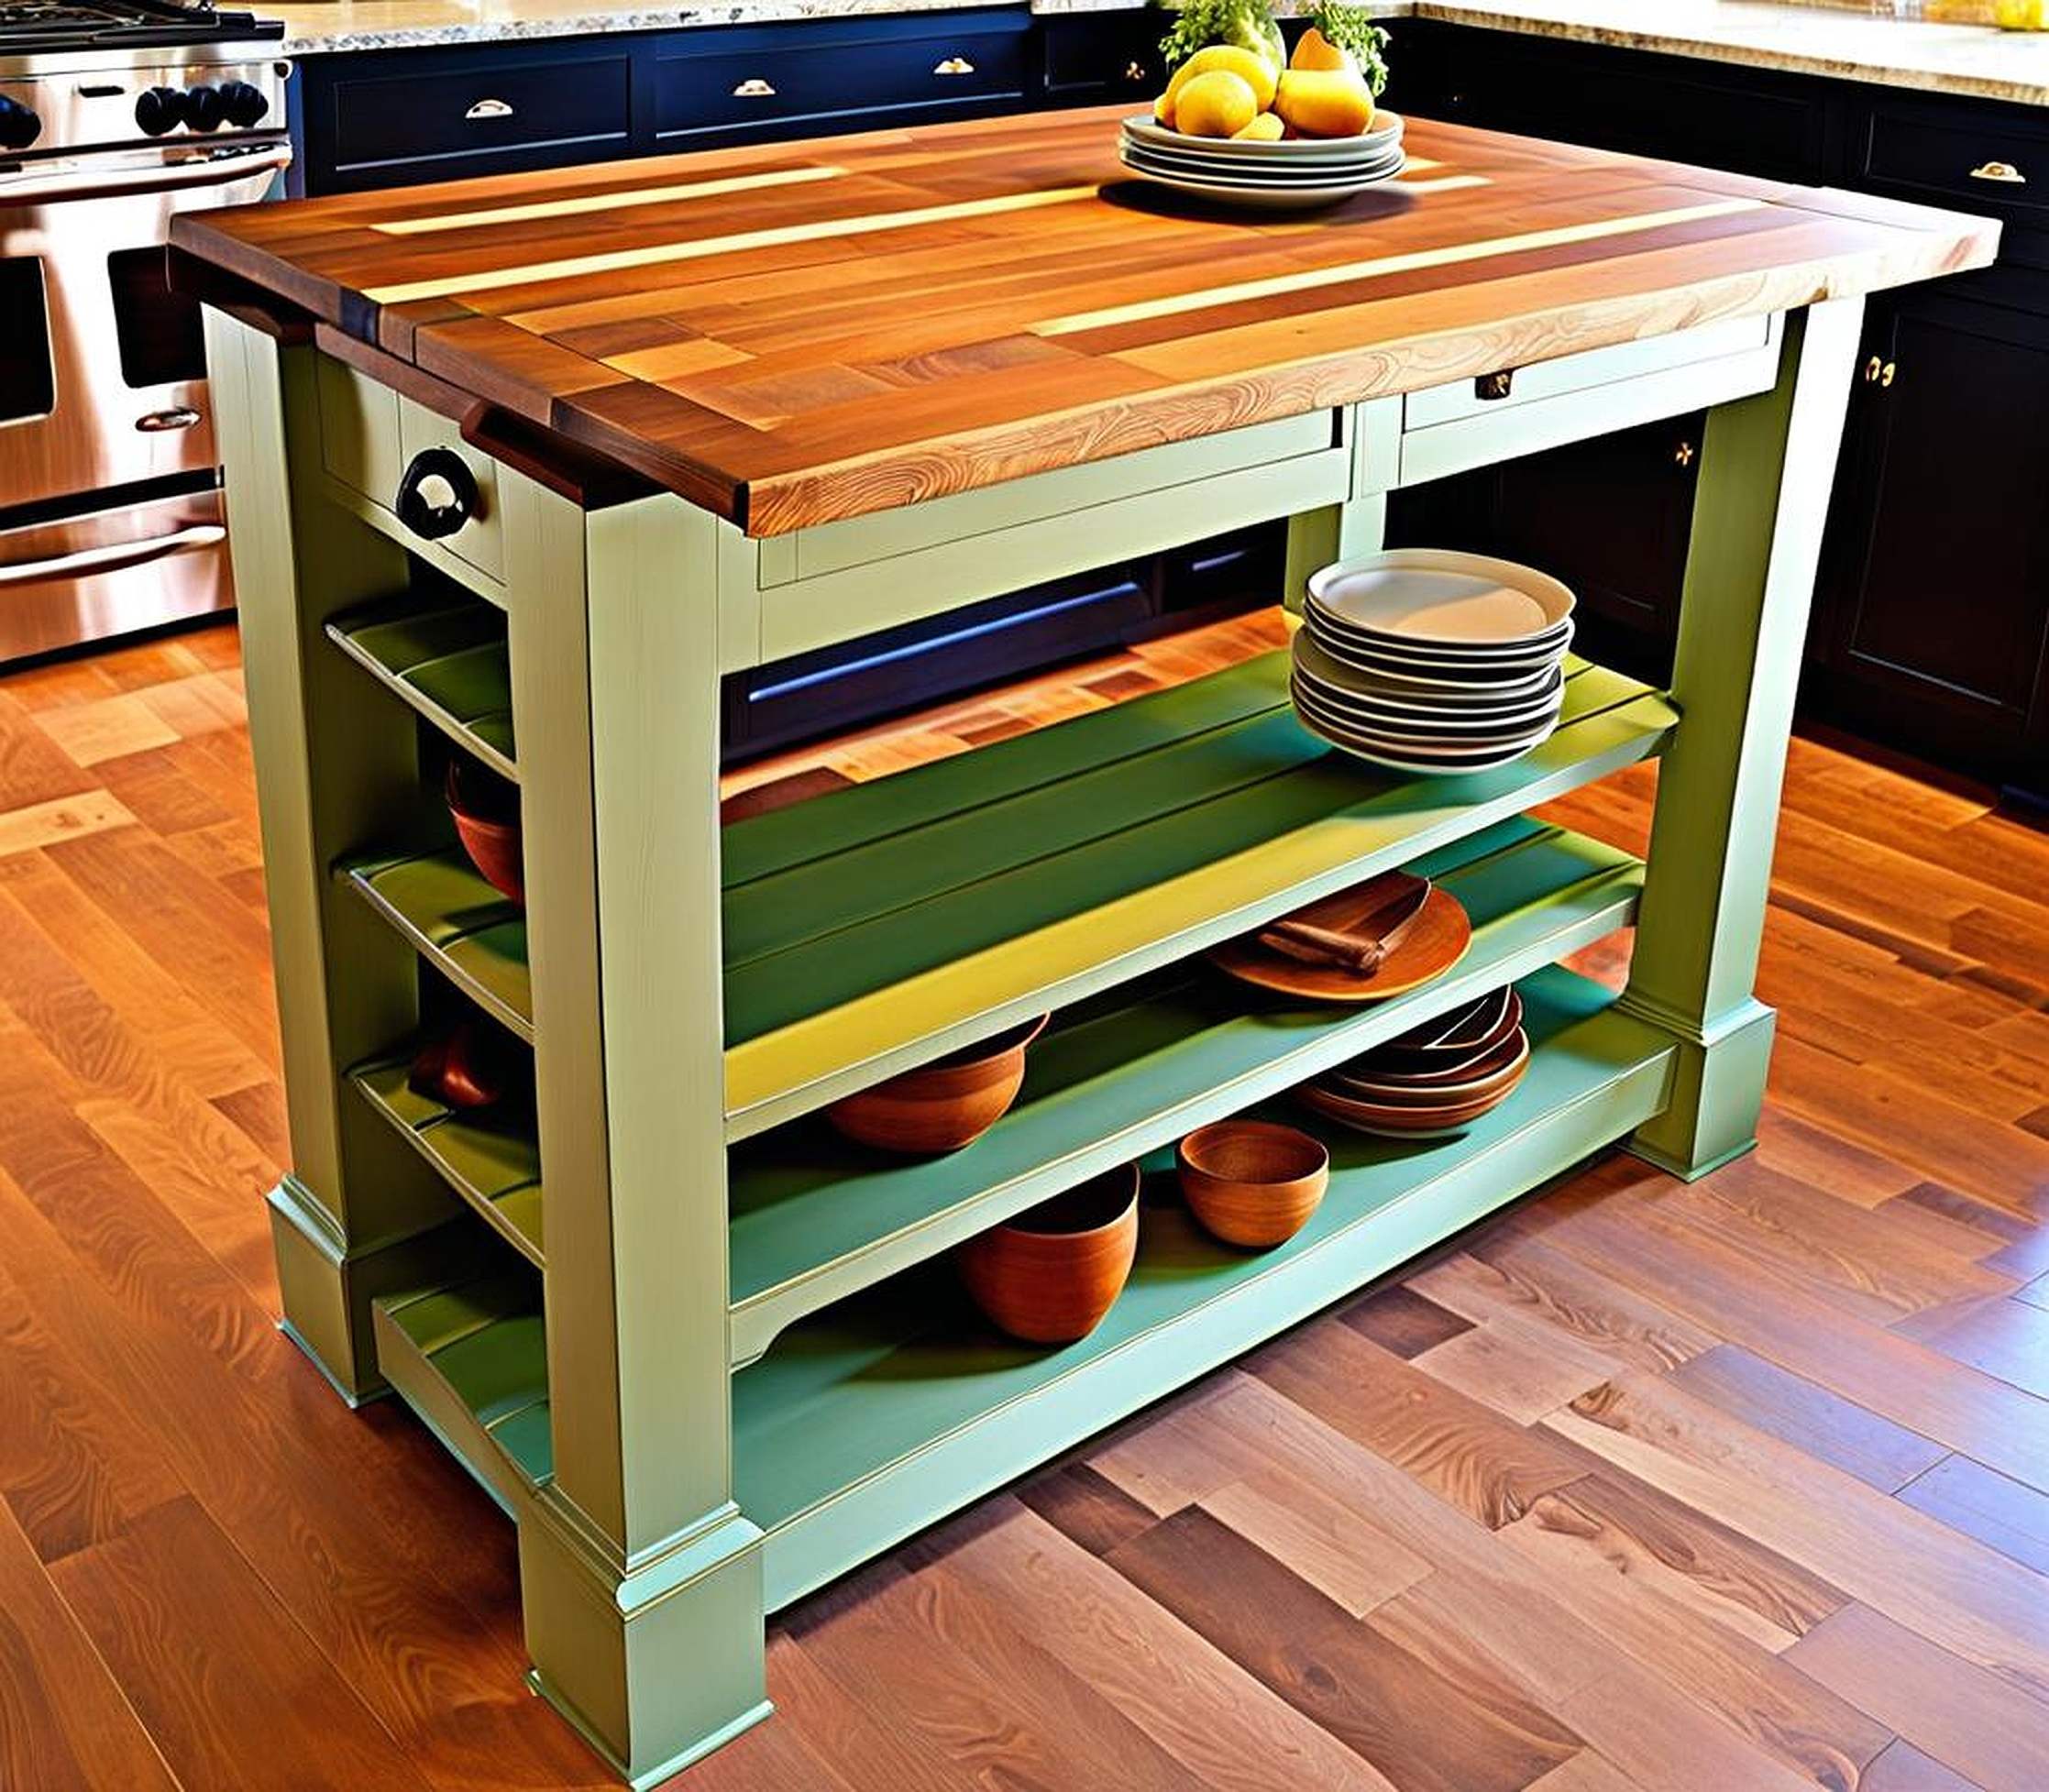
Once you’ve completed the construction of your DIY kitchen island, it’s time to focus on the finishing touches that will truly make it shine. Styling and decorating your new island is where your personal taste comes into play, allowing you to create a cohesive look that ties into your overall kitchen design.
Start by considering the practical aspects of your island’s use. If it’s primarily for food preparation, you might want to add a butcher block section or a marble pastry surface. For islands that double as a dining area, consider comfortable, stylish seating options that complement your kitchen’s aesthetic.
Here are some ideas to enhance your kitchen island with seating:
- Add pendant lighting above the island to create a focal point and provide task lighting.
- Install a pot rack overhead to free up cabinet space and add a professional touch.
- Incorporate open shelving on one end of the island to display cookbooks or decorative items.
- Use bar stools or chairs that contrast with the island’s color for visual interest.
- Add a wine rack or beverage cooler to make entertaining easier.
- Install a towel bar on one end for easy access to hand towels.
- Place decorative bowls or a vase with fresh flowers on the countertop for a pop of color.
When selecting decorative elements, consider both form and function. A beautiful fruit bowl can serve as both a centerpiece and a practical storage solution. Similarly, attractive canisters can hold frequently used items while adding to the island’s overall look.
Don’t overlook the power of texture in your design. Mixing materials like wood, metal, and stone can create a rich, layered look. For example, a wooden island base paired with a sleek granite top and metal bar stools can strike a perfect balance between warmth and modernity.
Remember that your kitchen island is not just a functional piece but also a reflection of your style. Feel free to experiment with different decorative elements until you find the perfect combination that makes your island feel like an integral part of your home.
Lastly, consider how your island’s style will evolve with the seasons or your changing tastes. Incorporating elements that are easy to switch out, like seat cushions or decorative accessories, allows you to refresh your island’s look without a major overhaul.
By paying attention to these finishing touches, your DIY kitchen island will not only serve as a practical addition to your kitchen but also as a beautiful, personalized centerpiece that enhances the overall ambiance of your home. With your custom-built island complete, you can now enjoy the fruits of your labor, whether you’re preparing meals, entertaining guests, or simply enjoying a quiet cup of coffee in your newly transformed kitchen space.
