Inexpensive porch ceiling ideas can change your outdoor space. From rustic wood paneling to sleek vinyl options, there’s a wealth of affordable solutions waiting to elevate your porch’s ambiance. We’ll explore creative techniques, budget-friendly materials, and expert tips to help you achieve a stunning ceiling makeover that reflects your personal style. Get ready to breathe new life into your porch with these cost-effective and visually appealing ceiling designs that will impress both guests and passersby.
Understanding the Importance of Porch Ceilings
Porch ceilings play a crucial role in defining the overall aesthetic and functionality of your outdoor living space. Often overlooked, these overhead surfaces can dramatically impact the atmosphere of your porch, making it feel more inviting, spacious, or cozy depending on the design choices you make. When considering inexpensive porch ceiling ideas, it’s essential to recognize the multifaceted benefits they bring to your home’s exterior.
First and foremost, an upgraded porch ceiling can significantly enhance the visual appeal of your outdoor area. It serves as a canvas for expressing your personal style and can complement the architectural features of your home. Whether you opt for a rustic beadboard look or a modern, sleek finish, the ceiling sets the tone for the entire porch experience. Moreover, a well-designed ceiling can create an illusion of height, making your porch feel more open and airy.
Beyond aesthetics, porch ceilings offer practical advantages. They provide protection from the elements, shielding you from direct sunlight, light rain, and falling debris. This added layer of coverage extends the usability of your porch, allowing you to enjoy the outdoors in various weather conditions. Additionally, a thoughtfully constructed ceiling can improve insulation, helping to regulate temperature and reduce energy costs for adjacent indoor spaces.
When exploring affordable ceiling options for your porch, several factors come into play. Budget constraints are often the primary concern, but it’s crucial to balance cost-effectiveness with durability and style. Consider the following aspects:
- Weather resistance: Choose materials that can withstand your local climate, including humidity, temperature fluctuations, and potential insect infestations.
- Maintenance requirements: Opt for low-maintenance solutions that will look great for years with minimal upkeep.
- Installation complexity: Assess whether you can handle the installation yourself or if professional help is needed, as this affects overall costs.
- Lighting integration: Plan for incorporating lighting fixtures or ceiling fans to enhance functionality.
- Color and texture: Select finishes that complement your home’s exterior and create the desired ambiance.
By carefully considering these factors, you can select inexpensive porch ceiling ideas that not only fit your budget but also elevate your outdoor living experience. Remember, a well-executed porch ceiling makeover can increase your home’s curb appeal and potentially boost its value, making it a worthwhile investment in the long run.
Top Affordable Porch Ceiling Materials
When it comes to budget porch ceiling options, there’s a wide array of materials available that combine affordability with style. Let’s explore some of the most popular and cost-effective choices for DIY enthusiasts and homeowners looking to refresh their porch ceilings without emptying their wallets.
Beadboard panels stand out as a classic and economical option for porch ceilings. These tongue-and-groove planks feature a distinctive bead running between each board, creating a charming, traditional look. Beadboard is relatively easy to install, making it an excellent choice for DIY projects. It comes pre-primed and ready to paint, allowing you to customize the color to match your porch’s aesthetic. The textured surface of beadboard also helps hide minor imperfections, which is particularly beneficial for older homes or uneven surfaces.
Plywood presents another versatile and budget-friendly material for porch ceilings. While it might not sound glamorous at first, plywood can be transformed into a stunning ceiling with the right techniques. Opt for a higher grade of plywood with an attractive grain pattern, and consider staining or painting it to achieve your desired look. You can even create decorative patterns by cutting the plywood into geometric shapes or applying thin battens to create a coffered effect. The key advantage of plywood lies in its affordability and ease of installation, making it a go-to choice for many DIY porch makeovers.
For those seeking an industrial chic vibe on a budget, corrugated metal offers an innovative solution. This material brings a unique texture and sheen to your porch ceiling, reflecting light and creating visual interest. Corrugated metal is lightweight, durable, and resistant to pests and moisture, making it an excellent long-term investment. While it may require some additional effort to cut and install properly, the striking results are well worth it. To soften the industrial look, consider pairing the metal with warm wood accents or colorful furnishings.
Painted drywall remains a simple yet effective option for porch ceilings, especially if you’re working with an enclosed porch. While it may not be suitable for open porches exposed to the elements, drywall can create a smooth, seamless look that’s easy to customize with paint. This option allows for unlimited color possibilities, enabling you to match your home’s exterior or create a bold contrast. Keep in mind that drywall installation can be labor-intensive and may require professional help for the best results.
Reclaimed wood presents an eco-friendly and unique choice for those looking to add character to their porch ceiling. Salvaged from old barns, factories, or other structures, reclaimed wood brings history and texture to your space. Each plank tells a story, creating a one-of-a-kind ceiling that’s sure to be a conversation starter. While finding and preparing reclaimed wood might require more effort, the results can be stunning and often more affordable than purchasing new, high-end materials.
Lastly, vinyl soffit emerges as a low-maintenance and affordable option for porch ceilings. Designed specifically for exterior use, vinyl soffit is resistant to moisture, insects, and fading, making it an excellent choice for open porches. It comes in various colors and styles, including options that mimic the look of wood grain. Vinyl soffit is lightweight, easy to install, and requires minimal upkeep, saving you time and money in the long run.
By considering these affordable porch ceiling materials, you can find a solution that not only fits your budget but also enhances the beauty and functionality of your outdoor space. Remember to weigh the pros and cons of each option based on your specific needs, climate, and design preferences to make the best choice for your porch makeover.
DIY Techniques for Installing Inexpensive Porch Ceilings
Embarking on a DIY porch ceiling project can be an exciting and rewarding experience. With the right techniques and a bit of patience, you can transform your outdoor space using cost-effective porch ceiling ideas. Let’s dive into the step-by-step process of installing various affordable materials, ensuring you achieve professional-looking results on a budget.
Before you begin any installation, it’s crucial to properly prepare your porch. Start by thoroughly cleaning the existing ceiling surface, removing any dirt, cobwebs, or loose paint. Inspect the area for signs of damage or rot, especially in older structures, and address these issues before proceeding. If you’re working with an unfinished ceiling, ensure that the joists are in good condition and properly spaced to support your chosen material.
For those opting for beadboard panels, the installation process is relatively straightforward. Begin by measuring your porch ceiling and cutting the panels to fit, allowing for a small expansion gap around the edges. Apply construction adhesive to the back of each panel and secure them to the ceiling joists using finish nails. To achieve a polished look, use a nail set to recess the nails slightly, then fill the holes with wood putty before painting.
When working with plywood, the key is in the preparation. Sand the plywood sheets to ensure a smooth surface, then prime and paint them before installation for easier handling. Cut the plywood to fit your ceiling dimensions, accounting for any obstacles like light fixtures. Secure the sheets to the ceiling joists using screws, making sure they’re countersunk for a flush finish. For added visual interest, consider applying thin battens over the seams between plywood sheets to create a geometric pattern.
Corrugated metal installation requires careful planning and precise cutting. Measure your porch ceiling and cut the metal sheets to size using tin snips or a circular saw with a metal-cutting blade. It’s advisable to wear protective gear during this process. Install furring strips perpendicular to the ceiling joists to provide a surface for attaching the metal sheets. Secure the corrugated metal to the furring strips using screws with neoprene washers to prevent leaks. Overlap the sheets slightly for a watertight seal.
For those choosing painted drywall, the process involves hanging drywall sheets, taping the seams, applying joint compound, and sanding for a smooth finish. While this method can be time-consuming, it offers a clean, customizable surface. Begin by securing the drywall sheets to the ceiling joists using drywall screws. Tape the seams and apply joint compound in multiple thin layers, sanding between each application. Once you achieve a smooth surface, prime and paint the ceiling in your desired color.
Installing reclaimed wood requires a bit more creativity and patience. Start by cleaning and treating the wood to ensure it’s free from pests and properly sealed. Arrange the planks in a pattern you find appealing, mixing different lengths and colors for a rustic look. Secure the planks to the ceiling joists using finish nails or screws, depending on the wood’s thickness. Consider leaving small gaps between planks for an authentic, aged appearance.
Vinyl soffit installation is relatively simple and can often be completed in a day. Begin by installing J-channel around the perimeter of your porch ceiling to create a clean edge and provide a space for the soffit panels to slide into. Cut the vinyl soffit panels to fit your ceiling dimensions, allowing for expansion. Starting at one end, slide the panels into the J-channel and secure them to the ceiling joists using roofing nails. Continue this process, interlocking the panels as you go, until the entire ceiling is covered.
Regardless of the material you choose, safety should be your top priority. Always use proper protective equipment, including safety glasses, gloves, and a dust mask. When working on ladders or scaffolding, ensure they are stable and secure. For electrical work, such as installing new light fixtures, consider consulting a professional to avoid potential hazards.
By following these DIY techniques, you can successfully install an inexpensive porch ceiling that looks professionally done. Remember to take your time, measure twice, and cut once. With patience and attention to detail, your budget-friendly porch ceiling makeover will become a source of pride and enjoyment for years to come.
Once you’ve chosen and installed your affordable porch ceiling material, it’s time to elevate its appearance with creative touches that won’t break the bank. These innovative ideas will help you maximize the impact of your budget-friendly ceiling, turning it into a standout feature of your outdoor space.
Color plays a crucial role in setting the mood of your porch. While white remains a popular choice for its classic appeal and ability to make spaces feel larger, don’t be afraid to experiment with other hues. Soft, cool tones like pale blue or light gray can create a calming atmosphere reminiscent of the sky. Alternatively, warm colors like butter yellow or light peach can add a cozy, inviting feel to your porch. For a bold statement, consider painting your ceiling a contrasting color to your walls or using a two-tone approach with stripes or patterns.
Lighting is another essential element that can dramatically enhance your porch ceiling. Incorporate fixtures that not only provide functional illumination but also serve as decorative elements. Flush-mount lights are ideal for low ceilings, while pendant lights or chandeliers can add a touch of elegance to higher ceilings. For a whimsical touch, string lights or rope lights can be installed along the perimeter of the ceiling or in a crisscross pattern. Solar-powered options are available for energy efficiency and easy installation without the need for complex wiring.
Adding trim and molding is an excellent way to give your porch ceiling a polished, high-end look without significant expense. Crown molding along the edges where the ceiling meets the walls can create a finished appearance and hide any imperfections in the installation. For a more intricate design, consider adding decorative medallions around light fixtures or creating a coffered effect with thin strips of wood arranged in a grid pattern. These details can transform a simple ceiling into an architectural feature.
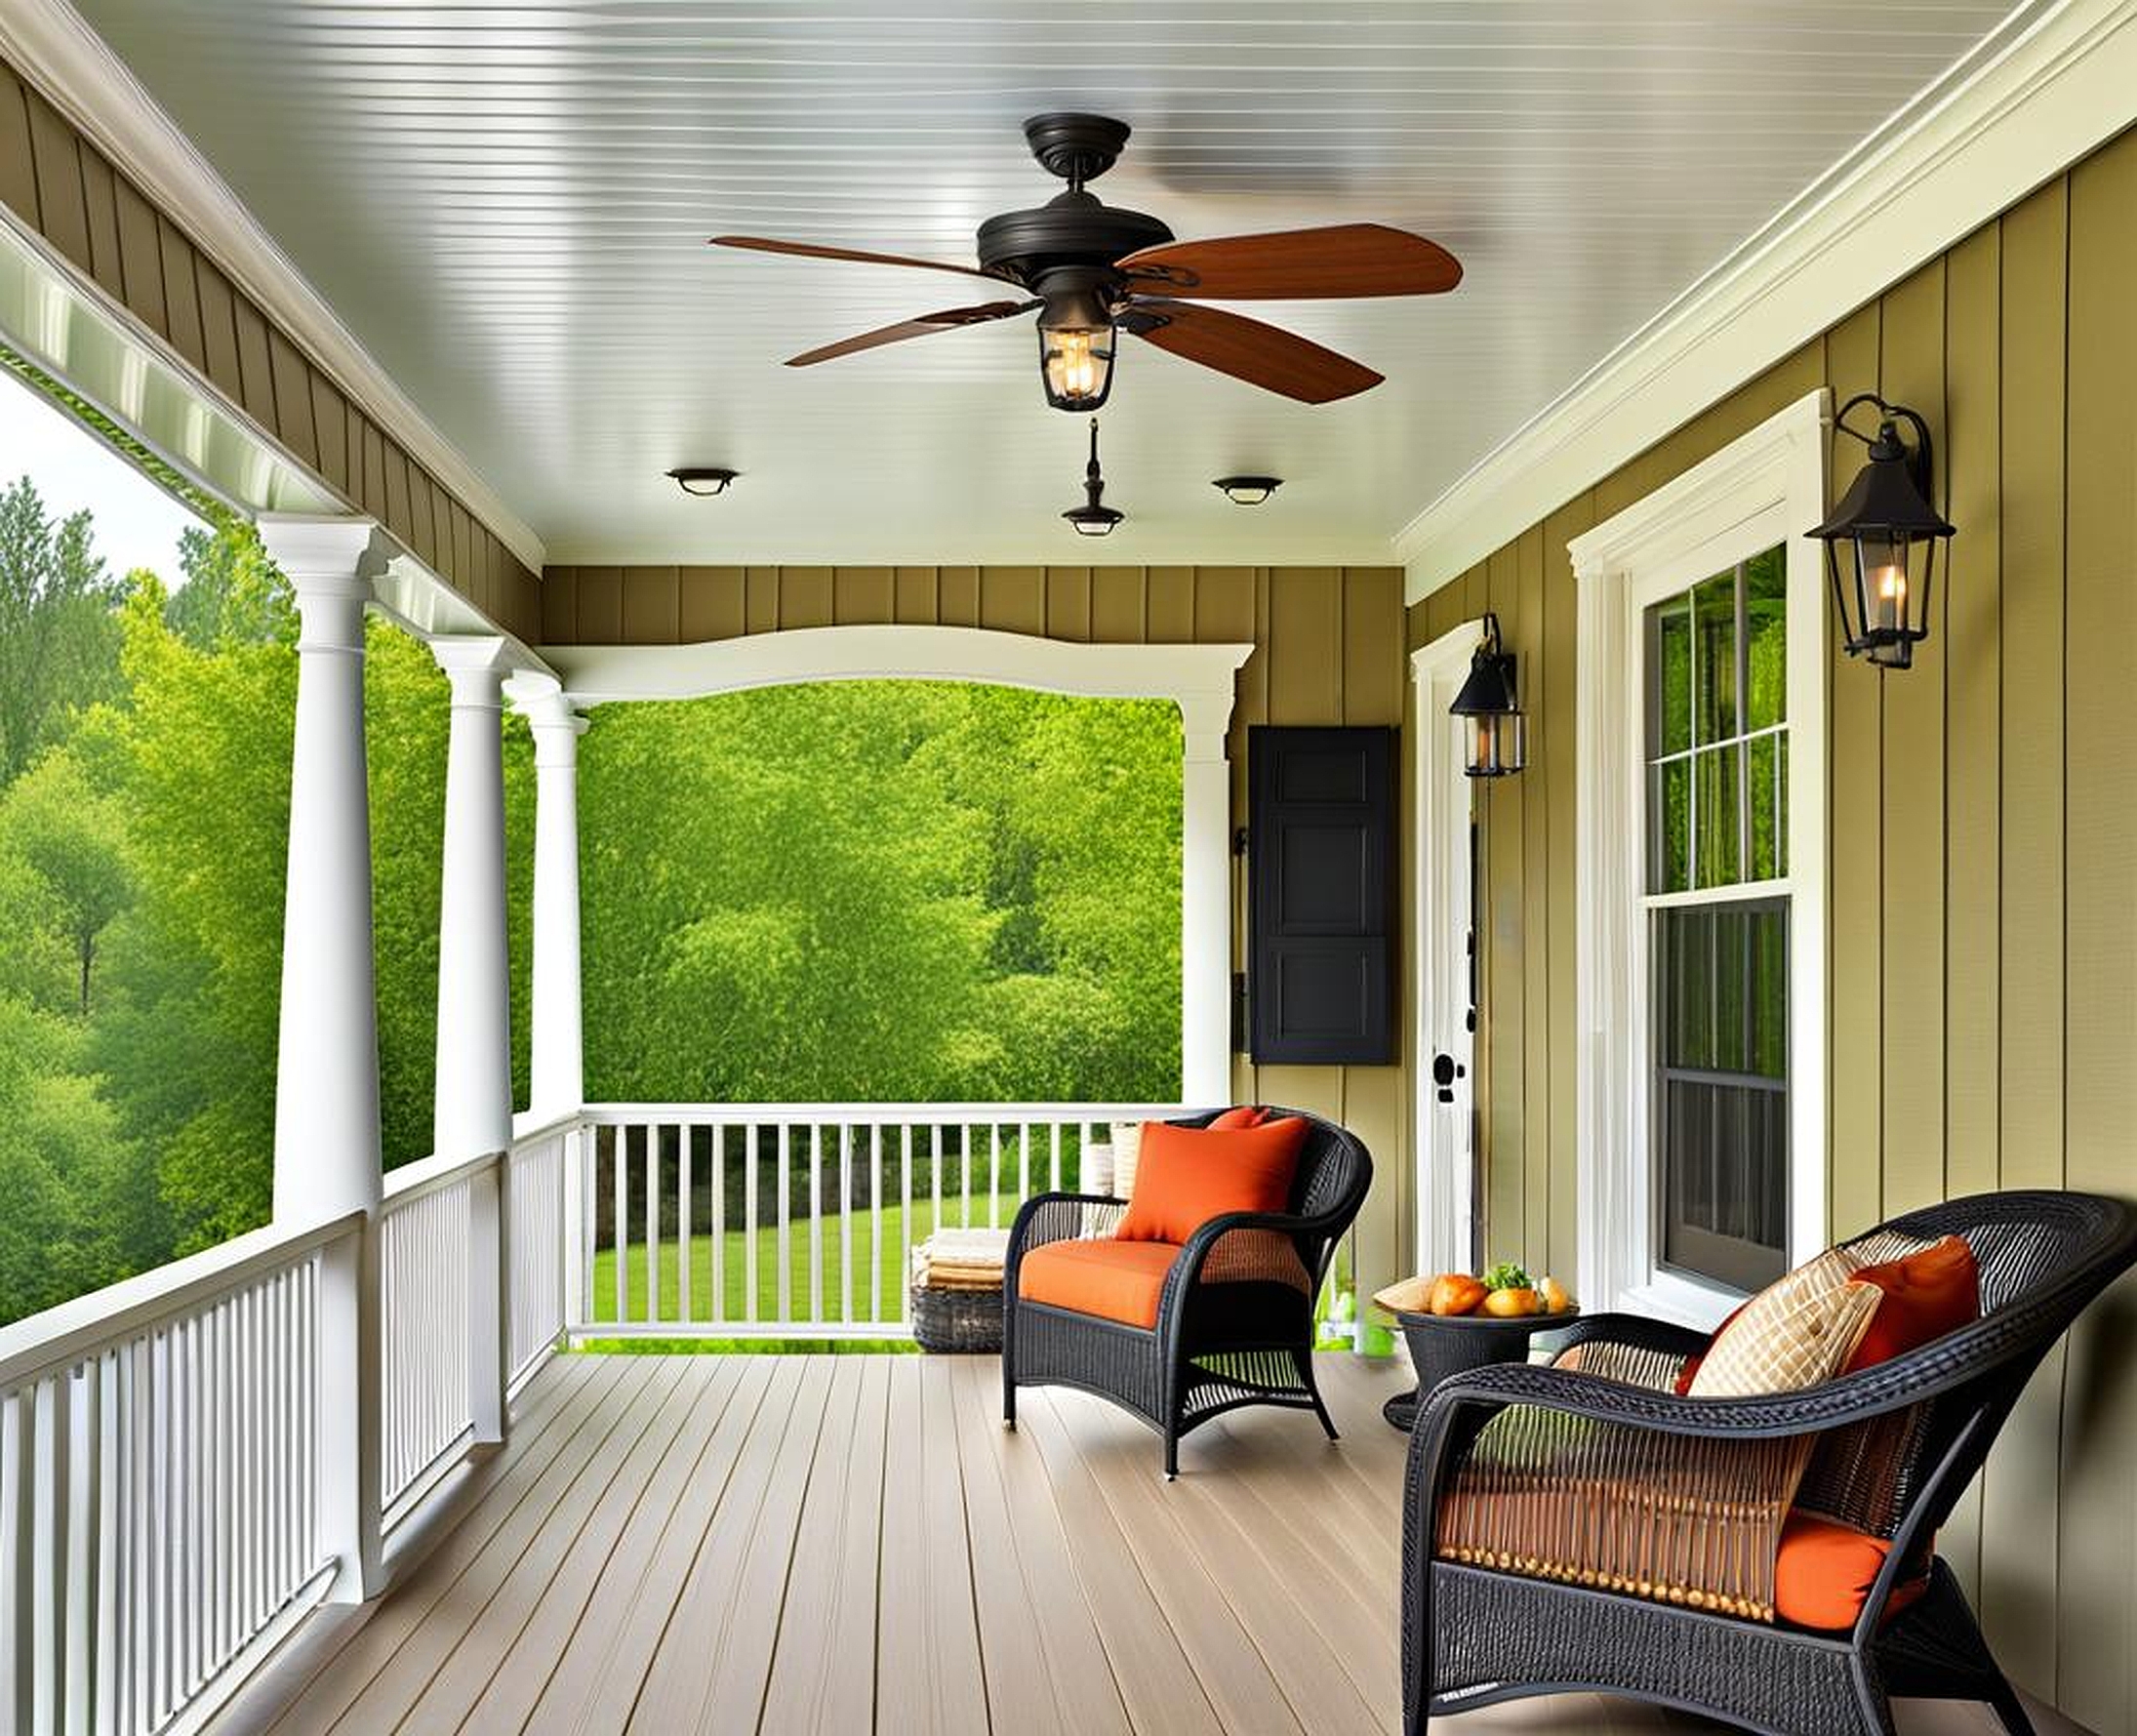
Integrating a ceiling fan not only enhances the comfort of your porch but also adds a stylish focal point. When choosing a fan, consider both function and form. Opt for models designed for outdoor use that complement your porch’s aesthetic. Fans with reversible blades offer versatility, allowing you to switch between different finishes to match seasonal decor changes. Some fans come with built-in lighting, providing a two-in-one solution for your porch ceiling.
For those feeling particularly creative, artistic touches can turn your porch ceiling into a conversation piece. Stencils offer an affordable way to add intricate patterns or designs to your ceiling. From delicate floral motifs to geometric shapes, stencils allow you to customize your space with minimal artistic skill required. Another option is to create a faux finish, such as a weathered wood look or a textured plaster effect, using paint techniques. These methods can add depth and interest to even the simplest ceiling materials.
Combining different materials can result in a unique, cost-effective design that adds visual interest to your porch. For instance, you might frame a central section of beadboard with reclaimed wood planks or create alternating panels of painted drywall and corrugated metal. This mix-and-match approach allows you to use smaller quantities of more expensive materials as accents while keeping the overall project budget-friendly.
Consider incorporating natural elements to bring warmth and texture to your porch ceiling. Bamboo or reed mats can be attached to create an island-inspired look, while woven grass cloth can add a touch of organic elegance. These materials are often inexpensive and can be easily installed over existing surfaces for a quick transformation.
For a truly personalized touch, consider creating a mural or hand-painted design on your porch ceiling. This could be as simple as painting a few clouds on a pale blue background or as elaborate as a full scenic vista. If you’re not confident in your painting skills, consider enlisting the help of an artistic friend or using large-scale decals designed for outdoor use.
Lastly, don’t overlook the power of accessories in enhancing your porch ceiling. Hanging plants, wind chimes, or decorative mobiles can add movement and interest to the space. These elements draw the eye upward, showcasing your ceiling while creating a dynamic, layered look.
By implementing these creative ideas, you can transform your budget porch ceiling into a stunning feature that reflects your personal style and enhances your outdoor living experience. Remember, the key to a successful porch makeover lies in balancing affordability with creativity, resulting in a space that’s both beautiful and uniquely yours.
